Monday, September 16, 2013

Oats Tikki | Oats Cutlet Recipe

oats tikki
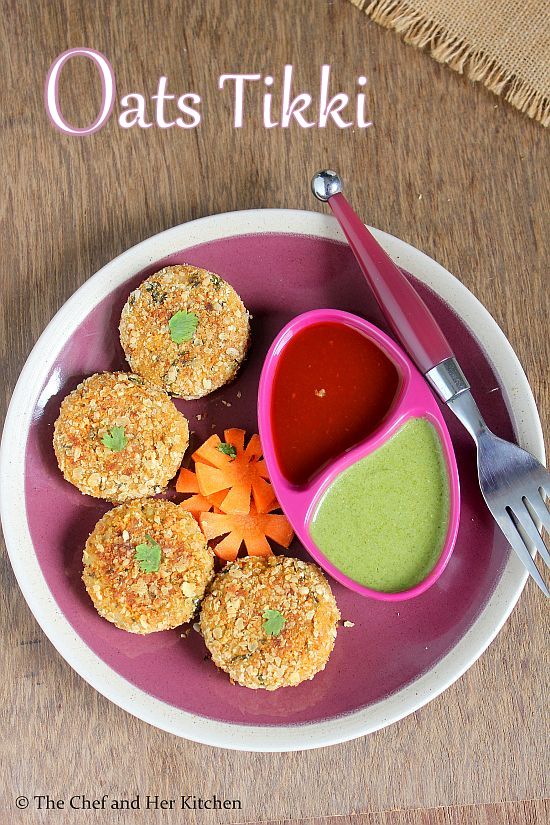
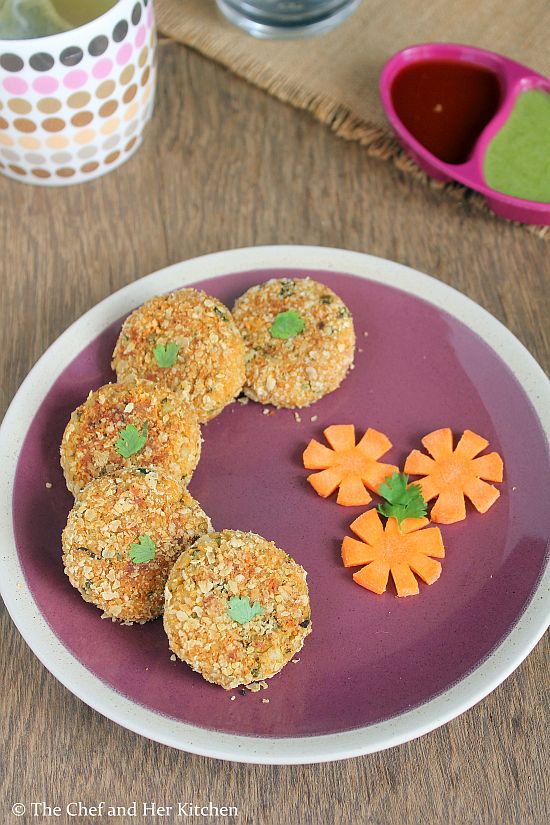
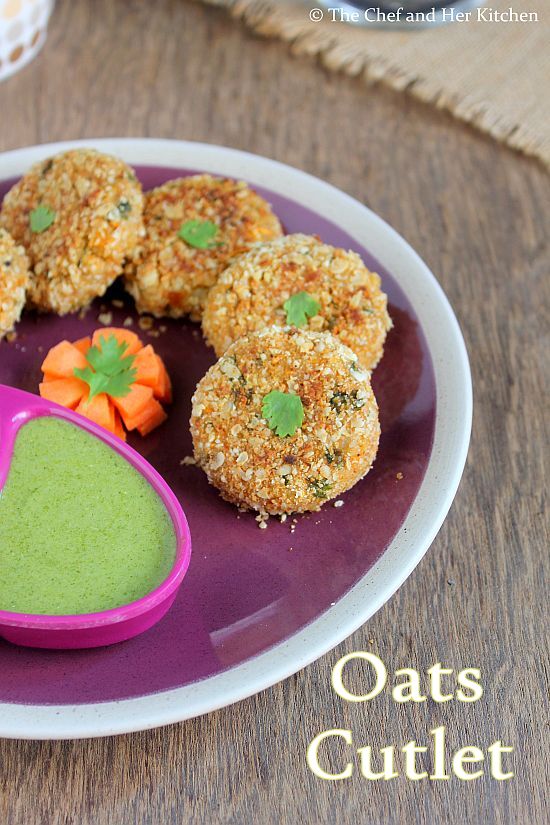
I have been getting few requests for Snacks using Oats from my readers and hence I had come up with an Oats Tikki recipe which is an easy and healthy snack. I have included oats in my breakfast in many interesting options and now slowly started to include them in various varieties other than breakfast. I have earlier posted Oats pakoda recipe which is a deep fried version but a very good snack and today let us see a low fat version of  Oats Cutlet. I have prepared it like any other cutlet but included oats in a large quantity and also gave a coating of oats for the crust. As oats itself is a nice binding agent when it is moist you don't need to add any other binding agents like bread or corn flour to the mixture.If you have boiled potato ready you can prepare this snack in less than 20 mins.You can send this for your kids tiffin box too, it stays good!!
oats tikki
Check out other Snack options with Oats in my blog here:
If you are interested to check other oats recipes, click here.
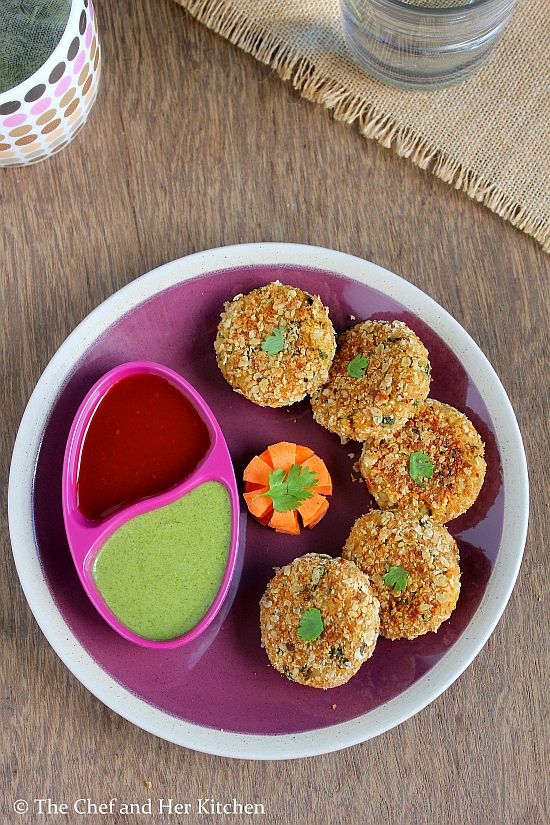
oats cutlet

Oats Tikki | Oats Cutlet Recipe:
Yields 12-14 Tikkis
Prep time:10 mins | Cooking time:20 mins | Total time:30 mins
Cuisine: Indian | Category: Snacks

Ingredients:
1 1/2 cups Quick cooking Oats (Kellogs/Quaker)
2 medium Potatoes
1/4 cup grated fresh Paneer
1 small Carrot, grated
2-3 tbsp chopped Coriander leaves
2 Green Chillies, finely chopped
3/4 tsp Chaat masala
1/2 tsp roasted Cumin powder
1/2 tsp Garam masala
1/2 tsp Amchur powder
juice of 1/2 Lemon
Salt to taste

3 tbsp Milk or Water,to coat cutlets
2 tbsp Bread Crumbs,optional
2-3 tbsp Oil,to shallow fry cutlets

Method:
  • Dry roast oats until they turn slight brown and reserve 1/2 cup of oats aside and use the remaining 1 cup of oats in the cutlet mixture.
  • Boil the potatoes in pressure cooker for 3-4 whistles or microwave it for 5-6 mins.Peel the skin and when they are still warm mash the potatoes nicely.
  • Add chaat masala, cumin powder, Garam masala, amchur powder, salt, lemon juice, grated paneer, carrot and chopped green chillies, coriander to the mashed potato mixture and mix nicely.
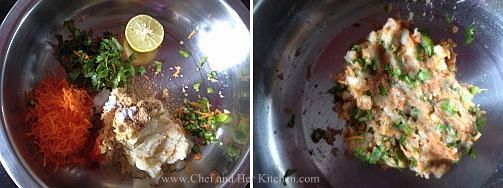
  • Now add roasted 1 cup oats to the potato mixture and mix nicely. Oats give enough binding for the tikkis, if you feel you need more binding add 1-2 tbsp roasted oats to it and slightly knead it again.
  • Divide the mixture into 12-14 equal portions and shape them into rounds of 2" diameter and 1/2" thickness. Prepare all the cutlets and keep them ready.
  • In a plate spread 1/2 cup roasted oats and mix it with 2 tbsp bread crumbs(if you are using).
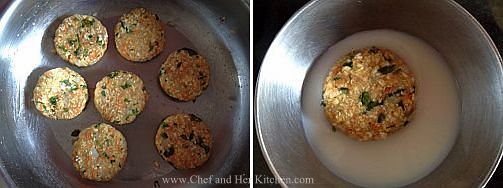
  • Dip each cutlet in a bowl of milk or water quickly on both sides and drop them into the oats mixture and coat the oats and bread crumb mixture on all sides by moving the tikkis all around and keep them on a plate. 
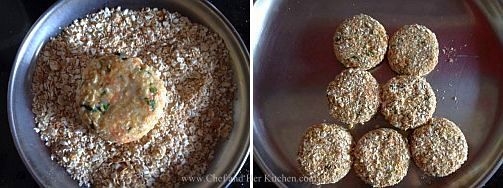
  • Repeat the same process for all the cutlets.You can refrigerate them for half an hour or prepare them immediately.
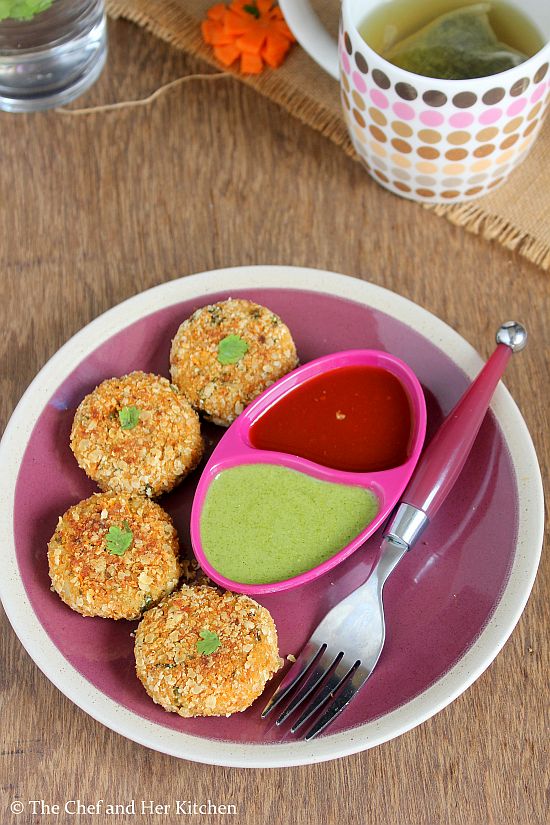
  • In a wide non stick pan heat 2-3 tbsp oil and place the cutlets and fry them on low- medium flame until they are roasted to light golden brown in color. Turn them and add a tbsp of oil from the sides if needed and roast until crisp on both sides.Drain them on a kitchen napkin.
Serve hot with Green Chutney, Imli Chutney or Tomato Sauce. Sprinkle Chaat masala over the cutlets for extra taste.
oats tikki

Notes:
  1. Roast the oats nicely to avoid the stickiness of oats in the cutlets.
  2. The addition of bread crumbs is optional, but it makes the crust crisp and hence I recommend you to add it. You can even use rusk powder if you do not have bread crumbs in hand.
  3. Initially mix all the spices in the potato mixture which helps the potato mixture in absorbing the spices nicely and then add rest of the ingredients and mix nicely.
  4. You can make the cutlets in various shapes like hearts, ovals etc.
  5. You can refrigerate the prepared tikkis for 2 days and shallow fry when needed.
  6. If you like you can add few chopped cashew nuts or raisins into the mixture before making tikkis, they add a nice bite to the tikkis.
oats cutlet


Friday, September 13, 2013

ONAM RECIPES | ONAM SADYA MENU | ONAM SADYA RECIPES


ONAM is on September 16 i.e. this monday. I am compiling a list of few recipes which are a part of ONAM sadya menu. ONAM sadya typically comprises of various items ranging from Pickle, Puli Inji, pachadi, kichadi, thoran, parippu, aviyal, kalan, olan, pulissery, sambar, rasam, steamed rice, banana chips, pappadam, payasam, pradhaman that are spread on a banana leaf. It is really a feast to have so many items on the sadya. Do go through the recipe list and adapt the recipes as required for Onam sadya.  I though wish I would make the complete Onam sadya once.Happy ONAM in advance !!!
Main Course - Snack/Sundal/Stirfry:
Main Course - Sambar/Stew/Rasam:
Pickles:
Kheer Recipes:
Beverage:

Thursday, September 12, 2013

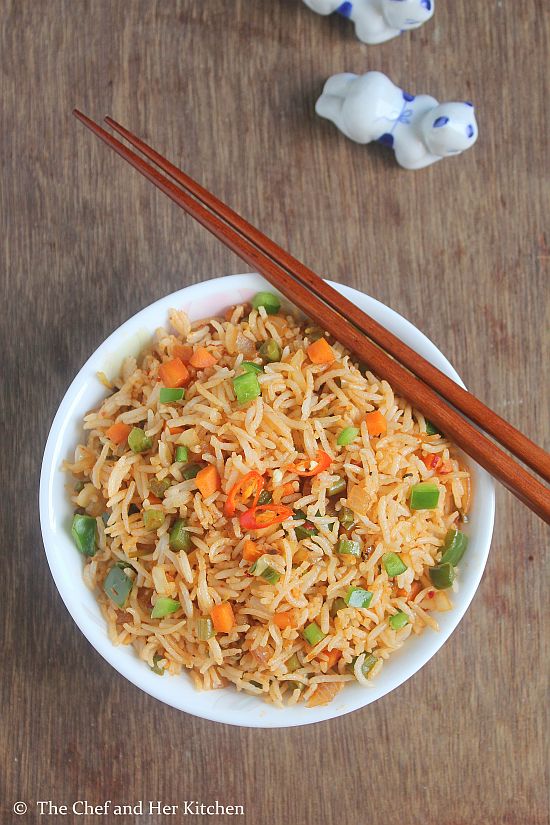
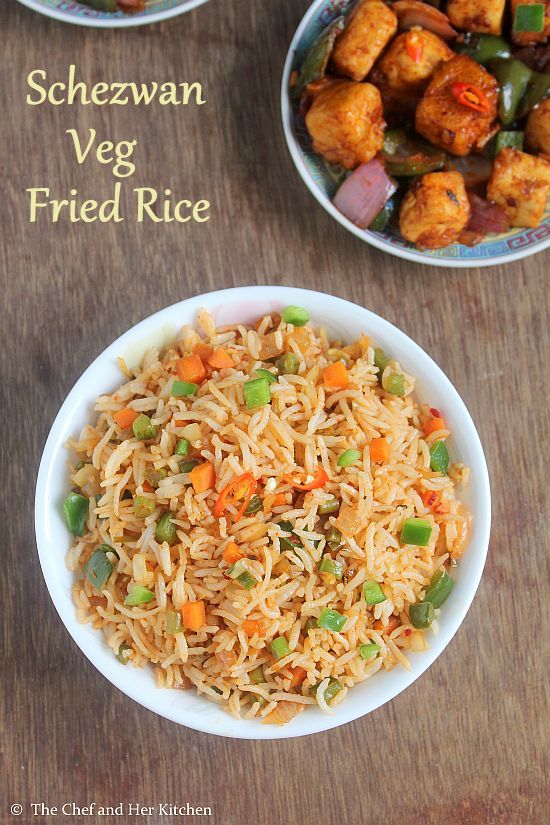
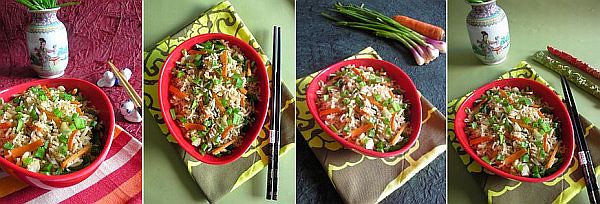
Schezwan Fried Rice Recipe | Veg Schezwan Fried Rice | Indo Chinese Recipes

schezwan fried rice
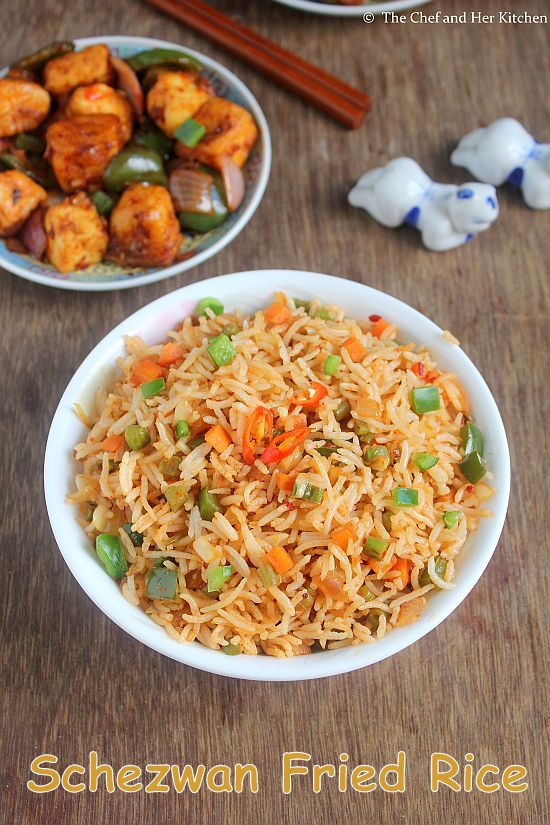
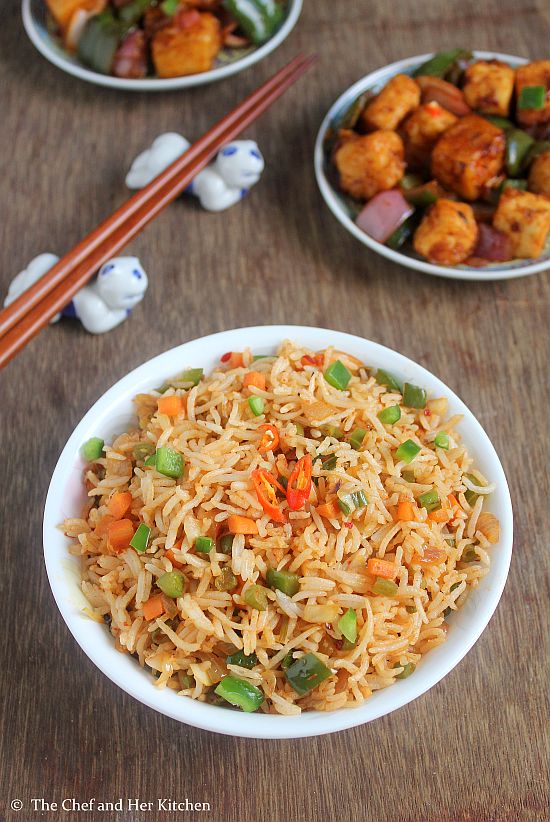
If  I am given a chance in between a regular Veg fried rice and Schezwan fried rice I would definitely choose the latter as I love the schezwan varieties very much. The slight sweet and spicy schezwan sauce makes the fried rice extremely delicious.You can serve the schezwan fried rice as it is or pair it with any manchurian gravy.Chinese recipes take lot of time in preparation work but in order to put up the final product it does not take much, you can finish the tossing in just mins if you have all the ingredients ready.It tastes best when it is done on high flame,so its better to keep all the ingredients handy before you start the tossing job.
schezwan fried rice
In restaurants the Chinese food taste still better when compared to the home made version as they usually toss in the high flame and it also lends a nice smoky flavor which is difficult to recreate in the home made version but nevertheless it tastes nice.I have mentioned few tips and tricks in notes section, so please go through it to make delicious schezwan rice at home.
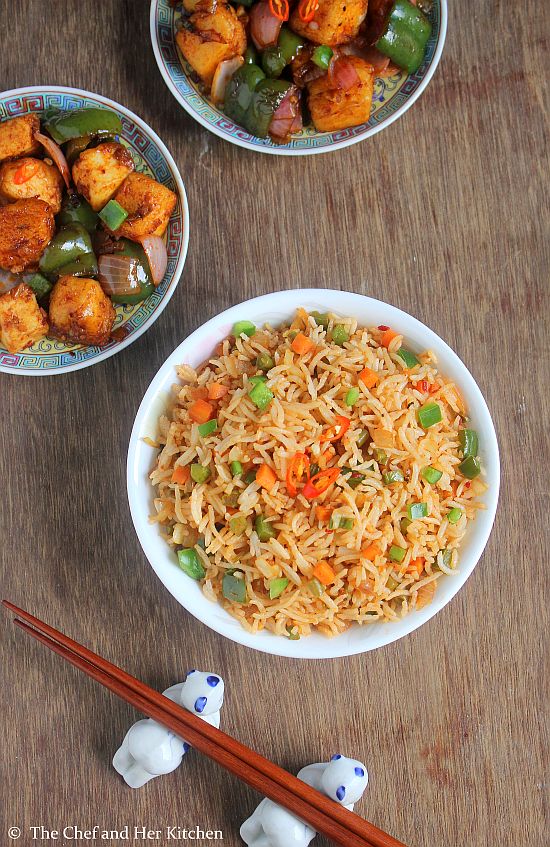
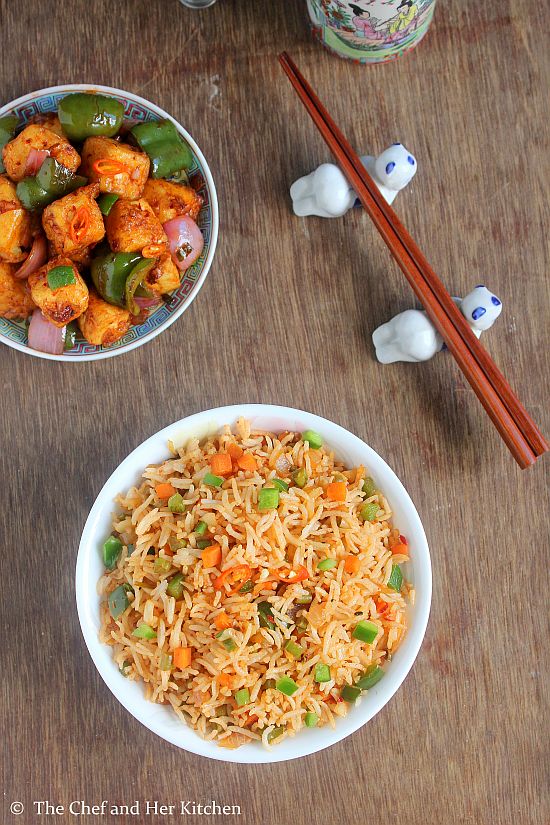
The secret of Schezwan fried rice lies in the Schezwan sauce preparation , if you get the sauce right the fried rice tastes just delicious.I had prepared this Schezwan fried rice for a week end lunch recently and served it with Chili Paneer, that was one delicious meal which we thoroughly enjoyed.
schezwan fried rice

If you are interested check out other Indo-Chinese recipes in my blog.
schezwan veg fried rice

Schezwan Vegetable Fried Rice Recipe:
Serves 2
Prep time: 15 mins | Cooking time: 30 mins | Total time: 45 mins + cooling time of rice
Cuisine: Indo-Chinese | Category: Rice- Main  Course

Ingredients:
1 cup Basmati rice
1/2" Ginger, finely chopped
3-4 Garlic pods, finely chopped
1 tsp chopped Celery( or thick coriander stems)
3-4 tbsp Schezwan Sauce
1 tsp dark Soya sauce
1 tsp Vinegar
1/4 tsp black Pepper powder, freshly ground
2 tbsp Olive oil
1 tbsp Sesame oil
Salt to taste

Vegetables needed:
1 medium Carrot, finely chopped
1/3 cup Cabbage, finely shredded
1 small Capsicum, finely chopped
7-8 french beans, finely chopped
5-6 Spring onions( greens-finely chopped, whites-finely sliced)

Method:
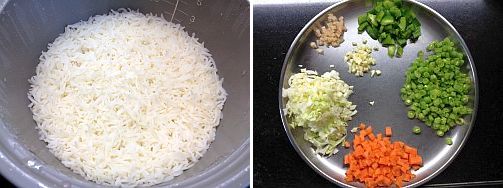
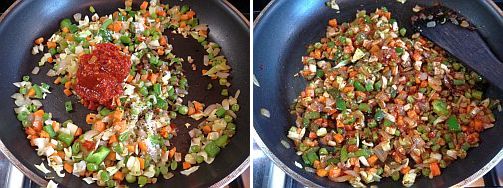
  • Soak Basmati rice for 10 mins and cook in rice cooker with (1-rice:2-water) ratio and cool the rice completely. Apply some olive oil to it and mix well and keep it aside, it is best if you refrigerate for 1/2 hr so that rice holds its shape when frying it.
  • Cut the vegetables finely as mentioned.
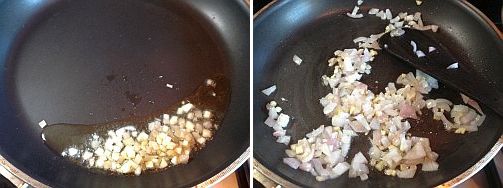
  • Heat olive oil and sesame oil in a big wok over a high flame and add finely chopped ginger, garlic and celery pieces and fry until they turn slight crisp.
  • Add thinly sliced spring onion whites(or onions) and fry them on high flame until they turn soft.
  • Add chopped carrot, beans, cabbage and stir fry on high flame for 2 mins. Do not let the carrots and beans loose its crunchiness, they should be crisp and crunchy and hence do not stir fry for long.
  • Add sliced capsicum to it and fry again for a minute.
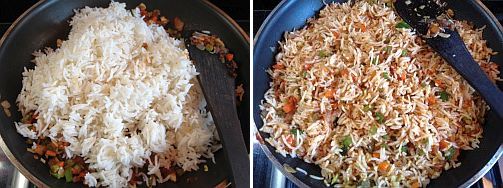
  • Add salt, pepper powder, vinegar, schezwan sauce and soya sauce and mix well. Do not add more salt as all the sauces contain some salt.
  • Add cooled rice and spring onion greens, slightly run the rice through your fingers while adding to the wok so that it does not have any lumps. Mix everything well until the rice is hot and do this gently and take care not to make the rice mushy.
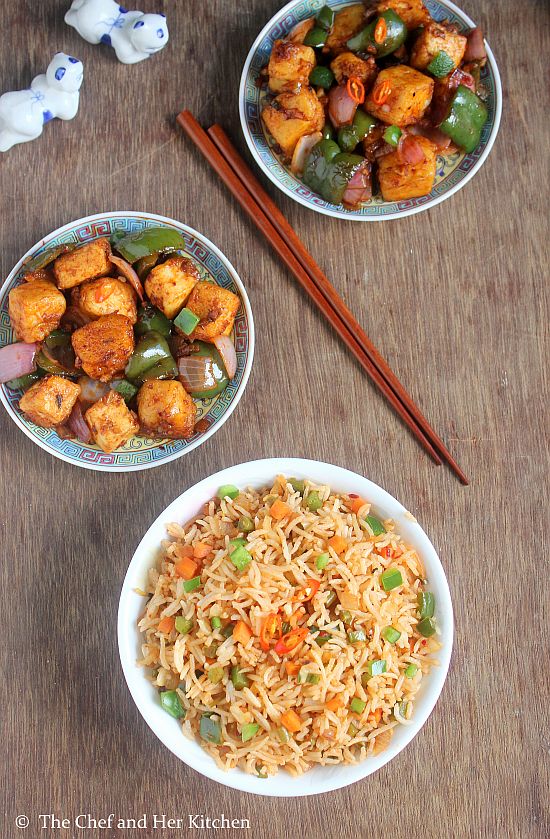
Serve it piping hot with any Manchurian gravy. I served it with Dry Chilli Paneer.

schezwan veg fried rice
Notes:
  • In chinese cooking Ajinamoto (chinese salt) is added to give extra taste, I have not added to it as it is supposedly not good for health. If you would like to add feel free to add 1/2 tsp Ajinamoto along with pepper powder.
  • I recommend you to refrigerate the cooled rice at least for half an hour which helps the rice in holding the shape while frying.
  • If you are preparing it in large quantity, mix all the rice together and toss small portions of rice in a tbsp of oil and serve it piping hot.
  • The entire cooking is to be done over a high flame which helps in retaining the crispiness of vegetables and the flavor of the dish, so you should be quick while sautéing the veggies and rice.
  • You can adjust the spiciness of the rice according to your wish.
  • You can use white pepper powder instead of black pepper powder, as I did not have it at that time I used freshly ground pepper in it.
schezwan vegatble fried rice

schezwan veg fried rice

Technorati Tags: , , , , , ,,

Tuesday, September 10, 2013

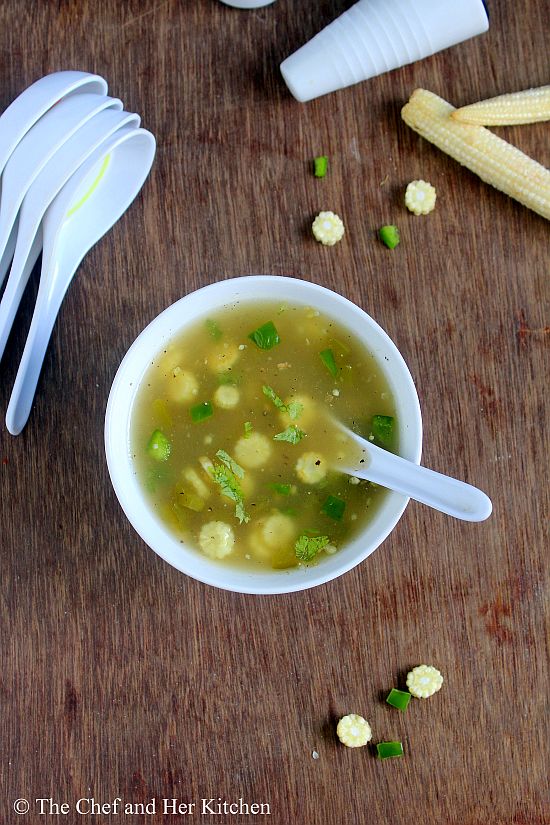
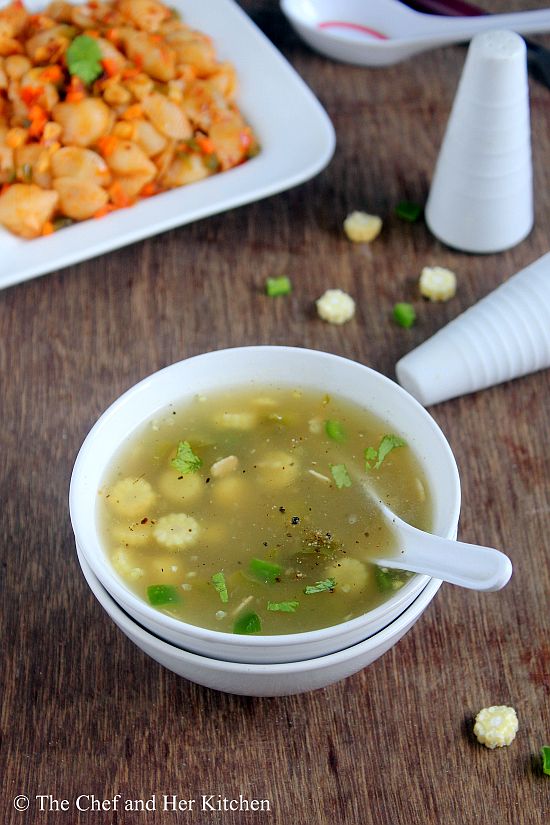
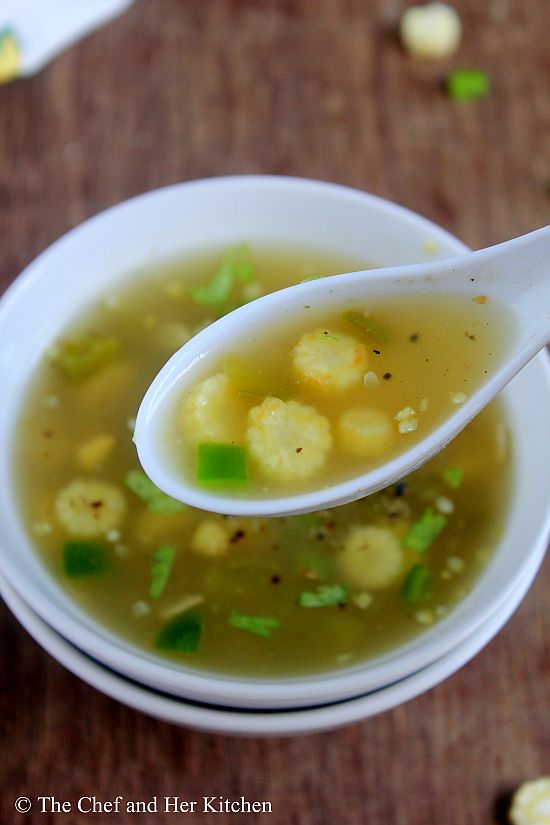
Babycorn Capsicum Soup | Clear Soup Recipes
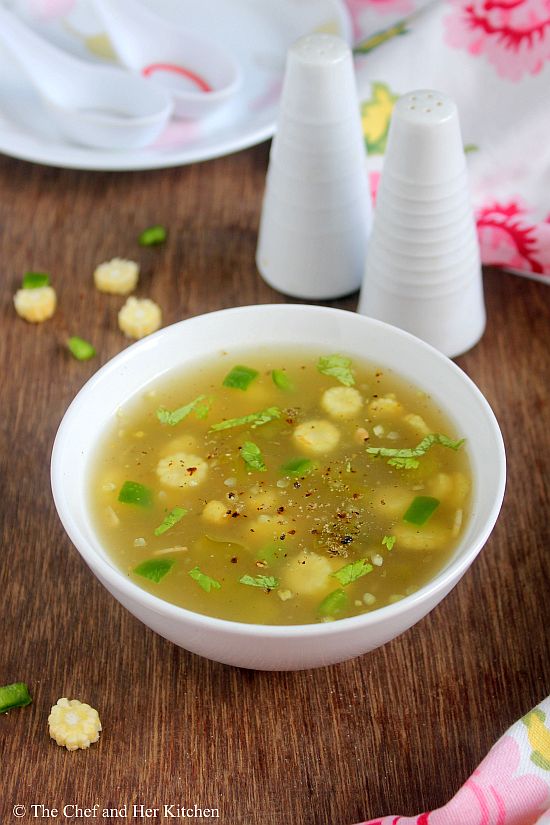
babycorn capsicum soup
A bowl of hot Soup with warm garlic bread or a bowl of pasta is always a comfort food for me in the monsoons. Though I prepare soups often they never find their way to my blog as I usually prepare it for dinner and I find it difficult to click photos in the night. Few days back, I had prepared this soup along with pasta for a quick weekend lunch and hence I got the opportunity to click the soup !!
babycorn soup
I love any kind of soups like thick, clear or rich milk based ones where as DH prefers clear soups or vegetables shorbas and hence I prepare mostly thin soups according to his preferences. Baby corn and capsicum makes an amazing combo in various forms such as Stir fry, curry , gravy, pulao or soup. I just love this combo and never get tired of it. This is a very easy clear soup which can be prepared in a matter of minutes.Try this and enjoy the hot soup with your family.
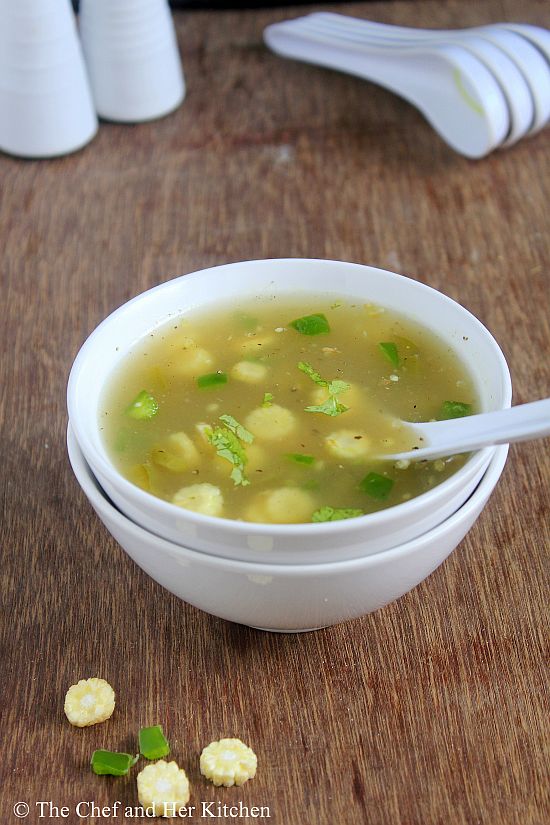
baby corn capsicum soup

If you are interested check out other Babycorn-Capsicum combos like Babycorn-Capsicum Stir fry, Babycorn-Capsicum Gravy.

baby corn capsicum clear soup

Also check out other Soup recipes:
baby corn capsicum soup

Babycorn Capsicum Clear Soup Recipe:
Serves 2-3
Prep time: 10 mins | Cooking time: 15 mins | Total time: 25 mins
Cuisine: International | Category: Soups- Appetizers

Ingredients:
3-4 Baby corns, thinly sliced into rounds
1 small Capsicum, seeded and finely chopped
2-3 small Garlic pods, finely chopped
1 tbsp Corn flour
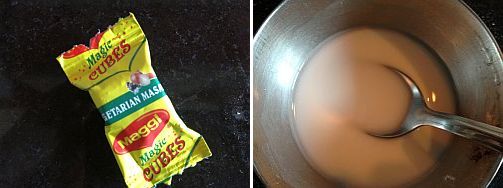
3-4 cups of Vegetable stock or 1 veg Maggi soup seasoning cube
1 tsp Vinegar
1 tbsp Coriander leaves, finely chopped
juice of 1/2 Lemon
1/2 tsp Pepper powder(or to taste)
Salt to taste
1 tbsp Olive oil/Butter

Method:
  • Heat olive oil/ butter in a deep bottomed pan and add finely sliced garlic and saute it for a minute.
  • Add thinly sliced baby corn pieces and fry for 2 mins and then add chopped capsicum and fry for a minute.
  • Add 3-4 cups of vegetable stock to it. If you are using seasoning cube add 3-4 cups of water and add the seasoning cube along with it.
  • Mix corn flour in 2-3 tbsp of water nicely with out any lumps in it.
  • Bring the stock to a boil and then add corn flour mixture and stir continuously while you are adding the corn flour mixture.
  • Boil it for 3-4 mins until it thickens and the color of the soup turns transparent.
  • Add vinegar, salt and pepper powder and mix it.Switch off the flame.Adjust the seasoning according to your taste buds by tasting it if necessary.
  • In the individual bowls add 1/2 tsp lemon juice and 1 tsp chopped coriander leaves and divide the hot soup equally into those bowls.
Serve the soup hot with Garlic bread / Pasta/ Salad. Add more seasoning to the soup if required.
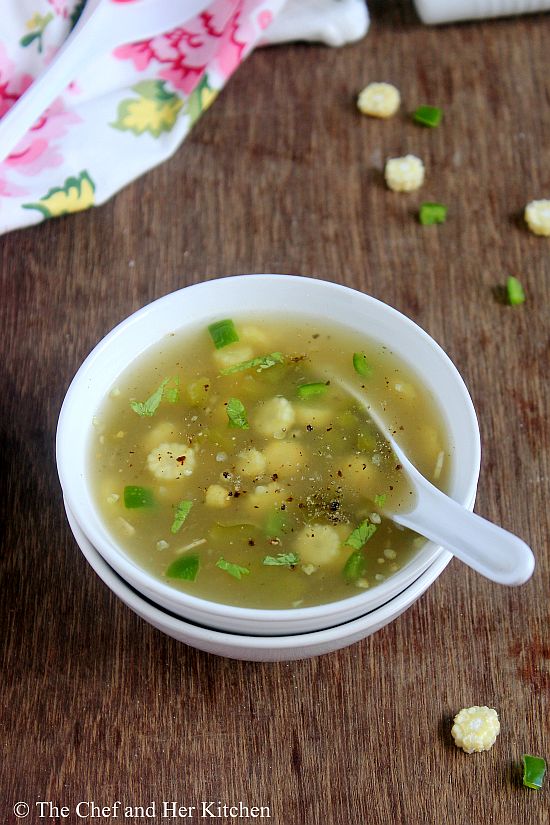
baby corn capsicum soup
Notes:
  • Do not add lemon juice to the soup pot directly as it might make the soup bitter. Hence add it to the bowl directly before you ladle the soup into the bowl.
  • You can replace baby corn with fresh corn or sweet corn and follow the same process.
  • You can even prepare the soup in a similar way with mixed vegetables like finely chopped carrots,beans,cabbage and follow the same process.
  • If you do not have vegetable stock or seasoning cube you can still prepare the soup in the same manner with out using them but the vegetable stock(or cube) adds more flavor to the soup.
  • You can use even knorr seasoning cube instead of maggi cube.
baby corn capsicum clear soup
 
Technorati Tags:

Saturday, September 7, 2013

Vinayaka Chavithi Lunch Menu | Ganesh Chaturthi special Menu

While I have already posted a pictorial menu (click here) but as there are several more recipes that I could not highlight there, I am compiling all the recipes at one place which are part of Ganesh Chaturthi (Vinayaka Chavithi)Menu so that it would give one wide options for planning the menu. This is largely Andhra/Karnataka Recipes and I have given a typical Andhra and Karnataka Menu which is prepared at your home. I have sorted the food stuffs in various sections, so all you need to do is go through the menu and plan the menu according to your convenience.
Wish you all a very happy Ganesh Chaturthi!!

Ganesh Chaturthi Specials(Any ONE - but MUST HAVE):
 
1) KUDUMULU/MODAK - 3 Varieties with coconut filling, groundnut filling and Sesame filling2) Karida KADUBU / Deep fried MODAK / Kari Kudumulu :Breakfast Menu on Ganesh Chaturthi:
  1. Idli Recipe with Coconut Chutney
  2. Medu Vada
  3. Avarekaalu Kadubu/Spiced Steamed Rice flour Dumplings
  4. Billa Kudumulu/Rice Rava Dumplings
  5. Kandi nooka Billa Kudumulu/Toor dal-Rice Rava Dumplings
  6. Upma Kozhukattai
  7. Undraalu with Biyyam rava - Andhra recipe
Lunch Menu on Ganesh Chaturthi:

Sundal and stir fry varieties(ONE or TWO varieties from each category):
  1. Lobia Sundal/Alasandula Guggillu
  2. Avarekaalu Kadubu/Spiced Steamed Rice flour Dumplings
  3. Kabuli Chana Sundal
  4. Kala Chana Sundal
  5. Peanut sundal
  6. Mixed Bean Sundal
  7. Sweet Corn Sundal
  8. Kosambari 
  9. Chana dal Kosambri
  10. Beans Stir fry
  11. Beans-carrot Palya
  12. Raw Banana Stir fry
  13. Cabbage Carrot stir fry 
  14. Cabbage Moong dal fry
  15. Vankaya Kobbari Karam | Stuffed Brinjals with fresh Coconut
  16. Vankaya Kothimeera Karam | Aromatic Brinjal Curry with Coriander
Vada/Snack varieties(ONE or TWO Varieties):
  1. Alasandula(Lobia) Vada/Fritters
  2. Masala Vada/Chana dal Vada
  3. Mixed Dal Ambode(Vada)
  4. Mosaru Ambode/Dahi Dal Vada
  5. Dahi Vada/Perugu Vada/Mosaru Vade
  6. Kandi Vuntalu / Steamed Toor dal Dumplings
  7. Stuffed Capsicum with Lentils
  8. Avarekaalu Kadubu/Spiced Steamed Rice flour Dumplings
  9. Aratikaya(Raw Banana)  Bajji
  10. Ammini Kozhukattai
Rice Varieties(ONE or TWO Varieties):
  1. Aava Pulihora  | Tamarind Rice flavoured with Mustard
  2. Dabbakaya Pulihora/Indian Grapefruit Rice
  3. Lemon Rice/Chitrannam
  4. Mamidikaya Pulihora/Maavinkay Chitranna
  5. Rava Pulihora
  6. Pulihora/Puliyogre
  7. Chintapandu pulihora - Andhra style
  8. Raw Mango Rice/Mamidikayi Gojju Annam
  9. Masale Bhat | Tendli Bhat | Ivy Gourd Rice -  Maharasthrian Special
Dal/Stew/Rasam Varieties(All Varieties-ONE each):
  1. Moong dal /Pesara Kattu
  2. Kandi Vunta Majjiga Pulusu / Steamed Toor dal Dumplings Stew
  3. Holige Saaru/ Special Toor dal Rasam
Main sweet recipes(ONE- compulsory):
  1. Steamed Kudumulu - with 3 fillings
  2. Karida Kadubu Fried Modak
  3. Paneer Modak Peda
  4. Bele Holige Pappu Obbattu - for Gowri Habba
  5. Bellam Kudumulu Vella Ammini Kozhukattai
  6. Boorelu | Suzhiyan | Sugunta
  7. Garugu Obbattu-Holige with rice flour and coconut stuffing -  for Gowri Habba
  8. Paal Kozhukattai | Undralla Payasam
  9. Pappulo Undrallu 
  10. Dry Fruit Modak 
  11. Puran Poli - for Gowri Habba
  12. Palathalikalu  
Kheer/Payasam(ONE or TWO Varieties):
  1. Moong Dal Kheer / Pesara Pappu Payasam
  2. Phool Makhana Kheer
  3. Poha Kheer/Aval Payasam
  4. Paal Payasam / Rice Milk Pudding
  5. Sabudhana Kheer / Sago Payasam

Typical Andhra Menu for Vinayaka Chavithi(at my MIL's place):

Breakfast: Undrallu or Idli with Coconut Chutney
Main Sweet: Bellam Kudumulu or Undralla Payasam
Rice Varieties: Chintapandu Pulihora or Nimmakaya Pulihora or Rava Pulihora
Vada/Snack: Medu Vada or Masala Vada(with out onions)
Payasam: Semiya Payasam  or Sago Kheer
Stir fry: Cabbage Carrot stir fry or  Cabbage Moong dal fry or Beans Stir fry
Sundal: Kabuli Chana Sundal or Kala Chana Sundal
Dal: Pesara Kattu
Rasam: Pappu Chaaru or Drumstick Rasam or Lemon Rasam

Typical Karnataka Menu for Ganesh Chaturthi(at my Mom's place):

Breakfast: Idli with Coconut Chutney
Main Sweet: Kudumulu with various fillings or Karida(Fried) Kadubu
Rice Varieties: Chintapandu Pulihora or Nimmakaya Pulihora
Vada/Snack: Masala Vada(with out onions) or  Kandunta or Capsicum Kandunta
Payasam: Undralla Payasam
Stir fry: Cabbage Carrot stir fry or Beans-Carrot Palya or  Beans Stir fry
Kosambari: Kosambari  or Chana dal Kosambri
Sundal: Kabuli Chana Sundal  or Kala Chana Sundal
Dal: Pesara Kattu
Rasam: Kandunta Majjiga Pulusu and/or Special Toor dal Rasam

Friday, September 6, 2013

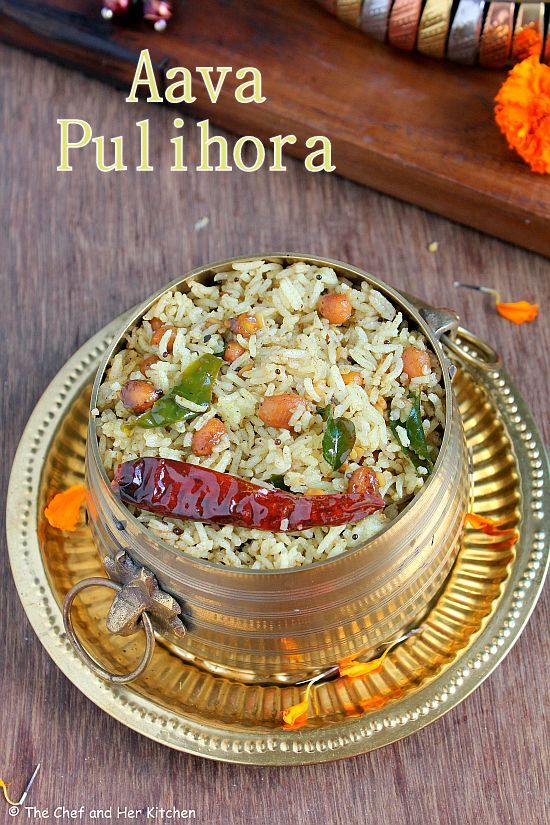
Aava Pettina Pulihora | Tamarind Rice | Vinayaka Chavithi Recipes

aava pulihora
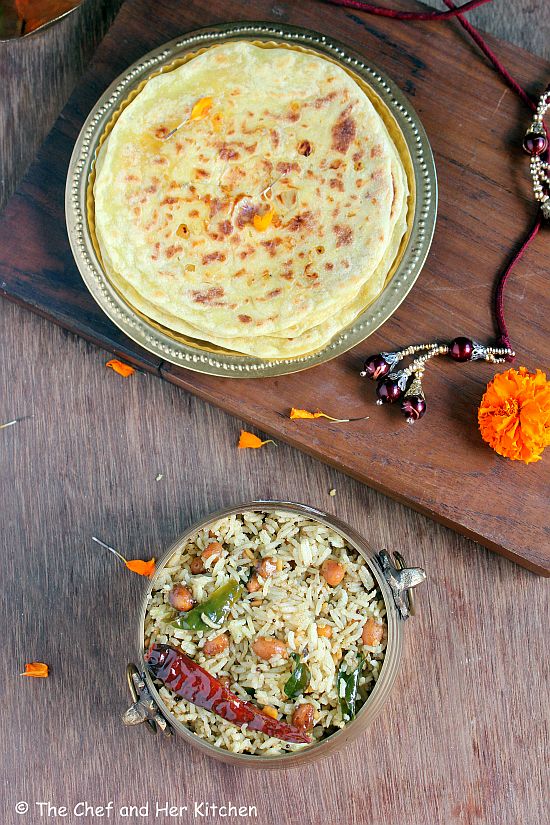
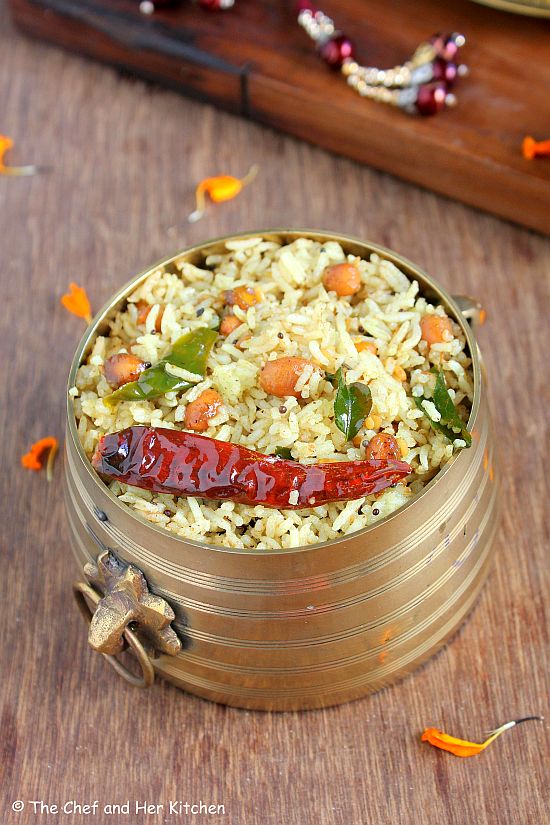
I love Andra style Chintapandu Pulihora for its tanginess and it is also an easy rice variety to prepare with basic ingredients at home. It is usually prepared for any festival or any happy occasions. Today I am posting an Aava pettina Pulihora recipe which is a slight twist to the regular pulihora recipe but gives a new dimension to it. 'Aavalu' means mustard seeds  in telugu and we are giving a mustard flavour to the traditional pulihora by adding the freshly pounded roasted mustard powder in this recipe and hence it is called 'Aava pettina Pulihora'. The preparation process is quite similar to the regular chintapandu pulihora but the mustard powder adds a new flavour to the usual pulihora. If you have not tried this Aava pettina pulihora you can try this recipe for a change from the usual rice variety. Try this Aava Pulihora along with Puran poli(Bobbatlu) for Vinayaka Chavithi festival as it is nearing by.
aava pettina chintapandu pulihora

If you are interested you can also check out my earlier post Aratikaya Aava pettina Kura (Raw Banana curry with mustard flavor).
Also check out other Pulihora Recipes in my blog:
For a complete list of Various options for Ganesh Chaturthi menu, check out here.
aava pulihora

Aava Pettina Pulihora Recipe | Tamarind Rice flavoured with Mustard powder:
Serves 2
Prep time: 10 mins | Cooking time: 30 mins | Total time: 40 mins
Cuisine: Andhra - Indian | Category: Rice Varities

Ingredients:
1 cup Rice(Sona masuri or equivalent)
1 big lemon sized Tamarind
2 tsp grated Jaggery(optional)
3/4 tsp Mustard seeds
Salt to taste
1 tbsp. Sesame Oil

for  tempering:
1 tsp Mustard seeds
3-4 tbsp. Groundnuts
1 tbsp. Chana dal
2 tsp Urad dal
2 tsp Sesame seeds
3-4 whole Red chillies
4-5 light colored long Green chillies, slit
1/2 tsp Turmeric powder
a sprig of Curry leaves
a pinch of strong Asafoetida
2 tbsp. Oil

Method:
  • Wash and soak rice for 10-15 mins and cook it in rice cooker or pressure cooker with 2 cups of water until it is done. Let the rice sit for some time and spread it on a wide plate by smearing a tbsp. of sesame oil which helps in keeping the grains separate.
  • Soak tamarind in water for 15 mins and extract the pulp and keep it aside.
  • Dry roast mustard seeds until they start popping and pound it into a fine powder using a pestle and mortar. You can even grind it in mixer but the pestle and mortar works efficiently here and adds a nice taste.
  • Heat oil in a deep bottomed kadai/pan and crackle mustard seeds.
  • Add ground nuts and fry them until they turn slight red in color and the skin begins to split.
  • Add chana dal, urad dal, red chillies and slit green chillies and fry until the chillies wilt and the dals turn light golden brown in color.
  • Add curry leaves, sesame seeds, asafoetida, turmeric powder and fry half a minute.
  • Add extracted tamarind pulp and jaggery and let it cook until it thickens and the oil separates from the edges. It takes 7-8 mins.
  • Switch off the flame and let it cool completely.
  • Reserve some portion(2-3 tbsp) of the tamarind mixture we prepared now and add cooled and spread rice along with freshly ground fine mustard powder and salt and mix it nicely until everything is neatly incorporated. Now taste the rice and add more tamarind mixture or salt as needed and adjust the rice according to your taste buds. Prepare it slightly sour so that it tastes delicious once it is rested for some time. Rest it for an hour at least.
Serve it as a variety rice in your meal or as a meal by itself with Curd Rice/Daddojanam.

tamarind rice
Notes:
  1. Use rice varieties like sona masuri, ponni, jeeraga samba for these kind of rice varieties, I do not suggest basmati rice.
  2. Always make it bit tangy so that it will taste nice once it settles down.Do not add more mustard powder as it might give bitter taste.
  3. You can even mix the mustard powder with a tbsp. of lemon juice before adding to the rice. Also adjust the tamarind mixture accordingly.
  4. You can even add 1 tsp of chopped ginger in the tempering but I do not prefer to add it.
  5. You can cook the tamrind pulp separately until thick and do the seasoning separately and mix everything together - rice, thickened cooked tamarind pulp, seasoning, roasted mustard powder and salt until everything is mixed nicely.But I prefer to cook my seasoning in tamarind as it will enhance the taste of pulihora as the seasonings absorb the taste better when it is cooked in tamarind pulp.
  6. This rice is ideal to pack for travel as it does not get spoilt, you can keep it for long up to a day.

Thursday, September 5, 2013

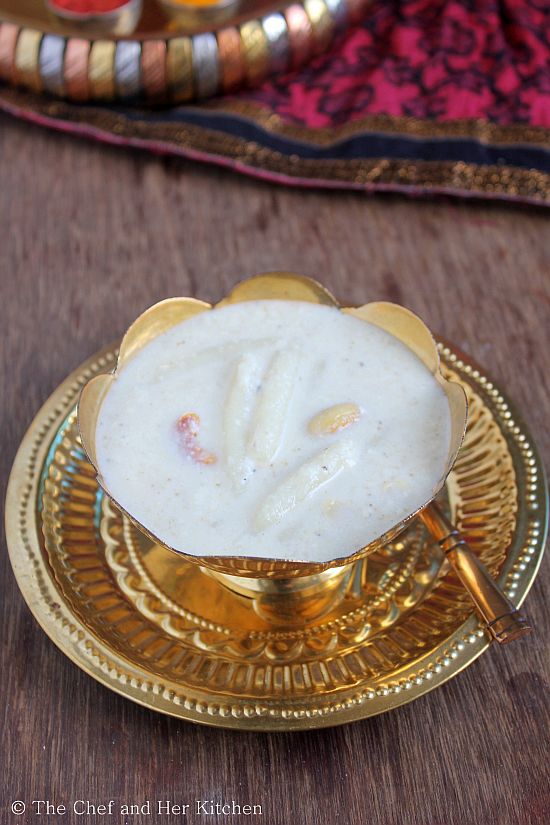
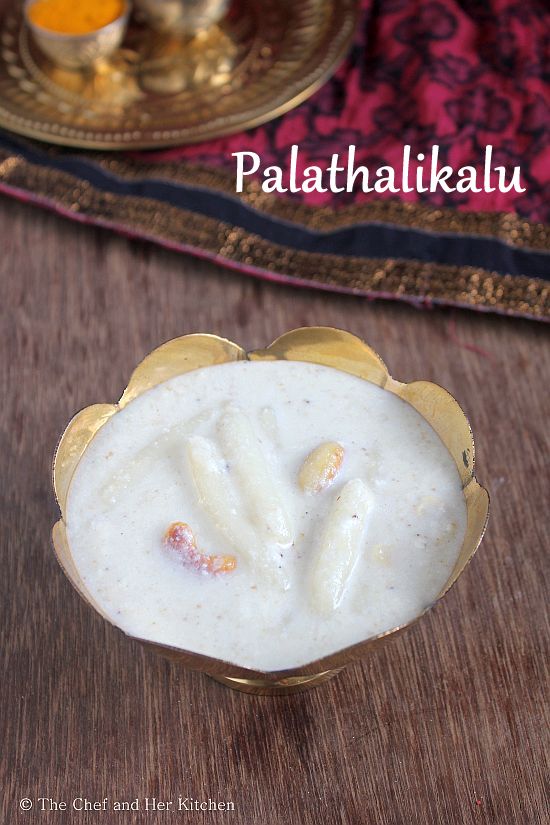
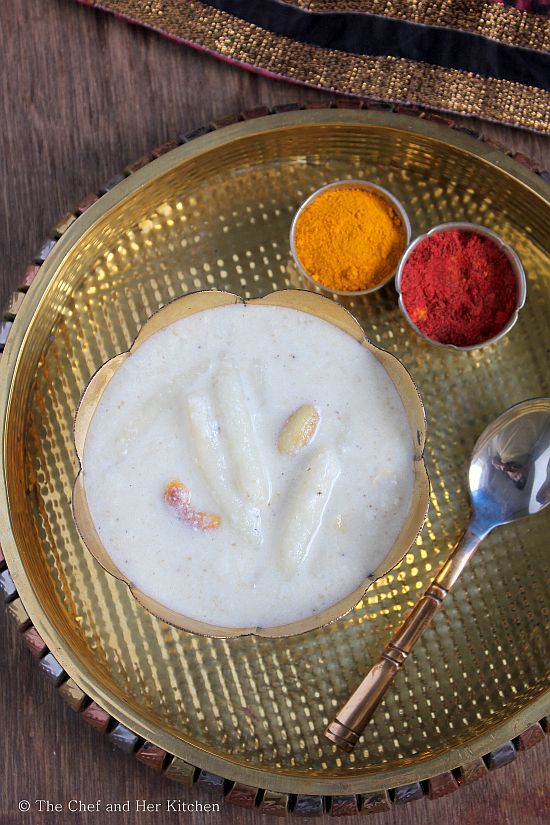
Palathalikalu | Pala Thalikalu | Vinayaka Chavithi Recipes

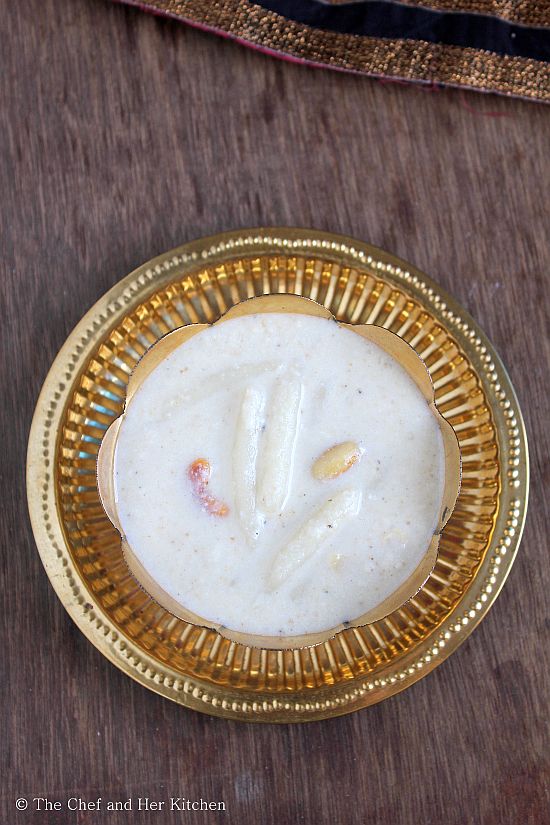
palathalikalu
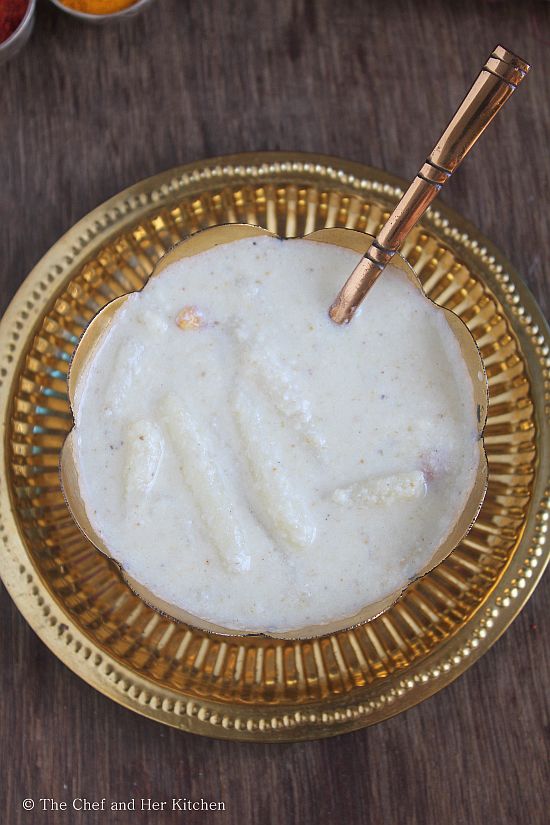
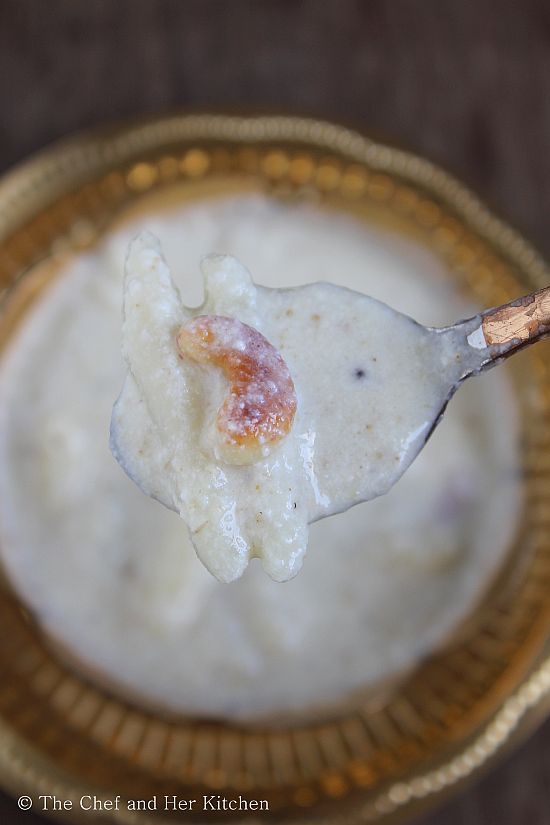
Palathalikalu, Undrallu Payasam, Undrallu, Kudumulu, Bele KadubuUndrala Guggillu etc are the most favourite foods for Lord Ganesha and we prepare them without fail for Vinayaka Chavithi every year. Palathalikalu and Undrallu Payasam are made very similar just that the shapes are different where as in the former one the rice flour mixture is rolled into thin cylinders(or pressed even in sevai press) where as in the latter one the rice flour mixture is rolled into small balls also known as Ammini Kozhukattai in Tamil.
palathalikalu
Palathalikalu is a typical Andhra sweet but it is also prepared in few regions of Karnataka. 'Thalikalu' are made with rice flour in the shape of long cylinders and are steamed and then cooked in thickened milk. One can make thalikalu by using a sev press as well- using the big holed one if you are short of time, but there are chances that the sev will get broken into tiny pieces or melt into the payasam and hence I adapt to make the cylinders by hand even though it is time consuming.
pala thalikalu
In Andhra the base for payasam is milk which is thickened with rice flour and grated coconut is added to it, but in our house my mom thickens the milk by adding  ground coconut-cashew nut-poppy seed mixture which not only thickens the payasam nicely but also adds the taste to it. I strongly recommend you to try this way of payasam base- I am sure you will love it.

Check out other important recipes for Vinayaka Chavithi:
For a complete list of Various options for Ganesh Chaturthi menu, check out here.

palathalikalu

Palathalikalu Payasam Recipe:
Serves 2-3
Prep time: 20-30 mins | Cooking time: 30 mins | Total time: 1hr
Cuisine: Andhra - South Indian | Category: Festival Sweets

Ingredients:
for Thalikalu:
1/2 cup Rice flour *(use freshly home made)
2-3 tbsp grated Jaggery
1 cup Water
a pinch of Salt
1 tsp Oil/Ghee

for Payasam:
1/3 cup grated fresh Coconut
1 tbsp Poppy seeds
6-8 Cashew nuts
1 1/2 cup Milk
1/2 cup Water
1 1/4 cup grated Jaggery
1/4 tsp Cardamom powder

Method:
to prepare Thalikalu: 
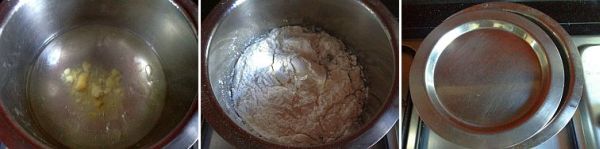
  • In a vessel, add water, salt and oil and let it come to a boil.
    palathalikalu
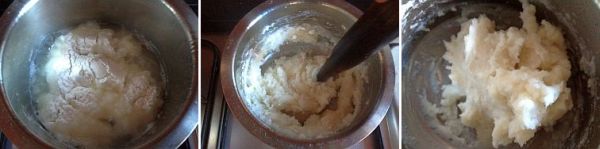
  • After it boils, reduce the heat and add jaggery and rice flour. At this point don't touch the rice flour, leave it as it is for 10-12 mins over medium heat.
  • Take some dough in your hand, and using your fingers make small balls and make them into thin cylinders of 1 1/2 inches length as shown in picture.If the dough keeps sticking to you hand, smear little oil to your fingers to continue making the cylinders. This is the most time consuming process but the end product makes you forget all the pain you have taken while making it.
  • After you finish making all the cylinders, place the steamer(or vessel) in a pressure cooker without any lid on the vessel. Do sprinkle one or two tea spoons of ghee on the top of the cylinders and steam it for 10-15 min without using a weight (like you would make idli).
  • Once the pressure drops open the cooker and place the steamer(vessel) aside. You should be seeing shiny thalikalu as shown in the picture. 
 to prepare payasam:

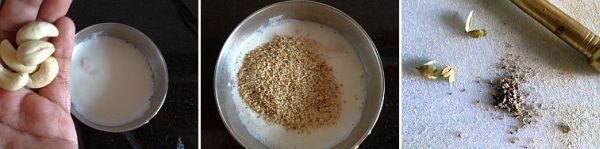
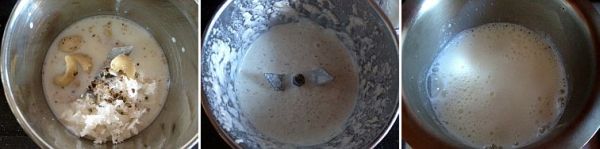
  • Soak cashew nuts and poppy seeds in 1/4 cup warm milk for 15 mins.Grind cashew nuts, poppy seeds, grated coconut and cardamom into a fine paste.
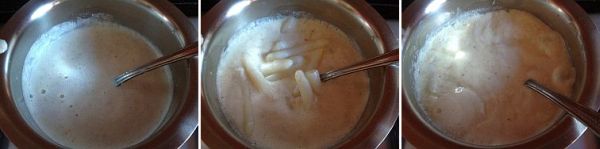
  • Mean while boil milk and water and add jaggery and the ground coconut mixture. Cook it on low flame until the jaggery is melted.
  • Add steamed rice balls and simmer for 6-8 mins until they absorb all the flavours and starts floating up. At this stage adjust the thickness of payasam by adding more milk to suit your required consitency. Do not boil for long as the mixture might curdle up sometimes.
  • Let it sit for few minutes before serving which will help it to absorb the flavours and sweetness.
Serve it warm or at room temperature.

palathalikalu
Notes:
  1. Jaggery can be replaced with sugar in the recipe.
  2. The addition of jaggery while making the rice balls makes them mildly sweet and makes it delicious when cooked in the coconut-poppy seed kheer. How ever it is optional to add jaggery while making those rice balls, but I suggest you to add.
  3. If you do not have time to make those cylinders, you can use a sev maker(slightly big holes) to press them into long cylinders. You do not need to steam them, you can press them directly into the milk-water mixture and boil it until they float and then add ground coconut mixture and jaggery and boil for some time. 
pala thalikalu

 
back to top