Showing posts with label Rice|Pulav|Biriyanis. Show all posts

Wednesday, December 6, 2017

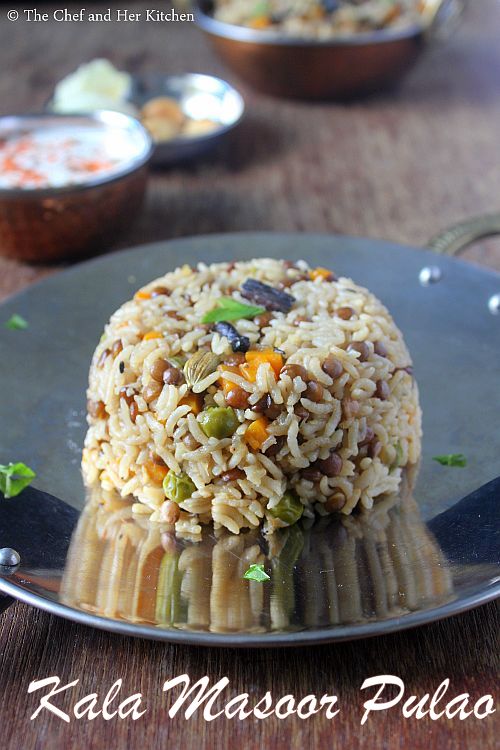
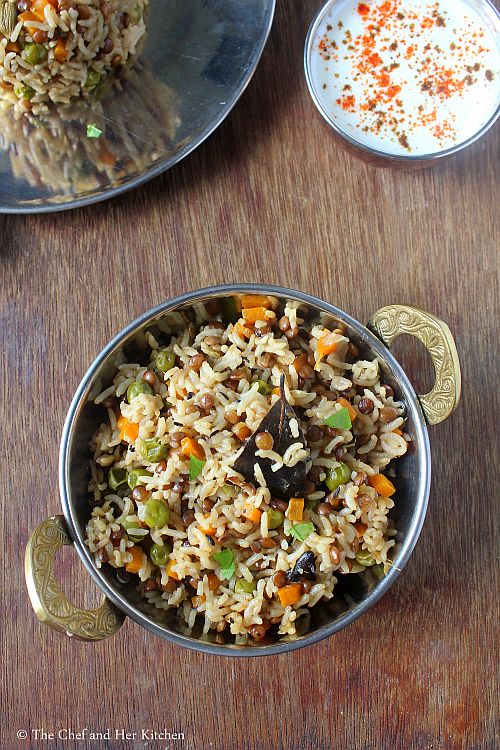
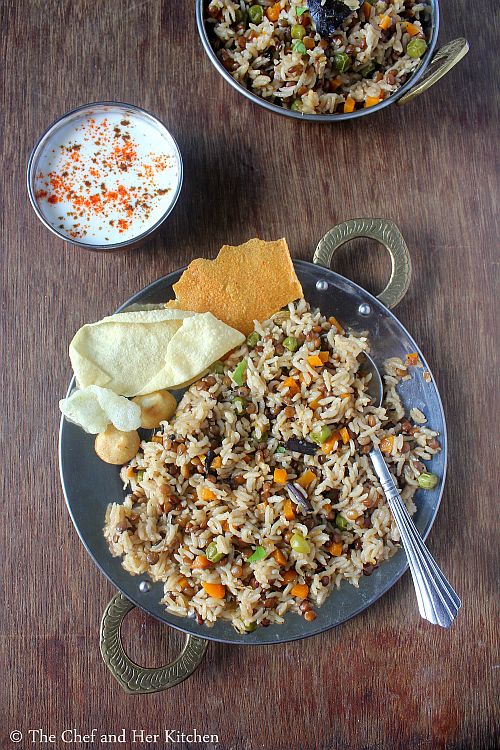
Kala Masoor Pulao | Whole Masoor Pulav Recipe

kala masoor pulao
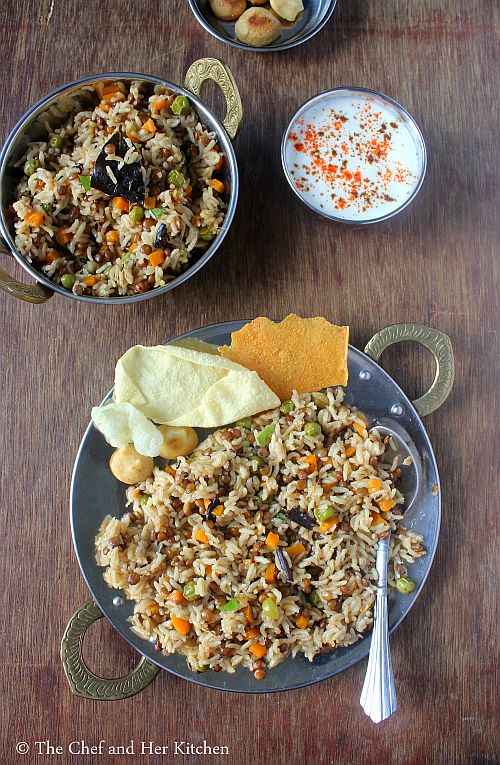
Kala masoor pulao recipe with step by step photos.Pulao varieties appear in my menu mostly over the weekends as I would like to spend less time in the kitchen and these pulao varieties are quite easy to prepare.Apart from the various vegetable pulav I like to prepare this kala masoor pulav as this recipe uses both vegetables and lentils in the same recipe and yet it is not mushy like khichdi.I prefer the version without vegetables if I have to prepare it for guests as the lentils add nutty texture to the pulao.This pulav is prepared like any other pulao just that the addition of lentils add a texture and nice taste to the pulao.You can pair it with a simple onion raita or boondi raita or any spicy vegetable gravy and papad,it tastes delicious.
kala masoor pulao
Check out other pulao recipes in my blog:
kala masoor pulao

Here is how to make kala masoor pulao recipe with step by step photos:
Kala Masoor Pulao Recipe:
Serves 2 | Author: Prathibha
Prep time: 10 mins | Cooking time: 30 mins | Total time: 40 mins
Cuisine: Indian | Category: Main course

Ingredients:
1 cup Basmati Rice
1/2 cup Whole Red lentils(Black Masoor)
1/4 cup Carrot,chopped
1/4 cup Peas
1/3 cup thick curd,beaten
1 large Onion,chopped
2-3 Green chilies,slit
1/3 tsp Garam masala or Biryani Pulav masala
2-3 Bay leaves
1" Cinnamon stick
3-4 Cloves
2-3 Green Cardamom
1/2 tsp Shahjeera
2 tbsp Oil/Ghee
Salt,to taste

Method:
  • Soak whole red lentils in water for 2-3 hrs and wash the lentils and keep aside.Wash the basmati rice and soak it for 10 mins.
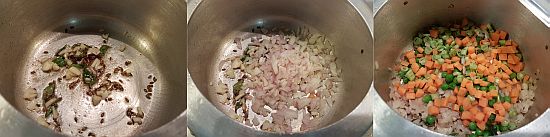
  • In a pressure cooker heat ghee and crackle shahijeera and add bay leaves,cloves,cinnamon stick and cardamom and fry for half a minute.
  • Add chopped onions,slit green chilies and ginger-garlic paste and fry until the onions wilt.
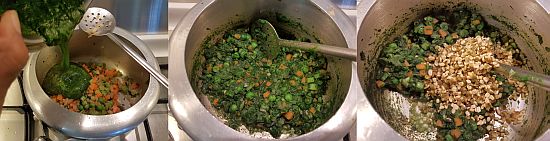
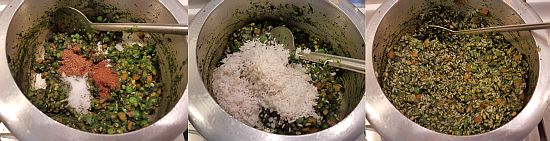
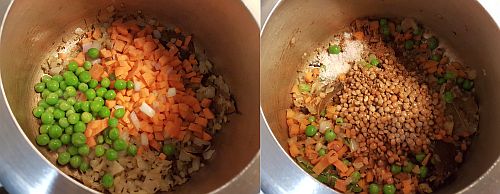
  • Now add chopped carrot and peas and fry for a minute and then add soaked and drained whole red lentils and fry for a minute and add garam masala and salt and mix nicely.
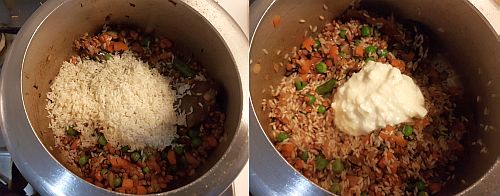
  • Add soaked and drained rice and mix it gently and add beaten curd and mix it nicely and cook until the water content from the curd evaporates.
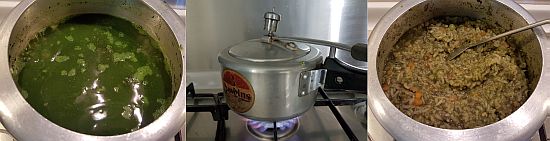
  • Add 2.5 cups of water and let it come to a boil and close the pressure cooker and cook it for one whistle and simmer it for 7-8 mins.
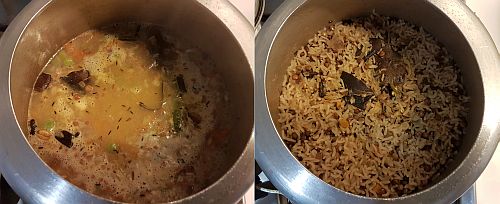
  • Once the pressure is dropped leave it untouched for 5-10 mins and then gently fluff up the rice with a fork.
Serve it hot with Onion raitha or Boondi raita or Vegetable raita or any vegetable gravy.

Notes:
  1. The addition of vegetables is entirely optional and I like it more without the addition of vegetables as the lentils add a nutty texture to the pulav.
  2. You can increase the spice level according to your wish and if you want it more masaledar add more 
  3. garam masala in the recipe.
  4. I recommend you to do this pulav in the cooker as the lentils get cooked properly.However you can cook in a thick kadai but make sure you add little extra water so that the lentils get cooked and cook it over low flame.
kala masoor pulao

Thursday, May 11, 2017

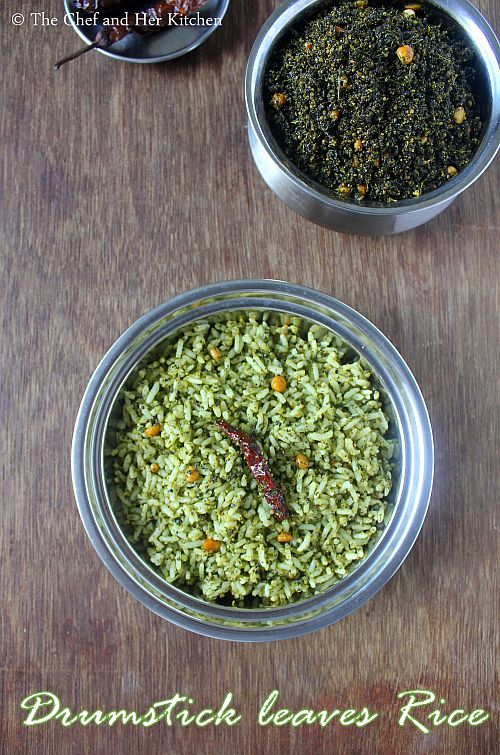
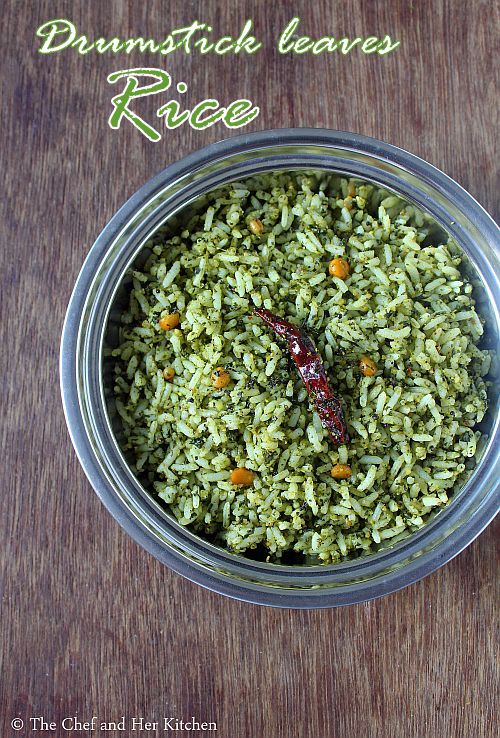
Drumstick leaves Rice | Murungai Keerai Sadam | Drumstick leaves Recipes

drumstick leaves rice
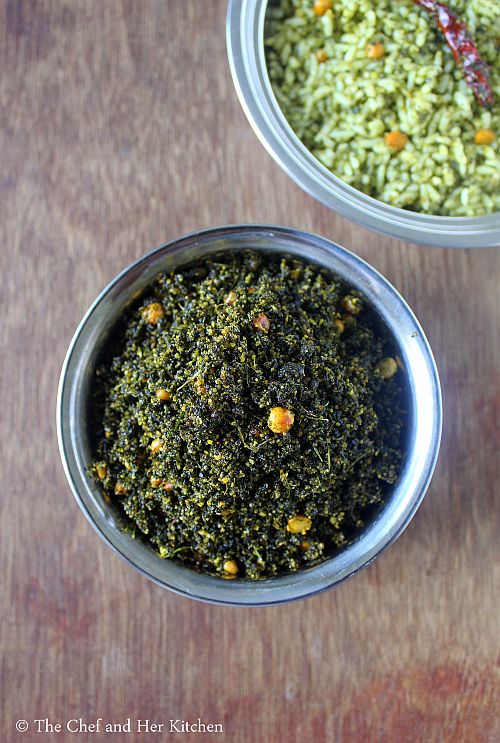
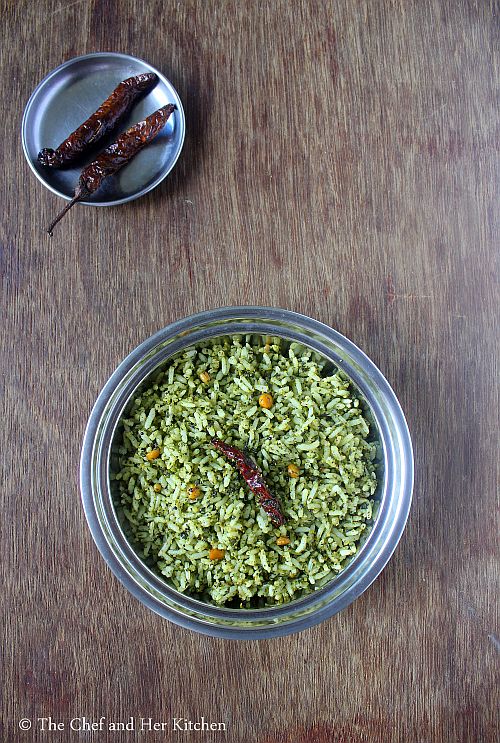
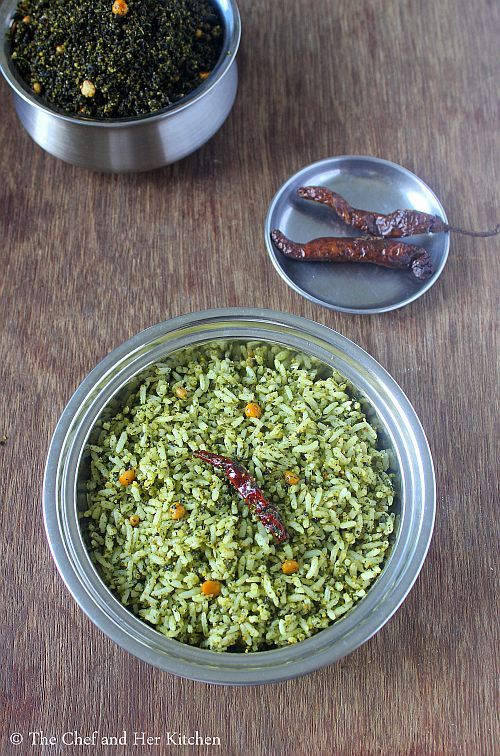
Drumstick leaves rice recipe with step by step photos.Drumstick leaves has very good amount of Iron and it is a powerhouse of nutritional values and hence it is advised to include it often in our diet. But it is a very tedious process to remove the leaves from the stems otherwise these leaves have a peculiar taste compared to other greens.It was difficult for me to get these greens regularly when I was in Mumbai but I am enjoying these greens in Singapore. So, when ever I make a trip to little India I always load my bags with all the various greens like drumstick leaves, gongura leaves, palak, methi etc.
Though it is tedious to pluck the drumstick leaves but it is worth the effort because of the nutrients provided by these greens to us.
drumstick leaves rice
My mom prepares drumstick leaves curry, stir fry, rasam, drumstick leaves podi and add it to the dosa batter and adai batter to prepare dosas.Most of the times I end up making dosa or curry with them but when I get it in large quantities I prepare drumstick leaves rice variety or podi so that I can eat it on daily basis for long time.I prepare this rice in a similar way as I prepare curry leaves rice so one can adapt the same recipe to prepare curry leaves rice by replacing the drumstick leaves with the curry leaves in the recipe.
drumstick leaves rice
Check out other rice varieties using greens in my blog:
murungai keerai sadam
Here is how to prepare drumstick leaves rice recipe with step by step photos:
Drumstick leaves Rice Recipe | Munagaku Rice:

Serves 2 | Author: Prathibha
Prep time: 15 mins | Cooking time: 30 mins | Total time: 45 mins
Cuisine: South Indian | Category: Main course - Rice variety

Ingredients:
1 cup Sonamasuri/ Raw Ponni(or equivalent)
2-2.25 cups Drumstick leaves
5-6 Cashewnuts,broken
1 tbsp Chana dal
2 tsp Urad dal
1/2 tsp Mustard seeds
2 tbsp Oil,preferably Sesame Oil
Salt,to taste

to roast and grind:
1 tbsp Chana dal
2 tsp Urad dal
1 tsp Cumin seeds
1 tsp Pepper corns
4 Red chilies
1.5 tsp Tamarind
2-3 tbsp Sesame seeds, optional

Method:
  • Wash and soak rice for half an hour and cook it as you wish.I cook the rice in the rice cooker by adding 2.5 cups of water and it comes out nice and fluffy.Cool the rice.
  • Dry roast chana dal and urad dal until they turn brown and then add cumin seeds, peppercorns and red chilies and fry further until they are fried and the red chilis starts getting black spots.Add sesame seeds and tamarind and fry for another minute.Cool them and add salt and grind it into a coarse powder.
  • Remove the leaves from the stems of drumstick leaves and wash them nicely and drain off the excess water.
  • In the same pan add a tsp of oil and add the drumstick leaves and fry them until they turn slightly crispy, do not cover the pan else the leaves will turn soft.Continue frying until the leaves becomes slightly crisp,it will take roughly 8-10 mins.
  • Cool them and add to the powdered spices and grind again to a powder.
  • In a big kadai heat oil and crackle mustard seeds and add chana dal and urad dal and fry until they slightly red in color and then add broken cashewnuts and fry until they turn golden brown in color. Now add the ground drumstick leaves powder mixture to it and mix nicely and cook for a minute.At this stage you can store this mixture for 8-10 days in the refrigerator and use the required amount of mixture when required.
  • Now add the cooled rice to the drumstick leaves mixture and mix it nicely.
Serve it with fryums.

Notes:
  1. You can avoid sesame seeds if you want but it gives a nice balanced taste to the rice.
  2. When I get hold of drumstick leaves I usually make this mixture in large quantity and store it in refrigerator.So all I need to do when I want a variety rice is to mix with cooked rice and it is ready.
  3. You can prepare the curry leaves rice in the same process by replacing the drumstick leaves with the curry leaves.
drumstick leaves rice
Technorati Tags:

Thursday, November 3, 2016

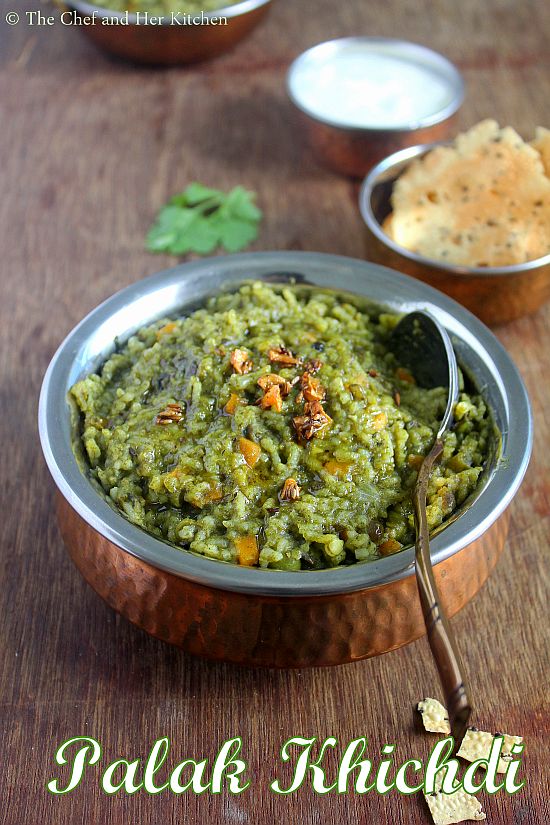
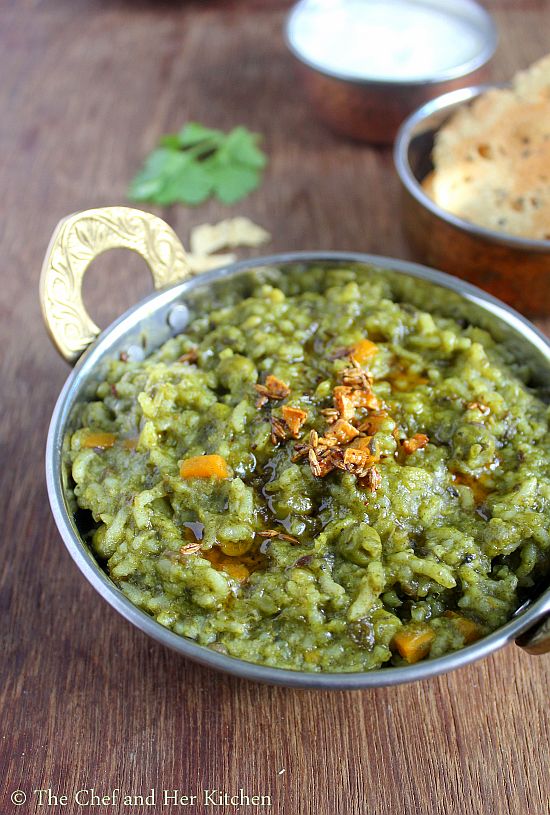
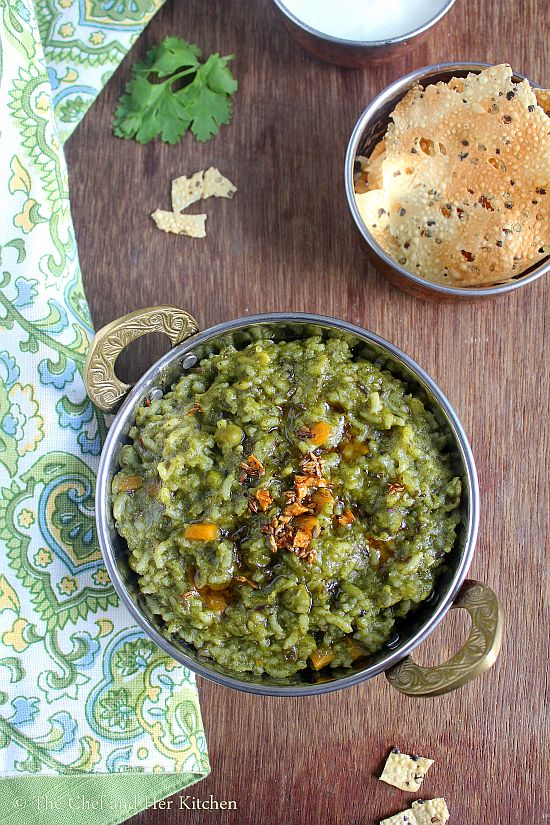
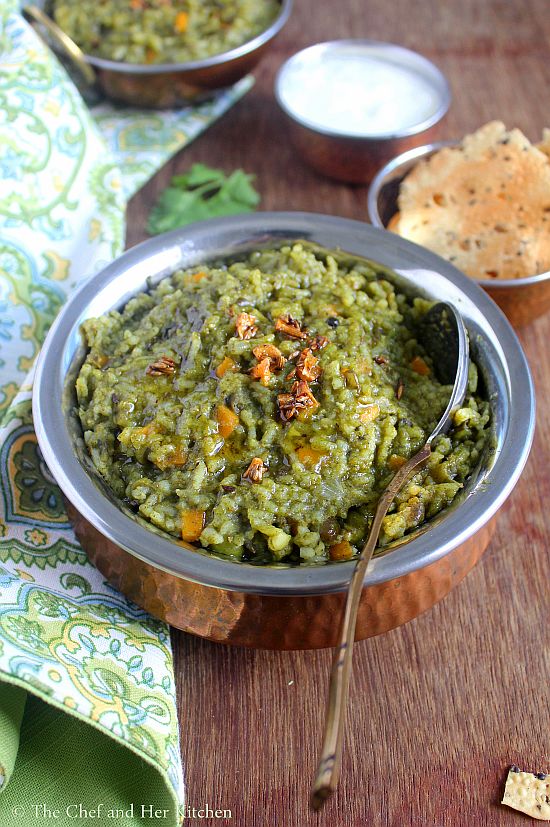
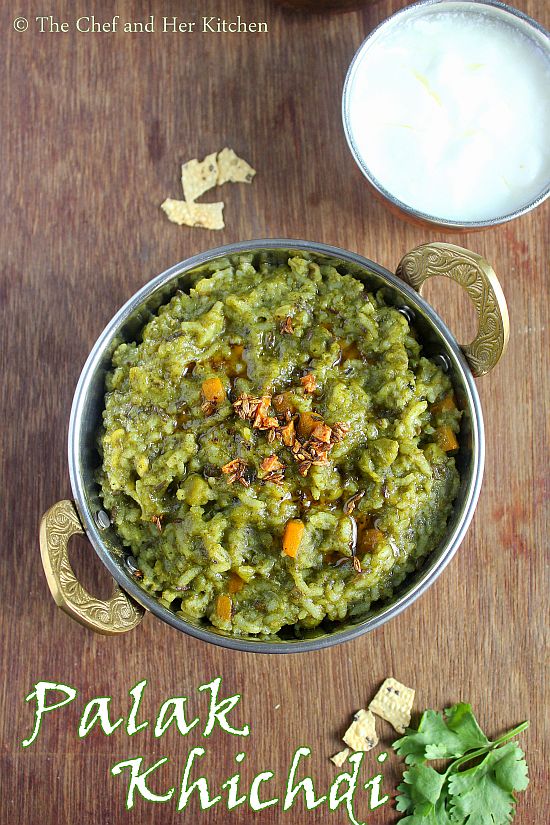
Palak Khichdi Recipe | Vegetable Palak Khichdi

palak khichdi
Khichdi is a great comfort food for many of us,I would prefer to make it especially on those days I am lazy to prepare anything. It requires minimal effort with basic ingredients available in the pantry.You can pair it with pickle,papad and curd and it does not need any side dish,but it tastes nice with kadi too.There are various versions of Khichdi - it can be prepared with toor dal or moong dal.with or with out vegetables.
palak khichdi
Today's recipe is a variation to the usual khichdi - Palak Khichdi, the addition of palak and vegetables makes it extra nutritious and makes it a wholesome meal.One can add chopped palak or grind the palak to a puree and add to the khichdi, either ways it tastes delicious. But grinding the palak gives a nice color to the khichdi.You can avoid vegetables and make simple plain palak khichdi too, even it tastes delicious.I have made this khichdi umpteen number of times after my son is born and of course with no spices and now as I have introduced spicy food to him, I prepare it in a same way but reduced the spice level in the recipe.
vegetable palak khichdi
Check out other Dal based One Pot meals recipes in my blog:
palak khichdi
Palak Khichdi Recipe:
Serves:3-4  | Author: Prathibha
Prep time: 15 mins | Cooking time: 30 mins | Total time: 45 mins
Cuisine: Indian | Category: Mains - One Pot Meal

Ingredients:
1 cup Rice(Ponni or Sona masuri)
1/2 cup split Green Moong dal(Pottu Pesarapappu)
1 cup small diced Vegetables(Carrot,Beans,Potatoes,Peas)
1 Onion, roughly chopped
2 Garlic pods, finely chopped
1 tsp Coriander powder
3/4 tsp Cumin powder
Salt to taste
3 tbsp Ghee(or 2 tbsp ghee and 1 tbsp Oil)

to grind:
1 medium bunch Spinach(Palak),chopped
2 Green chilies
3/4" Ginger, chopped

to temper:
7-8 Curry leaves
1/4 tsp Asafoetida
1 tsp Cumin seeds
1/2" Cinnamon Stick
2-3 Cloves

Method:
  • Chop all the vegetables, onions,garlic,ginger and keep them ready.Soak split moong dal and Rice separately for half an hour.
  • Grind chopped spinach, green chilies and ginger to a fine paste.
  • Heat ghee in the cooker and add the ingredients mentioned under tempering - cloves, cinnamon,cumin seeds, curry leaves and asafoetida in the order and fry until the cumin seeds sizzle.
  • Add chopped garlic and onion and fry nicely until they turn translucent.Add all the chopped vegetables and green peas and fry them for 3-4 mins.
  • Now add the ground spinach puree and fry nicely for another 3-4 mins.Add soaked and washed moong dal and fry for another couple of minutes.
  • Add coriander, cumin powder and salt and fry for another couple of minutes and then add soaked and washed rice and give a gentle stir.
  • Add 4.5-5.5 cups of water based on the consistency you need. If you want it soft and slightly liquidy use 5.5 cups of water.
  • Let water come to a boil and then close the pressure cooker and cook it for 4 whistles.
  • Once the pressure comes down check the consistency of khichdi. If you still want it watery you can boil some water in another vessel and add it to khichdi and boil it again for a couple of minutes.
Serve it hot with kadi/Curd,Papad and pickle.You can add some ghee on top before serving.

Notes:
  1. The addition of vegetables is optional but I find it as a complete meal by itself and hence add vegetables to the khichdi.
  2. You can add Toor dal instead of split green moong dal in the recipe.
  3. You can also add 1/4 tsp Garam masala while adding coriander powder and all.It gives a nice taste too.As I add it in the tempering I avoid to add it again.
  4. I added a final tempering of finely chopped garlic and cumin seeds fried in ghee until crisp and also added a fat pinch of red chili powder and added the tempering to the khichdi before serving.Those cripsy bites of garlic in between tastes yumm.
palak khichdi

Thursday, September 22, 2016

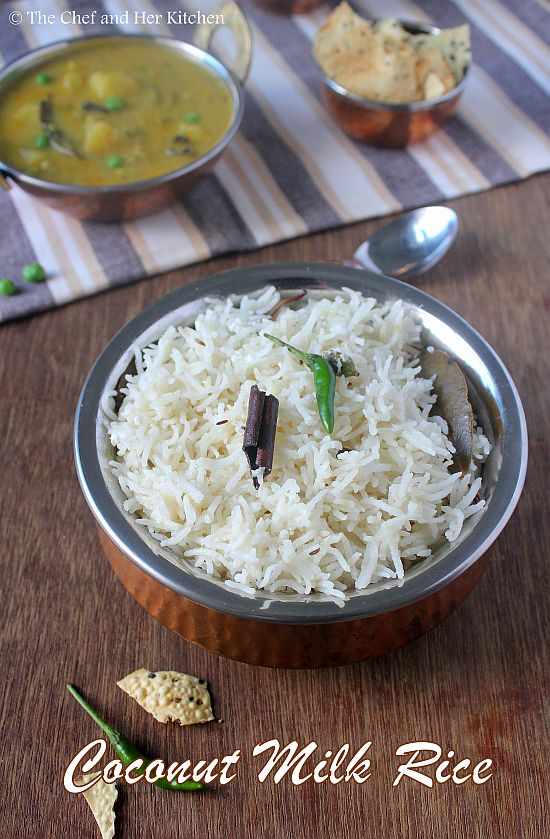
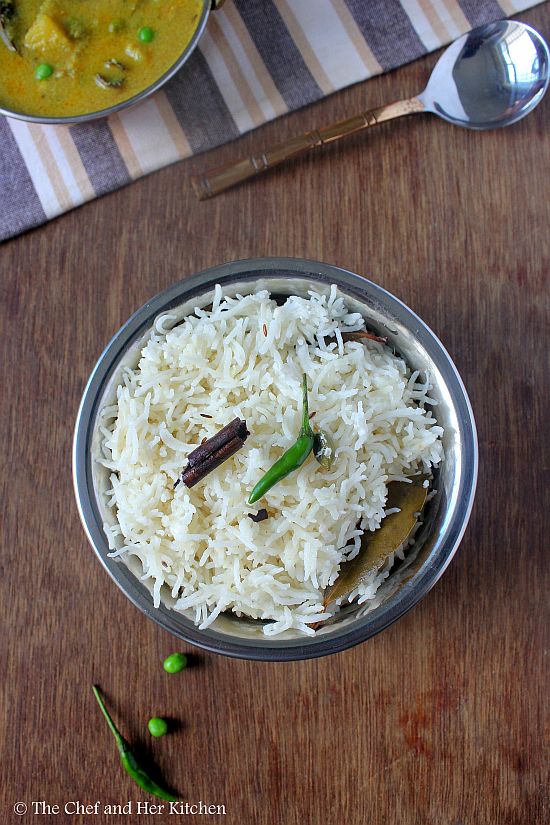
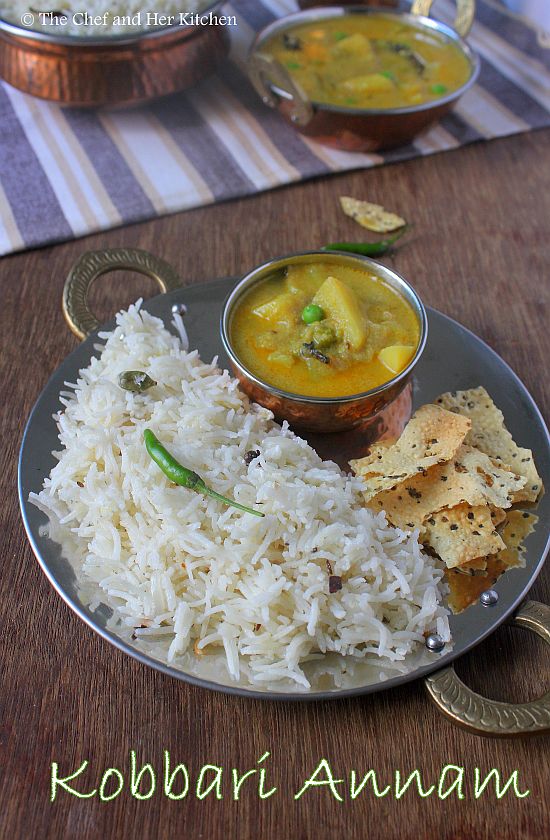
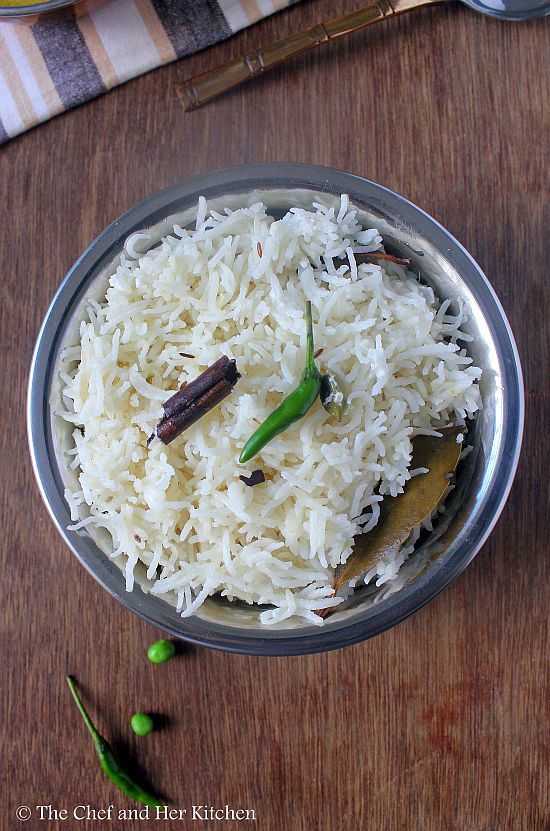
Coconut Milk Rice | Kobbari Annam | Kobbari Pala Annam

coconut milk rice
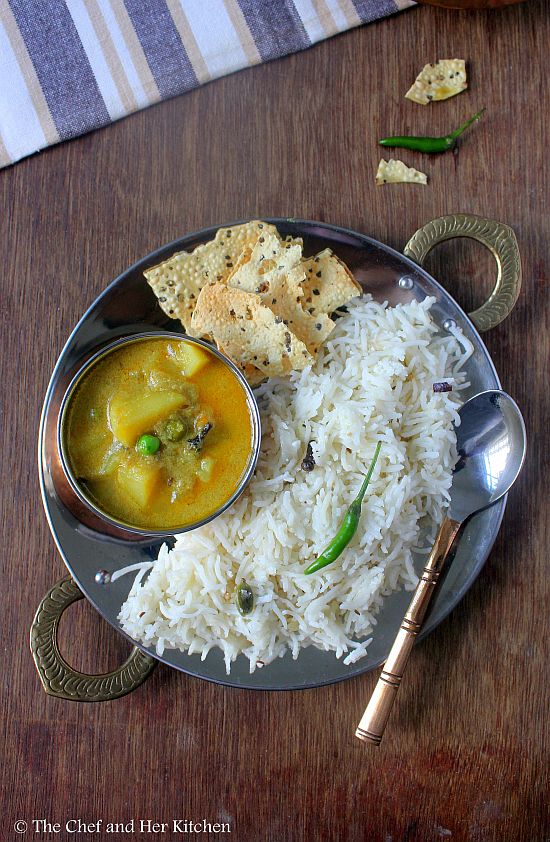
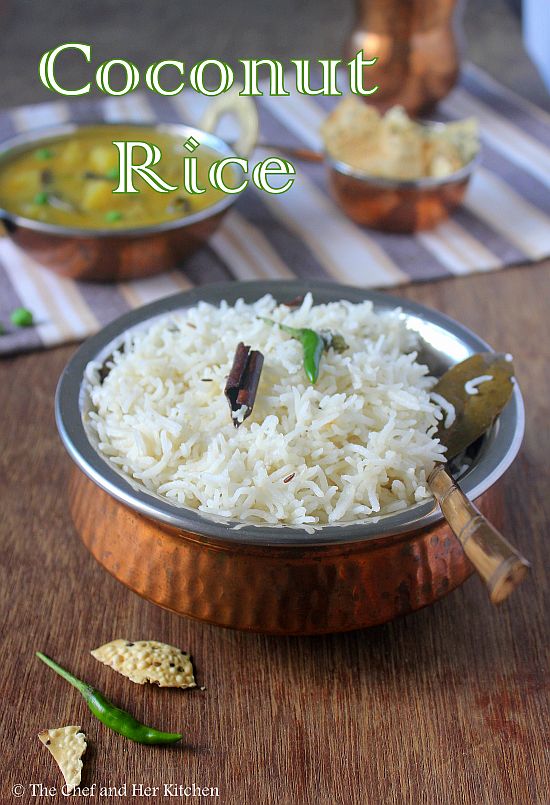
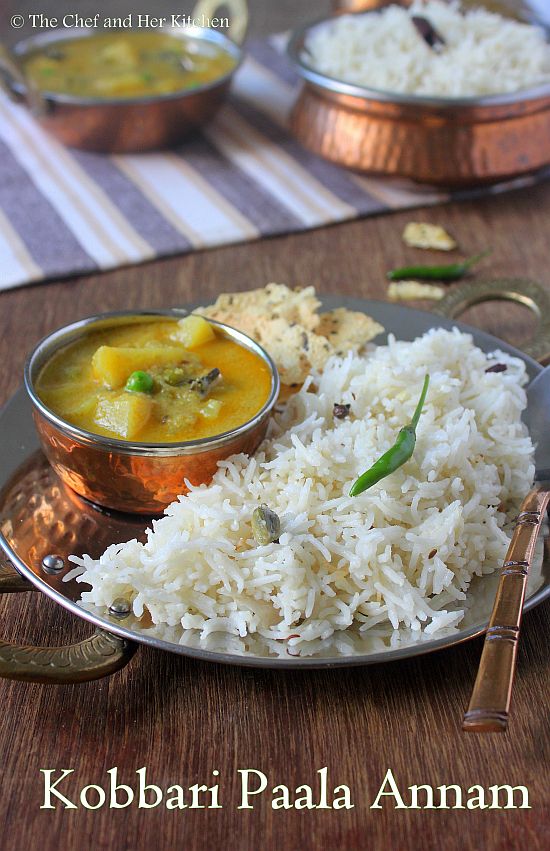
'Kobbari Annam' is a popular Andhra recipe which is prepared on special occasions and it is usually served with spicy Aloo Kurma and it is the best combination I would say. There are two ways to prepare the coconut rice - the first one is - Coconut rice prepared using fresh grated coconut mixed with rice and tempering,which is usually prepared for festivals and the second version is Coconut rice prepared with coconut milk and is prepared like a mild pulao. I have already posted the first version - Coconut Rice using grated coconut and today I am posting the second version - Coconut Milk Rice, or rather we can call it Coconut Milk Pulao.
coconut rice

coconut milk rice
TH is a big fan of his grand mother's coconut rice , she always used to prepare it by extracting the fresh coconut milk and needless to say that the taste of Coconut rice will be really good as it is prepared from freshly pressed coconut milk. But I always end up using a packet one for obvious reasons.The addition of spices and coconut milk makes this rice mild and flavorful, it pairs beautifully with spicy kurmas and gravies.One can add various vegetables and increase the quantity of green chillies and spices to make spicy Coconut Vegetable Pulao which can be served with a simple raita.
coconut milk rice
Check out few various mild pulao recipes in my blog which pairs nicely with spicy gravies and kurmas.
kobbari annam

Coconut Milk Rice | Kobbari Pala Annam Recipe:
Serves 2
Prep time:10 mins | Cooking time:30 mins | Total time:40 mins
Cuisine: South Indian | Category: Rice | Pulav

Ingredients:
1 heaped cup Basmati Rice
1 cup Coconut Milk,fresh or packet one
1 big Onion, finely sliced
2 Green Chillies,slit
2 tsp Ginger-Garlic paste
3/4" Cinnamon
3-4 Cloves
2-3 Green Cardamom
1-2 Bay leaves
1 tsp Caraway seeds(ShahiJeera/Shajeera)
Salt to taste
1 tbsp Oil
1 tbsp Ghee

Method:
  • Wash and soak basmati rice in water for 10 mins.Do not wash more than twice as it looses its fragrance.
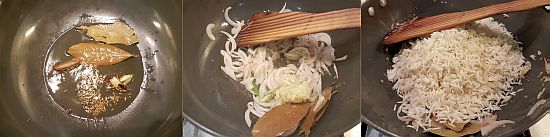
  • Heat oil and ghee in a thick kadai/pan(or cooker) and add Caraway seeds and let them crackle.
  • Add cloves,green cardamom,cinnamon and bay leaves and fry them for a minute. Slighly open the cardamom pods before adding so that they do not splutter.
  • Add  thinly sliced onions,slit green chillies and fry until they become translucent and then add ginger-garlic paste and fry well.
  • Add drained basmati rice and fry well for a couple of minutes until its dry,do this step carefully as the rice might get broken.
  • I have used Rice cooker so I have transferred the rice mixture at this point and added 1 cup of thick coconut milk and 1 cup of water and added enough salt to it and cooked it until done.If you are preparing it in cooker,pressure cook for 1 whistle and simmer it for 5-7 mins or you can pressure cook for 2 whistles on medium flame.Let it sit for 10 mins undisturbed.
  • Gently fluff it up using a fork.
Serve it hot with Aloo Kurma | Mixed Vegetable KurmaBagara Baingan | Mirchi ka Salan or any spicy gravy and raitha,papad.

Notes:
  1. This is a mild spiced rice recipe which pairs well with any spicy curry.
  2. You can add vegetables like carrots,peas,potatoes,beans,capsicum and make vegetable pulao following the same recipe.
  3. The addition of ghee enhances the flavor of rice and pulaos,hence do not skip it.
  4. This tastes best when prepared with freshly prepared coconut milk at home.To prepare coconut milk at home, add luke warm water to the grated fresh coconut and grind it to a smooth puree and squeeze the mixture in between your hands and passing the liquid through a strainer.This is thick coconut milk known as first press.Now again add some lukewarm water to the squeezed pulp and grind again and squeeze and strain the milk. This is thin coconut milk known as second press. You can mix both the thick and thin versions to get the required quantity of cocnut milk according to the recipe.
kobbari pala annam

kobbari pala annam

Thursday, August 11, 2016

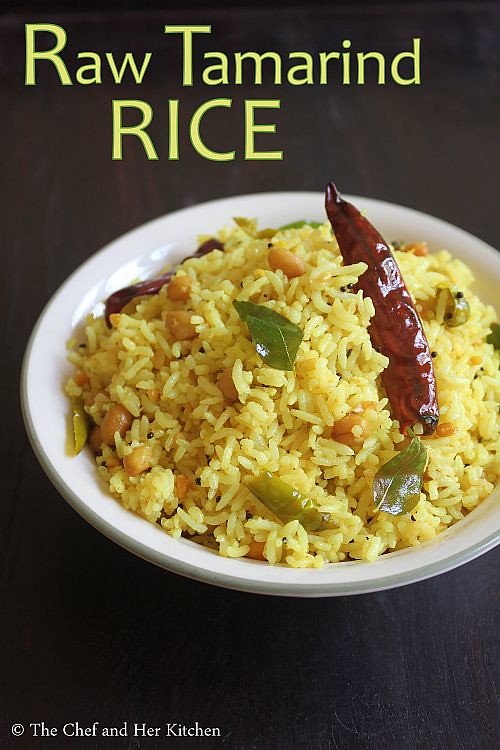
Pacchi Chintakaya Pulihora | Raw Tamarind Rice | Pulihora Recipes

My blog has been silent from almost few months as we were in a process of relocating to a different country.The entire relocation process was very painful and especially with an active toddler at home it was even more difficult than I had thought.Now I am almost settled, thought of starting blogging by posting at least from the archives.Tomorrow is Varalakshmi Vratam and hence thought of posting a festive recipe.Now off to the recipe
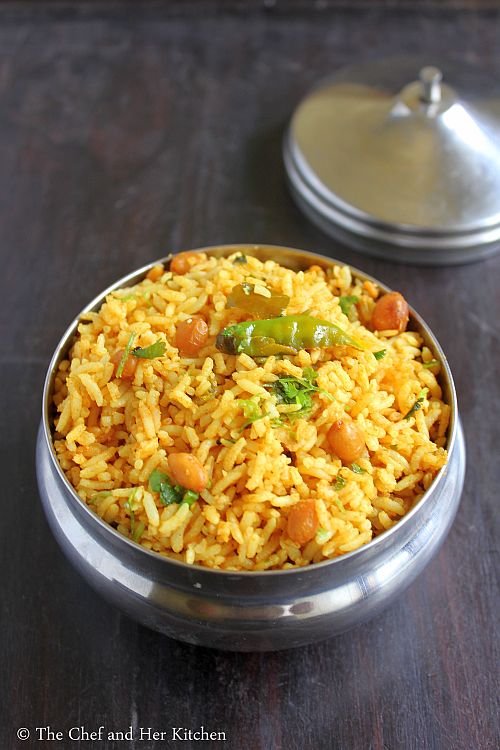
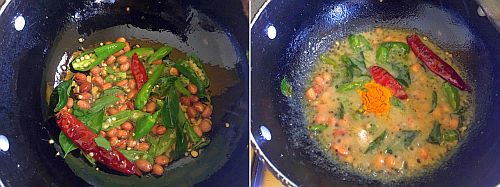
I am a big fan of tangy Pulihora recipes and no wonder I have posted many pulihora varieties so far.Today I am posting a pulihora recipe with fresh raw tamarind. The preparation process of Chintakaya Pulihora(Raw tamarind pulihora) is same as the regular Chintapandu Pulihora(Tamarind Pulihora), just that the process of extracting pulp from the raw tamarind is bit time consuming. Though there is not much of difference in taste I find the fresh taste in Raw tamarind pulihora.When you find raw tamarind next time do try this pulihora, it's simple and tasty.
Check out other Pulihora recipes in my blog:

Chintakaya Pulihora | Raw Tamarind Rice Recipe:
Serves 2
Prep time: 15 mins | Cooking time: 30 mins | Total time: 45 mins
Cuisine : Andhra | Category: Rice

Ingredients:
1 cup Sona masura rice(or equivalent)
8-10 Fresh Raw Tamarind (approx 3" size)
3-4 tbsp Groundnuts
2 tsp grated Jaggery(optional)
1/2 tsp Mustard seeds
2 tbsp Chana dal
1 tbsp Urad dal
3-4 dry Red chillies
5-6 light colored(less spice) Green chillies,slit
1 tsp Turmeric powder
a pinch of Asafoetida
a sprig of Curry leaves
2-3 tbsp Oil
Salt to taste

Method:
  • Wash the rice and add 2 cups of water and soak it for 15-20 mins.Pressure cook the rice or cook it in electric rice cooker or how ever you usually do.
  • Once the rice is done,cool it completely by spreading it over wide plate.
  • Boil fresh tamarind in 1 cup of water for 15-20 mins or pressure for 3 whistles.After it is cooled down remove the pulp and add grated jaggery and mix well until it is melted completely.
  • In a kadai heat oil and crackle the mustard seeds,add groundnuts and fry until they turn slight red.Add chana dal, urad dal, red chillies, green chillies and fry for a couple of minutes until done.
  • Add curry leaves, asafoetida and turmeric powder and fry for a minute and then add tamarind pulp mixture,turmeric powder and mix until the mixture thickens completely and the oil starts separating out ,it takes at least 5-6 mins.Add enough salt to it and mix.
  • Now remove it from the stove and let it cool a bit and reserve some mixture and pour the remaining mixture over the cooled rice and mix properly until everything is well blended.Now check the taste of it and add more tamarind mixture or salt according to your taste.It should taste spicy ,sweet and sour when you taste it as the sourness will reduce and blend well along with the time it sits.
  • Let it sit for 2-3 hrs before serving.
Serve it at room temperature.

Notes:
  1. Use rice varieties like sona masuri,ponni,jeeraga samba for these kind of rice varieties,I do not suggest basmati rice.
  2. Always make it bit tangy so that it will taste nice once it settles down.
  3. Substitute raw tamarind with tamarind paste and follow the same to prepare pulihora.

Monday, December 14, 2015

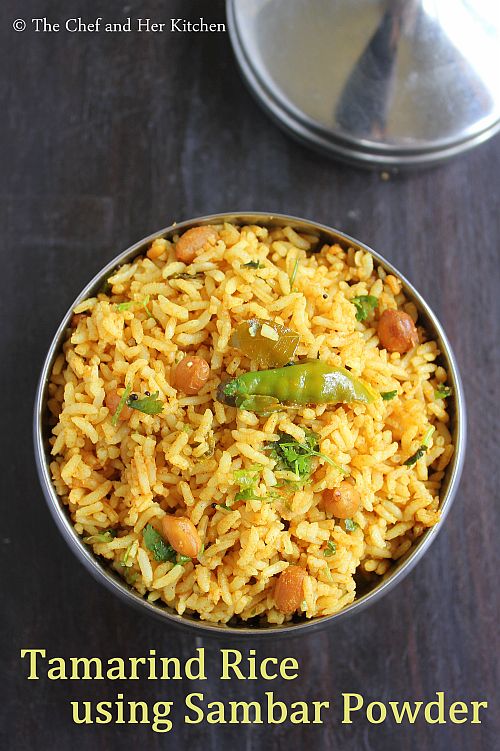
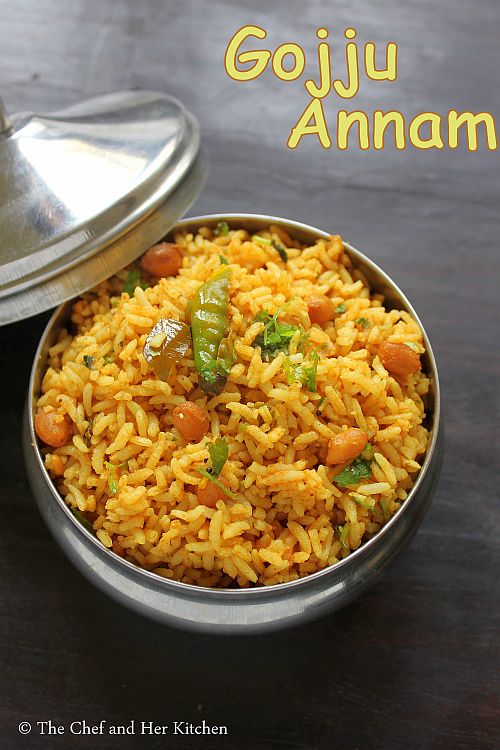
Gojju Annam | Tamarind Rice using Sambar Powder | Hunasehuli gojju Anna


gojju annam
Puliyogre aka Tamarind Rice is a popular rice variety which is prepared during festivals and also is usually served as prasadam in South Indian temples. At our place there are various versions of tamarind rice - Karnataka style Puliyogre, Andhra style Pulihora, Pulusu Annam(Tamarind Rice using Onions), Gojju Annam(Tamarind rice using Sambar powder) and another variation where we use Tamarind Gojju to prepare Tamarind Rice.Each version tastes different and I absolutely love any version of Tamarind Rice.

Coming to today's version - this tamarind rice is prepared using spicy Sambar powder and jaggery and hence the outcome is tangy,sweet and spicy and to nullify it we add roasted sesame powder at the end.On the whole it has very balanced flavours and a great feast to your taste buds.
hunasehuli gojju anna
Also check out other Pulihora Recipes in my blog:
Gojju Annam | Tamarind Rice Using Sambar Powder:
Serves 2
Prep time:10 mins | Cooking time:40 mins | Total time: 50 mins
Cuisine: South Indian | Category: Lunch-Rice Varieties

Ingredients:
1 cup Sona masura rice(or equivalent)
1 big lemon size Tamarind
3-4 tbsp Groundnuts
1.5 -2 tbsp grated Jaggery(optional)
2-3 tbsp roasted Sesame powder
1 tsp Turmeric powder
Salt to taste

to temper:
1/2 tsp Mustard seeds
2 tbsp Chana dal
1 tbsp Urad dal
3-4 dry Red chillies
a pinch of Asafoetida
a sprig of Curry leaves
2-3 tbsp Sesame Oil(or any other regular oil)

Method:
  • Wash the rice and add 2.5 cups of water and soak it for 15-20 mins.Pressure cook the rice or cook it in electric rice cooker or how ever you usually do.
  • Once the rice is done,cool it completely by spreading it over wide plate smear with 1 tsp of oil and 1/2 tsp turmeric powder.
  • Soak tamarind in 1/4 cup of water for 10-15 mins or microwave the tamarind mixture for 1 min.Microwave method is quite quick when u have lack of time.After it is cooled down remove the pulp and add grated jaggery and mix well until it is melted completely.
  • In a kadai heat oil and crackle the mustard seeds,add groundnuts and fry until they turn slight red.Add chana dal,urad dal,red chillies,green chillies and fry for a couple of minutes until done.
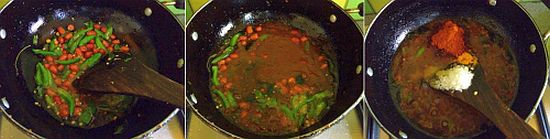
  • Add curry leaves,asafoetida and turmeric powder and fry for a minute and then add tamarind pulp mixture and mix until the mixture starts to thicken for at least 5-6 mins.Add turmeric powder,sambar powder,jaggery,enough salt to it and mix and cook for another 4-5 mins until the mixture thickens completely.
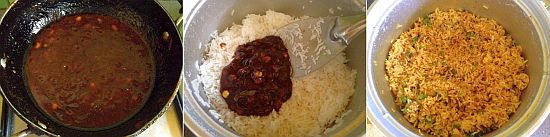
  • Now remove it from the stove and let it cool a bit and reserve some mixture and pour the remaining mixture over the cooled rice, roasted sesame power and mix properly until everything is well blended.Now check the taste of it and add more tamarind mixture or salt according to your taste.It should taste sour when you taste it as the sourness will reduce and blend well along with the time it sits.
  • Let it sit for 2-3 hrs before serving.
Serve it at room temperature.

Notes:
  1. Use rice varieties like sona masuri,ponni,jeeraga samba for these kind of rice varieties,I do not suggest basmati rice.
  2. Always make it bit tangy,spicy and slightly sweetish so that it will taste nice once it settles down.
  3. This rice is ideal to pack for travel as it does not get spoilt,you can keep it for long upto a day.
  4. Do not use Andhra style sambar powder for this recipe, only Karnataka style or Tamilnadu style Sambar powder works for it.
  5. Sesame oil works best for this rice, if you do not have use regular cooking oil.
tamarind rice using sambar powder

Monday, December 7, 2015

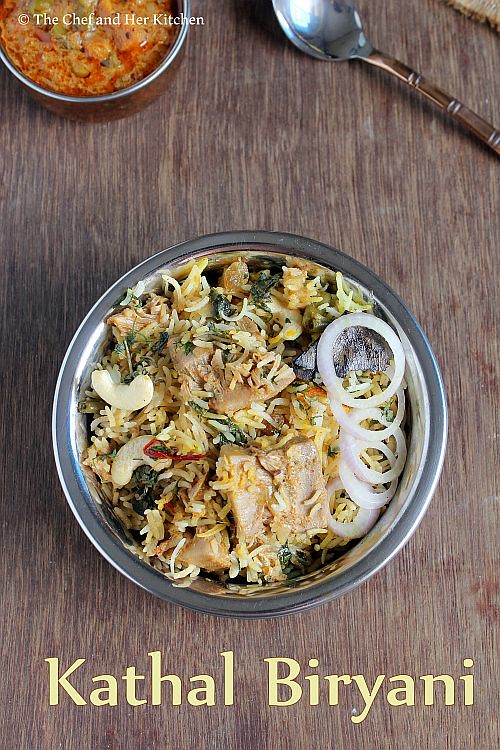
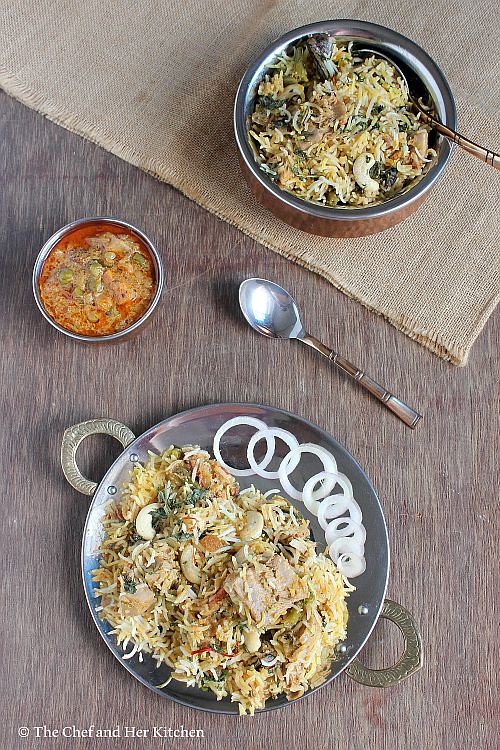
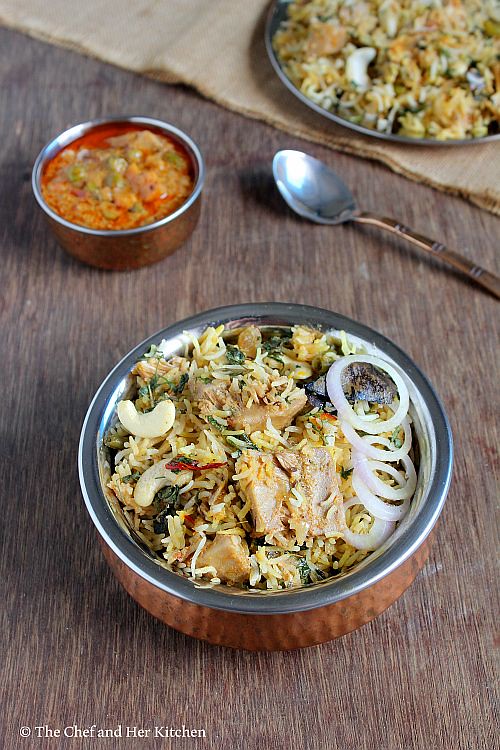
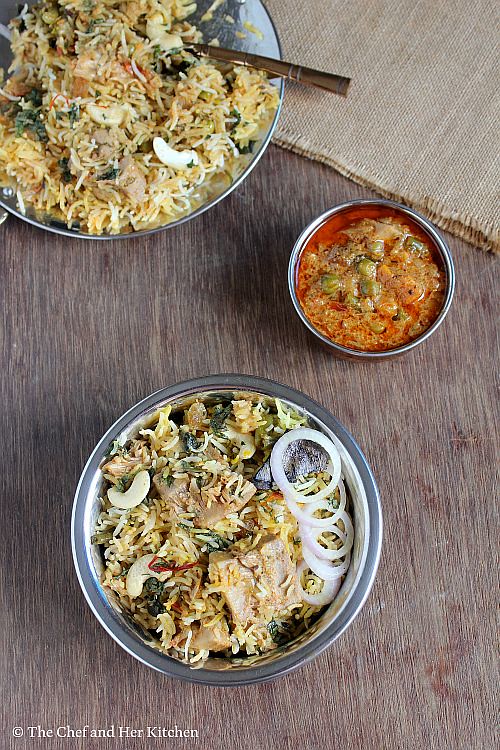
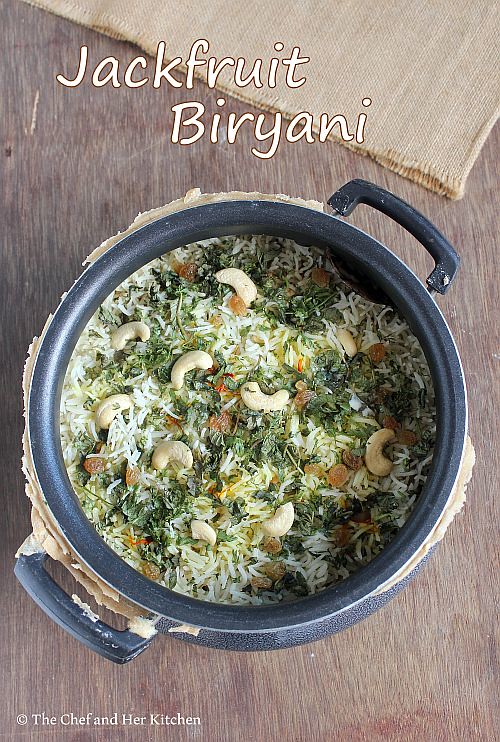
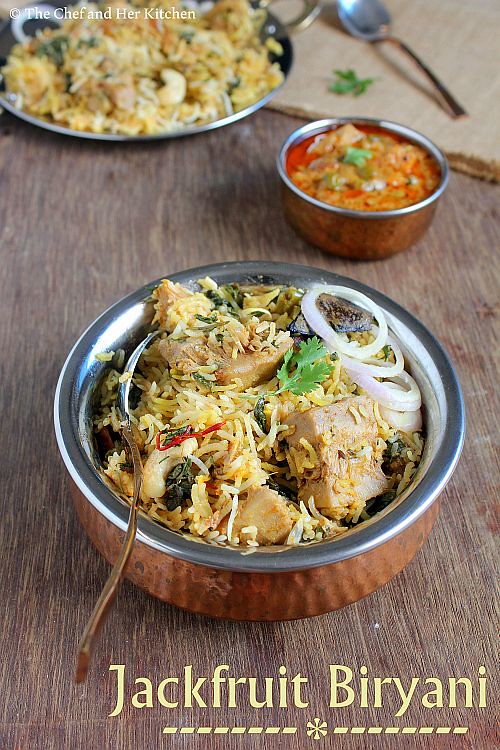
Kathal Dum Biryani | Raw Jackfruit Biryani | Jackfruit Dum Biryani Recipe

jackfruit biryani
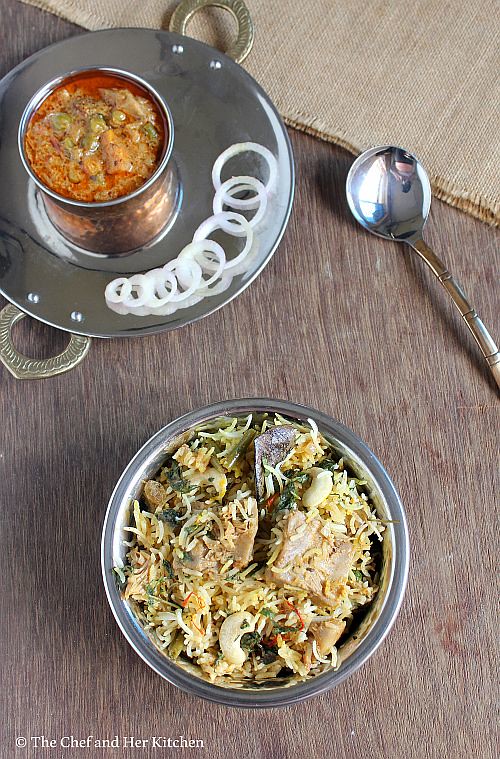
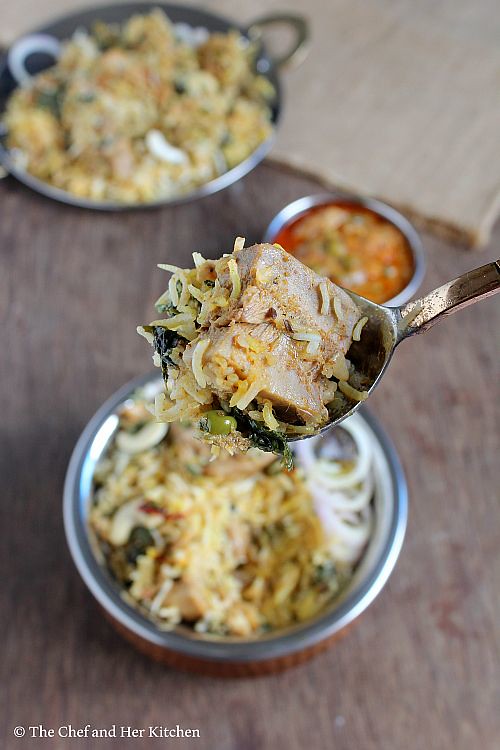
I have already posted Kathal Dum Masala and mentioned that I would post few more recipes with the raw Jackfruit and this Kathal Dum Biryani is one recipe which adds to the list of Jackfruit recipes. This is an exotic Biryani recipe which you can try for your sunday special or when you have guests at home,I am sure that they would love it.
jackfruit biryani

raw jackfruit biryani
Preparing a good traditional Dum biryani needs lot of time and patience,so try it on a leisure day.You can take few short cuts like using a ready garam masala but I would warn you before that nothing beats the taste of the freshly ground spices- or at least you can use Homemade Garam masala for a good Biryani.Also the cleaning process of raw jackfruit is so tedious that I would suggest to get it cleaned much before you start cooking,otherwise you would get exhausted by the time you start cooking.If you have some prior preparations done, preparing the Biryani would not actually take much time.Now off to the recipe.
raw jackfruit biryani

jackfruit biryani

Check out other Biryani Recipes:
kathal dum biryani

Kathal Dum Biryani Recipe:
Serves 3-4
Prep time:30 mins | Cooking time: 1 hr | Total time: 1 hr 30 mins
Cuisine:North Indian | Category: Main Course-Biryani

Ingredients:
for Rice:
2 cups Basmati Rice
6-7 cups Water
1 Bay Leaf
1" Cinnamon
3-4 Cloves
1 Mace flower(Javithri)
2 tbsp Ghee
1 tsp Salt

for Kathal gravy:
500 gms Raw tender Jackfruit,cleaned and chopped into 1" thick cubes
1/2 cup frozen Green Peas
3/4 cup beaten Curd
3 Tomatoes
2 Onions
6-8 Garlic cloves
1 1/2" Ginger
1 1/2 tsp Biryani Masala,recipe follows (or Homemade Garam masala)
1 tsp Cumin powder
1 1/2 tsp Coriander powder
1 tsp Red chili powder
Salt to taste
3-4tbsp Oil

Spices to temper for Kathal gravy:
2 Green Cardamoms,slightly crushed
1 Green chili,Slit
1/2" Cinnamon
3-4 Cloves
1/2 tsp Shajeera/Black Cumin seeds
1 Bayleaf

to roast and grind to a powder- Biryani Masala:
2" Cinnamon
4-5 Cloves
1 tsp Coriander seeds
1/2 tsp Cumin seeds
1 Cardamom
1 tsp grated Nutmeg

other Ingredients:
1/4 cup chopped Coriander leaves
1/4 cup chopped Mint leaves
a handful of Raisins
10-12 Cashew nuts
2 tbsp warm Milk
12-15 Saffron strands
2 large Onions,thinly sliced
Oil,to deep fry
2 tbsp Ghee

Method:
prior preparations:
  • for Saffron milk: In 2 tbsp warm milk add slightly mashed 12-15 saffron strands and set it aside for 10 mins.
  • for Caramelized Onions: Deep fry finely sliced onions in oil until they turn crispy and slightly brownish in color. Drain them onto a paper towel.
  • to prepare spice powder: Dry roast all the ingredients mentioned under to roast and grind for biryani masala and grind to a fine powder.
  • to fry Cashewnuts: Heat 2 tsp ghee in a pan and add whole cashew nuts and fry them until they turn light brown in color and remove them and keep aside.
to prepare rice:
  • Wash and soak basmati rice for 15 mins.
  • In a large pot bring water to a boil add bay leaf,cinnamon,mace and cloves,ghee,salt and soaked rice and cook until the rice is 3/4th cooked. Drain all the water and run cold water through the rice to stop any further cooking.
to prepare Kathal gravy:
  • Grind ginger,garlic and onions to a fine paste and remove the mixture and keep it aside.In the same mixer grind the tomatoes to a fine puree and keep it aside.
  • Heat oil in a pressure cooker and crackle shajeera and add all the spices - bayleaf, cinnamon,cardamom, cloves and green chilli and fry them for a minute.
  • Add the ground puree of ginger-garlic-onion paste and fry it until the raw smell goes away.
  • Now add tomato puree and fry until the oil leaves the edges.
  • Add all the masalas - red chili powder,coriander powder, cumin powder, 1 tsp biryani masala or garam masala and salt and fry well for a couple of minutes.
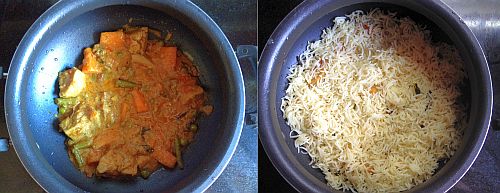
  • Now add the raw jackfruit pieces and frozen peas and fry for 3-4 mins and add 1-1.5 cups of water and pressure cook for 2 whistles.
  • Once the pressure drops mix the nicely beaten curd into the gravy and boil it on low flame for 8-10 mins by stirring it continuously.Keep the gravy slightly thick.
Putting the Kathal biryani together:
  • Divide the cooked rice into 3 equal parts and the Chole gravy into 2 equal parts.
  • Take a heavy bottom pan (I used heavy steel here) and apply generous amount of oil/ghee at the bottom of the pan and start the layering process in the following way.
  1. a layer of thinly sliced onions(optional,I added it as I did not deep fry many onions for the other layers)
  2. Spread one layer of kathal gravy on the onions(if using) or at the bottom.
  • Spread one layer of Rice.
  • Sprinkle one half of the caramelized onions,1/4 tsp of freshly ground Biryani Masala, half of Saffron Milk,few raisins, 2 tbsp of Coriander leaves and 2 tbsp of Mint leaves.
  • Spread one more layer of Rice.
  • Spread the rest of the Kathal Gravy.
  • Spread the last layer of Rice.
  • Top it with the left over caramelized onions, fried cashew nuts, remaining raisins, 1/4 tsp ground biryani masala, saffron Milk and the remaining coriander leaves and mint leaves.
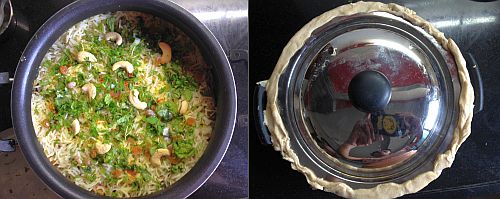
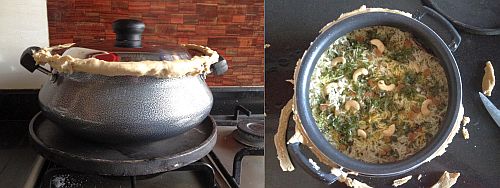
  • Then add 2-3 tbsp milk and  2 tbsp of ghee from the top and seal the gaps between the lid  and container with soft chapati dough as shown in the picture or you can even cover it with aluminium foil and cover it with lid and fold the foil carefully and try to seal the gap in between the vessel and the lid. 
  • Place this vessel/pot back on a heavy tawa and back on heat and cook on medium flame for 20-30 mins or till it is completely cooked.You can alternatively bake this in oven at 170 deg C for 15-20 mins.
  • Break the dough seal with a sharp knife.
Serve it with Onion-tomato raita or Boondi raita with chips/papad/salad.
kathal dum biryani

kathal dum biryani

Notes:
  1. How to clean Raw Jackfruit: Spread paper on the platform or on the floor.Apply oil to your palms,knife and chopping board and cut jackfruit into two halves.Then cut each half into small portions and remove the green thick skin part and also the center thick stalk.Cut the remaining portion into 1" or 1/2" cubes and immediately immerse those pieces in a bowl of water.You can add 2 tbsp buttermilk to the water as it helps in retaining the color of the jackfruit pieces.
  2. You can even deep fry the kathal pieces before adding to the gravy.
  3. You can follow the same procedure to prepare mixed vegetable biryani by using all mixed vegetables, you can even deep fry the vegetables if you want it more rich.
  4. You can add potatoes to the kathal gravy if you like it.
  5. Use good quality basmati rice for a delicious biryani as the flavor adds to the taste.
  6. I used minimal spices while boiling the rice, you can use more spices like peppercorns,star anise along with the spices I used.
  7. I highly recommend to use deep fried onions as it gives a nice taste to biryani. Here I used deep fried onions just for the top layer and hence I used sauteed onions as the first layer.
  8. You can use Garam masala instead of the freshly ground masala mentioned in the recipe.
kathal biryani

raw jackfruit biryani

 
back to top