Wednesday, November 22, 2017

Appam Recipe without Yeast | Kerala Appam Recipe

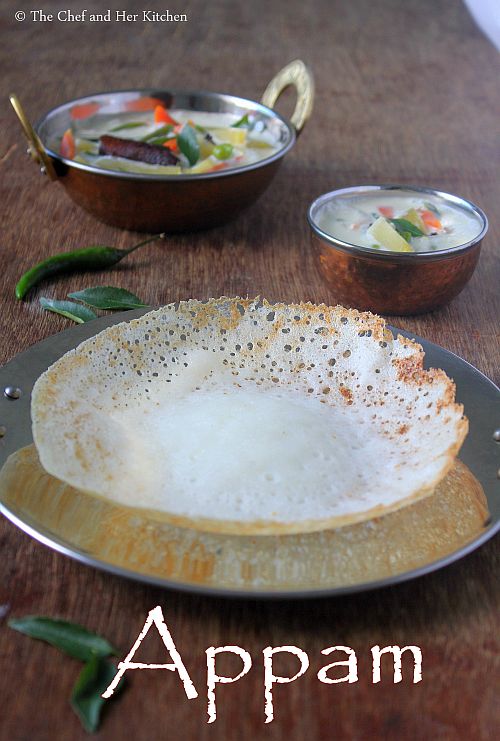
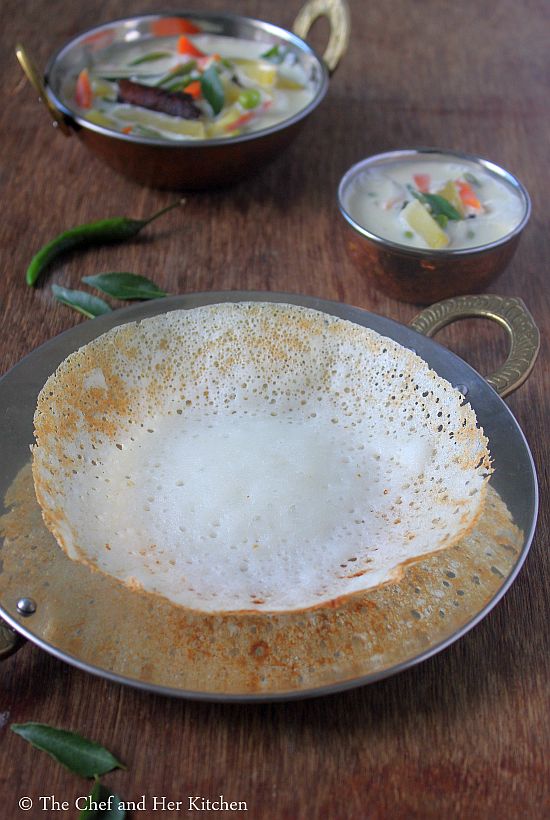
appam without yeast
Appam Recipe without yeast with step by step photos.Appam with vegetable stew is a classic combo for breakfast from the state of Kerala.My mom has been making this Appam(without yeast) from our childhood but she had always paired it with Onion chutney.Her recipe is bit different from the traditional appam recipe which includes yeast, she makes a kanji(porridge) out of the rice batter and mix it with more ground rice batter and is fermented for long,they yield soft at the center and crispy and lacy at the ends kind of appams. But we used to call this dosa as Aapan dosa instead of appam and I am not sure why it was called so.Typical Kerala style appam has coconut and yeast in the recipe but if you do not like to use yeast in the appam recipe you can follow this recipe which yields similar results.
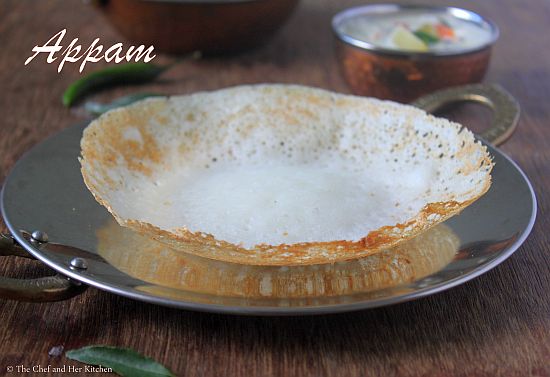
appam without yeast
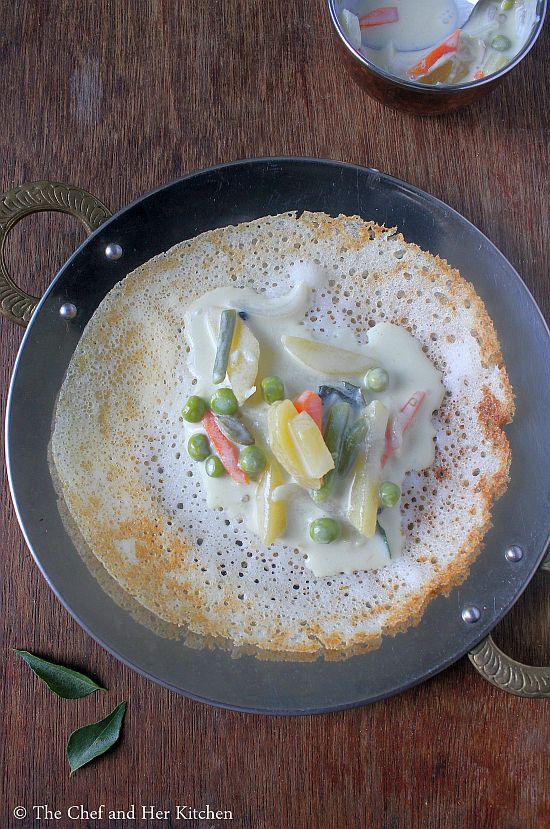
Appams can be served with coconut milk and sugar or sweetened coconut milk or flavorful vegetable stew or a simple coconut chutney.Appams are usually fluffy and can absorb the flavors very nicely and hence I always love to eat them with vegetable stew.
Appam Recipe without yeast:

Yields 12-15 appams | Author: Prathibha
Prep time: 30 mins | Cooking time: 15 mins | Total time: 45 mins + fermentation time
Cuisine: Kerala | Category: Breakfast

Ingredients:
3 cups Raw Rice,soaked in water for 5-6 hrs
1 cup Raw Rice, soaked in water for 5-6 hrs
1/2 cup thin yogurt
1 tbsp Sugar
Salt,to taste
1/8 tsp Cooking soda,optional

Method:
  • Soak 3 cups of rice and 1 cup of rice separately for 5-6 hrs.
  • Wash and grind 1 cup of rice with enough water to get a coarse rawa consistency like batter.Grind the remaining 3 cups of rice with enough water to a smooth batter and keep it aside.
  • In a big pot add 4 cups of water,salt and sugar and let it come to a boil and then add the coarsely ground batter to it and keep stirring continuously till it thickens and become a kanji(porridge) and let it cool completely.
  • Once the cooked batter is completely cooled mix in the yogurt and ground rice batter(made out of 3 cups rice) and mix it nicely with out any lumps and let it ferment for 15-16 hours.
  • The batter should be little loose than the regular dosa batter,so adjust the consistency accordingly. Add cooking soda(if using ,see notes) to a tbsp of water and mix it in the batter nicely.
  • Heat the non stick appam chetti/kadai and pour a big ladle of batter in the center and swirl it in a circular motion so that it forms an aapam which is thin around the corner and thick in the center.
  • Pour the oil around the edges and close it with a lid and let it cook until the edges turn crispy and is soft and fluffy in the center.Loosen the corners gently with the help of spatula and slide the appam into a plate and repeat to make more appams.
Serve it with sweetened coconut milk or Vegetable Stew or any spicy curry.

Notes:
  1. The addition of soda is optional,if the batter is fermented nicely you do not need to add soda to appam.Try making one appam without soda and if it is not fluffy you can add soda to the batter and make which definitely gives soft and fluffy appams.
  2. My mom never added grated fresh coconut while grinding for appam dosa,but you can add 1/3-1/2 cup of grated coconut while grinding the rice(3 cups rice) batter.
  3. The most important step in the recipe is making the kanji and mixing in the batter and hence follow the instructions carefully.
  4. You can make the dosa like regular dosas or thick dosa like poha dosa with the same batter.

Monday, November 13, 2017

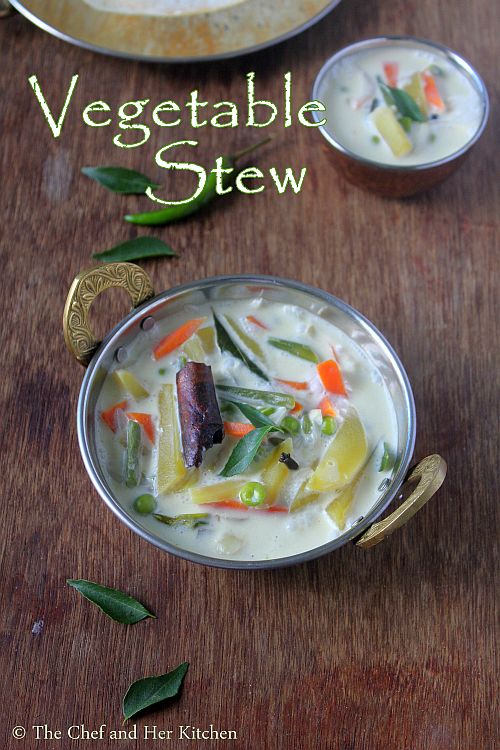
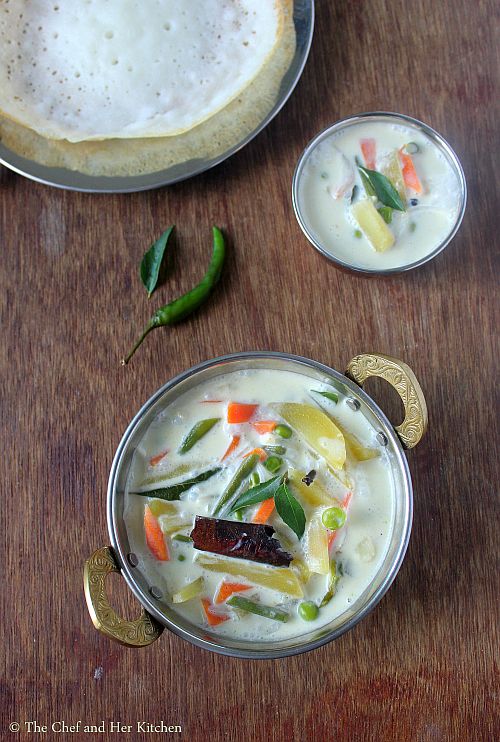
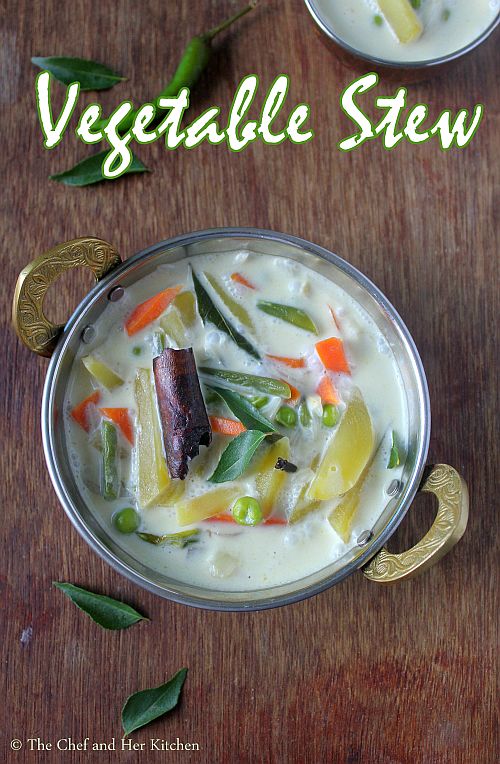
Vegetable Stew Recipe | Kerala Veg Stew for Appam

vegetable stew
Kerala style Vegetable stew recipe with step by step photos. Appam with Vegetable stew is a famous Kerala breakfast combo variety which is loved by all.Appams are different from the regular dosa as these are lacy thin at the corners and fluffy in the center and are made in a Appam Chatti(kadai) instead of the tawa and hence the appams turn in the shape of kadai.Appam is served with a white coconut milk based curry with vegetables in it.The stew has mild spice levels and also has slight sweetness from the coconut milk but it is very flavorful and tastes delicious with the fluffy appams.The appams are so porous that they absorb the flavor from the stew beautifully and makes it taste more delicious.
Stew is made up of various vegetables and is cooked in a coconut milk with minimal spices but the process to prepare the stew is quite important otherwise you will not get the stew in white color. Freshly pressed coconut milk is the best choice for the stew but if you are lazy like me you can even use tinned coconut milk.I have used coconut oil in the recipe for the authentic kerala taste but if you do not like you can even use the regular oil in the recipe. Try this delicious kerala delicacy-stew with appam if you have not tried it before.
kerala veg stew
Check out other breakfast combos here in my blog:
Here is how to make kerala style vegetable stew with step by step photos:
Vegetable Stew Recipe:
Serves 2 | Author: Prathibha
Prep time: 15 mins | Cooking time: 30 mins | Total time: 45 mins
Cuisine: Kerala | Category: Side dish

Ingredients:
1 small Carrot,peeled and cut into 1" long thin sticks
1 small Potato,peeled and cut into 1" long thin sticks
10-12 french Beans,trimmed and cut into 1" pieces
1/4 cup Green peas
1 small Onion,thinly sliced
2-3 Garlic cloves, cut into long strips
1/2" Ginger,peeled and cut into thin strips
2-3 Green chilies,slit
1 pack(200ml) Coconut milk or 1 Coconut,grated
8-10 Curry leaves
Salt,to taste

to temper:
1.5 tbsp Coconut oil
4-5 Cloves
1" Cinnamon
4 green Cardamoms
8-10 Black peppercorns

Method:
  • If you are using freshly grated coconut to extract coconut milk add 1/2 cup warm water to the grated coconut and grind it nicely and strain it to get the thick coconut milk and add 3/4-1 cup warm water to the coconut residue and grind again to get a thin consistency coconut milk.If you are using ready coconut milk empty the contents of the carton to a bowl and add a cup of water to the empty carton and shake it nicely to get thin coconut milk.
  • In a kadai/pan heat coconut oil and add cloves,cinnamon,peppercorns and green cardamoms and fry for 10-15 seconds.I forgot to add the peppercorns in the tempering and hence did separately and added later to the curry.
  • Add cut ginger,garlic and slit green chilies and fry until the green chilies slightly wilt.Add 5-6 curry leaves and fry for few seconds.
  • Add thinly sliced onions and fry until they become translucent,do not let them turn brown.
  • Now add all the vegetables(you can add them raw or steamed) and add salt and thin coconut milk and cook until the vegetables are done.
  • Now reduce the flame(or remove the pan from the flame) and add thick coconut milk and 3-4 curry leaves and boil it on low-medium flame.
  • Adjust the consistency of gravy and seasoning by adding enough water and salt.The consistency should neither be thin or thick.
Serve it with Appam/Dosa.

Notes:
  1. You can even add cauliflower along with the other vegetables.
  2. Do not brown the onions,spices and vegetables otherwise it will change the color of the stew.
  3. Freshly pressed coconut milk tastes best for the recipe but one can use ready one if pressed for time.
  4. Coconut oil adds a nice flavor to the stew but if you do not like it you can use regular oil and make it.

Monday, November 6, 2017

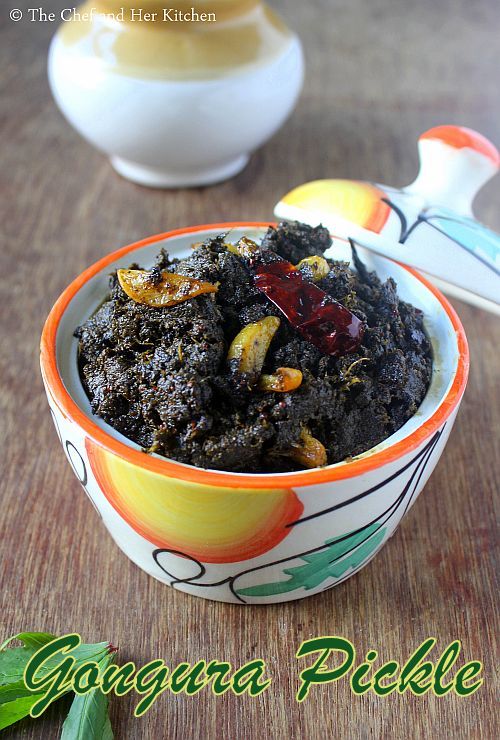
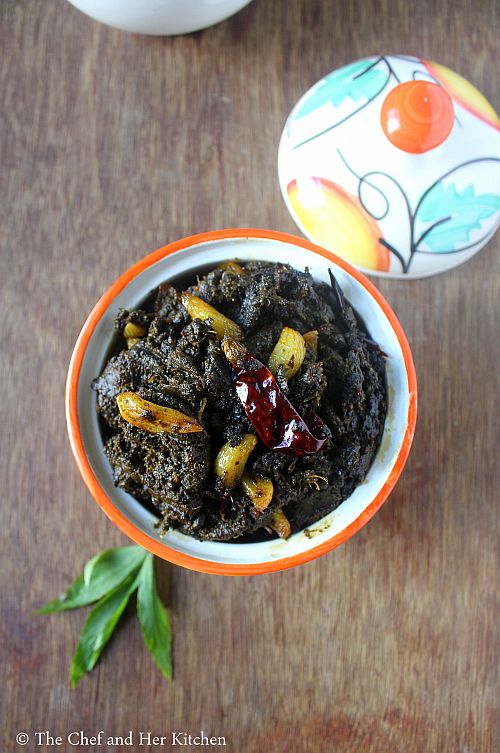
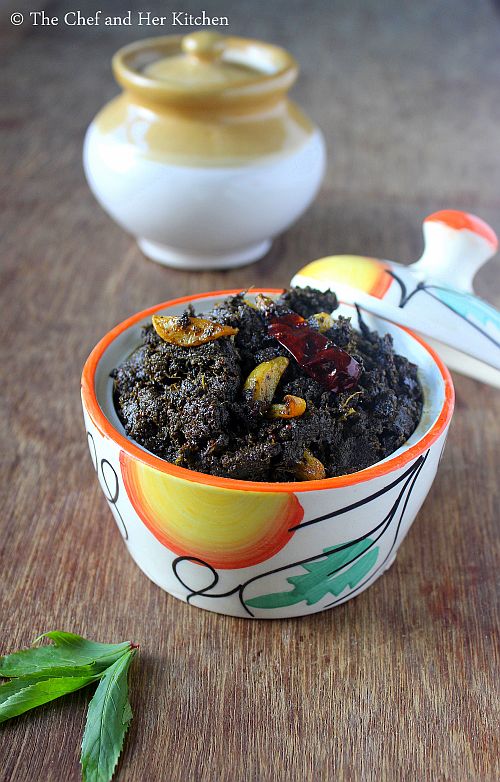
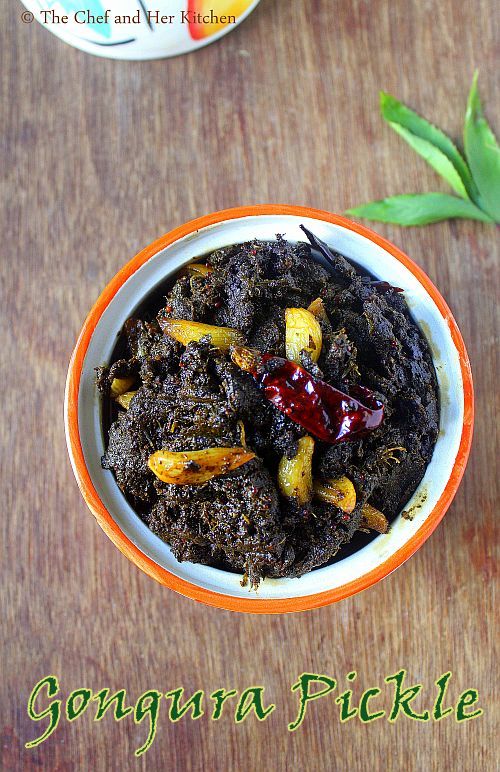
Gongura Pickle Recipe | Andhra Niluva Gongura Pacchadi

gongura pickle
Gongura pickle recipe with step by step photos.Gongura pickle does not need any introduction as it is one of the most popular pickles from the state of Andhra and any Andhra meal is incomplete without gongura pickle being served in it.Gongura pickle is sour and spicy and is made out of red sorrel leaves,it can be stored for a couple of months if made carefully. I also have posted a version of Gongura Pacchadi with Green Chilies and Gongura Pacchadi recipe using Red chllies which have less shelf life and should be consumed in a day or two.Gongura pickle is usually mixed with hot steamed rice,ghee and is eaten with raw onions on the side, the onions elevate the taste of the gongura pickle and hence do not miss to serve it with onions.
gongura pickle
I do not miss to get these wonderful greens when ever I go to little India and in fact it has become a norm to keep a bottle of Gongura pickle or Pulihora Gongura pickle handy in my refrigerator these days.It is much better to eat the homemade pickles rather than the preservative loaded ready made pickles.I also prepare another version of gongura pickle - Pulihora Gongura pickle which is prepared in a different way with the addition of tamarind and few other spices and even this Pulihora Gongura pickle can be stored for a couple of months.Both the pickles taste absolutely delicious in its own way, try these pickles at home and enjoy the delicious home made andhra famous gongura pickle.
Apart from the pickles we make various other pacchadi,dal,curry and rice varieties with these greens and these greens give a peculiar taste and sourness to the recipe which makes it even more tastier.Check out all Gongura recipes in my blog here:
niluva gongura pacchadi
Here is how to make gongura pickle recipe with step by step photos.
Gongura Pickle | Niluva Gongura Pacchadi Recipe:
Shelf life:1 month | Author: Prathibha
Prep time: 15 mins | Cooking time: 30 mins | Total time: 45 mins
Cuisine: Andhra | Category: Pickles/Accompaniments

Ingredients:
1 big bunch or 8-10 cups tightly packed Gongura(Red sorrel) leaves
1 tbsp Mustard seeds
1.5 tsp Fenugreek seeds
6-8 Red chilies
Salt to taste
1.5 tbsp Sesame oil

to temper:
4 tbsp Sesame oil
1 tsp Mustard seeds
5-6 Red chilies,whole or broken
15-16 Garlic cloves,peeled roughly
1/4 tsp Asafoetida

Method:
  • Dry roast mustard seeds,fenugreek seeds and red chilies until they are nicely roasted.Cool them and grind them along with salt to a fine powder.
  • Remove the gongura leaves from the stems and wash them thoroughly and drain the water thoroughly. Spread a big kitchen towel and spread the leaves on the towel and let them dry in shade for 3-4 hours.They do not need to get wilt just that the water has to be completely absorbed by the towel.
  • In another pan heat oil and add gongura leaves(dried for a while) and saute them until they become soft and pulpy.Do not add water to the leaves at any point of time.Continue frying for 7-8 mins until the water evaporates from the leaves mixture.
  • Cool the gongura leaves and grind it to a paste along with the ground spice powder.
  • In the same/another pan heat 4 tbsp of sesame oil and crackle mustard seeds and then add garlic cloves and red chilies and fry them until they turn slight brown in color and add asafoetida and then add the ground gongura mixture and fry it nicely for 8-10 mins until the mixture starts leaving the oil along the edges.Sometimes the oil gets seeped inside the pickle but it will start leaving after a couple of hours when stored in the bottle,so do not worry.
  • Cool it thoroughly and store it in an air tight glass bottle in the refrigerator.It stays good for a month or two in refrigerator when handled carefully.
Serve it with hot steamed rice with ghee and raw onions on the side.

Notes:
  1. You can add 1.5 tbsp of Coriander seeds while roasting the mustard and fenugreek seeds.The addition of coriander seeds is optional.I add sometimes and skip it sometimes and however the taste does not alter much.
  2. If you are using tella gongurs(not the typical red gongura leaves) you need to add a small gooseberry sized tamarind while frying the gongura leaves for the sourness.
  3. The amount of red chilies can be altered according to your spice level.
  4. Do not skip garlic in the recipe as it adds a nice taste and also always serve the gongura pickle with raw onions on the side.
  5. Sesame oil is recommended for the recipe, if you do not have you can use regular oil.
  6. Always use a clean and dry spoon when you take out the pickle and close the lid tightly and store it in refrigerator for increased shelf life.
  7. You can take the required portion of the pickle and mix in the chopped onions and serve it with hot steamed rice and ghee.
gongura pickle


back to top