Mumbai witnesses several blogger meets at various points in the year but I used to be the missing head in most due to prior commitments but this time when
Rushina sent an invite for a meet at "LE Pain Quotidien" I immediately sent in my confirmation. Probably, the thought of having dinner at such a wonderful place was the clincher!

Le pain Quotidien(pronounce it as : luh paN koh-ti-dyaN) is a famous Belgium boulangarie (bakery) which serves not only various types of freshly baked breads,pastries,preserves etc but various kinds of European fare. More importantly, it is appropriately located near one of the most famous locations in Mumbai,near Gateway of India.I was probably the first person to send a confirmation and was the first to reach the place! The staff welcomed me with a warm smile.
LPQ looks like a bakery from outside with various kinds of breads displayed on the wall and several desserts at the counter.Once you enter though it looks different with natural wood tables and rustic interiors which gives a great feel to the place.
 (Menu of the day)
 (Various Preserves)
 (Communal table)
Once I entered, I was told that the blogger meet was arranged upstairs.The spiral wooden staircase took me to a set of beautifully laid long communal tables.LPQ had planned a small workshop for us where we had to fill the ready tart shells with various fillings.The fillings were very interesting and ranged from marmalades,chocolate ganache,fruit preserves, compotes, freshly cut fruits, assorted vegetables,tapenades,pesto,blanched spinach,burnt onion-garlic and tiny chopped chicken bites for non-vegetarians .There were also various dressings and quiche mix,custard mix,lemon curd and cheese which we can use to fill our tarts.
 (Assorted Bread Platter)
Before the workshop began,we were all greeted with a refreshing cold mint lemonade,a perfect way to start the exciting evening.Once everyone started coming in,we got busy introducing each other with our respective blog names.
(Mediterranean Platter)
 (Me eating mushroom Bruschetta,photo credit:Harini)
Slowly the food started flowing in with appetizers like Bruschetta with different filling,Grilled Asparagus with ricotta cheese tartines ,Buffalo mozzarella with olive spread tartine and Mediterranean Platter included hummus and pesto being served. While these were the options for vegetarians,they had some interesting non-veg starters which many bloggers appreciated after tasting it.One thing which you cant miss in blogger meet is those big big cameras trying to shoot all the food from various angles.

 (Various savory fillings for tart)
We were all set for the workshop and the main agenda was to create two tarts with various fillings and to impress our judge of the day,
Rushina. I would say that this was the best part of the evening . What else would a food blogger asks for other than these kind of fun activities. I decided to go for one sweet and one spicy tart and started thinking about various possibilities. While some filled their plates with various fillings to taste and combine the ingredients I headed directly with my tart shell and started making the first savory.I spread the tapenade on the base of the tart and added a mix of spiced up assorted vegetables like corn,spinach,burnt onion-garlic,zucchini and peppers and ended up filling my savory tart mold with tapenade flavored quiche mix.
 (my savory tart in progress,photo credit: LPQ-FB page)
Next comes the sweet tart,which is apparently our dessert of the day . For the sweet tart I decided to go with the custard based fruit compote.I had spread a thin layer of strawberry preserve covered by a thick layer of chocolate ganache and then filled with rhubarb infused custard which is topped with blueberry compote and orange marmalade strips. Once the two tarts were done,we were supposed to hand over them with our name written on the plate to the chefs to bake them in oven.While we were busy running around playing with the fillings for the tart, few bloggers started making their own appetizers with those beautiful breads,spreads and various fillings.
Once we all were done with the workshop,we were all seated on the well laid communal table and continued our chit chat about food,photography,cameras,blogs,restaurants and what not.There were 3 choices in main course for vegetarians as well as non-vegetarians each and I had opted for Vegetable Lasagne with ricotta cheese and mushrooms.The other two options for vegetarians were Green Asparagus Risotto with parmesan cheese and Vegetarienne Quiche with roasted leeks,onions and asparagus.The non vegetarian options were also quite interesting which included Chicken stuffed with spinach and chevre served with herb potatoes and mushroom sauce,Pan smeared Basa fish with burghul risotto,mushrooms and Quiche Lorraine with ham,Gruyere and roasted leeks.Once the food is arrived we all started digging in and tasting each other's dish and discussing about what all flavors would have gone in it.Every one seemed to have enjoyed their food and the only complaint we had was that their portions were so huge.After indulging in various appetizers we could not finish off those huge portions.
Now coming to the moment of truth,we were asked to collect our respective baked tarts and place them in front of
Rushina to taste and express her expert views .After having such a heavy meal she was not in a mood to taste the savory ones and she decided to taste only the sweet tarts.I was just sitting next to her and after she tasted a couple of sweet tarts I offered mine to taste which she really loved.Later, once the tasting was done,she announced '
ME' as the winner which was the most surprising and most interesting part for me..It was really a happy moment ,Don't we feel happy to get recognition among a bunch of food bloggers who have created the master pieces for the day.Unfortunately I dont have the photograph of the end product of my tarts as I was busy eating and I did not bother to take my small digi cam in front of those professional high end DSLRs.I was asked by the LPQ team to pose with a tart(which pretended to be mine for a while) as I was the winner of the tart workshop.
 (Me posing with the tart with Rushina.photo credit: LPQ-FB page)
When we began to move out we were handed over with a goodie bag which included few breads and cookies.I am sure most of us would had planned their next morning's breakfast after receiving the goodie bag.

 (Various Breads and cookie in the goodie bag)
I prepared marinated and grilled tofu with pesto and roasted vegetable sandwich for my morning breakfast with those breads.I would like to once again thank
Rushina for arranging such a wonderful meet and LPQ team for hosting us and also for the wonderful food.
: I personally thank
Pushpa of
Papad Chai for allowing me to use her photographs in this post.

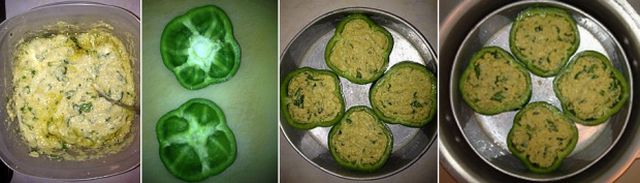
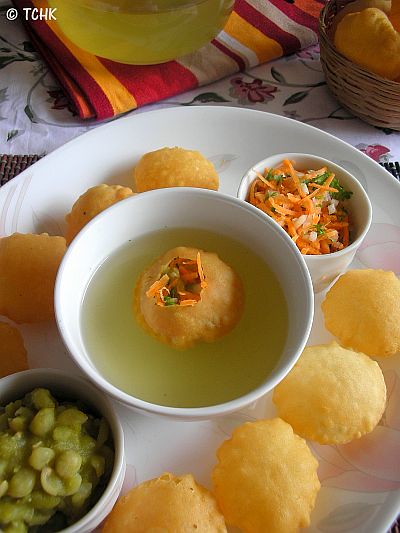
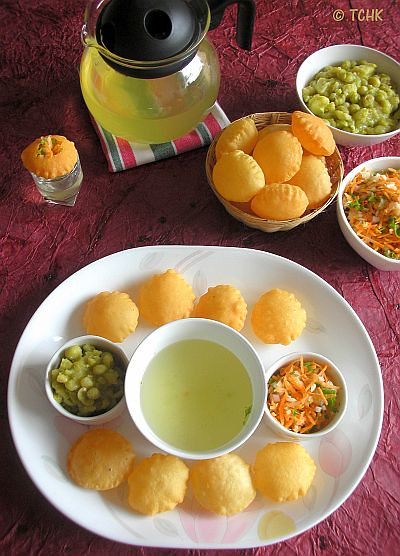
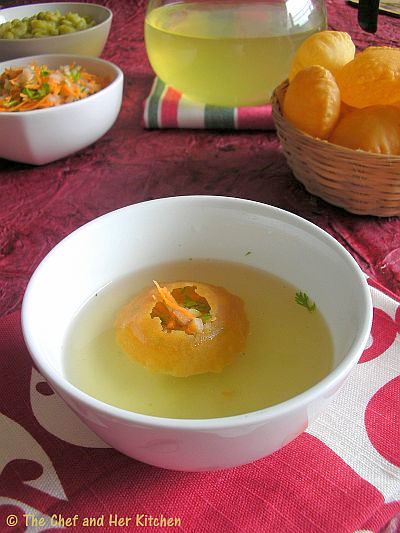
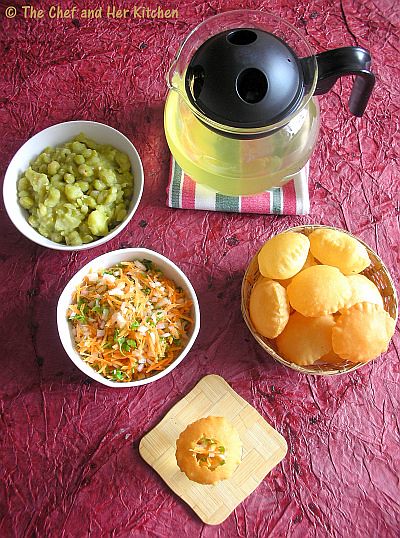
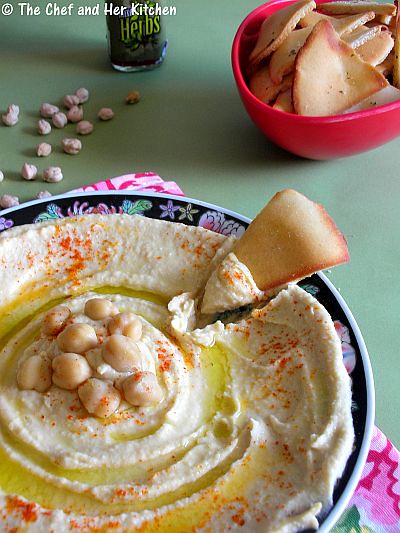
 Vegetables


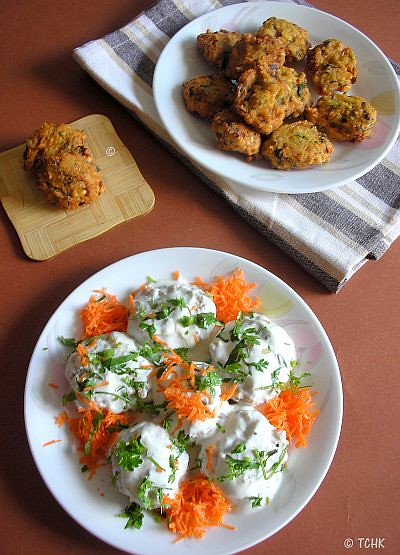
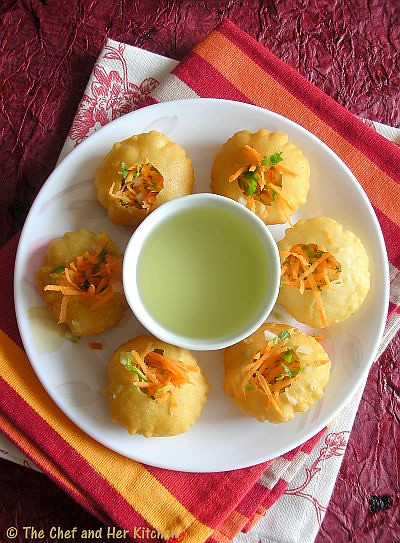
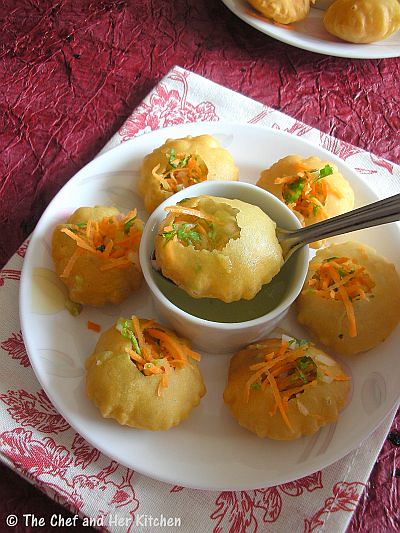
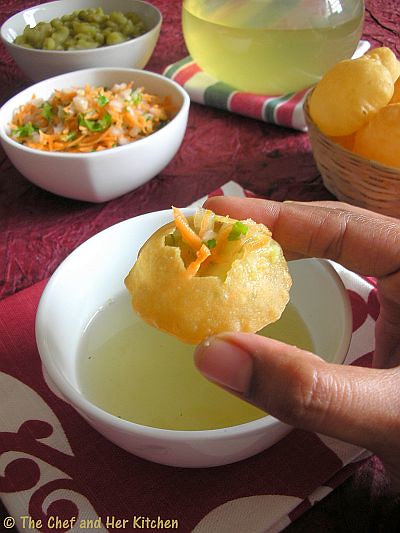
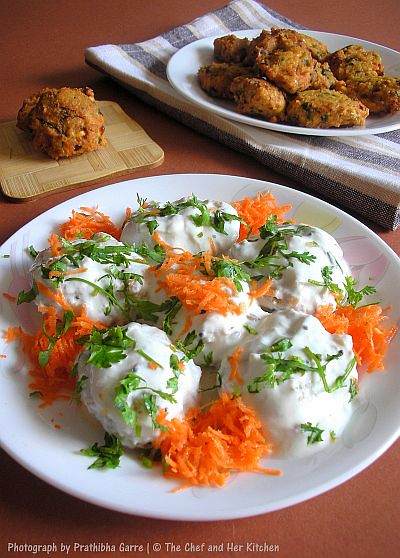 This post is sitting in my drafts ever since I made mixed dal Ambode, I also made a small batch of dahi vada with those ambode.Finally they are making their appearance in my 'Family Food-Season 2' series in which even I am posting the entries-snacks/chaats for the series.
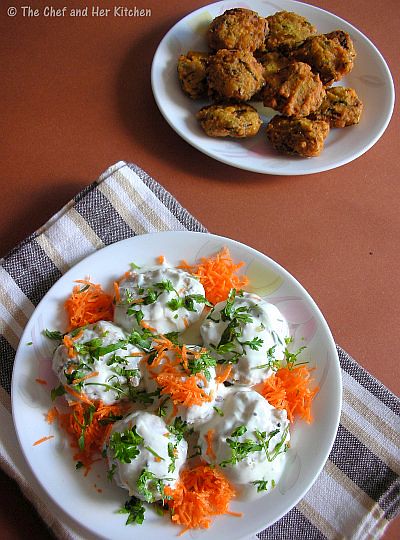 Mosaru Ambode | Dahi Dal Vada Recipe
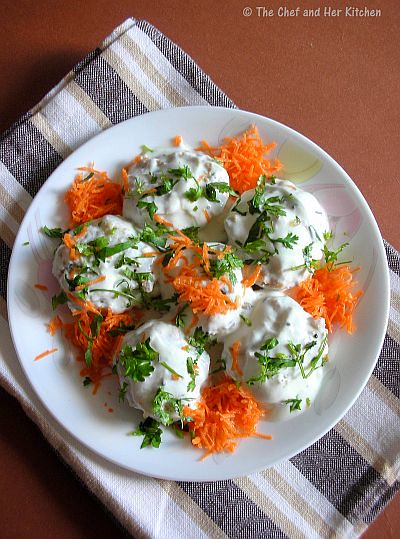 Method:
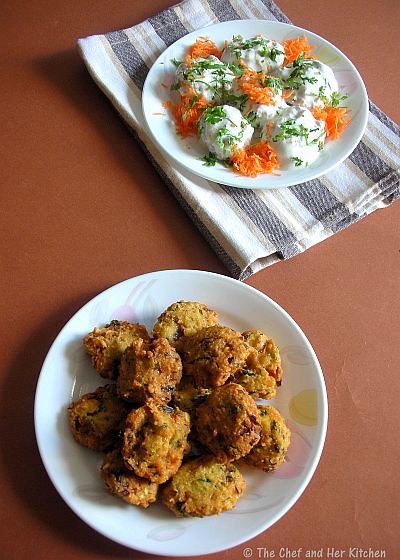 Notes: