Monday, December 30, 2013

Tomato Kothimeera Pacchadi | Pacchadi Recipes

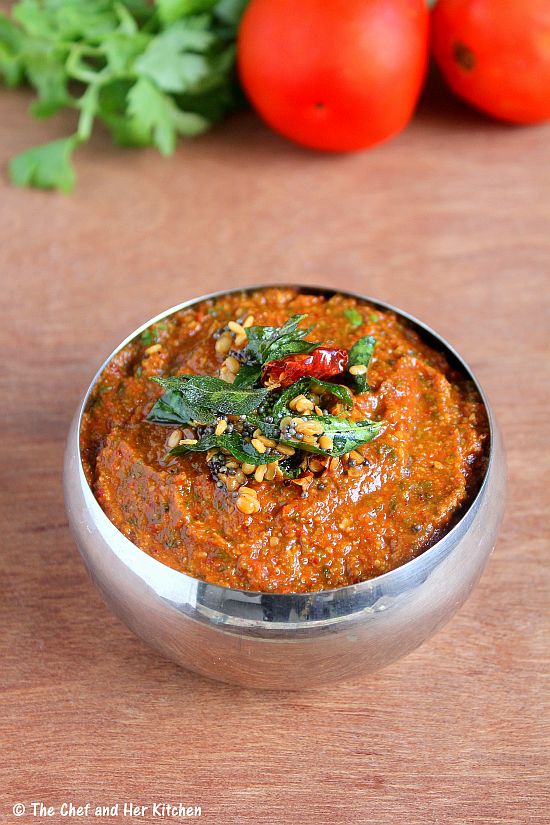
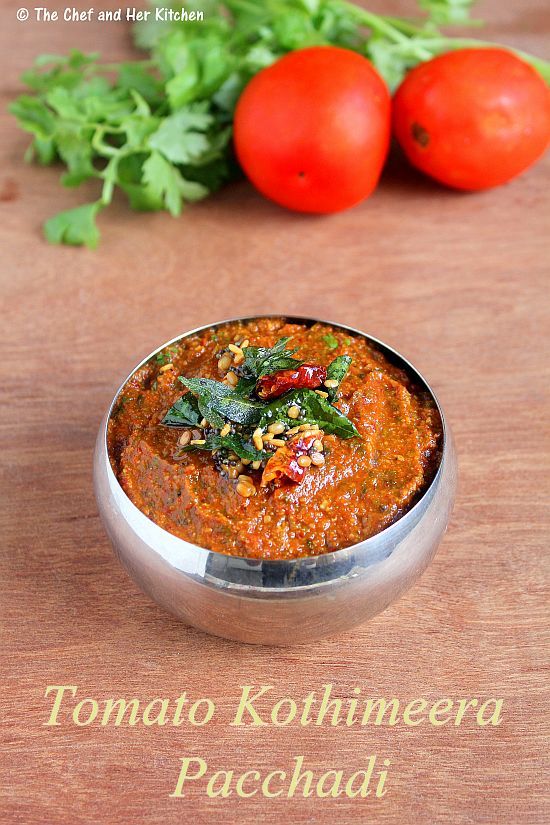
tomato kothimeera pacchadi
I am a big fan of Andhra style Pacchadis which is usually mixed with hot rice and ghee.Ideally Pacchadis are prepared in a stone mortar, as in the olden days and hence these kind of pacchadis are called 'Roti Pacchadis', where 'roti' stands for 'stone mortar' in telugu. Pacchadis can be prepared with various vegetables, greens and dals and the texture should be very thick and slightly coarse unlike the chutneys we prepare for the breakfast items. Today I am sharing a simple Pacchadi recipe with Tomatoes and coriander - Tomato Kothimeera Pacchadi which serves as a nice combination with rice.

tomato kothimeera pacchadi


Tomato Kothimeera Pacchadi | Tomato Coriander Chutney for Rice:
Serves 4-5
Prep time:10 mins | Cooking time:15 mins | Total time: 25 mins
Cuisine: South Indian | Category: Pacchadis-Accompaniments

Ingredients:
3-4 large ripen Tomatoes,roughly chopped
a small bunch of Coriander leaves(roughly 1.5 cups)
2 tbsp Urad dal
1 tsp Cumin seeds
5-6 Red chillies
a small cherry size Tamarind
Salt to taste
1 tbsp Oil

to temper:
1 tsp Oil/Ghee
1/2 tsp Mustard seeds
1 tsp Urad dal
a sprig of Curry leaves
1 Red chili,broken
a pinch of Asafoetida

Method:
  • Clean the coriander leaves and retain tender stems along with the leaves and chop it roughly.
  • Heat oil in a pan/kadai and add urad dal and roast until it turns slight red in color.Remove and keep the urad dal aside.
  • In the same pan add cumin seeds and red chillies and fry them until they are roasted and remove them aside.
  • Now in the same pan add chopped tomatoes and fry for a minute and cover it and cook until it turns pulpy.It takes 4-5 mins.
  • Add chopped coriander leaves along with the tender stems and tamarind to it and fry for another 3-4 mins until the mixture becomes slightly dry.Cool the mixture slightly.
  • Grind roasted urad dal with roasted red chillies,cumin seeds and salt to a coarse powder.Add cooled tomato - coriander mixture and grind it to a coarse paste.I usually do it in whipper mode to get slight coarse and pulpy pacchadi.
  • Heat oil/ghee in a small tempering pan and crackle mustard seeds and add urad dal and red chillies,curry leaves and asafoetida and fry until they wilt and add this tempering to the pacchadi.
Serve it with hot steamed rice and ghee.

Notes:
  1. You can store it in refrigerator for 2-3 days in an air tight container.
  2. If you are preparing this chutney for Idli or Dosa,grind the chutney to a smooth paste instead of coarse paste.
  3. If you find the pacchadi very tangy add a pinch of sugar or jaggery while grinding the chutney.

Monday, December 23, 2013

Garlic Rice | South Indian Rice Varieties

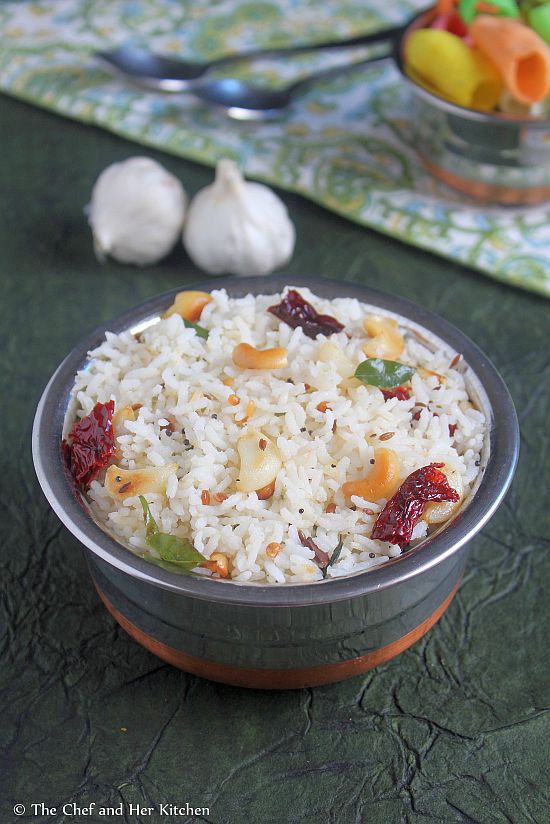
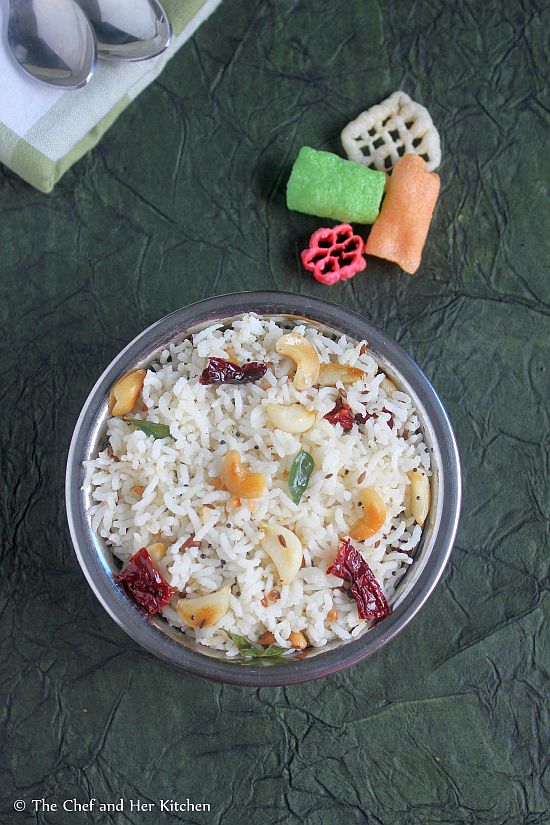
garlic rice
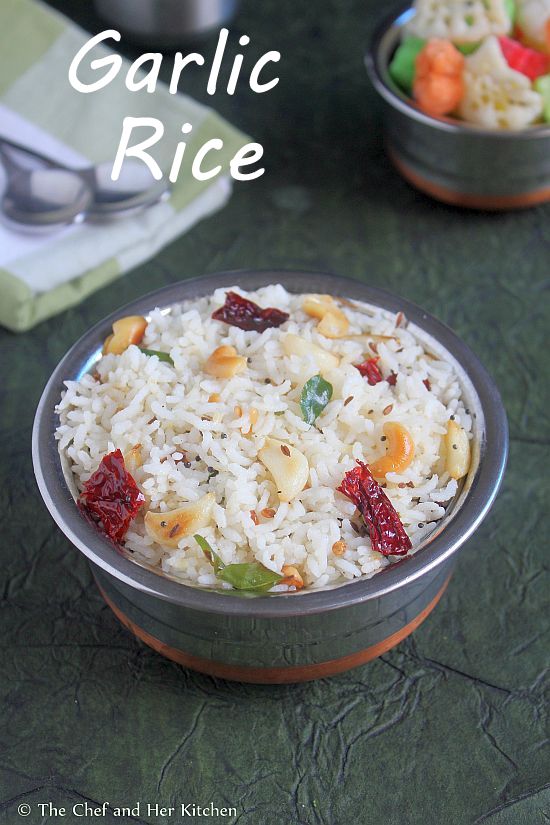
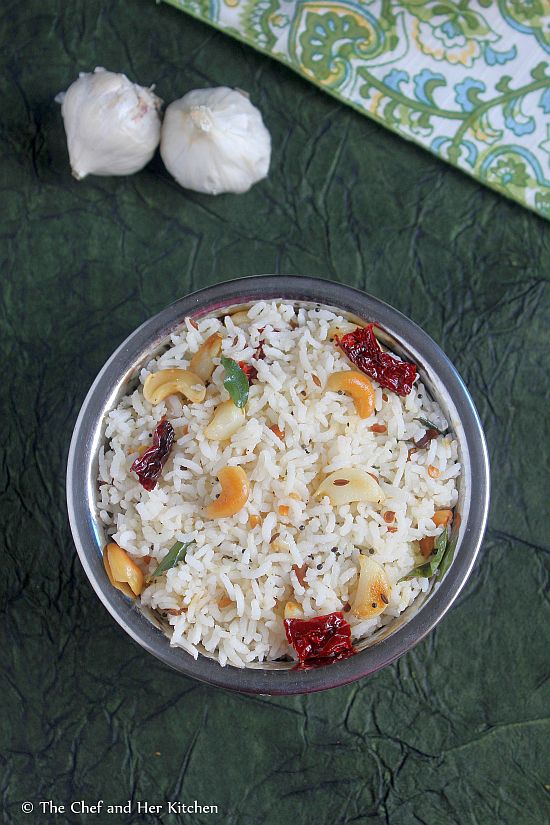
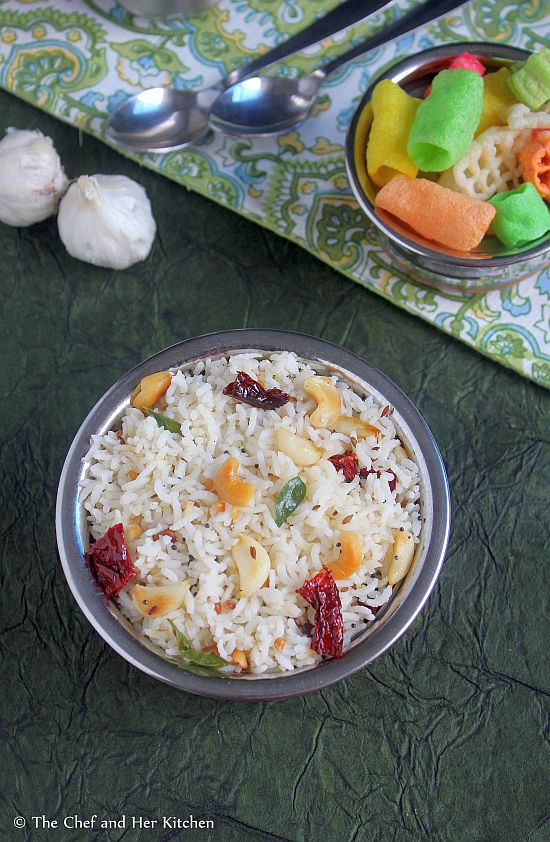
There are rare instances when I have left over rice at home and if I have it, I usually turn it into a variety rice or fried rice.While the most common rice variety with the left over rice is the Talimpu Annam (Seasoned Rice or Phodnicha Bhaat),I like to prepare this garlic rice as well.One can prepare it with fresh rice but make sure it is cooled nicely.In fact my mom always prepares this with fresh rice and she used to pack it for my lunch box.This recipe requires lot of garlic and if you are a garlic lover I am sure you will love this rice.
garlic rice
Typically for South Indian rice varieties, we use either Sona masuri rice or equivalent varieties like Ponni or Surti Kolam etc based on the availability in that area.However I do not suggest Basmati rice for few south Indian recipes as it does not bring out the exact taste of rice.For south Indian rice varieties the rice needs to be soft and fluffy and should not have any fragrance and hence Basmati rice is not ideal for a few Rice based preparations.
garlic rice

Garlic Rice Recipe:
Serves 2
Prep time:10 mins | Cooking time:20 mins | Total time:30 mins
Cuisine: South Indian | Category: Rice Varieties - Main Course

Ingredients:
1 cup Raw Rice (Sona masuri or equivalent)
18-20 small Garlic pods
8-10 Cashew nuts,slit into halves
4-5 Red chillies,broken
8-10 Black Pepper corns,coarsely ground
juice of 1/2 Lemon(optional)
a sprig of Curry leaves
1 tbsp Chana dal
1 tsp Urad dal
1/2 tsp Mustard seeds
2 tbsp Oil
1 tbsp Ghee
Salt to taste

Method:
  • Cook Rice and spread it in a plate to let it cool down and make sure that the rice grains stay separate.You can use 2 1/4 cups of water for 1 cup of sona masuri and cook it in pressure cooker or rice cooker.
  • Heat oil and ghee in a deep kadai/pan and crackle mustard seeds.
  • Add chana dal, urad dal and cashew nuts and fry until they turn slight golden in color.
  • Now add garlic pods and fry until they turn slightly brown.You do not need to fry until crisp,the garlic pods should be soft but cooked well.
  • Add red chillies,curry leaves and freshly ground pepper powder and fry again for a minute.
  • Switch off the flame and add the tempering to the spread cooled rice.Add salt and lemon juice(if adding) to it and mix it nicely.Now taste it and adjust the seasoning according to your wish.
Serve it with Chips/Fryums.

garlic rice

Notes:
  1. I have mentioned standard Indian size garlic pods in the recipe.If you are using the big sized ones reduce the number to 6-8 pods and slice them into fat bits,do not slice them thin.
  2. Use spicy variety red chillies as the main spice we used here is red chillies.Also use freshly ground coarse pepper corns,it is added for the flavor.
  3. This rice tastes nice if it is prepared spicy.But you can prepare it according to your spice levels.
  4. I mentioned lemon juice as optional but it balances the taste,so I recommend to use it.But add it accordingly to balance the flavors of rice.
  5. You can even use left over rice to prepare this.
  6. Do not use Basmati rice for this rice,use sona masuri or ponni or surti kolam or any equivalent variety to prepare this.

Wednesday, December 18, 2013

Thalipeeth Recipe | Maharasthra Recipes

thalipeeth
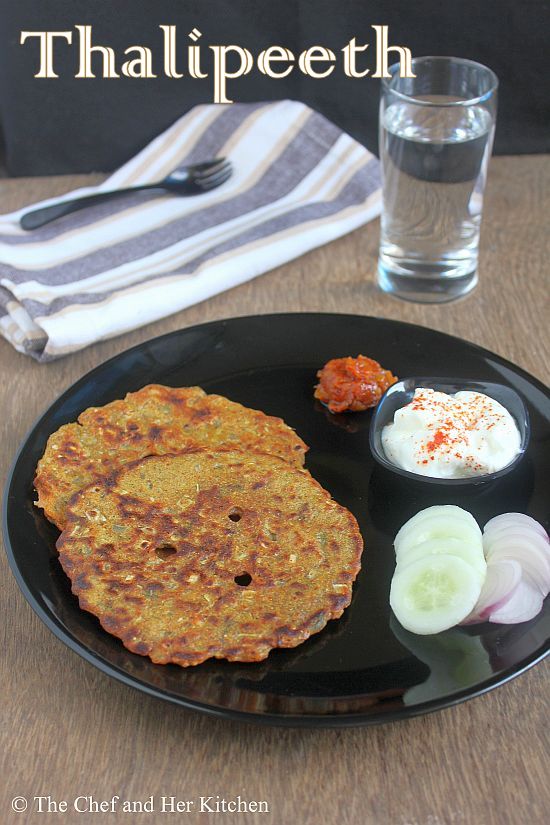
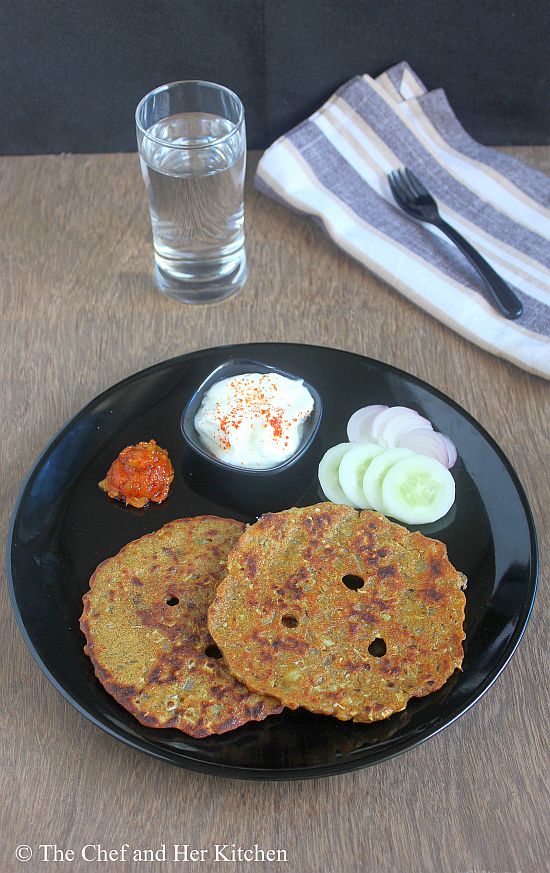
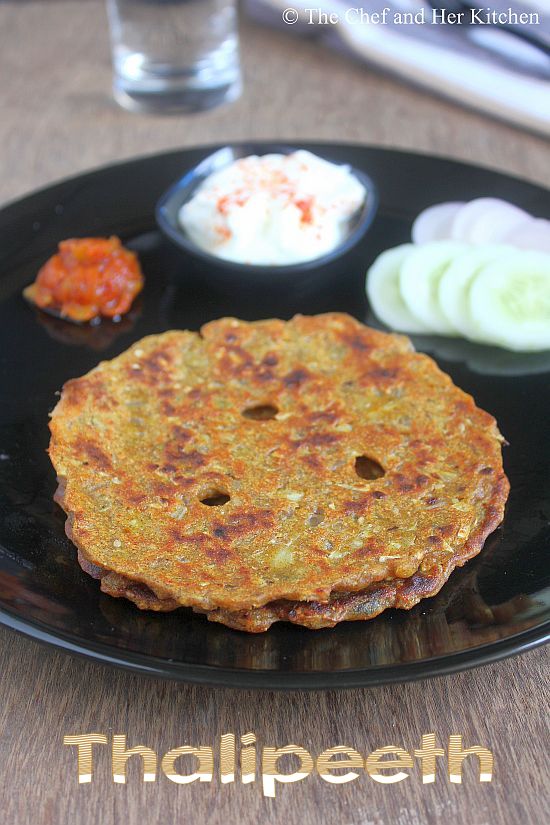
Thalipeeth is a flat bread made up of Bhajani,which is basically a flour mix of various grains and pulses.Bhajani(thalipeeth flour) is easily available in Mumbai and is used to prepare thalipeeth and chakli varieties.I use bhajani for thalipeeth but if you do not have it you can make thalipeeth with various flours available in your pantry. I have mentioned my instant bhajani proportions too in the recipe. I have posted another Mahrasthrian thalipeeth variety- Sabudana Thalipeeth recipe earlier which tastes delicious too.
maharasthrian thalipeeth
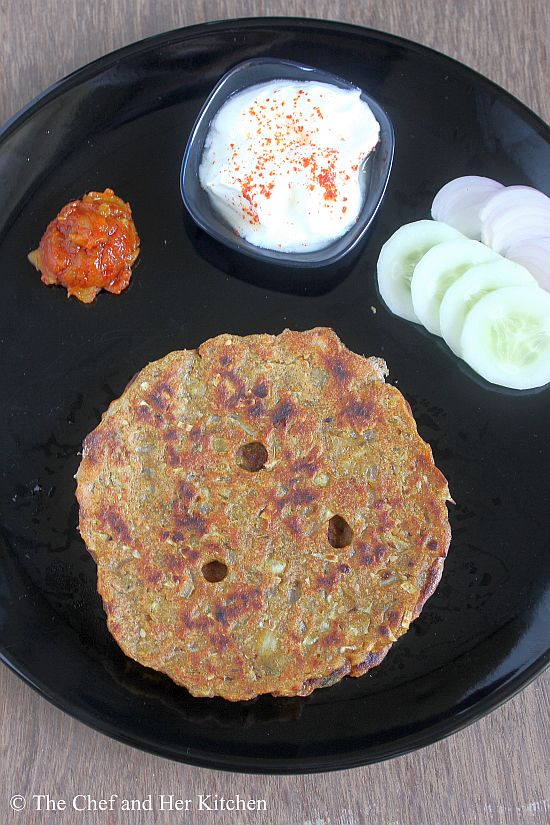
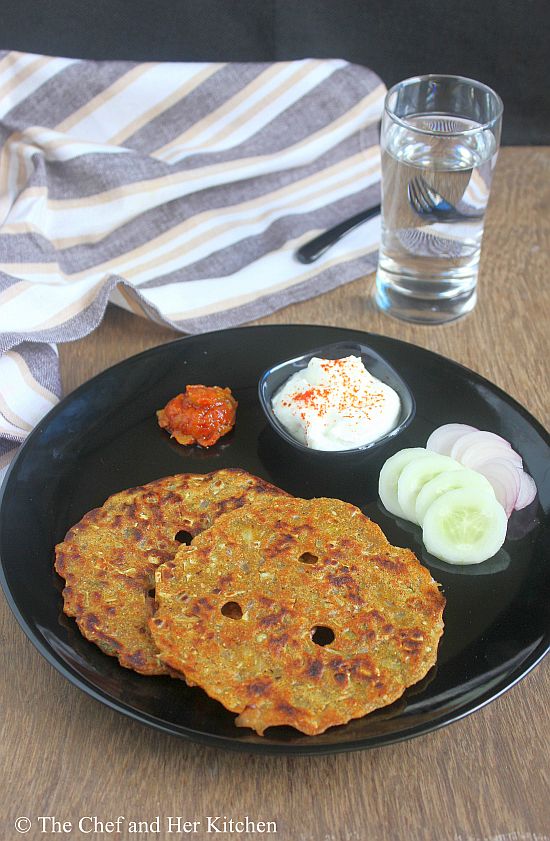
In Karnataka, we prepare Masala Akki rotti, Ragi Rotti which is prepared in a similar way like thalipeeth.Hence it was easily adapted in our menu and I usually prepare it for breakfast or dinner. To my surprise TH has become a fan of Thalipeeth after he tasted it in a famous Maharasthrian joint in Mumbai.There,the Thalipeeth is deep fried instead of shallow fry and hence it tastes even better.Thalipeeth is usually paired with spiced curd and pickle,which makes it a complete meal.As it is made up of mixed flours it is healthy and also quite heavy, so a couple of thalipeeth should be sufficient for a meal.
thalipeeth recipe
Check out similar rotti/thalipeeth varieties in my blog.
thalipeeth

Thalipeeth Recipe:
Serves: 2-3 | Yields: 7-8 Thalipeeth
Prep time:10 mins | Cook time:20 mins | Total time:30 mins
Cuisine: Mahrasthrian - Indian | Category: Breakfast/Snacks

Ingredients:
2 cups Bhajani (instant version recipe follows)
2 Onions,finely chopped
2 tbsp Chopped Coriander seeds
1/4 cup coarsely ground Groundnuts(optional)
1 tbsp Sesame seeds
1 tsp Coriander powder
1/2 tsp roasted Cumin powder
1/2 tsp Red chili powder
Salt to taste
Oil,to roast

for quick Bhajani(Thalipeeth flour),I used:
1/2 cup Jowar flour
1/2 cup Bajra flour
1/4 cup Rice flour
1/4 cup Ragi flour
1/4 cup Besan(Chickpea flour)
1/4 cup wheat flour

Method:
  1. In a big bowl combine all the flours,if you are using bhajani add it to the bowl.
  2. Add finely chopped onions, green chili paste, chopped coriander, sesame seeds, ground nut powder, coriander powder, cumin powder, red chili powder and salt and mix well.
  3. Add water to it and knead it to a soft dough,I usually use warm water to knead the dough.It should be smoother than the chapati dough.The dough would be slightly sticky because the combination of various flours.
  4. Grease a plastic sheet and take a small orange sized ball and pat it to form a 4-5" diameter disc of 1/2" thickness.You need to wet your hands for easy spreading.Slightly press the edges with your fingers to give a nice circle.Make few holes in between.
    Transfer it carefully on to a hot tawa and pour oil in the holes and also around the edges and cover it with lid.You can smear some water on top of the thalipeeth,this will make sure that the thalipeeth would not get dry.
  5. Let it roast it on medium flame for 2-3 mins,once it is brown at the edges turn to the other side and roast again.
    Repeat the same for the remaining dough to make thalipeeth.
Serve it hot with Mango Thokku, spiced Curd and salad.

thalipeeth

Notes:
  1. We get Bhajani easily in Mumbai,I use it most of the time and if I don't have it I mix the flours in the above mentioned proportion.Basically you can use all the flours in your pantry.
  2. If you want to make bhajani(thalipeeth flour) at home,dry roast 1 cup Jowar grains,1 cup Bajra grains,1/2 cup rice,1/2 cup wheat grains,1/4 cup Chana dal,1/4 cup Urad dal,2 tbsp Coriander seeds and 1 tbsp Cumin seeds separately until they are aromatic and cool them and grind it in a mixer or get it done in a flour mill.
  3. The addition of ground nut powder is completely optional but I recommend to use it for an extra taste.
  4. You can add finely chopped vegetables like cabbage,methi leaves,spinach leaves or grated vegetables like cucumber,bottle gourd,radish to make thalipeeth.

Wednesday, December 11, 2013

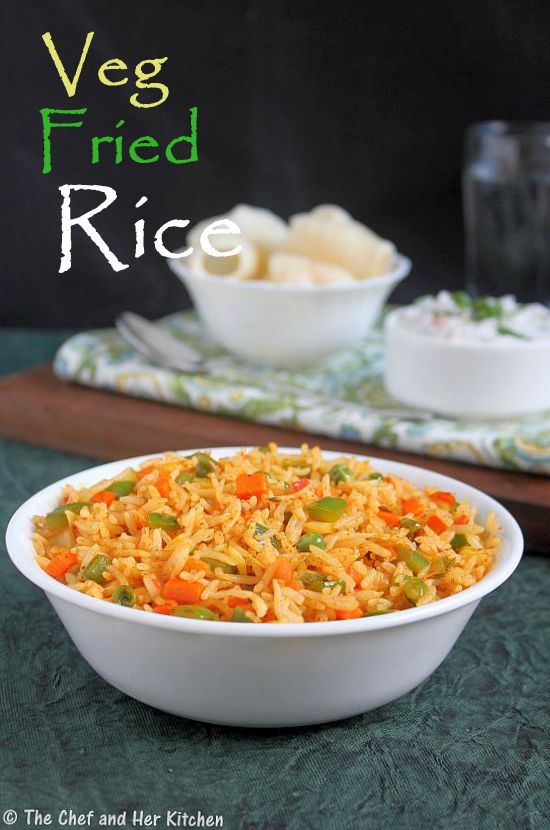
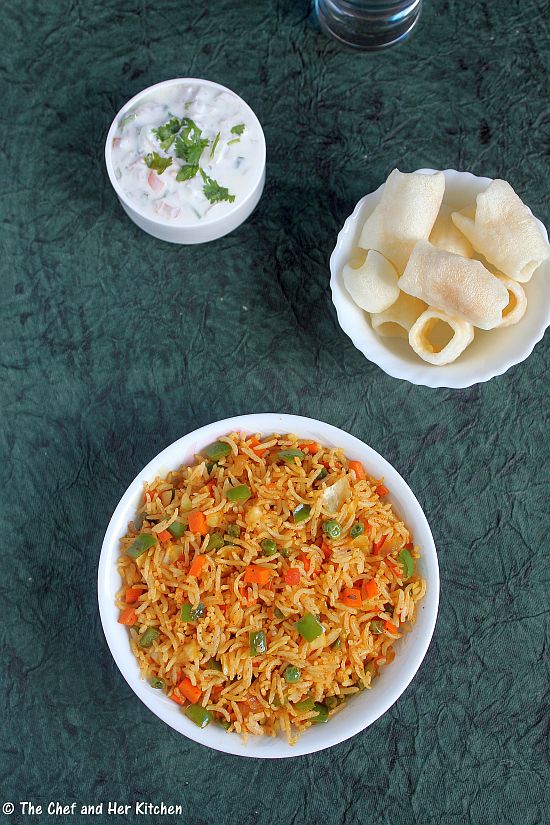
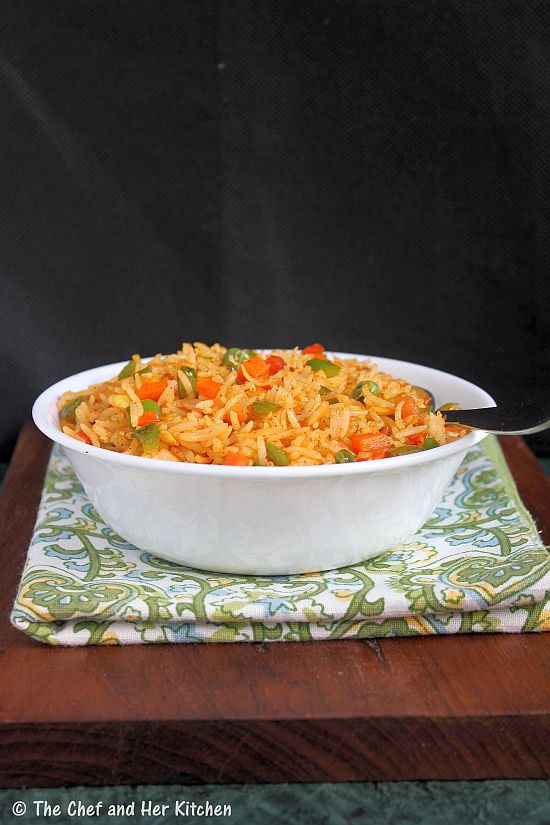
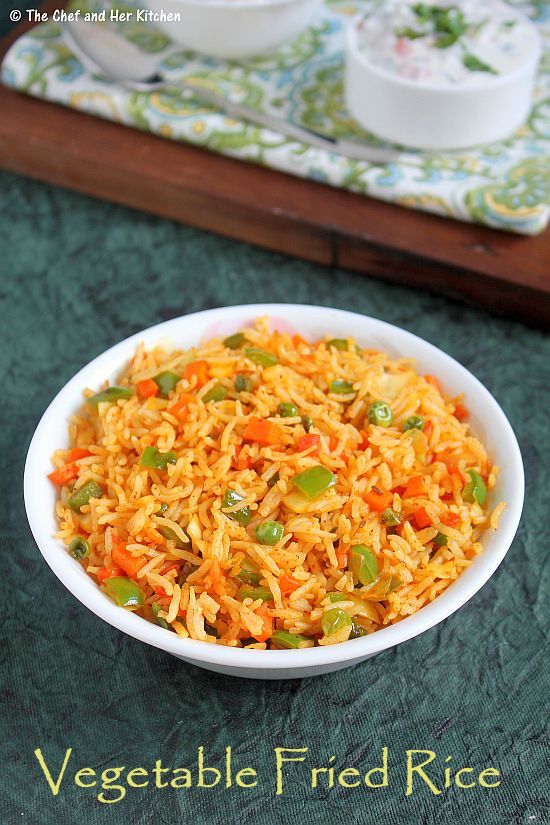
Vegetable Fried Rice Recipe - Indian style

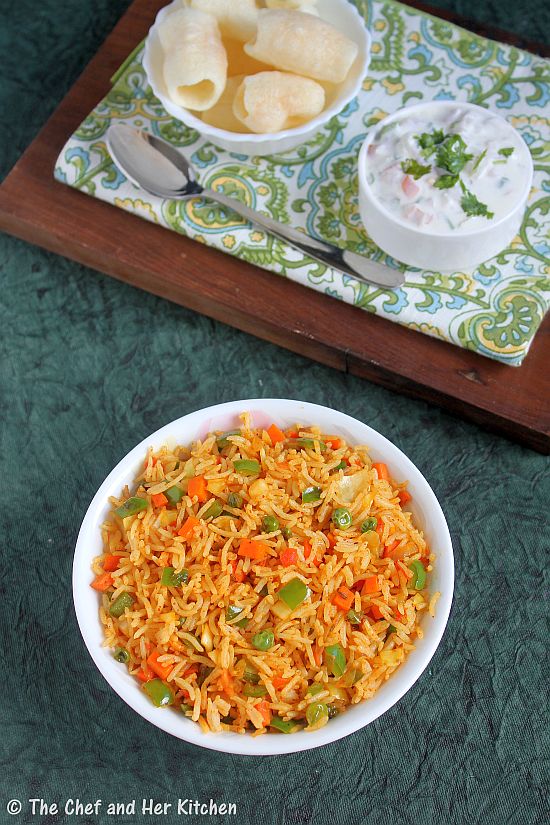
Indian style vegetable fried rice
I prefer to prepare Pulao or Fried rice varieties for a one pot meal as they are not only easy to make but also allow us to use many vegetables in a single dish.Fried rice is very quick to make if we have left over rice handy.I prepare various fried rice varieties apart from the famous Indo-Chinese Veg fried Rice and Indian style Fried rice.I plan to post some other varieties soon.
vegetable fried rice
I learnt this recipe from my MIL a few years back.When she mentioned that she would prepare fried rice for lunch, I had no clue that she would make this version of fried rice.I had thought that she would prepare Chinese style fried rice(that was the only fried rice I was aware of in those days) and I was surprised to see the Indian style fried rice and I really liked the taste of this masaledar Indian fried rice.Later when I tasted the famous Tawa Pulao in Mumbai I realized that her fried rice tastes something similar to Mumbai's Tawa Pulao.You can try this Indian style fried rice for your kids by keeping the spices minimal.This is a nice lunch box option and also a good way to use vegetables in our diet.
Indian style vegetable fried rice
If you are interested check out mix vegetable rice recipes like Indo-Chinese Vegetable Fried rice,Mixed Vegetable Pulav,Tawa Pulao and Coconut Milk Vegetable Pulav in my blog.

easy vegetable fried rice

Indian Style Vegetable Fried Rice Recipe:
Serves 2
Prep time:10 mins | Cooking time:40 mins | Total time:50 mins
Cuisine:North Indian | Category:Rice-MainCourse

Ingredients:
1 cup Basmati Rice
1 medium Carrot,peeled finely chopped
10-12 French Beans,finely chopped
1 small Capsicum,finely chopped
1/4 cup fresh/frozen Green peas
2-3 tbsp Cabbage,finely chopped
1 large Onion,finely chopped
1 large Tomato,finely chopped
1/2 tsp Home made Garam masala or 1 tsp store bought Garam masala
1/2 tsp roasted Cumin powder
3/4 tsp Red chili powder
1/2 tsp Turmeric powder
1 tsp Cumin seeds
1 Bay leaf
Salt to taste
Coriander leaves,to garnish
1 1/2 tbsp Oil
1 tbsp Ghee/Butter

Method:
  • Wash and soak rice for 10 mins.Cook it in rice cooker or pressure cooker with 2 cups of water until done.gently fluff it with fork and spread it on a wide plate to cool completely.
  • Heat oil and ghee/butter together in a thick kadai/pan and crackle cumin seeds.Add bay leaf and fry for half a minute.
  • Add chopped onions and fry until they turn translucent.Add ginger-garlic paste and fry well for a minute.
  • Now add finely chopped carrots,french beans and green peas and fry them for 2 mins and cover it cook on low flame for 4-5 mins until they are half cooked and taste still crunchy.
  • Add cabbage,tomato and capsicum and fry again for 2-3 mins.You should maintain the crunch of all the vegetables.Let the tomato become slightly mushy.
  • Add turmeric powder,red chili powder,garam masala and coat the vegetables with the masalas and fry for a minute.
  • Add the cooked and cooled rice and enough salt and gently mix so that the rice would not break.Mix and let it cook for 2-3 mins on low flame,stir it occasionally.
  • Now add chopped coriander and mix well.
Serve it hot with Onion-Tomato raita or Tomato sauce and chips/papad.
veg fried rice

Notes:
  1. You can even use pav bhaji masala instead of garam masala in the recipe.
  2. Add 1 tsp lemon juice to the rice at the end and mix well,it is optional.I like it with out lemon juice.
  3. You need to cool the rice completely otherwise it will become mushy.
  4. I use home made Garam masala which is quite strong and hence use less quantity.If you are using stor bought masala increase the masala according to your taste buds.
  5. It is important to maintain the crunchiness of vegetables for a good fried rice.
easy vegetable fried rice


Friday, December 6, 2013

Fenugreek leaves Stir fry | Methi Bhaji

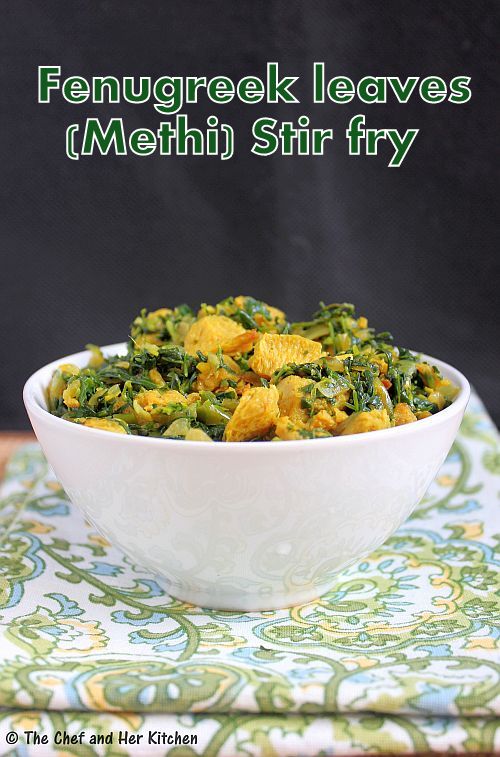
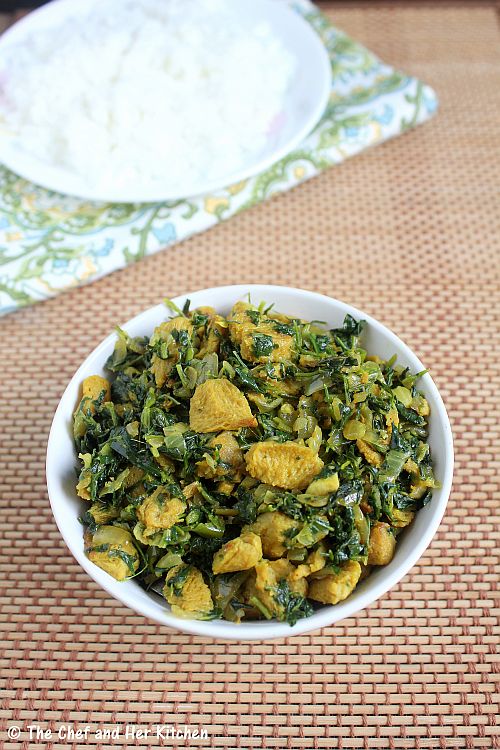
fenugreek leaves stir fry
I use various varieties of greens- green/red amaranth, methi, palak and dill leaves regularly in my cooking and I make it a point to use them at least 3-4 times a week to pair with my Jowar bhakris.I prepare either stir fry or dal with red and green amaranth but methi and palak are very versatile greens and can be used for various preparations-snacks,dal,stir fry,curries,gravies,rotis,parathas etc. However, if I want to serve the greens with bhakris,I prefer it in the form of either a simple stir fry or Saag.
This is a typical Maharasthrian style preparation of greens,you can adapt this recipe to prepare any greens stir fry.It is called as 'Methichi Bhaji' in Marathi.Usually Maharashtrians do not add any tempering in the greens and keep the garlic to dominate the flavor in the stir fry.I just love this simple stir fry and I sometimes add soya chunks or fried mini urad vadis to it, to add a nice bite to them.
methi stir fry


Fenugreek leaves Stir fry | Methichi Bhaji Recipe:
Serves 2-3
Preparation time: 15 mins | Cooking time: 20 mins | Total time: 35 mins
Recipe Cuisine:Maharasthra - Indian | Recipe Category: Side dish for Rice/Roti

Ingredients:
1 big bunch Fenugreek leaves/Methi
15-20 Soya Chunks(optional)
1 big Onion,roughly chopped
4-5 Green chillies,finely chopped
5-6 Garlic pods
2 tbsp Oil
Salt to taste

Method:
  • Clean the fenugreek leaves and wash them properly and soak it in salted water for 8-10 mins.Chop the leaves finely along with tender stalks.
  • Boil water in a small pot and add soya chunks and boil them for 4-5 mins until they are done.Drain them and cool them slightly,squeeze the extra water from it and drop them in normal water and squeeze them again and repeat it one more time.If you are using big soya chunks,chop them into small pieces roughly and ignore it if you are using mini soya chunks.
  • Heat oil in a kadai and add chopped garlic and fry until they turn slight brown in color.
  • Add chopped onions and green chillies and fry for few mins until onions turn pink.
  • Add squeezed soya chunk pieces and stir fry for 2 mins.
  • Now add the chopped methi leaves and fry for 10-12 mins until the fenugreek leaves are cooked.Take care that you would not over cook the greens,they taste best when they are cooked right.You can initially cover it slightly for 2-3 mins and then remove it later and fry it with out lid.
Serve it hot with Roti/Rice/Jowar Bhakri/Bajra Bhakri.

Notes:
  1. You can use green amaranth leaves or red amaranth leaves or spinach and follow the same process.
  2. I usually do not add any seasonings in the oil as I like the garlic flavor to dominate in the recipe.You can reduce the garlic if you are not a big fan of it.
  3. I like to keep this recipe simple as it tastes best as it is and I love to eat this with Jowar or Bajra Bhakris.
  4. Use only tender stems of the greens for this recipe.Chop them roughly.
  5. The addition of soya chunks is entirely optional,I like to add them as they give a nice bite in the curry.They absorb the flavors beautifully too.


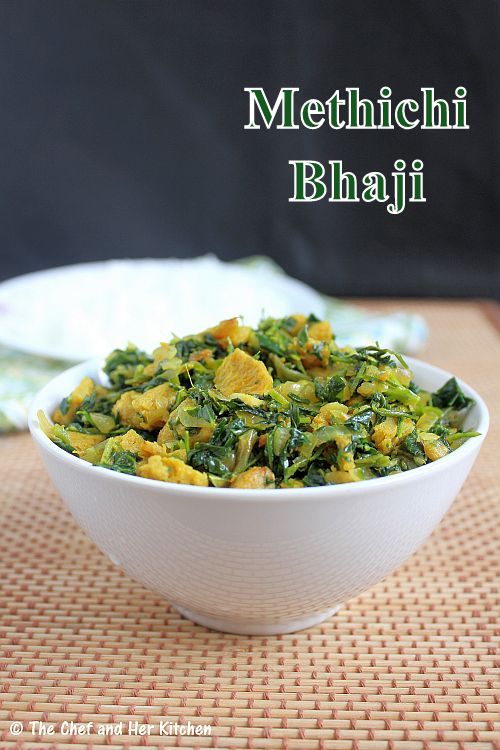
methichi bhaji

Wednesday, November 27, 2013

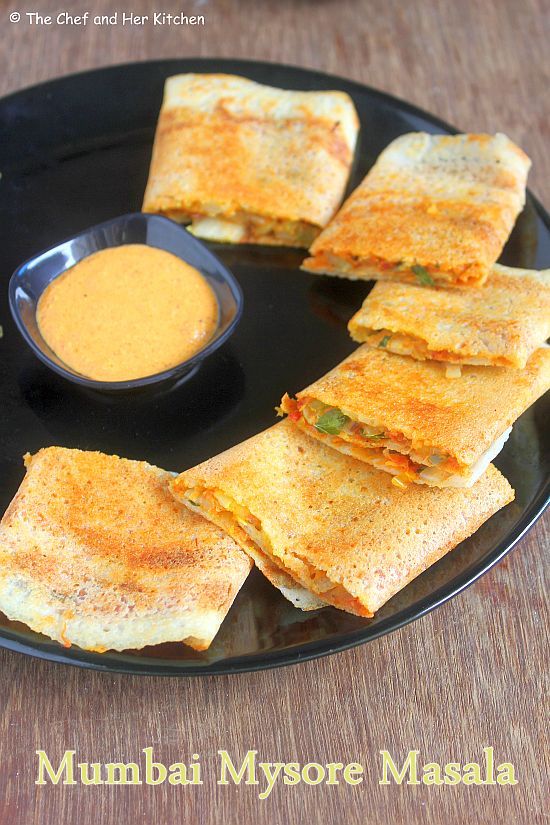
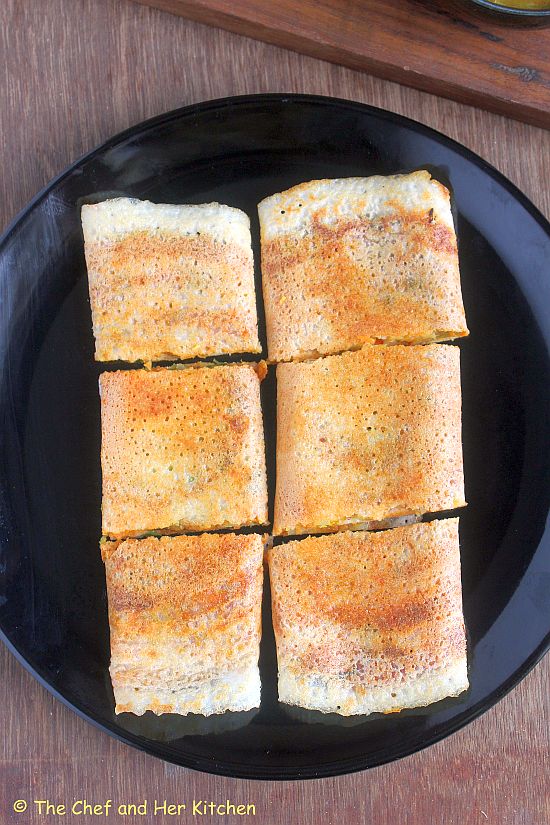
Mumbai Mysore Masala Dosa Recipe

mumbai mysore masala dosa
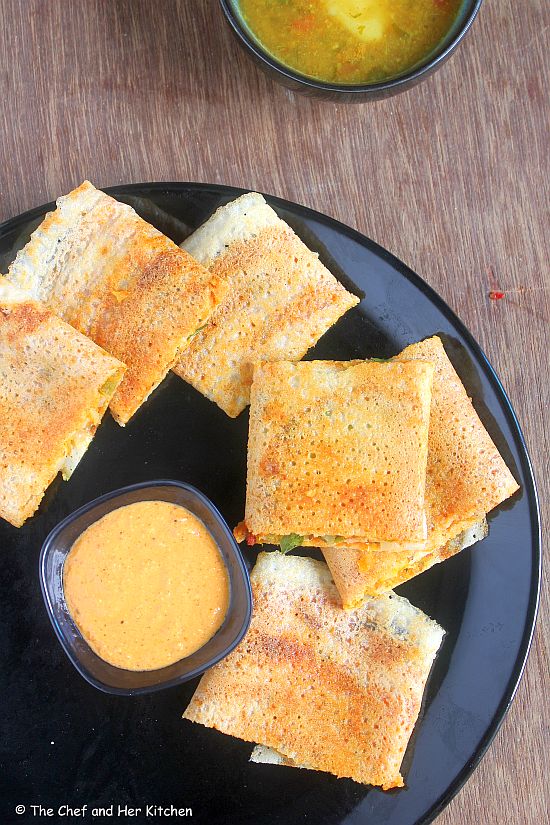
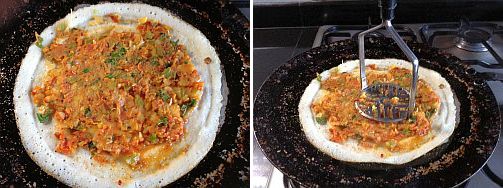
Mysore Masala Dosa comes in my top 5 breakfast varieties on any given day. It is a must for me to have Masala Dosa for breakfast in my favorite joints during my trips to Bangalore. The crisp crust with a soft interior is the key for a good Masala dosa and it is served in that way in Bangalore and if you have ever tasted Masala dosa in Bangalore it is not easy for you to like the masala dosa in any other place and it's the same case with me.I do not like thin masala dosa unless it is a paper masala dosa. Even in Mumbai most of the udupi joints prepare the masala dosa very thin which I am not really fond of,I give them a miss and prepare Masala Dosa at home. But Mumbai street food takes the humble South Indian Masala Dosa to a different level with the addition of various masalas and vegetables and the way they play with the ingredients by mashing them on the dosa and the way it is served really impressed me - it is really fun to watch the way they use the masher to mix the ingredients.
mumbai mysore masala dosa
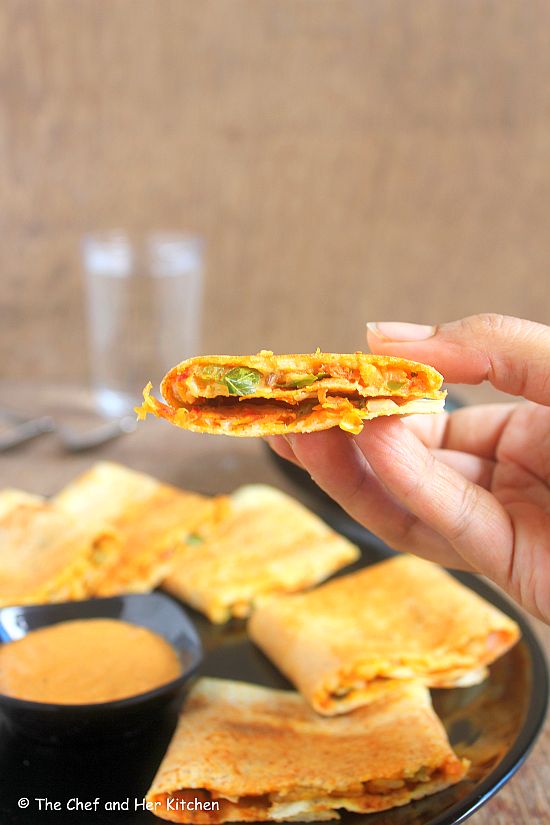
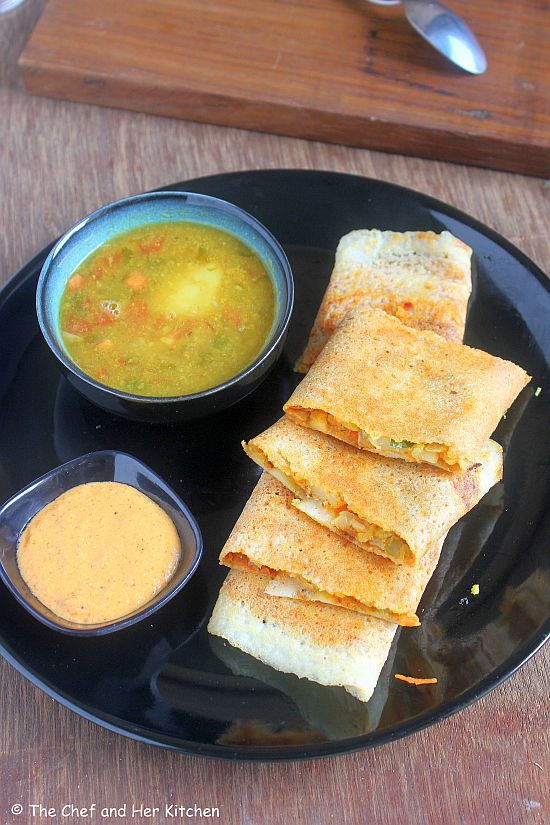
Now let me explain what the key difference between a regular Mysore Masala Dosa and the Mumbai style Masala Dosa. In Mysore Masala Dosa, a spicy garlic chutney is smeared on dosa and is stuffed with potato curry where as in Mumbai style Mysore Masala Dosa - an extra component of additional vegetables with spices like Pav bhaji masala or garam masala gives a new dimension to it. Also the dosa is prepared thin compared to the regular masala dosa.
mumbai mysore masala dosa
I thoroughly enjoy this Mumbai style Mysore Masala Dosa and I recommend you all to try this at least once and I am sure you would thank me for introducing you to this delicious Mumbai street style dosa.
mysore masala dosa

Check out other Dosa varieties from the streets of Mumbai:
If you are interested in other dosa recipes,check out more varieties here.

mumbai mysore masala dosa

Mumbai Mysore Masala Dosa Recipe:
Yields 6-8 dosas
Prep time:10 mins | Cooking time:20 mins | Total time:30 mins
Cuisine: South Indian Fusion | Category: Breakfast/Snacks
Ingredients:
2-3 cups Dosa batter
1/4 cup chopped Coriander leaves
Butter and Oil, to roast

for Potato Stuffing:
2 medium Potatoes,boiled and mashed
1 small Onion,finely chopped
2 Green chillies, chopped
1/4 tsp Turmeric powder
a sprig of Curry leaves,chopped
1/2 tsp Cumin seeds
1/2 tsp Mustard seeds
a pinch of Asafoetida(Hing)
Salt to taste
2 tsp Oil
for Vegetable filling:
3/4 cup of mixed finely chopped vegetables(tomato,onion,capsicum,cabbage)
1/4 cup of grated vegetables(carrot and beetroot)
1/4 tsp Garam masala
1 tsp Pav Bhaji masala
1/4 tsp Red chili powder
Salt to taste
2 tsp Oil

for Red Garlic Chutney:
3-4 Byadige Red chillies
7-8 Garlic Pods
Salt to taste

Method:
to prepare Potato filling:
  • Heat oil in a kadai/pan and crackle mustard seeds and cumin seeds and then add asafoetida.
  • Add finely chopped green chillies and curry leaves and fry until they wilt.
  • Now add chopped onions and fry well until they turn translucent.
  • Add turmeric powder to it and mix.Add nicely mashed potatoes and salt to it and mix it properly. Keep it ready.
to prepare Red Garlic chutney:
  • Soak red chillies in hot water for 10-15 mins.Drain them and grind with garlic pods and salt to a fine paste.Add water if needed while grinding.
to prepare Veg filling:
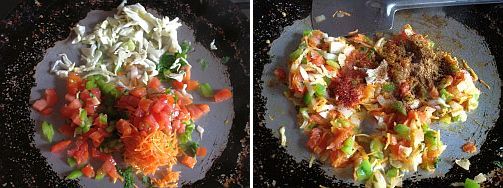
  • Heat oil in a kadai/pan and add finely chopped onions and fry until they turn translucent.
  • Add grated carrots and beetroots and finely chopped capsicum and fry on high heat for 1-2 mins.


  • Now add chopped cabbage and quickly fry for another minute.The crunchiness of vegetables is to be maintained and hence do not over cook the vegetables.
  • Add red chili powder, garam masala, pav bhaji masala and salt to it and mix well and switch it off and keep the mixture ready.
to make Dosa:


  • Keep the masalas- potato masala and mixed vegetable mixture ready. Make the tawa ready for preparing dosa,keep the stove on medium flame and pour a ladle full of batter in the middle of the pan and spread in a circular motion to form a 7-8 " THIN dosa and pour some oil (1 tbsp roughly) all over the edges and in the center cover it with a lid.


  • Add 1 tsp butter, 1 tsp red garlic chutney, 1 tbsp chopped coriander leaves and 2-3 tbsp prepared potato filling and 2-3 tbsp prepared vegetable stuffing mixture.


  • Mix and spread them using a spoon or spatula or the masher according to your convenience. Level the mixed stuffing using the spatula. Keep the flame on HIGH and let it roast for another minute until it turns golden brown and crispy. Do not over roast it as it will be difficult to fold it as shown.
  • Roll the dosa carefully to form a roll.
  • Remove it from the tawa and cut it into 3-4 pieces using a pizza cutter or sharp edge of spatula or knife.You can even cut it diagonally.
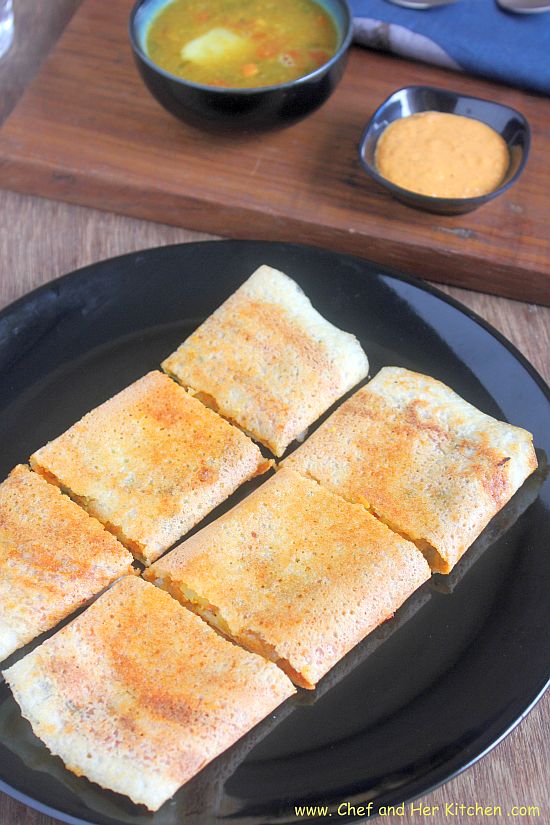
Serve it with Coconut chutney and Sambar. Check out other side dishes for Idli/dosa here.

mumbai mysore masala dosa
Notes:
  • You can basically use any dosa batter recipe to prepare this dosa but make sure you spread the dosa very thin.
  • Do not miss any component in the recipe to enjoy the taste of this fusion dosa.
  • Also do not skip Pav bhaji masala in the recipe which lends a nice taste to the dosa.
  • I did not have beetroot on that day and hence I did not add it.
  • Usually all the vegetables and spices are added directly on the dosa along with potato mixture,garlic chutney,butter and is mashed directly on the tawa. The tawa and the heat plays a major role when comes to home made dosas and hence we cannot do it easily as the street hawkers do, I suggest you to lightly saute the vegetables ahead which not only makes it cook faster but also makes the job easier. If you want to have fun you can still try that method.
mumbai mysore masala dosa

Technorati Tags: , , , , , , ,

Wednesday, November 20, 2013

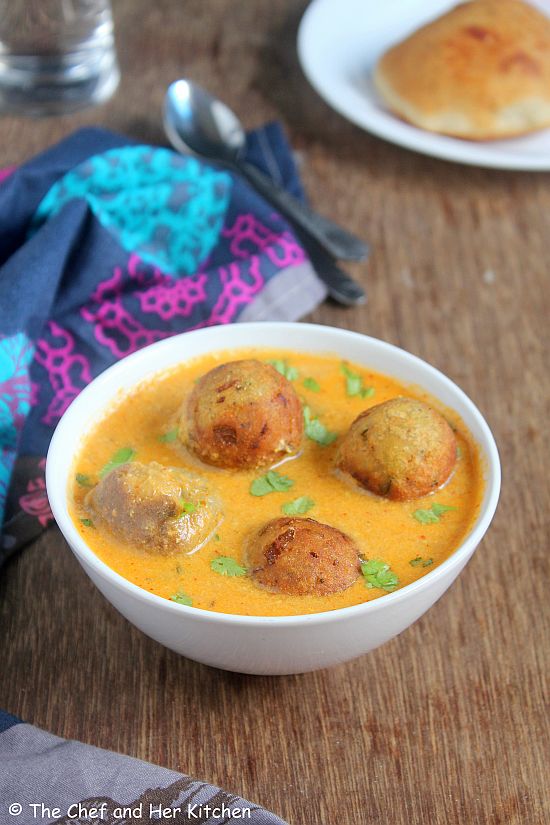
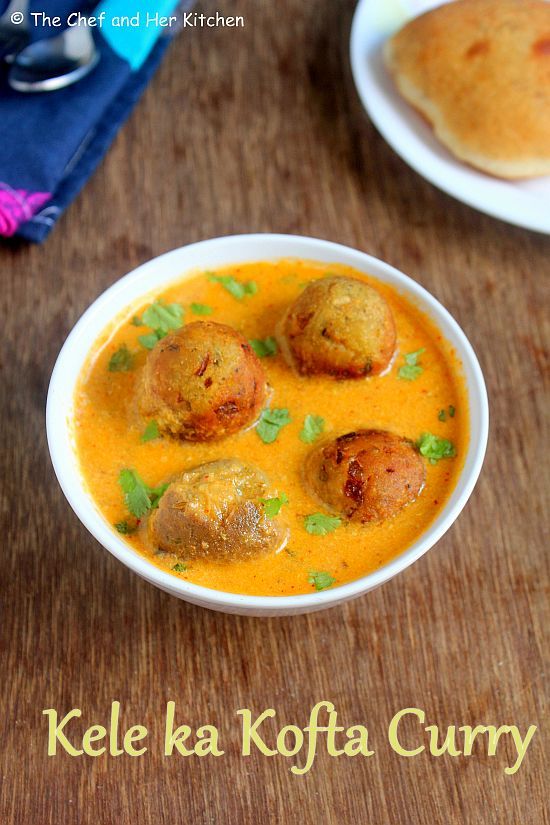
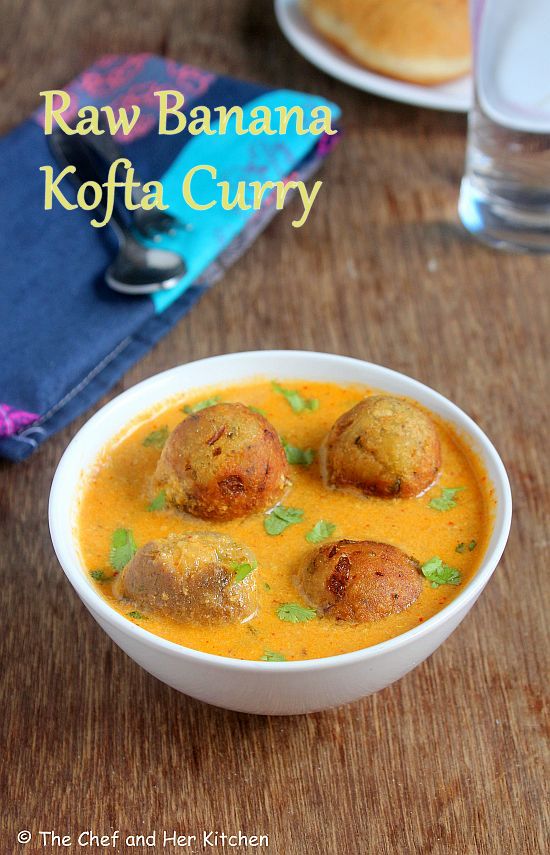
Raw Banana Kofta Curry | Kacche Kele ka Kofta Curry

raw banana kofta curry
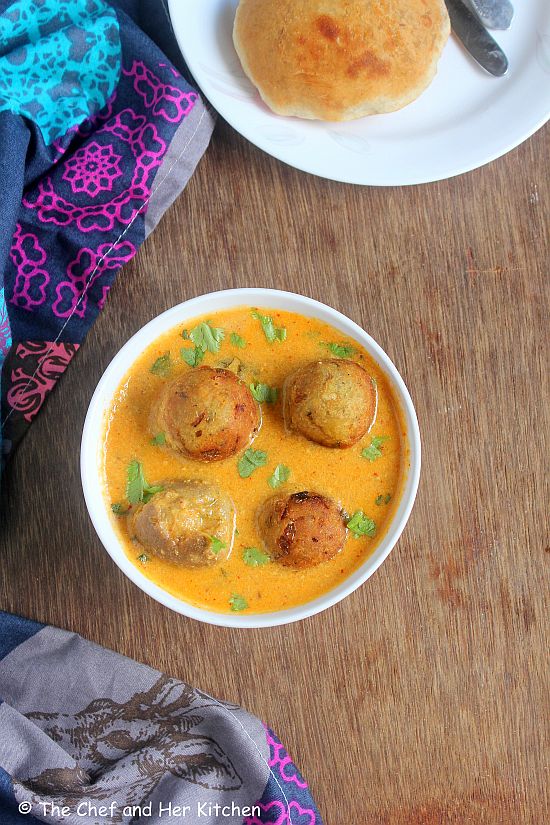
Kofta based curries are bit time consuming as it involves the preparation of kofta along with the gravy part. Hence I usually do not prefer to make it on daily basis and prepare it occasionally. You can prepare various kofta based curries like Cabbage Kofta, Lauki kofta, Malai kofta, Paneer Kofta and Kele ka kofta curry. The preparation process of the gravy is very simple for cabbage kofta and lauki kofta curry which suits the everyday cooking, but for the rest of the recipes the gravy is prepared in a rich and creamy way which is good for occasional cooking.
The options with raw banana are limited, I usually end up preparing a stir fry for rice or a simple sabzi for rotis regularly and these Raw Banana(Kele ka) Pakoras on rare occasions. You can even use raw banana to make cutlets or koftas like I did. These koftas can be served as a snack too,they tastes delicious when deep fried. Another healthy option to fry these koftas is to shallow fry them in Paniyaram pan which consumes less oil compared to deep fried version. I prefer to fry the koftas in paniyaram pan if I am making it for my family, I prefer the deep fried version if I prepare it for a party or on special occasions. The texture of the koftas is definitely better when deep fried but the taste of shallow fried is even good.
kacche kela ka kofta curry

Check out few recipes with Raw Bananas in my blog here:
Raw Banana Kofta Curry Recipe:
Serves 3-4
Prep time: 20 mins | Cooking time: 40mins | Total time: 1 hr
Cuisine: North Indian | Category: Side Dish - Main Course

Ingredients:

for Kofta:
2 large Raw Bananas
1 medium Potato
3-4 tbsp Chickpea flour(Besan)
2-3 tbsp Raisins
1 small Onion,finely chopped
2 Green chillies,finely chopped
1/2" Ginger,finely chopped
2 tbsp Coriander leaves,chopped
1/2 tsp Amchur powder
1/2 tsp Coriander powder
1/2 tsp Cumin powder
1/4 tsp Turmeric powder
Salt to taste
Oil,to deep fry

for Gravy:
3 medium Tomatoes, make a cross on them
2 medium Onions, quartered
1/3 cup Milk or 1/4 cup Cream
6-8 Cashew nuts
1 tsp Kasuri Methi
2 tsp Coriander powder
1 tsp Cumin powder
3/4 tsp Red chili powder
1/4 tsp Turmeric powder
1/2 tsp Sugar,optional
Salt to taste
2-3 tbsp Oil

Method:
to make Koftas:
  • Cut the ends of raw bananas and cut them into 2-3 pieces and pressure cook along with potato for 3 whistles.After it cools down,peel the skin of raw bananas and potato and mash it nicely using potato masher while it is still warm and keep it aside.
  • Dry roast chickpea flour until you get nice aroma from it and let it cool.
  • Add all the masalas - red chili powder, coriander  powder, cumin powder, turmeric powder , garam masala powder and salt to the mashed raw banana and potato mixture and mix it nicely.The mixture would be very soft and mushy at this point.
  • Add finely chopped onion,green chillies and coriander and mix well.Now add roasted chickpea flour and mix nicely,do not add all the quantity of besan at once, add in small portions and mxi until you feel the mixture is not very sticky.Do not add more besan,the koftas would be softer when the dough is slightly smooth instead of stiff dough.
  • Grease your palms with oil and make gooseberry sized koftas and try to stuff raisins in it - by initially making it like a cup and stuff raisins and close it to form a kofta. Refrigerate them for half an hour so that they will firm up slightly,you can use them immediately too if you are short of time.
  • Heat oil in a deep curved pan until it is hot and add koftas and fry them on medium flame until they turn in deep brown color.Remove them with the slotted spoon on to a kitchen napkin.
  • If you are looking for healthy option - you can fry them alternatively in an Aebliskever pan. Heat the pan and add 1/2 tsp of oil in each impression and when it is piping hot keep the flame on LOW and place the koftas in it and fry them by turning them slightly in between until they get roasted on all sides.This is time consuming but a very healthy alternative option. Keep them aside until serving time.
to make Gravy:
  • Boil water and add quartered onions, tomatoes(make a cross before) and cashew nuts and boil them for 2-3 minutes. Drain them and once they become cool, remove the skin of tomatoes and chop them roughly. Grind the tomatoes, boiled onions and cashew nuts to a very smooth paste.
  • Heat oil in a kadai and add ginger-garlic paste followed by the ground onion-tomato-cashew paste and fry well until the oil leaves in the edges and the masala becomes dry.
  • Add the dry masalas - red chili powder, coriander powder, cumin powder, garam masala, turmeric powder and salt and fry nicely for 3-4 mins.You can add a tbsp of water if you feel that the mixture would burn. Ensure you fry the masala nicely with out getting it burnt.
  • Add roughly 3/4 -1 cup of water to it and let it come to boil.Add kasuri methi and sugar and let the gravy simmer for 8-10 mins.The consistency of the gravy should not be very thick or very thin, it should be of medium thickness consistency.Aslo remember that the koftas observe the gravy,so prepare the gravy of medium consistency.
  • Switch off the flame and add cream or milk to it and stir nicely.
  • When you are ready serve,arrange koftas in a serving bowl and pour the hot gravy over it and cover it for 10-12 mins to let the koftas observe the gravy.You can add the koftas to the gravy and simmer for 1-2 mins before adding the cream/milk, do not boil the koftas for long it will make them soggy otherwise.
  • Garnish with coriander and cream.
Serve it hot with Rotis/Naans/Kulchas/Jeera rice.

raw banana kofta curry

Notes:
  1. Koftas can be deep fried or shallow fried or oven baked according to your choice.Deep fried koftas has better texture when compared to shallow fried or oven baked ones.If you make this recipe for parties I suggest you to deep fry and for regular cooking you can either shallow fry or bake them in oven.
  2. The gravy consistency is important as the koftas would absorb the gravy. Make sure you add gravy to the koftas before serving, otherwise they will turn soggy if kept for long.
  3. Cashew nuts can be ground and added in the later stage, but for ease I ground along with the onions and tomatoes.
  4. Raw Banana koftas can be served as an appetizer or snack by sprinkling some chaat masala over it.
kela ka kofta curry

Monday, November 18, 2013

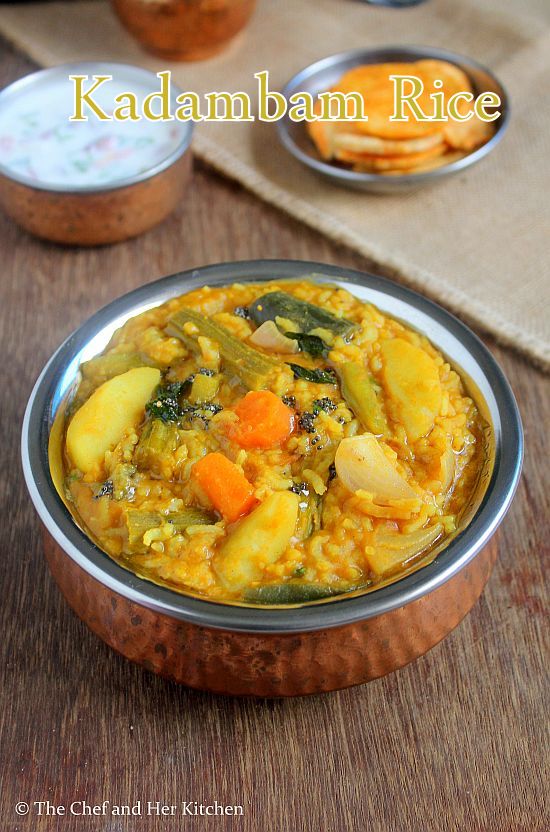
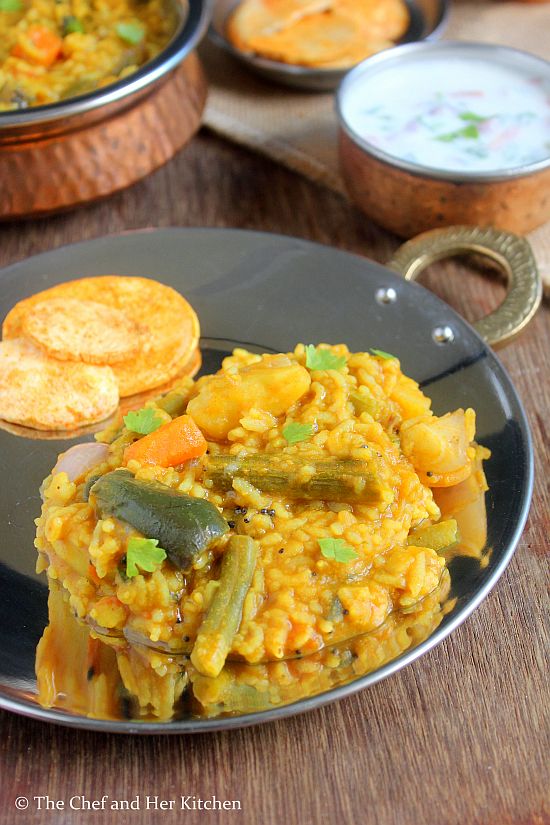
Sambar Sadam | Kadambam Rice Recipe

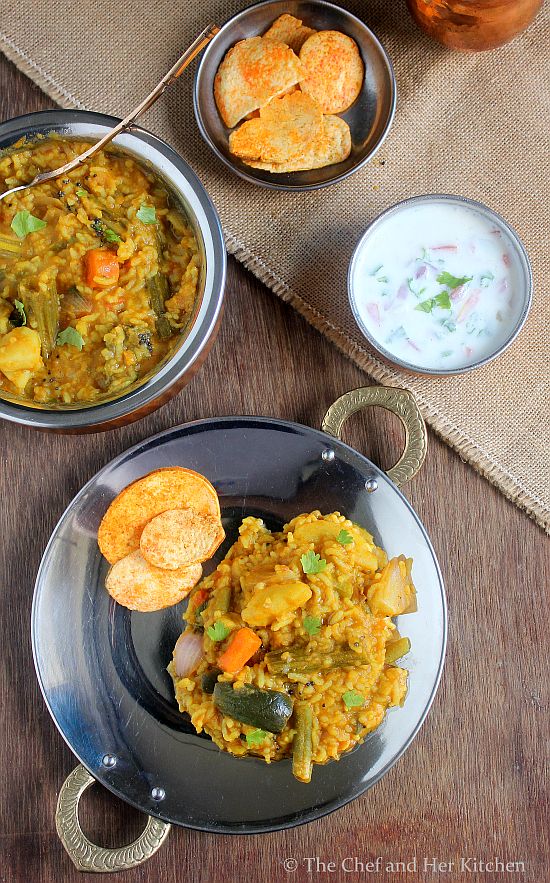
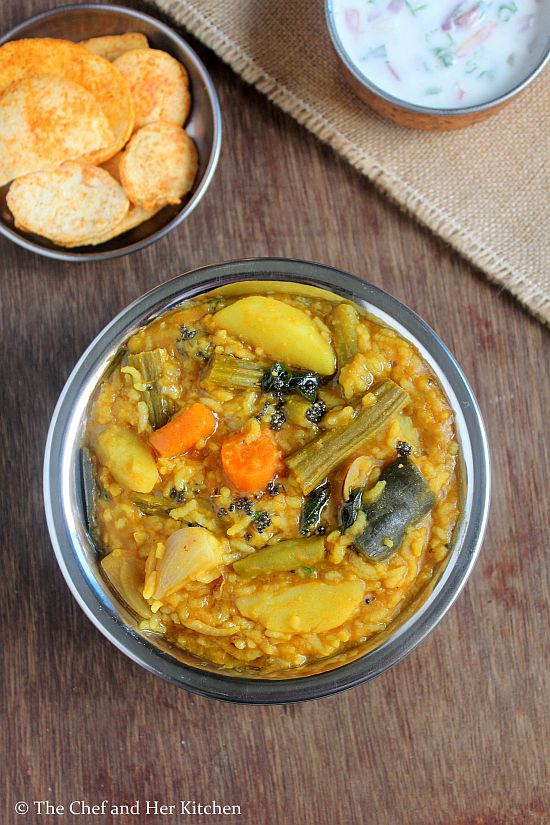
kadambam rice
Bisi Bele Bath is a signature recipe of Karnataka and has gained its popularity all over India. 'Sambar Sadam' of Tamilnadu and 'Kadambam Rice' of Andhra are prepared in the similar lines of Bisibelebath but a very quick version when compared to time consuming Bisibelebath. I love Bisibelebath to the core and as the process is quite time consuming, I do not make it often but in order to satisfy my cravings I usually prefer to make this Sambar Sadam which is a quick version. Though I would say it does not match the taste of Bisibelebath but it tastes good in its own terms and keep me satisfied.The usage of vegetables and masalas differ in both the dishes are different and hence the taste differs quite distinctively.
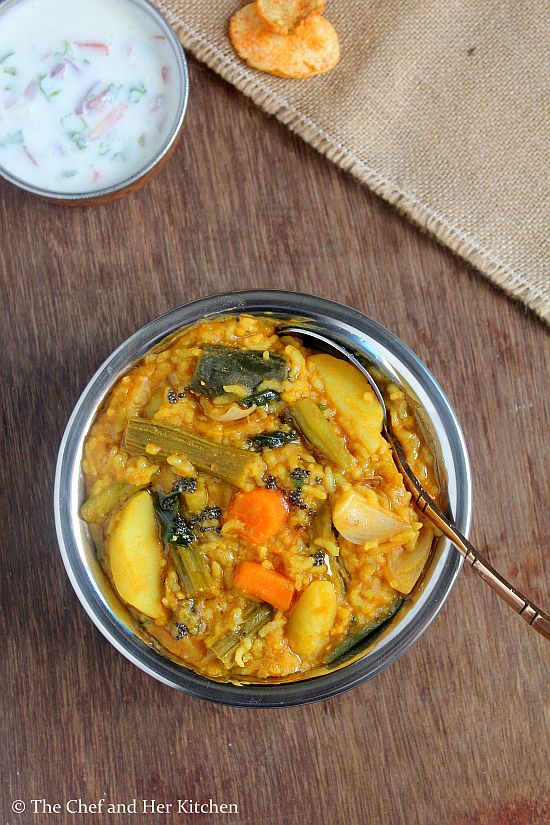
kadambam rice
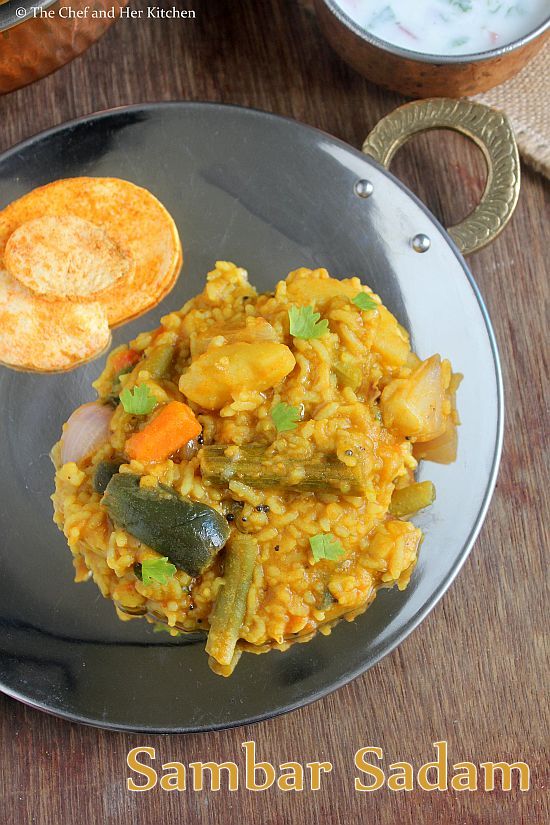
'Sambar Sadam' or 'Kadambam Rice' is basically 'Sambar Rice' where we add various mixed vegetables and cooked along with dal and rice and spiced up with sambar powder.It tastes mostly like sambar mixed with rice but as we cook everything together the ingredients blend nicely and tastes better compared to sambar mixed with rice.Vegetables like drumstick, potato and brinjal lends a nice flavor and taste to this rice,so do not miss adding them to it.
sambar rice
As I stock both the Sambar powders- Andhra style Sambar powde and Karnataka style Sambar powder, preparing this Sambar Sadam is a breeze for me as I do not need to prepare the fresh masala.Sambar Sadam is to be served hot with a liberal dose of ghee and is to be paired with potato chips and Tomato-Onion raita which makes a perfect meal.

Sambar Sadam | Kadambam Rice Recipe:
Serves 2-3
Prep time:15 mins | Cooking time:30 mins | Total time: 45 mins
Cuisine: South Indian | Category: Rice-Main Course

Ingredients:
1 cup Rice(Sona masuri or equivalent)
1/2 cup Toor dal
Mixed Vegetables(1 potato, 1 drumstick, 1 carrot, 1 brinjal, 1 carrot, 5-6 beans)
1 large Onion,diced or 6-8 Shallots
2 small Tomatoes,chopped
1 small lemon sized Tamarind
1/2 tsp Jaggery,grated
1 tbsp Andhra style Sambar powder(or prepare powder as mentioned below)
1/4 tsp Turmeric powder
a pinch of Asafoetida
few Curry leaves
1/2 tsp Mustard seeds
1 tbsp Oil
1 tbsp Ghee
Salt to taste

to prepare fresh sambar masala:(instead of Andhra style Sambar powder)
1 tbsp Coriander seeds
3-4 Red chillies
1 tbsp Chana dal
5-6 Fenugreek seeds
1/4 tsp Cumin seeds
1-2 tbsp dry/fresh grated Coconut,(optional)

Method:
  • If you are preparing fresh sambar masala, roast all the ingredients separately mentioned under 'to prepare masala' section in 1/2 tsp oil until they turn slight red in color.Once it is cooled grind the ingredients to a powder.
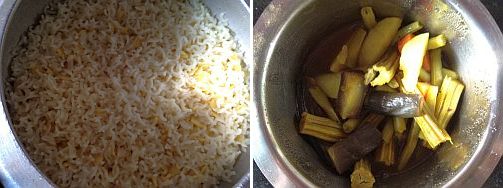
  • Wash and soak rice and toor dal separately or together for 10-15 mins.Pressure cook them together or separately.I do it both ways depends on the time availability for me.You should make sure that the rice should not become lumpy.I usually add 3 - 3.5 cups water when pressure cooking both together.
  • Cut the vegetables into 2" pieces.
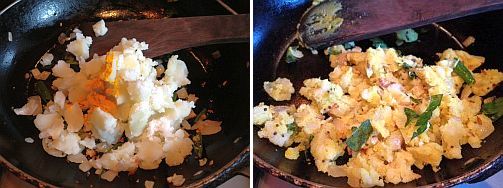
  • Soak and squeeze tamarind pulp and dilute it with 1/2 cup of water.Add salt and turmeric powder and add cut vegetables and pressure cook for 1 whistle.
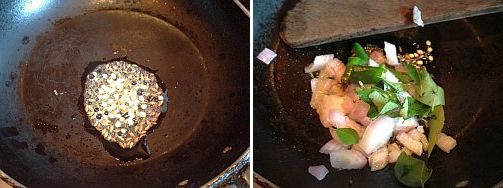
  • Heat oil and ghee in a big kadai and crackle mustard seeds and add curry leaves, asafoetida and fry until they wilt.
  • Add cubed onions or shallots and fry until they become translucent.Add chopped tomatoes and fry until it becomes pulpy.
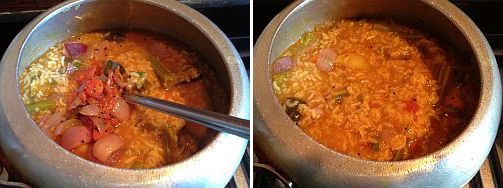
  • Now add cooked vegetables along with tamarind water and add turmeric powder, sambar powder, freshly ground powder(or Andhra style sambar powder), jaggery and bring it to a boil.If you feel the water is less add another 1/2 cup of water now.
  • Add cooked dal and rice to it and mix well and reduce the flame and let it cook for 7-8 mins until it becomes thick and all the ingredients are blended well.
Liberally top it with ghee and serve it hot with Potato chips and Onion-Tomato Raita.

sambar rice
Notes:
  • If you have Vangibath powder you can add 2 tsp Vangibath powder along with sambar powder in the recipe.
  • If you like you can add vegetables like red pumpkin, ladies finger, green peas,yellow cucumber to it. You need to saute the ladies finger in oil before adding otherwise it will become slightly sticky. But do not miss potatoes, brinjals and drumsticks in the recipe.

  • I usually keep Toor dal and rice in the ratio of 1:2, if you like you can even increase the dal in the recipe upto 3/4:1 or 1:1 depends on your personal preference.
  • As I prefers this as a quick one pot meal I usually cook rice and dal together taking care that rice would not become mushy.You can cook them separately.
  • If you are using ready sambar powder,add 1-2 tbsp grated coconut and boil it along with rice and dal mixture.However it is optional to add coconut in the recipe.
sambar sadam
 
back to top