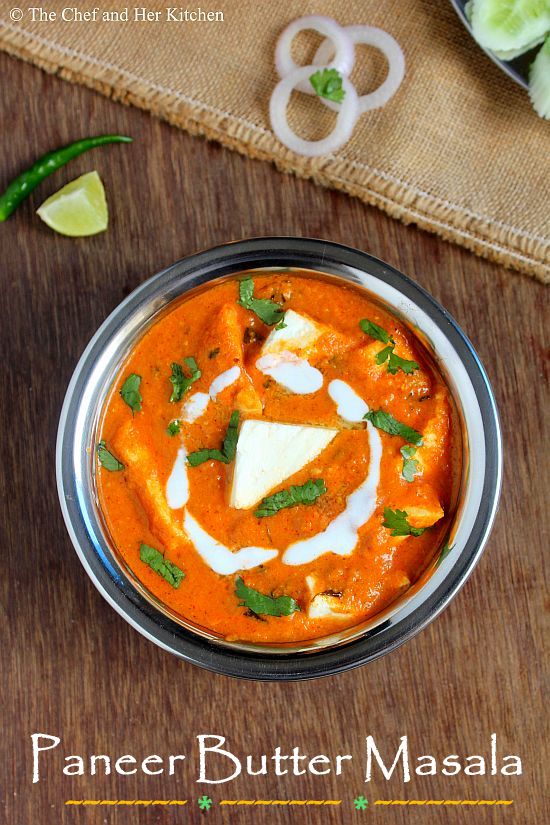
Showing posts with label Paneer Recipes. Show all posts

Wednesday, April 16, 2014

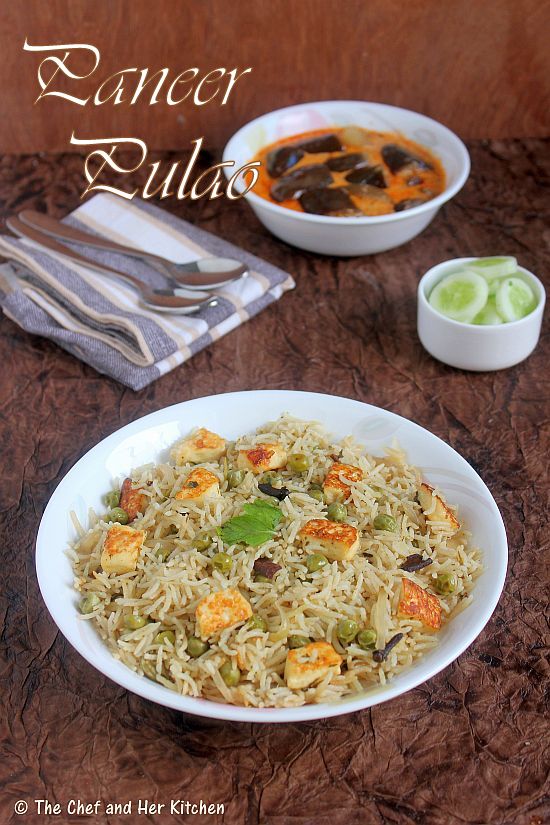
Paneer Pulao | Paneer Recipes

paneer pulao
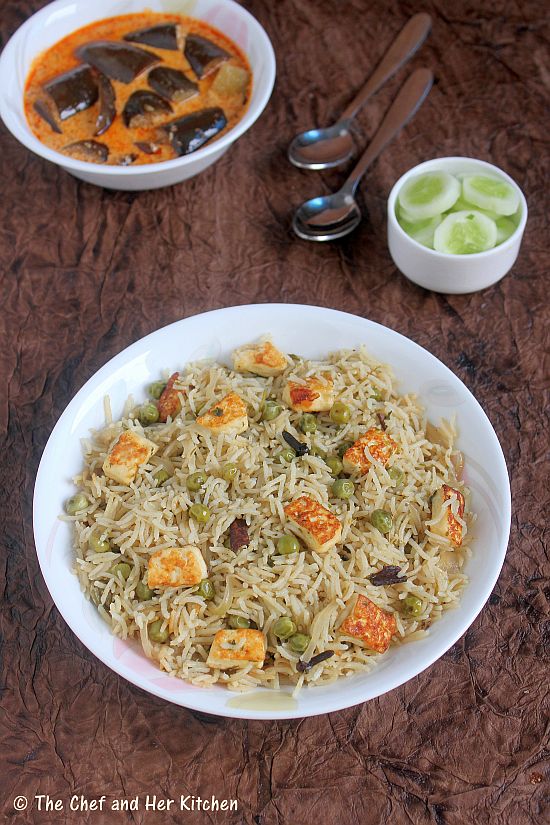
I usually add Paneer to many of my Pulao Varieties as DH is a die hard fan of paneer. Most of the paneer pieces though find its way into his plate and the less preferred veggies like carrots etc would end up in mine- not fair right!!!What if I prepare Pulao with only Paneer in it,both of us would then have to share the paneer pieces and enjoy the meal thoroughly. Well that's how this Paneer Pulao came into existence in my house.I prepare this Pulao just like my usual Vegetable Pulao with minor changes and I replace the vegetables with Paneer.I like to add green peas to this pulao as it goes really well with paneer and helps balance the texture and flavors of pulao.I always grind fresh masala for the pulao along with the addition of spices directly while tempering helping make the pulao taste better.In my opinion, this taste cannot be replicated by the addition of Garam masala and hence I suggest you to try this process once and I am sure you would be hooked on to it.
paneer pulao
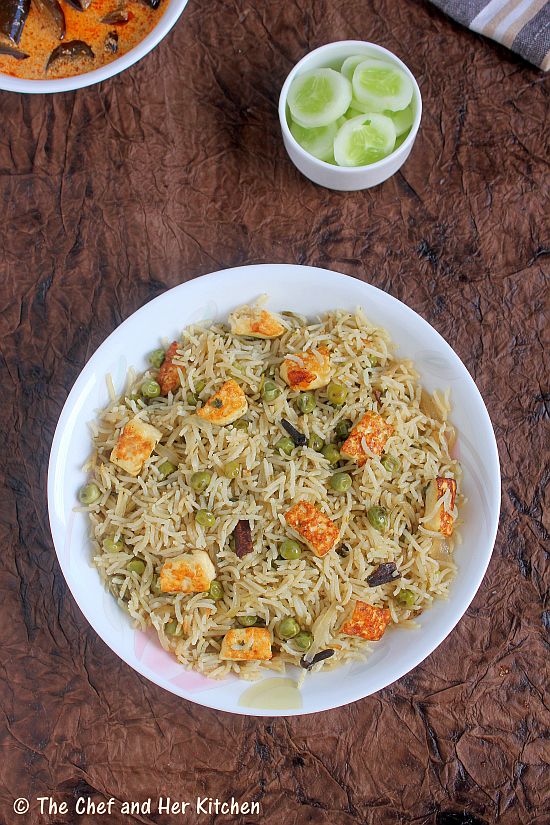
I usually saute the soft Paneer variety and immerse in warm water and cook along with rice for the paneer pulao. This helps the paneer stays soft and absorb the flavors well after it is cooked.Frozen Paneer is not recommended as it makes the paneer rubbery after it is cooked,instead of frozen paneer I suggest you to try with fresh home made paneer.I had paired it with Kashmiri dahi Baingan,papad and salad and it was a perfect lunch on our weekend.

If you are interested check out other Pulao varieties in my blog - Methi Pulao, Vegetable Pulao, Mint Pulao, Tawa Pulao, Peas Pulao and Spicy Corn Pulao.
paneer pulao

Paneer Pulao | Paneer Pulav Recipe:
Serves 2
Prep time:15 mins | Cooking time:30 mins | Total time:45 mins
Cuisine:North Indian | Category:Pulao Varieties - Main Course

Ingredients:
1 heaped cup Basmati Rice
150 gms Homemade Paneer (Cottage cheese) (or store bought) ,cut into cubes
1/3 cup fresh/frozen Green Peas
1 Onion,finely sliced
juice of 1/2 Lemon
2 Green Cardamoms ,slightly slit
2 Cloves
1/2" Cinnamon
1 Bay leaf
Salt to taste
2 tbsp Oil
1 tbsp Butter/Ghee
2 cups Water

to grind:
2 Cloves
1/2" Cinnamon
1-2 Marathi Moggu
4-5 Garlic pods
3/4" Ginger
10-12 Mint leaves
2 tbsp chopped Coriander leaves
3-4 Green chillies

Method:
  • Wash and soak basmati rice in water for 10-15 mins.
  • Grind all the ingredients mentioned under 'to grind' in whipper mode to a coarse paste.Do not make it into a smooth paste,it will make the paneer pulao green.Just pulse it for a couple of time until you get coarse mixture.
  • Heat oil and ghee together in a pan(or pressure cooker) and add cubed paneer pieces and fry them for few minutes until they turn golden on one side.Turn them over and fry on the other side too until golden color.Drop them in warm water until its usage,this will make it soft.
  • In the same oil add bay leaf,green cardamom,cloves and cinnamon and fry for a minute.
  • Add sliced onions and fry until they turn translucent.
  • Now add fresh/frozen peas and fry for a couple of minutes.
  • Add the ground masala and fry for 2-3 mins
  • Add soaked and drained basmati rice and fry gently for a couple of minute until the moisture in the rice evaporates.Do this process gently taking care that the rice does not get broken.
  • Slightly squeeze the paneer pieces and add to the rice and mix it gently.
  • At this point you can follow any of the following 3 methods.
    option-1:If you are using pressure cooker you can add 2 cups of water,salt and lemon juice and pressure cook it for 1 whistle and simmer it for 5-6 mins.
    option-2:If you want to prepare in kadai add 2 cups of boiling water,salt and lemon juice and cover it and cook for 10-12 mins until done.
    option-3:Transfer all the rice mixture into the rice cooker and add 2 cups of hot water,salt and lemon juice and cook it until done.I always follow this process while making pulaos and biryanis as they come out perfect in rice cooker.
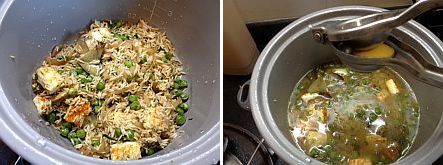
  • Do not get tempted to open the lid immediately after it is done.Leave it for 10 mins,this helps the rice to absorb all the flavors and stay fluffy. 
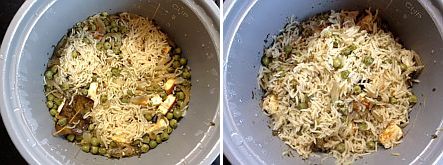
  • Using a fork fluff the rice gently.
Serve it hot with a gravy of your choice or Raita and papad.I served it with Kashmiri Dahi Baingan.
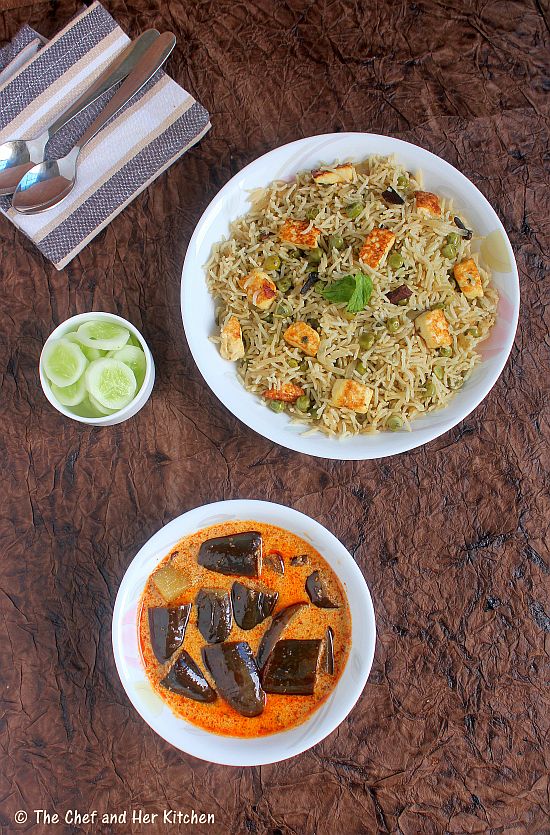
paneer pulao
Notes:
  1. You can even add paneer pieces in the end after the rice is cooked,but I prefer to cook it along with the rice and masalas so that it absorbs flavors well.
  2. Use fresh paneer,the frozen variety is not suitable for pulaos as they become rubbery after they get cooked.
  3. For a south Indian touch you can add 1/3 cup grated coconut while grinding the masala for pulao.
  4. Marathi Moggu gives a nice flavor to puloas,however it is optional as it is not easily available everywhere.
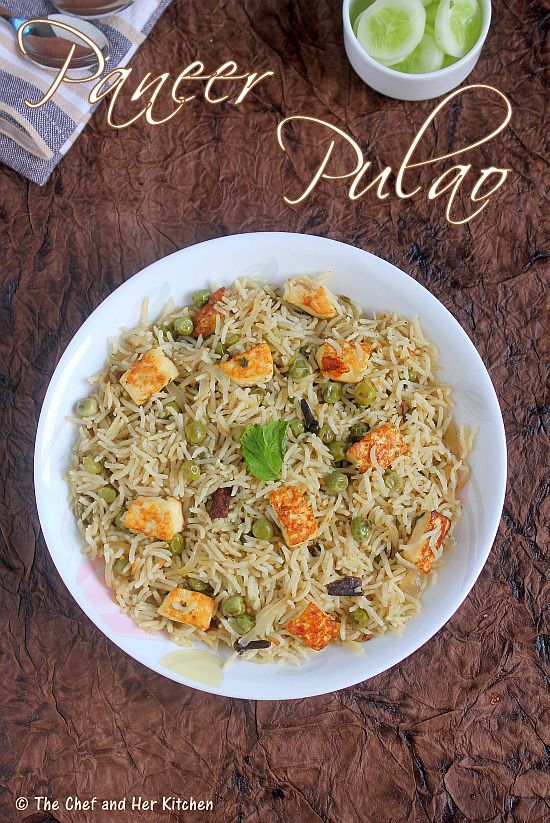
paneer pulao

Check out other paneer recipes in my blog:
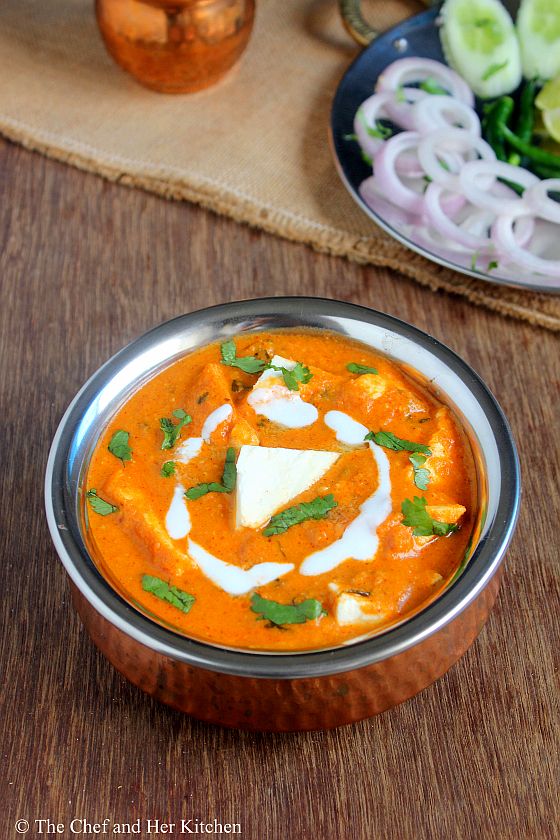
Wednesday, September 18, 2013

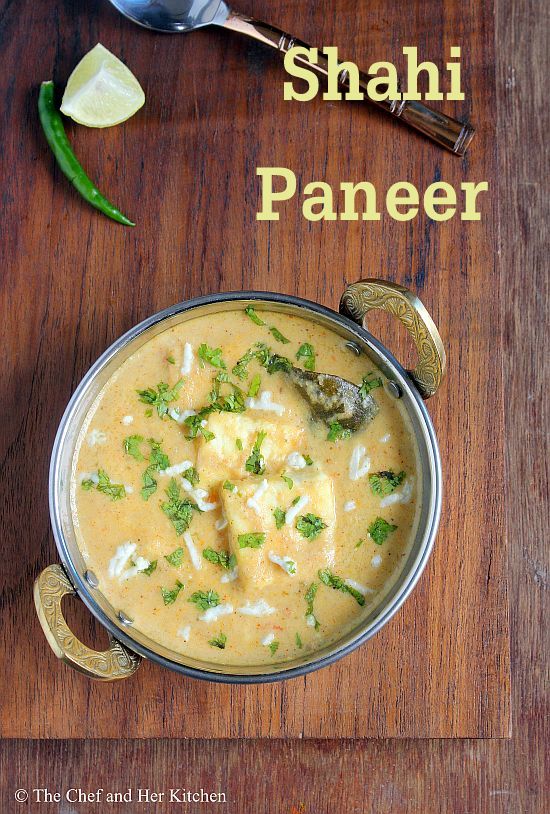
Shahi Paneer Recipe - Restaurant style Gravies

shahi paneer
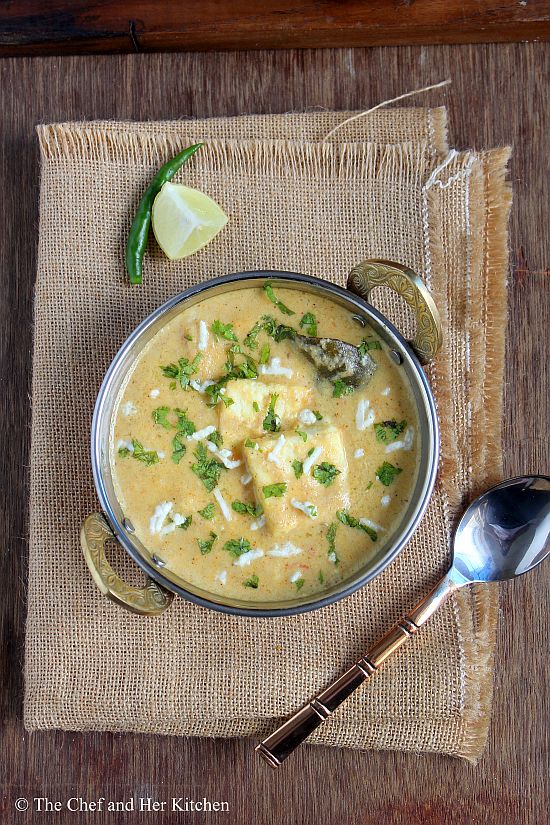
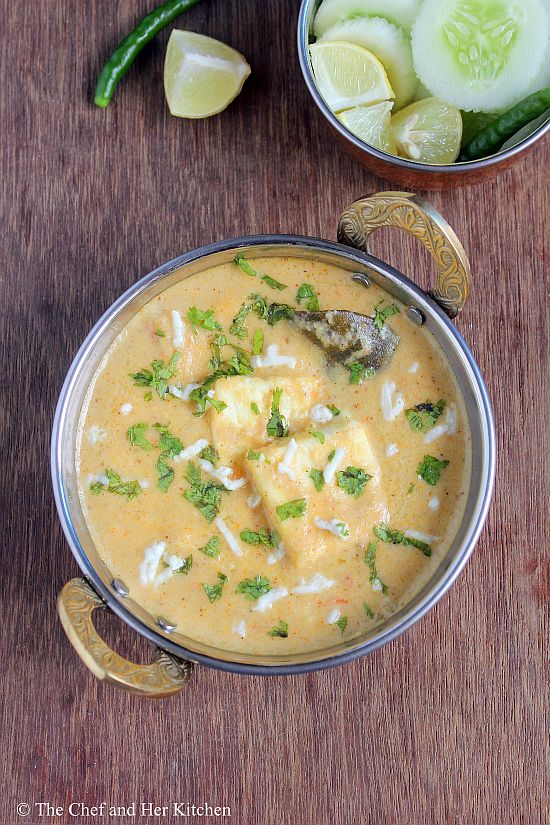
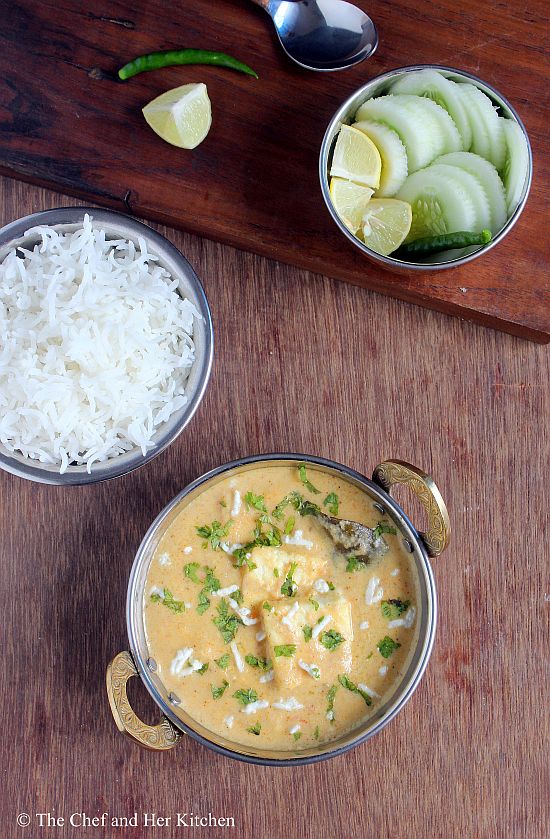
Paneer gravies like Paneer Makhani, Palak Paneer or Paneer Butter Masala are always a  hit and I am sure most of us prefer ordering at least one paneer gravy if we visit any restaurant. Another rich gravy in Paneer category is Shahi Paneer which is a royal recipe fit for special occasions. Shahi Paneer is a true rich gravy which is definitely a treat to any one.
restaurant style shahi paneer
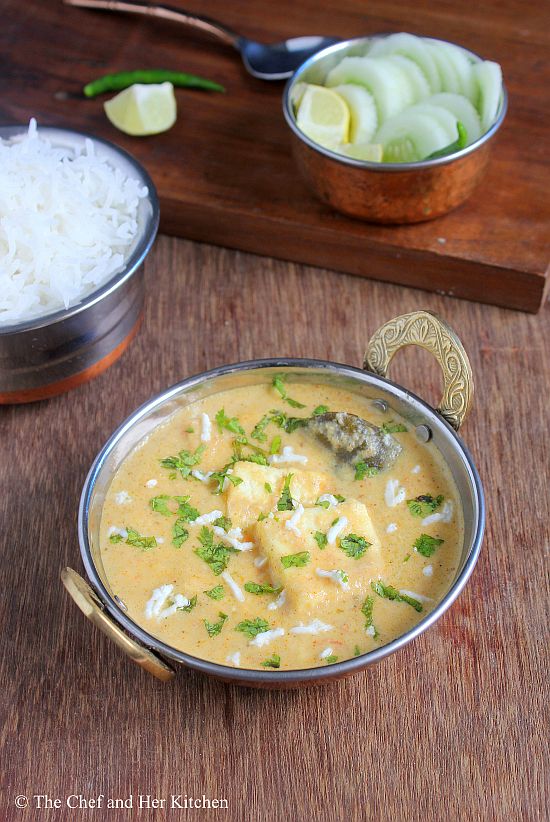
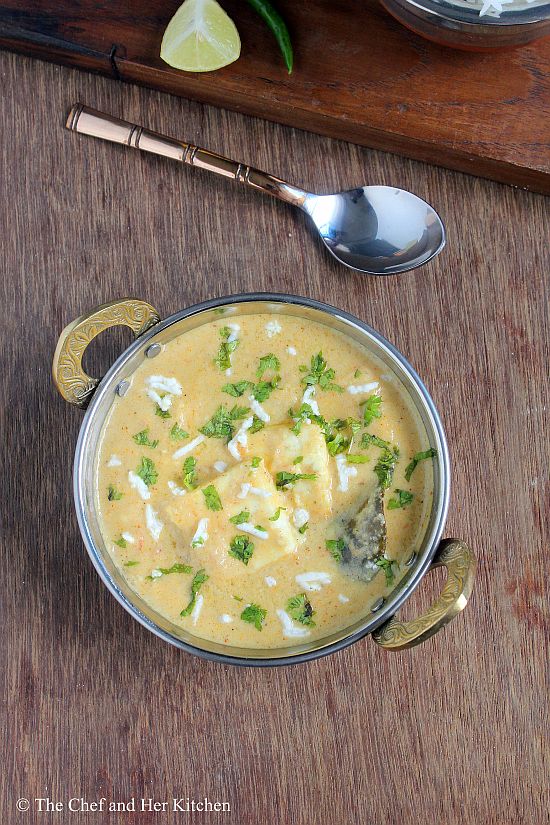
The gravy for Shahi Paneer is not the usual tomato based one, it is prepared with less(or no) tomato and has a beautiful rich white gravy made up of onions, cashew nuts, cream, curd and milk and is scented with cardamom powder. This gravy is very aromatic and the taste of it lingers you even after a while you finish eating it.Take my words and try this Shahi Paneer recipe in your next party and I am sure everone will like it. I have mentioned few tips to make it low fat in case if those extra calories by cream is worrying you.
shahi paneer
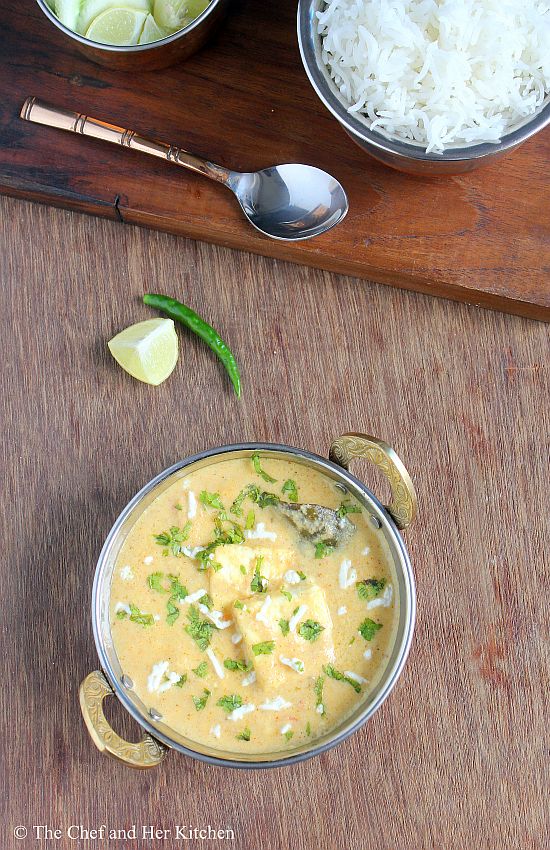
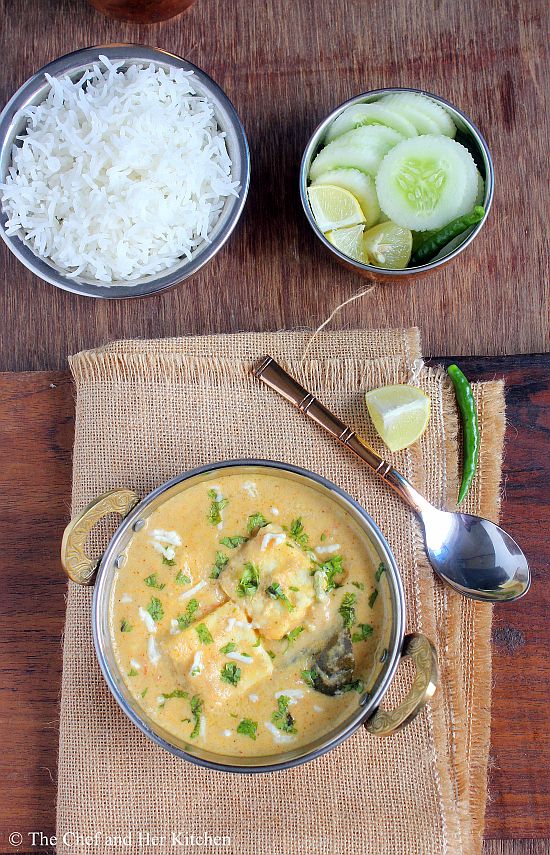
Shahi Paneer pairs up nicely with Naans, Kulchas or any other Indian flat breads and even with Jeera Rice, Matar pulav etc. Make sure you have the soft quality paneer to prepare this as we are even going to use the paneer in the gravy as well which is a real twist to the actual recipe and makes it even more delicious. As we are adding curd and milk in the gravy one should be careful while adding them to avoid the curdling- read the recipe carefully before you proceed to prepare the recipe.
shahi paneer restaurant style

Check out various Paneer Recipes in my blog:
shahi paneer

Shahi Paneer Recipe:
Serves 2-3
Prep time:10 mins | Cooking time: 30 mins| Total time: 40mins
Cuisine: Mughlai-Indian | Category: Gravies - Main Course

Ingredients:
200 gms Homemade Paneer (Cottage cheese) (or store bought)
1 small Tomato, finely chopped
1 tsp Coriander power
1/2 tsp roasted Cumin powder
1/2 tsp Red chili powder
1/4 tsp Turmeric powder
1/2 tsp Kasuri Methi
3-4 tbsp. fresh cream or 1/4 cup Milk
2-3 tbsp. fresh Curd, beaten
1 Bay leaf
2 Cardamom pods, seeded and powdered
Salt to taste
2-3 tbsp. Oil/Ghee
2 tsp Coriander leaves, to garnish

to grind- Paste1:
2 Onions, roughly chopped
2-3 Green chillies

to grind- Paste2:
8-10 Cashew nuts
1/4 cup Warm milk
1/4 cup(roughly 50 gms) grated Paneer

Method:
  • Cut paneer into 1 1/2" squares of 1/2" thickness and dip them in medium hot water until its usage. You can even sauté them in butter for few minutes on both sides and then keep them immersed in hot water until its usage.
  • Remove the skins of cardamom pods and pound the cardamom seeds in a mortar and pestle to a fine powder.
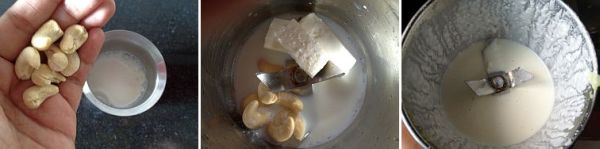
  • Soak cashew nuts in warm milk for 10-15 mins.
  • Grind soaked cashew nuts with warm milk and paneer pieces(or grated paneer) to a smooth and creamy paste(let us say this paste no-2).
  • Bring 2-3 cups of water to a boil in a vessel and add roughly chopped onions and green chillies and boil until they turn slightly soft. Drain the onions and green chillies and once they come to room temperature. Grind them along with ginger-garlic paste to a very smooth puree(let us say this is paste no-1). The ginger-garlic paste I used had some turmeric powder and hence there is a slight change in color.
  • Heat oil/ghee in a pan/kadai and add bay leaf and add ground paste-1(onion paste) and fry it for 2 mins and then add chopped tomato and fry it nicely until the paste stops sticking to the pan. It takes nearly 5-7 mins.
  • Now add all the spice powders- red chili powder, garam masala, turmeric powder, roasted cumin powder and coriander powder and fry nicely until the whole mixture stop sticking to the pan. If necessary add few tbsp. of water while frying but do not let the masala burn at any stage.
  • Remove the pan from the stove and add nicely beaten yogurt(curd) and mix it well. Bring it back on the burner on LOW flame and add 1/3- 1/2 cup water approx. and mix nicely and bring the gravy to a boil. Do not increase the flame from now on wards to avoid the curdling of gravy. The gravy thickens as it sits and hence make the gravy slightly thinner so that it would be of nice consistency during serving time.
  • Add kasuri methi and salt to it and also the ground paste-2(cashew nut paste) and cream(milk) and mxi it nicely.
  • Add paneer pieces and let the gravy comes to a boil on very low flame. It takes nearly 3-4 mins.
  • Now add freshly pounded cardamom powder and give a gentle stir and switch off the flame.
  • Garnish it with coriander leaves and grated paneer.
Serve it hot with flat breads like  Naan/Roti/Kulcha or Jeera rice/Bagara Rice/Matar Pulao

shahi paneer

shahi paneer

Notes:
  1. Add nicely beaten curd and also add it to the pan by removing it from the flame to avoid curdling. From then onwards boil the gravy on low flame.
  2. Do not miss the addition of paneer while grinding the cashew nuts , this really adds the richness and taste to the gravy and also you can avoid cream and add some milk instead to the gravy.
  3. I love to cut the paneer pieces into squares for this gravy, you can cut them in cubes, triangles etc like the way you want.
  4. I avoided turmeric powder adding to the gravy as the ginger-garlic paste already had enough turmeric in it.
  5. Shahi Paneer is not a red colored based gravy. As we do not add more tomatoes and red chili powder to the gravy and also the addition of cream, cashew nut paste and milk at the end ensures that the gravy would be slightly whitish in color.
  6. Add cardamom powder at the end to retain the flavor of it in the gravy.
  7. You can even mash the paneer and add instead of grinding it but I prefer to grind it to get a smooth texture,You can do either ways.
shahi paneer

Sunday, August 25, 2013

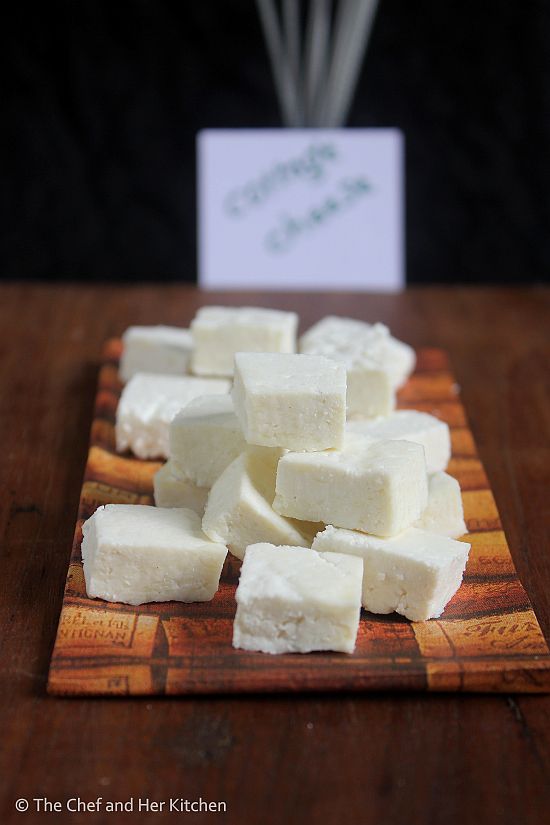
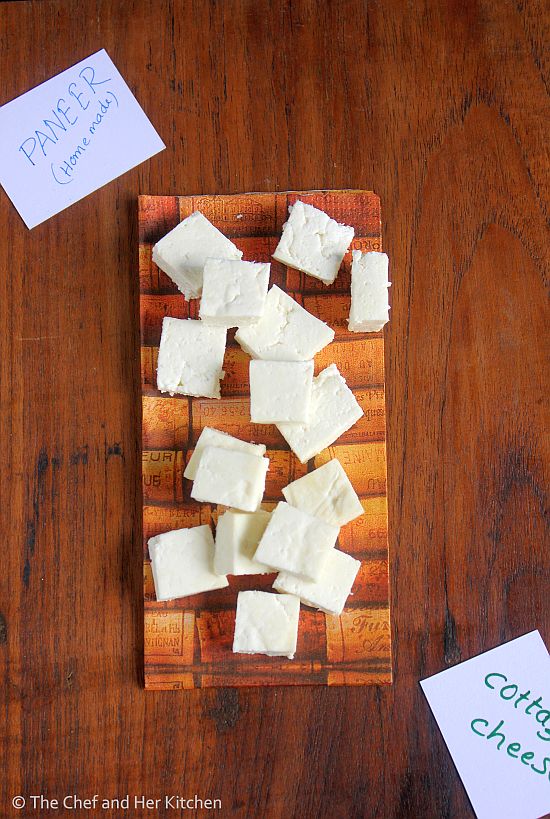
How to make Paneer | Home made Paneer (Cottage Cheese)

homemade paneer
How many of you make Paneer at home regularly?
Well,I know many of you would be doing it regularly but I should admit that I do not prepare it regularly but I do it when needed. It is not that we do not eat paneer dishes often, I prepare paneer based dishes at least once a week - such is our love for paneer. The reason why I do not make at home regularly is that we get very good quality of Malai Paneer in Mumbai and apart from that, we do get flavoured Paneer like Jeera Paneer, Chili Paneer, Masala Paneer to name a few. So every time I do my grocery shopping I usually pick up a block and just prepare delicious paneer based recipes. Sometimes it happens that I would not have planned ahead and the situation arises to make fresh paneer at home and then I usually prepare at home.
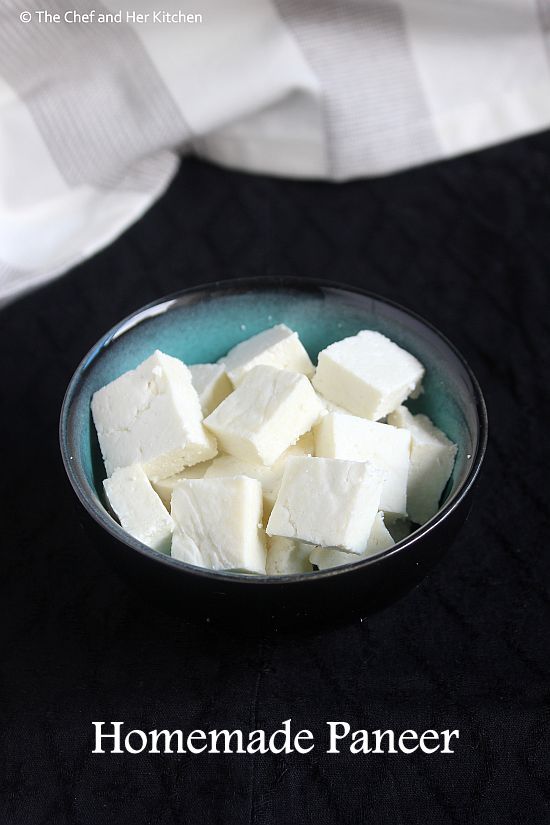
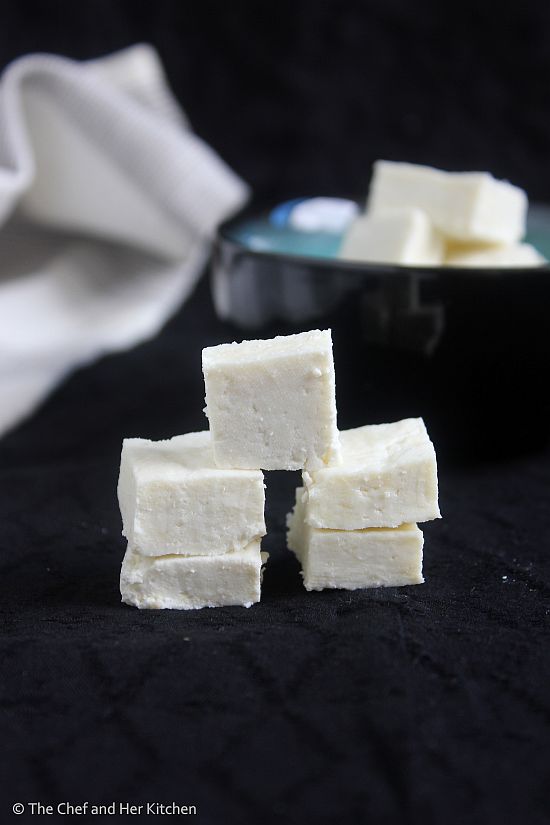
'Paneer' is also known as 'Cottage Cheese' and is used in various curries, gravies, starters, sweets, snacks, pulaos etc.One should break the myth that preparing paneer is difficult or we cannot make soft paneer at home. It  is very easy to prepare paneer at home with very few steps, just follow the instructions carefully and I am sure that you would love the freshness of home made Paneer. After all anything home made is always better.This is a very basic process I am mentioning here with more details keeping in mind the beginners in cooking. Also do not forget to check the notes for the tips and variations in making paneer.
how to make paneer

If you are looking for some basics in cooking, even these posts might interest you:
Home made Paneer (Cottage Cheese) Recipe:
Yields 200-250 gms Paneer approx.
Cooking time:10 mins | Standing time: 40-45 mins | Total time: 1 hr
Cuisine: Indian | Category: Kitchen Basics
Materials needed: sieve, cheese/muslin cloth, vessel, heavy weight

Ingredients:
1 litre Whole Milk
1/4 cup Curd(Yogurt) or 1-2 tbsp. Vinegar or juice of 1 Lemon

Method:
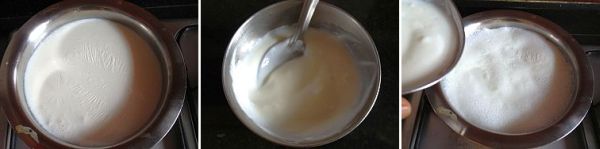
  • Bring milk to a boil in a deep vessel. Mean while whisk the curd and keep it ready. If you are adding lemon juice extract the juice and keep it ready.
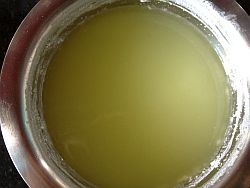
  • Once the milk rises to the top lower the flame and add curd or lemon juice or vinegar and mix it immediately with a spoon. The milk would start curdling, if it does not curdle enough add some more curd or lemon juice to it and keep stirring so that the curdled milk would not coat the pan. Once the milk curdles completely, you would see a lump of crumbled paneer separating from the slightly yellowish- light greenish liquid. At this stage switch off the stove.
  • Line a sieve with a muslin or cheese cloth and place a vessel underneath to collect the whey.
  • Pour the curdled paneer on top of the cloth and let all the whey strain through.
  • Bring the edges of the cloth together. At this stage you can hang it up to half an hour, I usually do not hang and I usually let it sit on the strainer for 10 mins roughly. Do not throw the whey, you can use it to knead the dough for rotis or use it to thinner your dals etc.
    whey,separated from milk
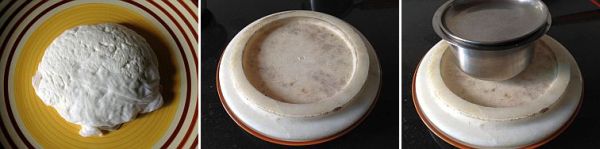
  • Place the cloth with paneer upside down on  plate (the extra cloth folded would be towards the plate so that you would get even surface on one side). See the pictures for better idea.Place a heavy weight on top of it. I used my marble roti maker and placed a steel vessel filled with water on top of it.
  • Let it rest for 30-45 mins based on the time limit you have. I usually do not suggest you to keep more than this as it will make paneer bit hard. This much time is more than enough for paneer to hold in the shape of a block.
  • Remove the paneer from the cloth and cut off the edges so that you would be remained with a square block. Cut them into shapes as required.
Use Paneer as required in curries, gravies, pulaos, snacks etc.

Notes:
  1. It is best to use the paneer fresh.If you want to store the paneer for 2-3 days, immerse the block in water and store it in refrigerator in an air tight container and change the water daily.
  2. Do not boil once you see the light greenish colored whey separated from paneer as it will make the paneer hard later once it is set.
  3. Do not throw the whey, as I mentioned you can use it to make atta or to thinner your dals or gravies. You can even use to curdle the milk, this is supposed to be a better way to curdle milk.
  4. The usage of whole milk makes the paneer soft, how ever you can use regular milk and still get decent paneer.
  5. Just in case if you find that your paneer is not very soft and it is bit hard , immerse it in warm water for half an hour. Paneer would definitely soften and is ready to use.
  6. You can pep up the paneer to spicy paneer or flavoured paneer by adding 2 tsp of cumin seeds while curdling the milk to make Jeera Paneer or you can add a mix of 2 tbsp. chopped coriander leaves along with 1 tsp of cumin seeds and 1/2 tsp of finely chopped green chillies to make Masala Paneer. You can even add 1/2 tsp of red chili flakes while curdling to make spicy chili paneer.

    home made paneer

Wednesday, July 24, 2013

Paneer Butter Masala Recipe - Restaurant style

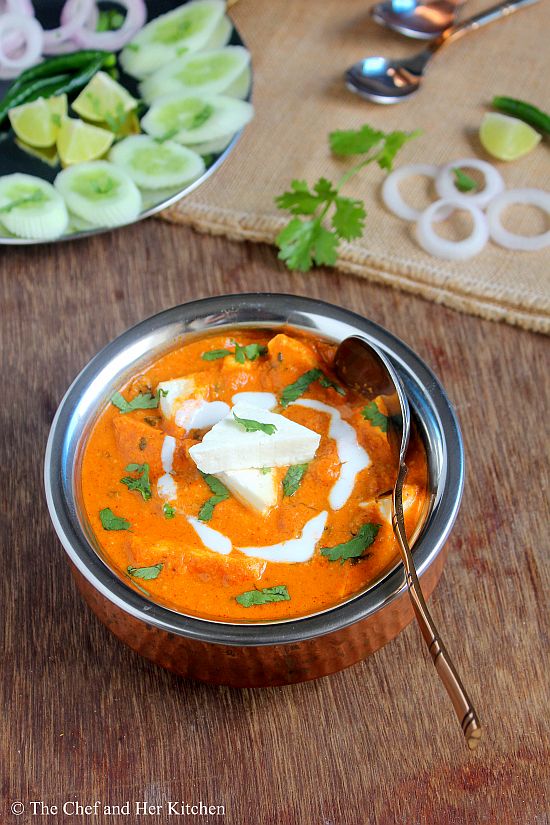
paneer butter masala
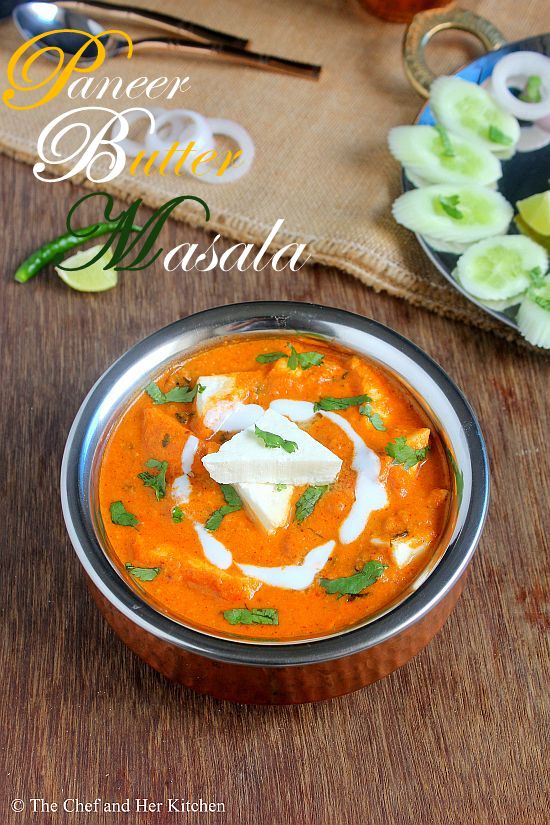
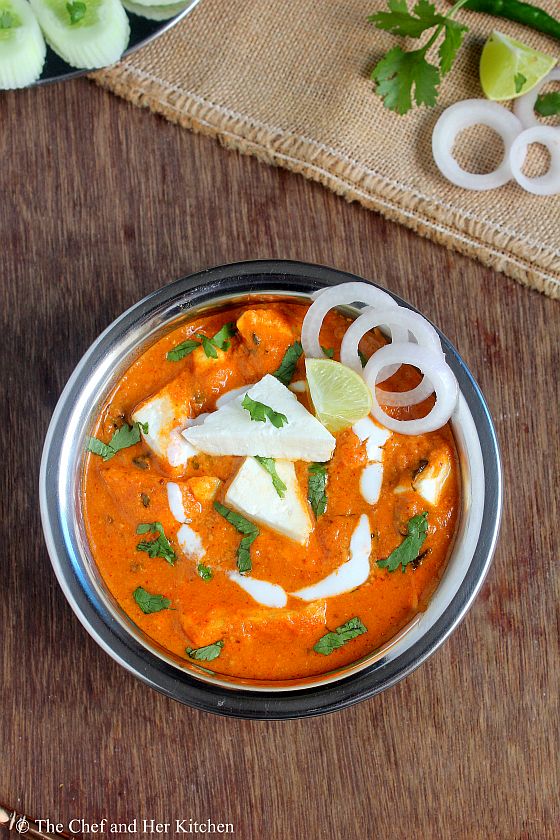
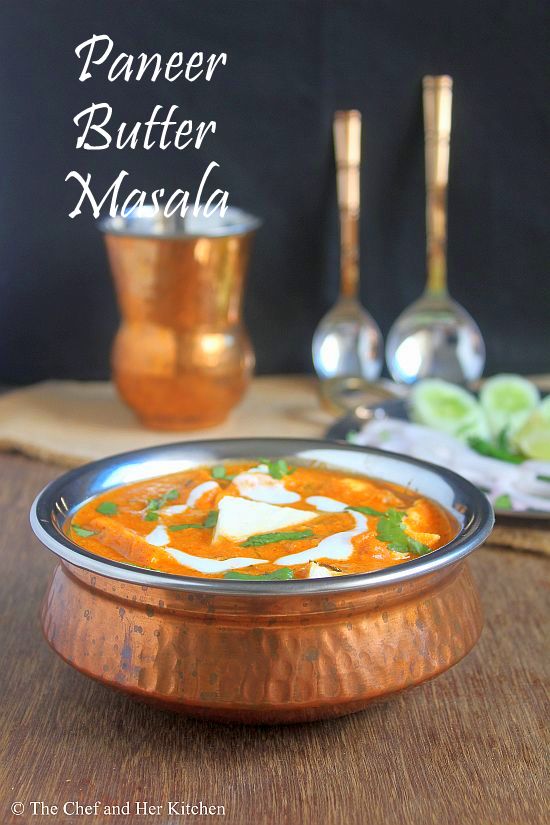
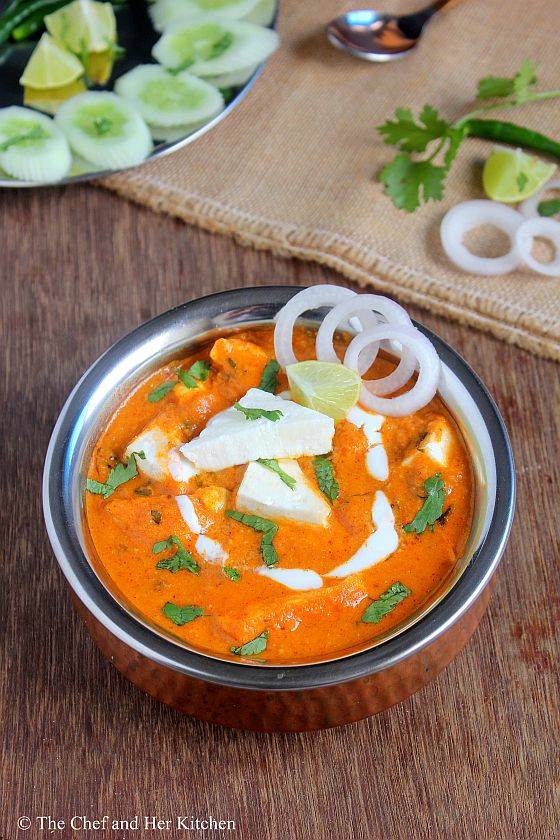
Paneer Butter Masala is my most favorite gravy and we always order this whenever we visit any North Indian restaurant. Well I know that I have mentioned this for several North Indian veggies but if I am asked to choose only one then it would be Paneer Butter Masala.I love it a lot and usually  order kulchas with it. Kulcha or Butter Naan and paneer butter masala is a hit combo, in my view.
paneer butter masala
Butter Chicken is the most popular gravy in and outside India and while it's a treat for non vegetarians, this  Paneer Butter Masala is prepared on similar lines and is definitely the king of dishes for the vegetarians.I am sure most of us love paneer based recipes  and we are no exception.DH is a big fan of paneer and hence it is mandatory to prepare at least one paneer recipe in any form.Paneer is also a good source of proteins for vegetarians.
paneer butter masala
In my earlier post on Paneer Makhani, I have highlighted a few differences between Paneer Makhani and Paneer Butter Masala.While the ingredients that are used in both the gravies are almost similar,the cooking procedure and the quantity of ingredients varies and this is what makes them taste different. This is an ideal recipe for parties, so dont miss preparing this restaurant style paneer butter masala at home.This recipe has a bit of fat and may not be ideal for calorie conscious one's but one can reduce the fatty content by replacing cream with milk and also the butter quantity. One would have to compromise on the taste though.
paneer butter masala
In case you are interested check out  Paneer recipes both dry sabzi and gravy varieties in my blog - Kadai Paneer, Palak Paneer, Paneer Jalfrezi , Paneer Bhurji, Matar Paneer, simple Paneer Sabzi, Paneer Makhani and Grilled Corn-Palak Paneer.
If you like sweets try this easy Paneer Modak Peda recipe. Its simple and yumm!!
paneer butter masala

Paneer Butter Masala Recipe - Restaurant style:
Serves 3-4
Preparation time:10 mins | Cooking time:30 mins | Total time:40 mins
Cuisine:Punjabi-India | Category:Side dish - Main Course

Ingredients:
200 gms Homemade Paneer (Cottage cheese) (or store bought)
2 medium Onions
3 large Tomatoes
6-8 Cashew nuts
1/3 cup Milk or 1/4 cup Cream
1 tsp Coriander powder
1 tsp Red chili powder
1/2 tsp roasted Cumin powder
1/4 tsp Home made Garam masala(or 1/2 tsp store bought)
a tiny pinch of Turmeric powder
2 tsp Kasuri Methi
1/4-1/2 tsp Sugar
1 small Green chilli,thinly slit
1 tbsp Coriander leaves,to garnish
Salt to taste
2 tbsp Oil
2 tbsp Butter

Method:
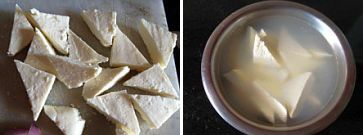
  • Cut paneer into triangle pieces of 1/2" depth.Immerse them in warm water until its usage.
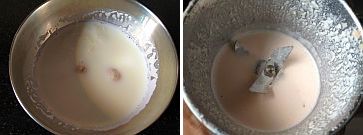
  • Soak cashew nuts in warm milk for some time.Grind it to a smooth paste along with the milk.If you want to use cream,grind the cashew nuts with a couple of table spoons of milk.
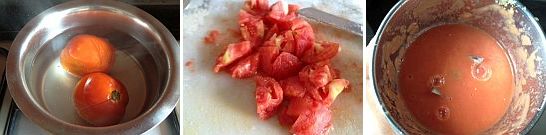
  • Make a cross on tomatoes and blanch them in hot water for 3-4 mins.Remove them and let them slightly cool.Peel the skin and remove the eyes of tomato and chop into pieces and grind it to a smooth puree.
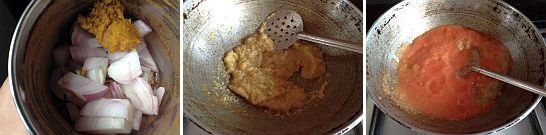
  • Grind chopped onions with ginger garlic paste to a slightly coarse or smooth paste.
  • Heat oil and 1 tbsp butter and add slit green chilli,onion-ginger garlic paste mixture and fry well until it turns slight brown and the raw smell goes away.
  • Add pureed tomato and fry constantly for 6-8 mins over medium heat until the mixture becomes really thick and oil separates.This step is important to get a deep red color to the gravy and also it enhances the taste of it.So fry the tomato mixture until it leaves the pan and take care that you would not burn the masala in any stage.
  • Add roasted cumin powder,sugar,coriander powder,red chili powder and turmeric powder fry well again for 2-3 mins.
  • Add 1 cup of water and boil it for 6-8 mins till the oil separates and the gravy dries up to a thick masala gravy.
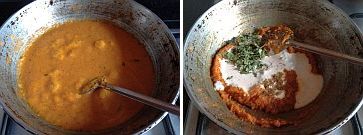
  • Remove the kadai from flame and add the ground cashewnut- milk mixture(if you are using cream,add it now).Add kasuri methi,salt and garam masala and give a stir.
  • Return the kadai back on to the burner and keep mixing on low flame and let it come to a boil for 2 mins.
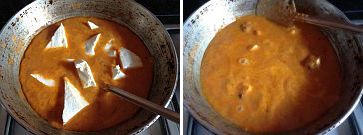
  • Add butter and paneer slices (dipped in warm water) and cook for 2-3 mins stirring continuously.
Serve hot with flat breads like Naan/Roti/Kulcha or Jeera rice/Bagara Rice.

paneer butter masala
Notes:
  1. You can add a tiny pinch of  red food color to the gravy along with the masalas.I don't like to use food colors and hence I did not add it.
  2. The addition of sugar and milk(cream) helps in neutralizing the sourness from tomatoes.So do not miss it.
  3. You can toss few onion rings and capsicum rings in butter and add along with paneer slices at the end.
  4. You can even toss paneer slices in butter for few minutes,do not fry for long otherwise they will become tough.As I like to use soft malai paneer I do not like to toss them as I feel they will loose their texture.
  5. For a vegan version,replace paneer with tofu.Avoid cream,milk and butter.Increase the quantity of cashew nuts in the recipe and follow the same process.
paneer butter masala
 
back to top