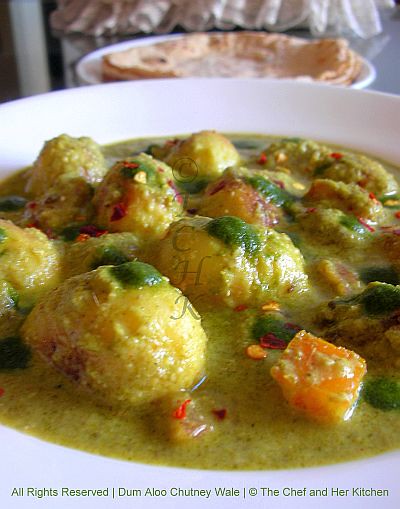
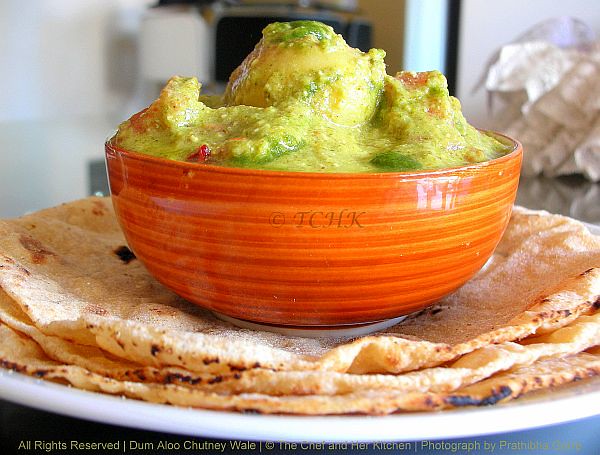
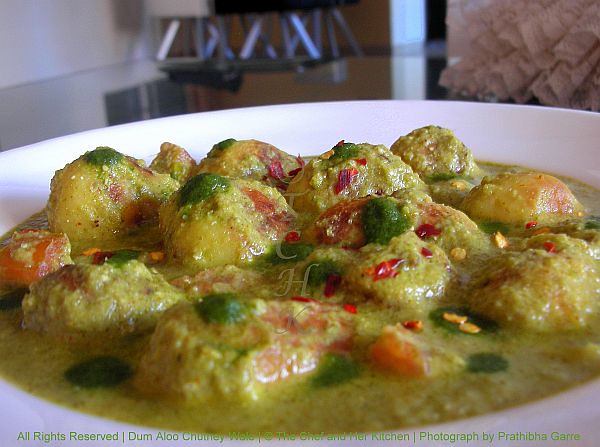
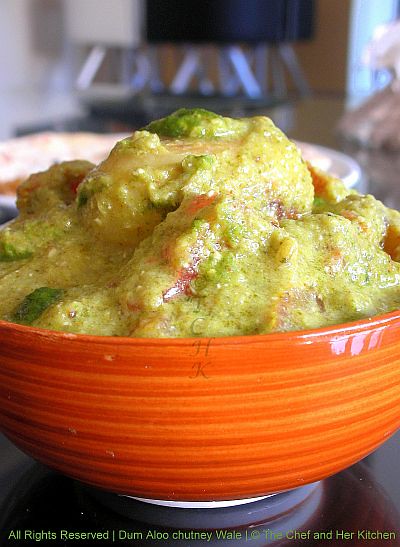
Vegetables


I am about to complete over two years of blogging but I have never hosted any event so far in my blog.When Pari of Foodelicious approached me to host her event,I was really excited as it is my first time experience.The fact that it is a healthy event adds to the excitement.
So,here I announce my first ever event - 'ONLY' SALADS started by Pari Vasisht of Foodelicious,who has a wonderful collection of yummy recipes in her blog.I really like the passion that reflects in each and every dish she has posted.
Now coming to the details.This event has two giveaways.
1.The first giveaway is from the CSN stores for US/Canada/Germany and UK readers.Check out Pari's space for more details of the give away.
2.The second giveaway is exclusive for Indian readers from the well known Indian cook book author Tarla Dalal's 'Healthy Soups and Salads'.You can also visit her website http://tarladalal.com/ for interesting recipes.
When pari gave me the options to choose the event I chose her Only Salad's event as I believe that it is a very healthy event and it would be a great experience for me to learn different kinds of salads.
Winters are the best time to get fresh greens and vegetables in abundance and is the best time for making tasty salad's.It is very important to include salad's in our regular diet as the greens and vegetables are used in larger proportions which helps in supplementing necessary vitamins, minerals, nutrients,dietary fibers to our body.In short,we can say 'A Salad a day keeps the doctor away'.
Salad's are very versatile and can be made with a wide variety of ingredients like whole grains, legumes, vegetables, greens,pasta,fruits,eggs,croutons and nuts.Salad's can be served as an appetizer or a main dish or a fruit salad as a dessert in a meal.One can be innovative to use the various ingredients and dressings to make a salad with attractive toppings like nuts,fruits and croutons.
This is the beautiful Logo designed by Pari for the event.
 I will try posting this month various salad recipes for the event.To start up check out few salad recipes in my blog which I have posted earlier .
1. Any number of fresh entries can be sent but only 2 entries from the archive will be accepted. Archived entries to be re posted, else will not be accepted.
2. Only vegetarian entries (eggs allowed) will be accepted.
3. Use of logo is compulsory/mandatory as it helps to spread the word.
4. The entry should be linked back to this event announcement and Pari's event announcement page.
5. The winner of the book will be chosen by me using random.org.
6. The CSN winner will be chosen by Pari Vasisht from the comments, name and links left in her event announcement page.
7. Format of entry
- Name
- Blog Name
- Blog URL
- Recipe name
- Recipe link
- Pic resized to 300 pix
- Country
7. Roundup will be posted in 1st week of Feb 2011 unless any emergency situation.
8. Guest Host cannot win the giveaway.
9. Non bloggers can also participate, by sending entries by email to thechefandherkitchen@gmail.com with or without photograph.
10. Disclaimer - CSN giveaway is only for US/Canada/UK and Germany entries and 2nd giveaway is for entries from India.
Feel free to contact me regarding the event details or any other information required.I expect your maximum support and participation in this event to make my event successful.
So,here I announce my first ever event - 'ONLY' SALADS started by Pari Vasisht of Foodelicious,who has a wonderful collection of yummy recipes in her blog.I really like the passion that reflects in each and every dish she has posted.
Now coming to the details.This event has two giveaways.
1.The first giveaway is from the CSN stores for US/Canada/Germany and UK readers.Check out Pari's space for more details of the give away.
2.The second giveaway is exclusive for Indian readers from the well known Indian cook book author Tarla Dalal's 'Healthy Soups and Salads'.You can also visit her website http://tarladalal.com/ for interesting recipes.
When pari gave me the options to choose the event I chose her Only Salad's event as I believe that it is a very healthy event and it would be a great experience for me to learn different kinds of salads.
Winters are the best time to get fresh greens and vegetables in abundance and is the best time for making tasty salad's.It is very important to include salad's in our regular diet as the greens and vegetables are used in larger proportions which helps in supplementing necessary vitamins, minerals, nutrients,dietary fibers to our body.In short,we can say 'A Salad a day keeps the doctor away'.
Salad's are very versatile and can be made with a wide variety of ingredients like whole grains, legumes, vegetables, greens,pasta,fruits,eggs,croutons and nuts.Salad's can be served as an appetizer or a main dish or a fruit salad as a dessert in a meal.One can be innovative to use the various ingredients and dressings to make a salad with attractive toppings like nuts,fruits and croutons.
This is the beautiful Logo designed by Pari for the event.
 I will try posting this month various salad recipes for the event.To start up check out few salad recipes in my blog which I have posted earlier .
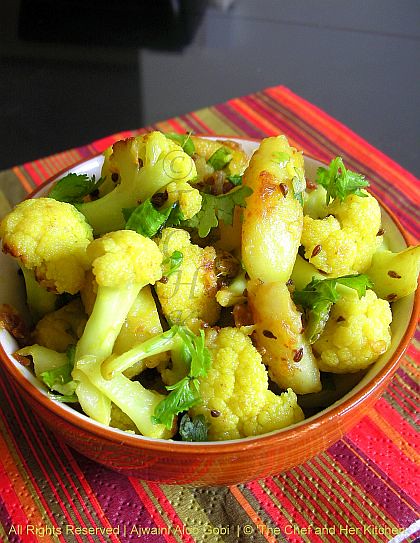
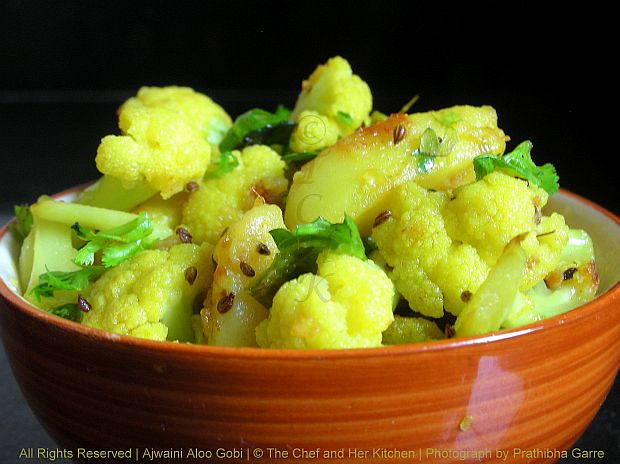
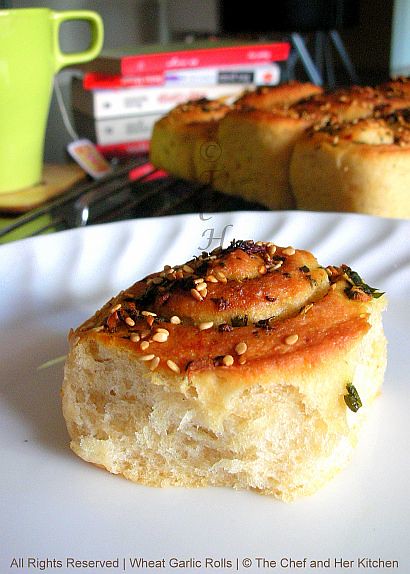
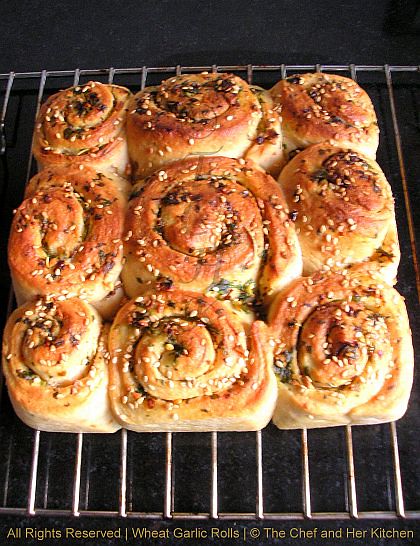
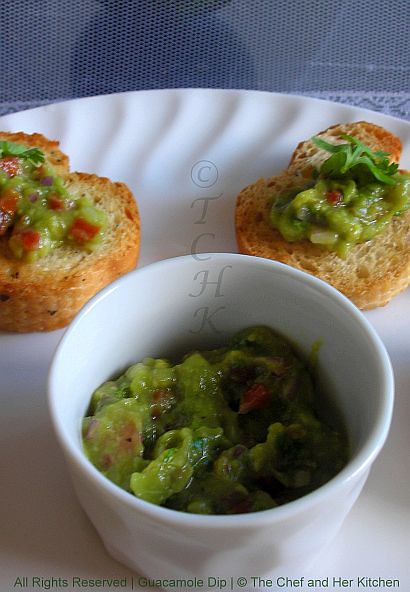
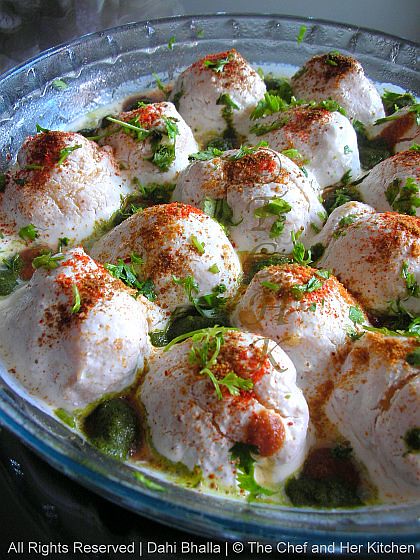
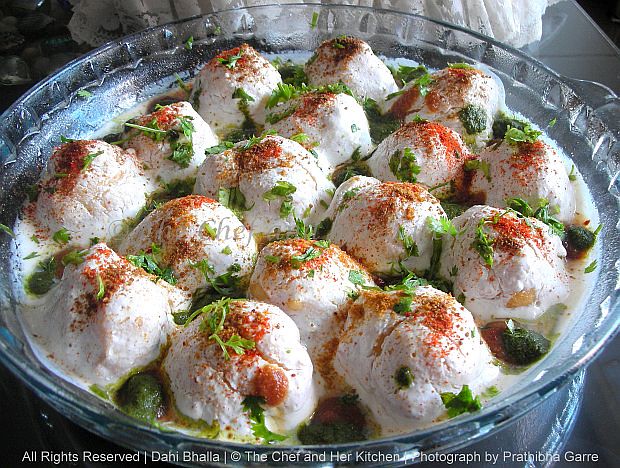
- Wheat and Jowar whole grains salad
- Tomato Lettuce Salad
- Fattoush...Lebanese Salad
- Moong sprouts Salad
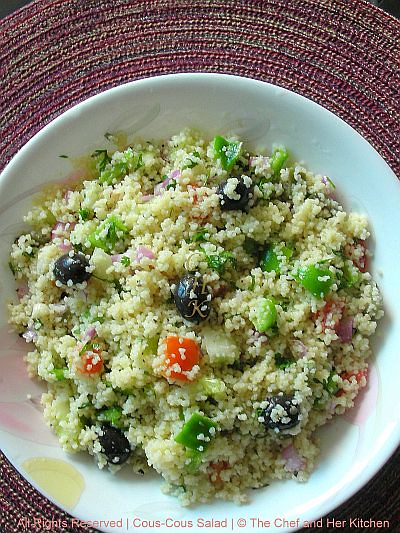
- Cous Cous Salad
1. Any number of fresh entries can be sent but only 2 entries from the archive will be accepted. Archived entries to be re posted, else will not be accepted.
2. Only vegetarian entries (eggs allowed) will be accepted.
3. Use of logo is compulsory/mandatory as it helps to spread the word.
4. The entry should be linked back to this event announcement and Pari's event announcement page.
5. The winner of the book will be chosen by me using random.org.
6. The CSN winner will be chosen by Pari Vasisht from the comments, name and links left in her event announcement page.
7. Format of entry
- Name
- Blog Name
- Blog URL
- Recipe name
- Recipe link
- Pic resized to 300 pix
- Country
7. Roundup will be posted in 1st week of Feb 2011 unless any emergency situation.
8. Guest Host cannot win the giveaway.
9. Non bloggers can also participate, by sending entries by email to thechefandherkitchen@gmail.com with or without photograph.
10. Disclaimer - CSN giveaway is only for US/Canada/UK and Germany entries and 2nd giveaway is for entries from India.
Feel free to contact me regarding the event details or any other information required.I expect your maximum support and participation in this event to make my event successful.


![clip_image003[8]](https://blogger.googleusercontent.com/img/b/R29vZ2xl/AVvXsEgoWQ6a56hRwTpSVmabLmXPe7nfdMYOayHH8o1XfUeRVTBM0A21LgQUbe8l8fxDRjIRVxdN_fp3bM_GQ0tDsUMV7KqpjtzJ4TVg1XAKS2eDgXcIJYO6vEZDpgwrhef_2bL6otZJG7_yF6A/?imgmax=800 "clip_image003[8]")


![clip_image004[8]](https://blogger.googleusercontent.com/img/b/R29vZ2xl/AVvXsEgRK2Zsz4tkA588fZPqVjBr_cgJFSedVBD0KJqJUCJkY2YkzDZQRDCECL_MFX_uQtOmg5WwQTOukuZ-BuyzXymAKIs4LBUT16tVx1pOMroCdKD4kLHabEB3Pu8oRVRpJGyQB1Jy6wbD-5o/s1600-h/clip_image00485.gif "clip_image004[8]")