Vegetables


Firstly, let me tell a big THANK YOU to all my cousins who have shown tremendous enthusiasm for participating in my event. All their entries were well thought of and wonderful. Frankly, I didn't even ask for their advice when I conceptualized this event but I was surprised and overwhelmed with the response.Though they are not food bloggers the amount of dedication they showed with their excellent pictures and the step-by-step pictures stunned me more.They made my job easy by sending few of our traditional community specials which I had planned to prepare at a later date as they are really time consuming to make.
Many of my friends have mentioned that they really enjoyed and followed my series and few of them even tried out some recipes which turned out good. I would like to thank all my blogger friends and followers for giving constant support to my series with your encouraging comments.
Coming to the details of the series...I had chosen breakfast as the theme as it has lot of varieties and especially in our community we have so many breakfast specials. I received in total 13 entries for the event which were majorly contributed by Ashwini,Chaitra and Savitha who had sent 3 recipes each.Next comes 2 wonderful entries from my brother Prashi. Both his entries received the highest number of comments in this series and also his entries are few of those posts which are receiving more number of hits in my blog right now.One surprise entry from my cousin Vanitha really made me happy and I was also happy to include an entry from my MOM.I would love to tell you that more than half of the entries are of our community specials and if you are a breakfast kind of person like me you should definitely try these varieties.
While I know many of you followed the series but if any of you have missed it this round up will give you a glimpse of all the wonderful entries.
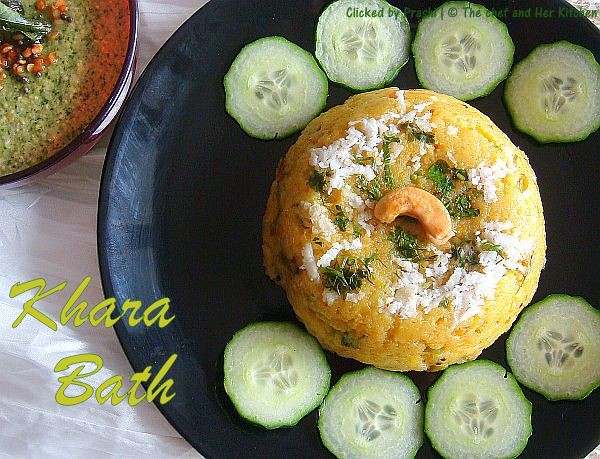
Entries from my Brother PRASHI:
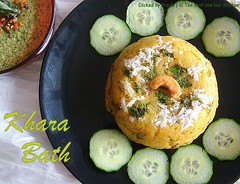
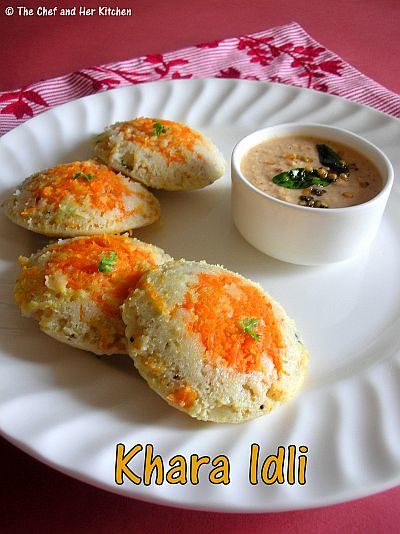
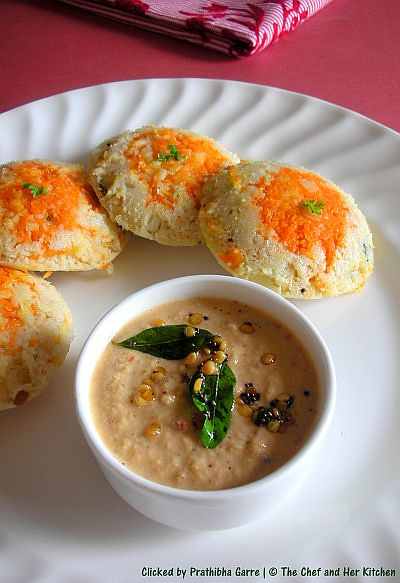
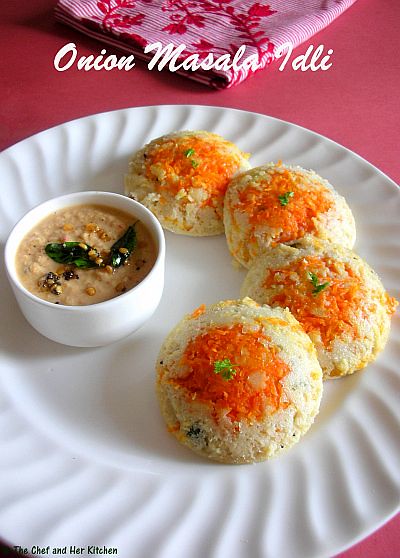
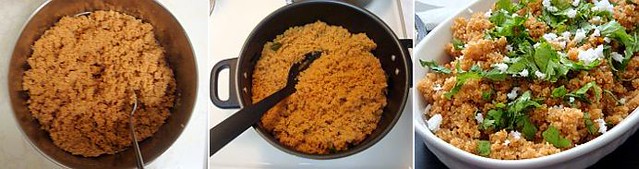
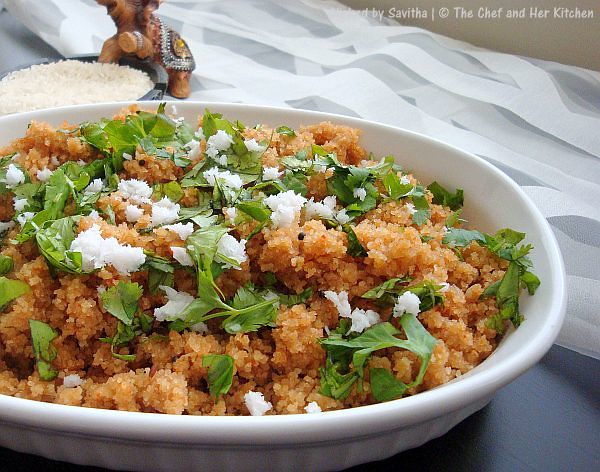
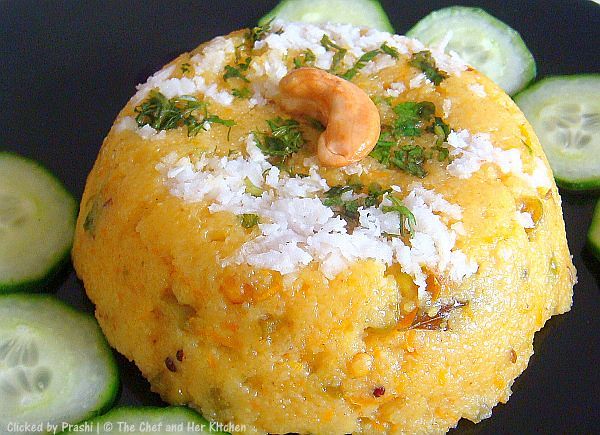
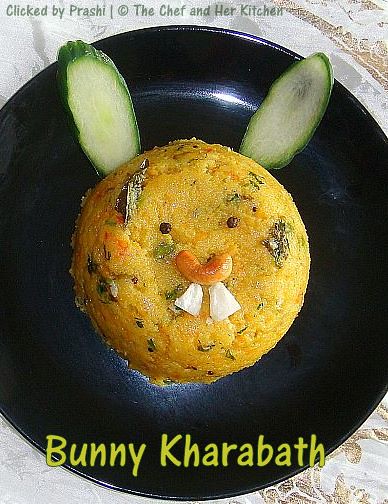
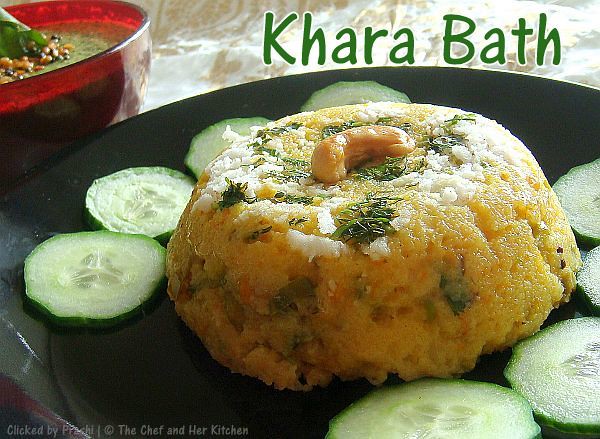
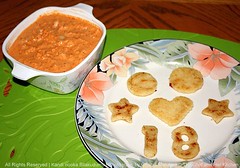
Khara Bath...Bramhin's Coffee bar Style!!!
Coming to the details of the series...I had chosen breakfast as the theme as it has lot of varieties and especially in our community we have so many breakfast specials. I received in total 13 entries for the event which were majorly contributed by Ashwini,Chaitra and Savitha who had sent 3 recipes each.Next comes 2 wonderful entries from my brother Prashi. Both his entries received the highest number of comments in this series and also his entries are few of those posts which are receiving more number of hits in my blog right now.One surprise entry from my cousin Vanitha really made me happy and I was also happy to include an entry from my MOM.I would love to tell you that more than half of the entries are of our community specials and if you are a breakfast kind of person like me you should definitely try these varieties.
While I know many of you followed the series but if any of you have missed it this round up will give you a glimpse of all the wonderful entries.
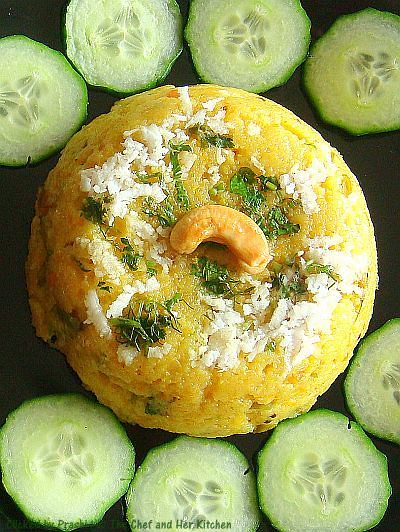
Entries from my Brother PRASHI:
Khara Bath...Bramhin's Coffee bar Style!!!
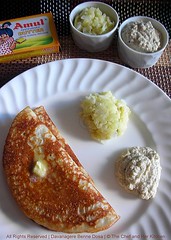
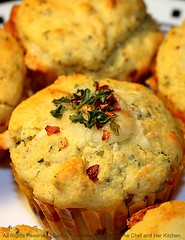
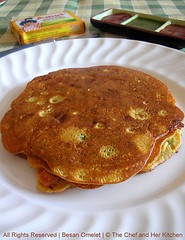
Entries from my S-I-L Ashwini:
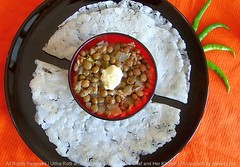
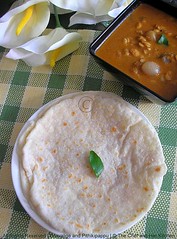
Uttha Rotti with Avarekaalu Benne Usli

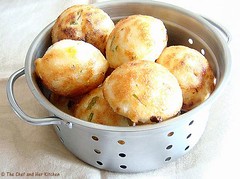
Atukula Gunta Ponganalu / Avalakki Paddu
Entries from my cousin Chaitra:
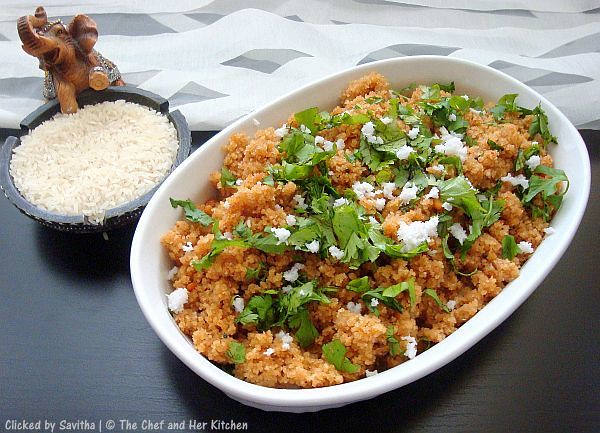
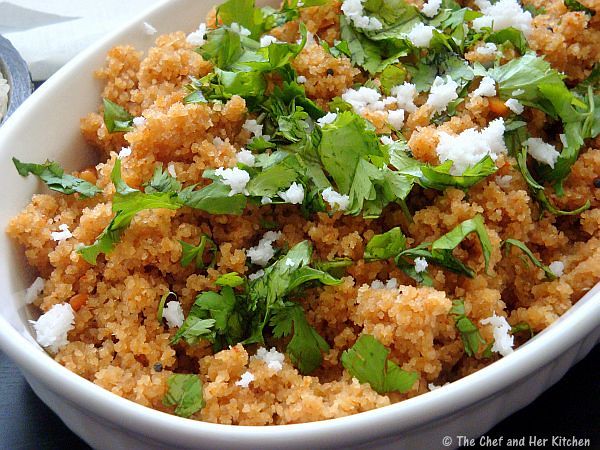
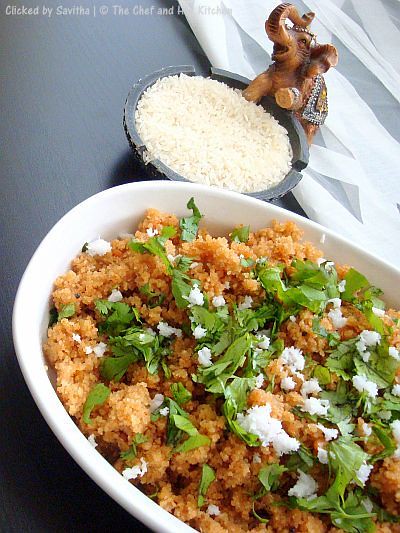
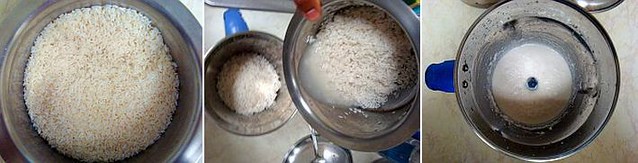
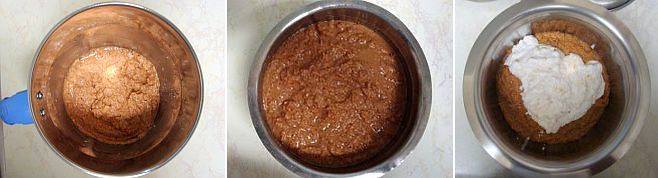
Entries from my cousin Savitha:

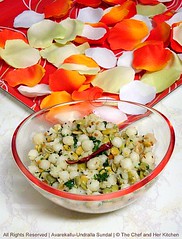

Mosaru(Curd) Kodubale/Rice flour Rings
Entry from my MOM:
Entry from my cousin Vanitha:

I hope you enjoyed my series.Before I finish off the note for the round up,I would like to say that I will start this series again in a few months with a different theme.So friends kindly let me know what you would like to see in my next 'Cooking with Family' Series,your suggestions are most welcome and will also make it easy for me to decide the theme for my next series.I am all ears for your suggestions and comments regarding this series and the theme for the next series.