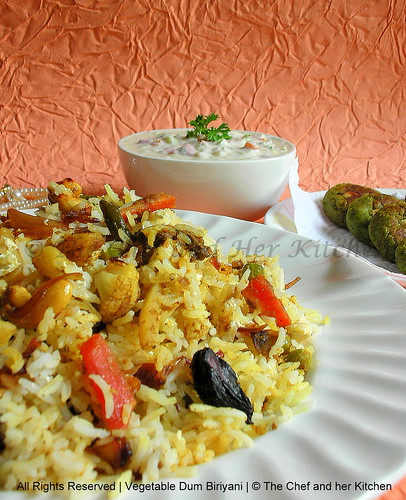
Vegetable Biriyani is a perfect feast for any occasion or a party.Even though it takes a lot of time to prepare this,the final dish is all worth the effort that you took in making it.Biriyani tastes the best when it is freshly made at home,but sometimes I try using ready made masala paste in order to ease the process in making it when I don't have much time to prepare fresh masala which involves lots of frying and grinding process.If you would have checked my earlier post I need not to mention that there was a reason behind making this yummy vegetable biriyani.Anyways if you have not seen my earlier post,I prepared this for my marriage anniversary last week and is the last dish from my anniversary menu.
Ingredients:
1 carrot,sliced into 1" pieces
1 potato,sliced into 1" pieces
10-12 french beans,chopped into 1" pieces
10-12 cauliflower florets
1/4 cup green peas,fresh/frozen
1 capsicum,sliced into 1"pieces
2 big onions,thinly sliced
1 tsp
Ginger-Garlic paste
2 tbsp biriyani paste,I used MTR biriyani masala
8-10 cashewnuts
1/4 cup curd,beaten till smooth
few strands of saffron
1 tbsp milk to soak saffron
a pinch of sugar
salt to taste
2 tsp butter
2 tsp oil
To make rice:
1 1/2 cups Basmati rice
1 " cinnamon stick
3-4 cloves
1 Black cardamom
1 biriyani leaf
1/2 tsp royal cumin seeds(shajeera)
salt to taste
1 tsp Butter
 Method:
Step 1 To make rice:
- Wash and soak rice for 10-12 mins and drain the rice and keep it aside.
- Heat 1 tsp butter in a deep pan and add cinnamon,shajeera,cloves,cardamom,biriyani leaf and fry for half a minute and add rice and fry for a minute.
- Add 2 and 1/2 cups of water and enough salt to it and bring it to a boil and simmer it and close the lid and cook it until the rice is done.
- After the rice is completely cooled make the rice fluffy with a fork and keep it aside.
Step 2 To caramelize Onions and cashews:
- Heat 1 tsp butter in a pan add cashewnuts and fry until brown and keep it aside.Throw in the sliced onions and fry for some time.
- Add a pinch of sugar to it and let it caramelize until brown.keep it aside.
Step 3 Saffron milk:
Heat the milk and dissolve the saffron in it and let it stand for 15 mins.
Step 4 To make the vegetable gravy :
- Heat 1 tsp butter and 2 tsp oil and add ginger garlic paste and fry for half a minute.Add the chopped vegetables(other than capsicum) one by one and fry until crisp.
- Add capsicum and fry for a minute and biriyani paste and fry for some time.Add some water(about 2 tbsp water) and salt required for the vegetables(remember you added enough salt even for rice) and keep it aside.
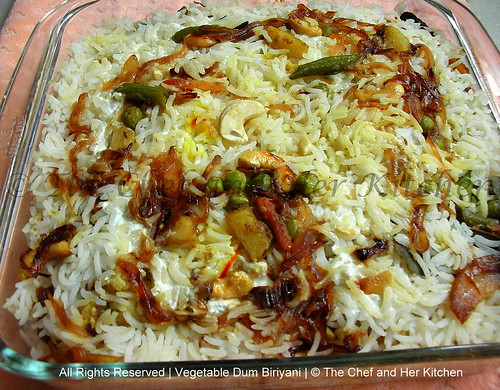
Step 5 To assemble the Biriyani:
- Preheat the oven @ 160 deg for 10 mins.
- Grease a flat oven proof glass bowl with butter and place a layer of half portion vegetables and then continue by a layer of half portion fluffed up rice.Pour half the caramelized onions, beaten curds over it and some saffron milk and repeat doing the same process for one more layer of vegetables,rice,fried onions,fried cashew nuts,curds and saffron milk.
- Cover it with a aluminum foil and place it in oven and bake for 20-25 mins.
Slightly mix the biriyani and serve it hot with raitha and some gravy.

I am sending this entry for "
EFM-Variety Rice Series" event hosted at
Me and My Kitchen.

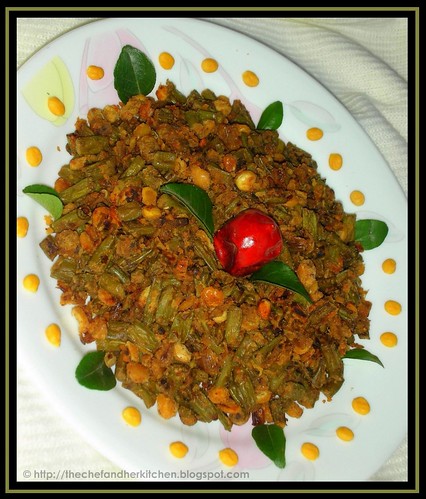
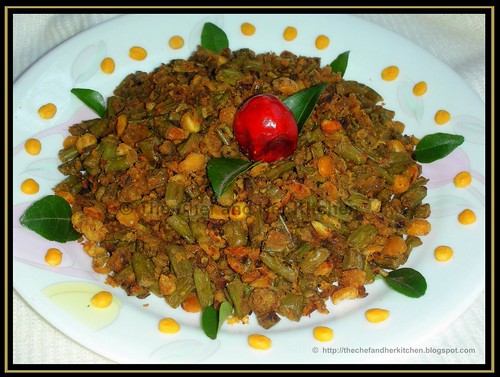
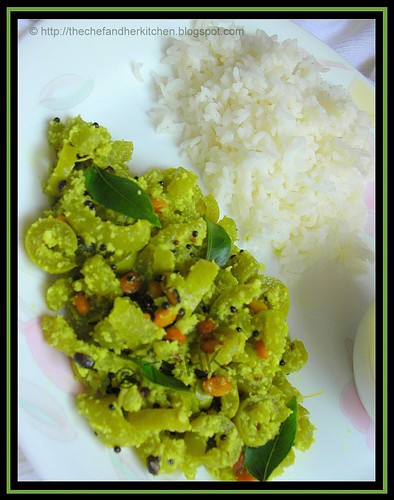
 Vegetables


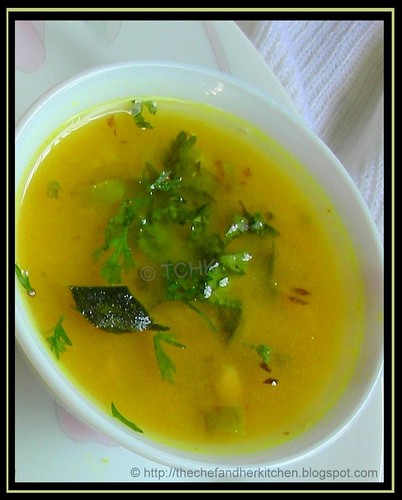
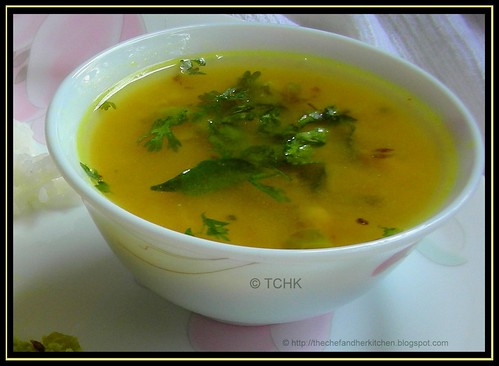
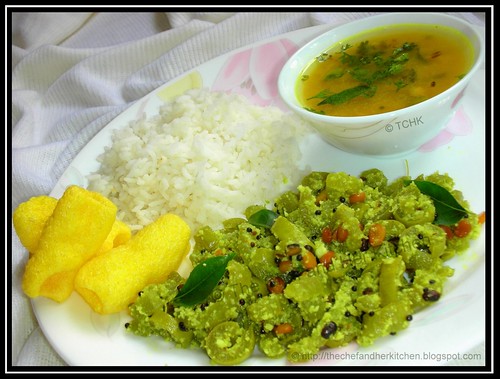
 Simple dal is a part of most comfortable meal in our daily life.I like experimenting dals in combination like toor with moong,moong with masoor,chana dal with whole moong dal,chana dal with chilka urad etc..This dal tastes definitely different in its texture also from regular dal and suites best as a side dish with roti's or pulao's.
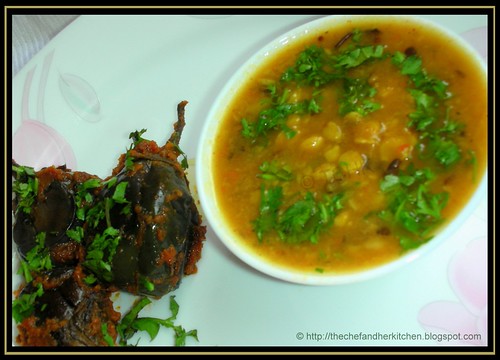 Method: