Vegetables


As the festival season is here we are ending up preparing more variety of rice and sweet varieties at our place,I would try to post few sweet varieties too as it would be helpful to many this festival season.
Apart from the usual festival rice varieties like Lemon rice, Puliyogre we also prepare coconut rice very often.This is a very simple rice variety to prepare, if you have grated coconut in hand it hardly takes any time to prepare this rice variety.It is also a, easy lunch box option which needs minimal effort on those busy mornings.


Check out other Festive Rice Varieties in my blog here:
- Aava Pettina Pulihora | Tamarind Rice with Mustard flavor
- Capsicum Rice | Capsicum Bath
- Chintapandu Pulihora - Andhra style
- Creamy Curd Rice | Daddojanam | Mosaranna
- Dabbakaya(Indian Grape fruit/Herelikayi) Chitranna
- Lemon Rice | Chitranna | Nimmakaya Pulihora
- Maavinkay Chitranna/Raw Mango Rice - Version 1
- Mamidikayi Gojju Annam/Raw Mango Rice -Version2
- Methi-Peas Bath
- Puliyogre/Pulihora
- Usirikaya Pulihora | Gooseberry(Amla) Rice
- Vangibath/Eggplant Rice-Karnataka Style

Coconut Rice | Kobbari Annam Recipe:
Serves 2
Prep time:10 mins | Cooking time:20 mins | Total time:30 mins
Cuisine: South Indian | Category: Rice Varieties - Main Course
Ingredients:
1 cup Raw Rice (Sona masuri or equivalent)
1 1/2 cups grated fresh Coconut
2 tbsp chopped Coriander
2 tbsp chopped Coriander
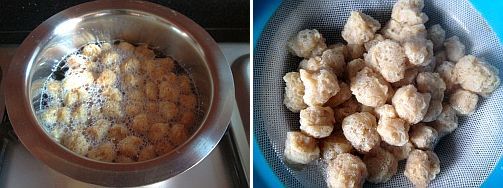
8-10 Cashew nuts,slit into halves
2-3 Red chillies,broken
3-4 Green chillies,slit
3-4 Green chillies,slit
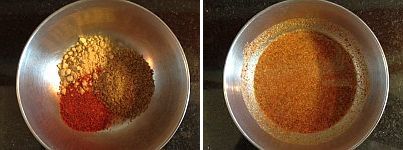
8-10 Black Pepper corns,coarsely ground
juice of 1/2 Lemon(optional)
a sprig of Curry leaves
1 tbsp Chana dal
1 tsp Urad dal
1 tsp Cumin Seeds
1 tsp Cumin Seeds
1/2 tsp Mustard seeds
2 tbsp Oil
1 tbsp Ghee
Salt to taste
Method:
- Cook Rice and spread it in a plate to let it cool down and make sure that the rice grains stay separate.You can use 2 1/4 cups of water for 1 cup of sona masuri and cook it in pressure cooker or rice cooker.

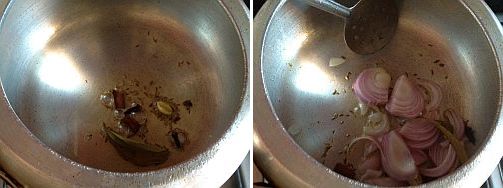
- Heat oil and ghee in a deep kadai/pan and crackle mustard seeds and cumin seeds.
- Add chana dal, urad dal and cashew nuts and fry until they turn slight golden in color.
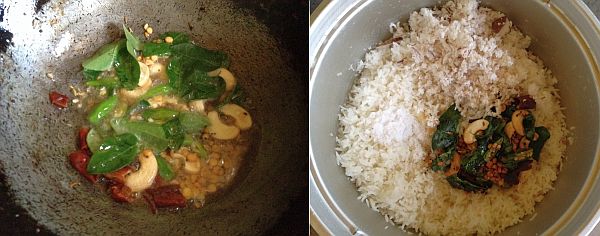
- Add green chillies,red chillies,curry leaves and freshly ground pepper powder and fry again for a minute.
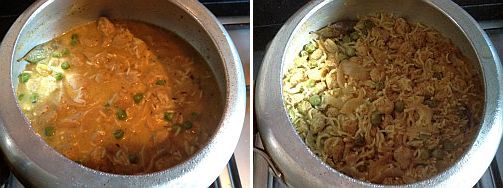
- Add grated fresh coconut and saute it lightly for half a minute or you can add directly to the rice.
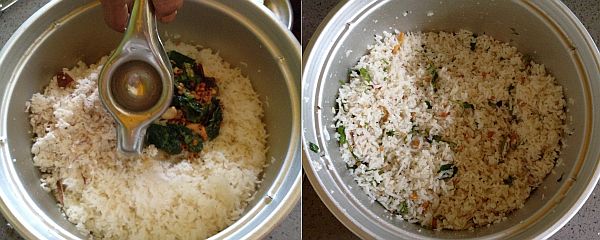
- Switch off the flame and add the tempering to the spread cooled rice.Add salt,coriander and lemon juice(if adding) to it and mix it nicely.Now taste it and adjust the seasoning according to your wish.
Serve it with Chips/Fryums and sliced Cucumber.

Notes:
- Use spicy variety red chillies and green chillies to give more spicyness to this rice as the coconut nullifies the spicyness slightly.Also use freshly ground coarse pepper corns,it is added for the flavor.
- The amount of coconut added to this dish is left to your choice,more the coconut,more the rice tastes nice.
- This rice tastes nice if it is prepared spicy.But you can prepare it according to your spice levels.
- I mentioned lemon juice as optional but it balances the taste,so I recommend to use it.But add it accordingly to balance the flavors of rice.
- You can even use left over rice to prepare this.
- Do not use Basmati rice for this rice,use sona masuri or ponni or surti kolam or any equivalent variety to prepare this.
- You can add garlic pods int he tempering which turns this to garlic rice, you can reduce coconut if you wish.

Technorati Tags: coconut rice, andhra recipes, rice varieties, festival rice recipes, festival recipes, no onion no garlic recipes, kobbari annam