
 Vegetables


Summer is here and and this is the season for making Mango pickles. I have posted various Mango pickles over the past few years in my blog but I thought it was better to share all the pickle recipes at one place. Enjoy this summer, preparing these delicious Mango pickle varieties. Even I am waiting for preparing a few batches of these pickles in this summer.
1. ANDHRA AVAKAYA Pickle:
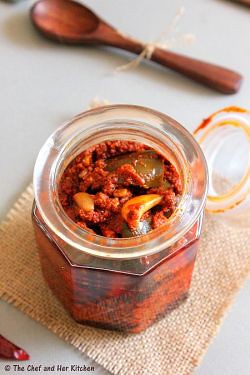
Shelf life: 1+ year
Description: Traditional Mango pickle prepared with a combination of spices - mustard powder, red chili powder,salt,fenugreek seeds,sesame oil and few more optional additional ingredients like garlic or chana.
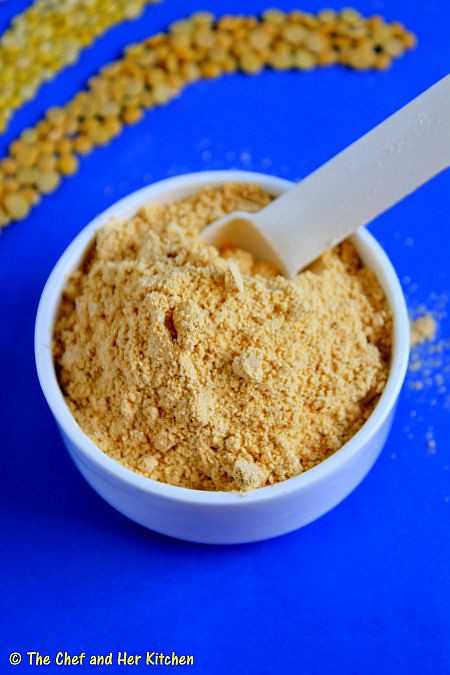
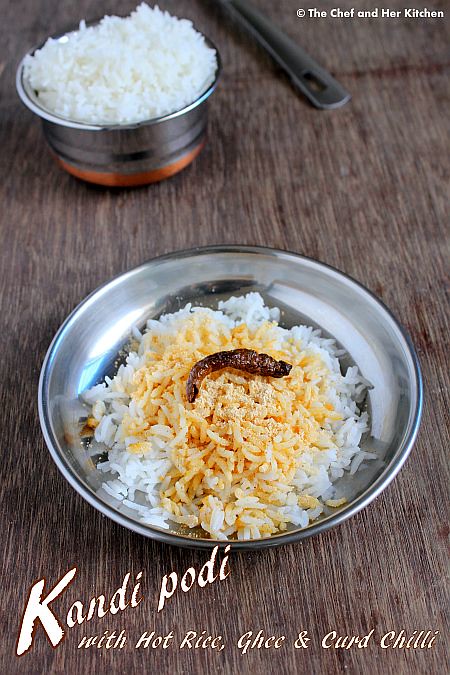
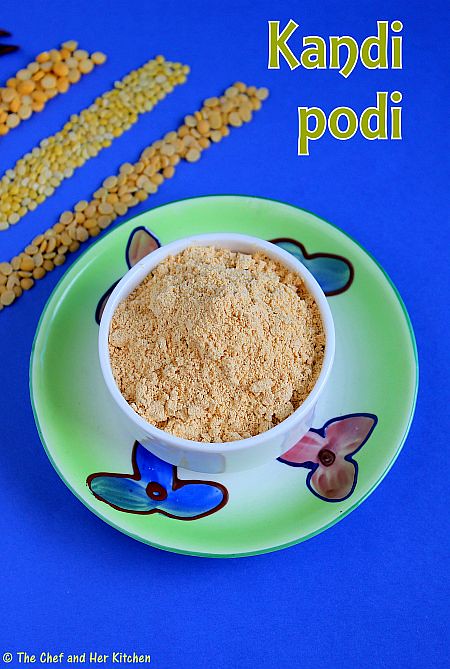
Combination: It tastes best when mixed with hot rice,ghee and podi(Kandi Podi) or mudda pappu.It goes well with Curd rice too.
2. ALLAM AVAKAYA | Andhra Avakaya with Ginger Garlic Paste:

Shelf life: 1+ year
Description: It is a similar version to Andhra Avakaya pickle but the addition of Ginger - Garlic paste makes it unique and tastes very delicious.This is my absolute favorite pickle and is a specialty pickle of Telangana region of Andhra Pradesh.
Combination: It tastes best when mixed with hot rice,ghee and podi(Kandi Podi).It goes well with Curd rice too.
3. BELLAM AVAKAYA | SWEET MANGO AVAKAYA PICKLE :

Shelf life: 1 year
Description: This is a unique Avakaya which is sweeter in taste because of the addition of jaggery and while the rest of the ingredients used are as similar to the regular avakaya.It has become my favorite pickle recipe along with Allam avakaya.
Combination: It makes a great accompaniment for Idli/Dosa and even with hot rice and ghee and also with Rotis/Theplas/Parathas.
4. NUVVU AVAKAYA | Mango Avakaya with Sesame Seeds

Shelf life: 15-20 days under normal conditions,upto a month when refrigerated
Description: A variation to regular Avakaya pickle with the dominant taste of sesame seed powder which adds a mild tone of sweetness to the pickle which makes it taste unique from the regular Avakaya.
Combination: It tastes best when mixed with hot rice and ghee.It goes well with Curd rice too.
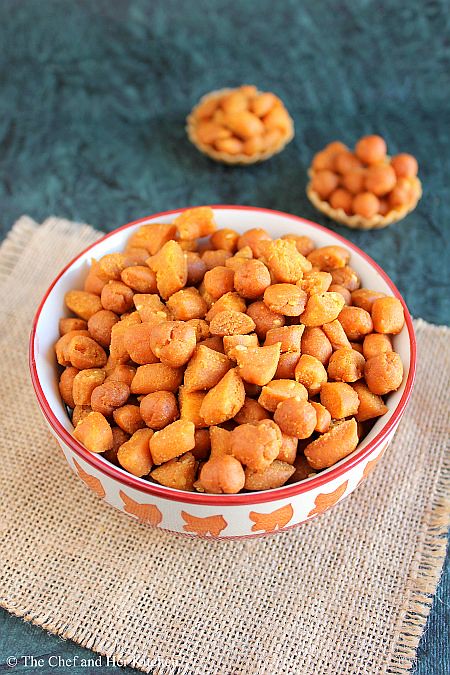
5. PALLI AVAKAYA | Mango AVAKAYA with Ground nut powder :

Shelf life: 10-15 days under normal conditions,upto a month when refrigerated
Description: This is another Telangana special mango Avakaya recipe.This avakay is quite unusual with the subtle taste of ground nut powder and is a great combination with hot rice and ghee.
Combination: It tastes best when mixed with hot rice and ghee.It goes well with Curd rice too.
6. PESARA AVAKAYA | MANGO AVAKAI with roasted Moong dal Powder
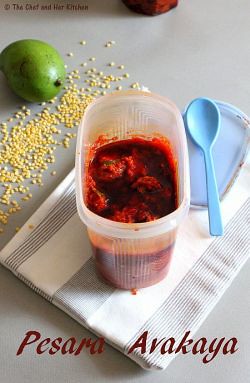
Shelf life: 15-20 days under normal conditions,upto a month when refrigerated
Description: It is my most favorite Avakay among the instant versions which gets marinated very quickly.This avakaya is prepared using the roasted moong dal powder instead of mustard powder which makes it delicious.
Combination: It tastes best when mixed with hot rice and ghee.It goes well with Curd rice too.
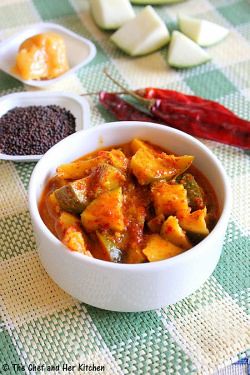
7. MUKKALA PACCHADI | MANGO PICKLE with SMALL PIECES

Description: This is the first pickle which we prepare in mango season as this pickle gets ready very quickly.It is a simpler version of regular Avakaya recipe which is prepared with fine pieces of mango.
combination:
Combination: It tastes best when mixed with hot rice,ghee and podi(Kandi Podi).It tastes best with Curd rice too.
8. MAAGAYA PICKLE | Mango Pickle using Sun dried Mangoes
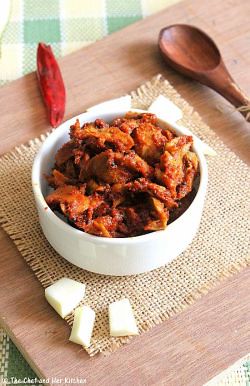
Shelf life: 1-2 years
Description: This is a different mango pickle recipe which is prepared using sun dried mango pieces and can be stored for long.This magaya pickle can be ground with curd to a chutney called "Magaya Perugu Pacchadi' which makes a nice combination with Idli/Dosa.
Combination:It tastes best when mixed with hot rice and ghee.It tastes nice with Curd rice too.
Shelf life: 15-20 days
Description: Mango pickle with absolutely no oil in the recipe and instead water is used in the recipe. Try this different mango pickle recipe definitely in this mango season.
Combination: tastes best with Curd rice.
Shelf life: 1+ year
Description: This is a typical North Indian style Mango pickle which is prepared with various blend of spices like yellow mustard,fennel seeds,kalonji and various spices which makes this pickle special tongue tickling.
Combination: This is ideal pickle with Rotis/Theplas/Parathas.Also check out other South Indian Pickle recipes if you are interested:
- Usiri Avakaya | Gooseberry Pickle
- Mango Ginger Pickle | Mamidallam(Maa Inji) Mukkala Pacchadi
- Easy Mango Pickle - Karnataka Style
- Lemon Pickle - Nimboo ka achar
- Mango Ginger Chutney | Mamidallam(Maa Inji) Niluva Pacchadi
- Pandu mirchi Pacchadi (Red chili spicy Pickle)
- Sun dried Tomato Pickle | Tomato Niluva Pacchadi


