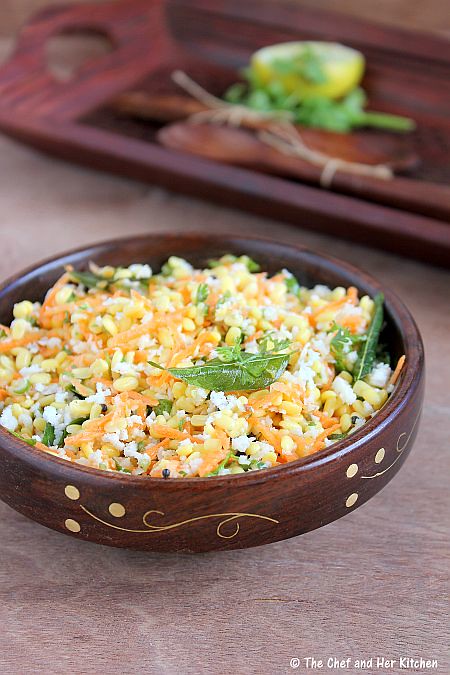
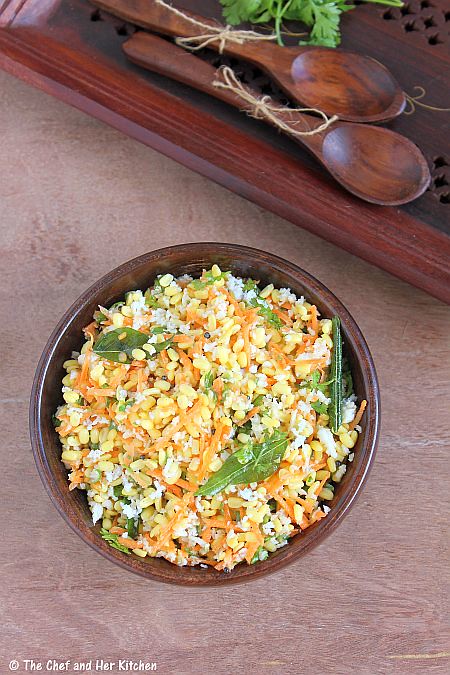
Showing posts with label Moong dal | Pesarapappu. Show all posts

Wednesday, January 11, 2017

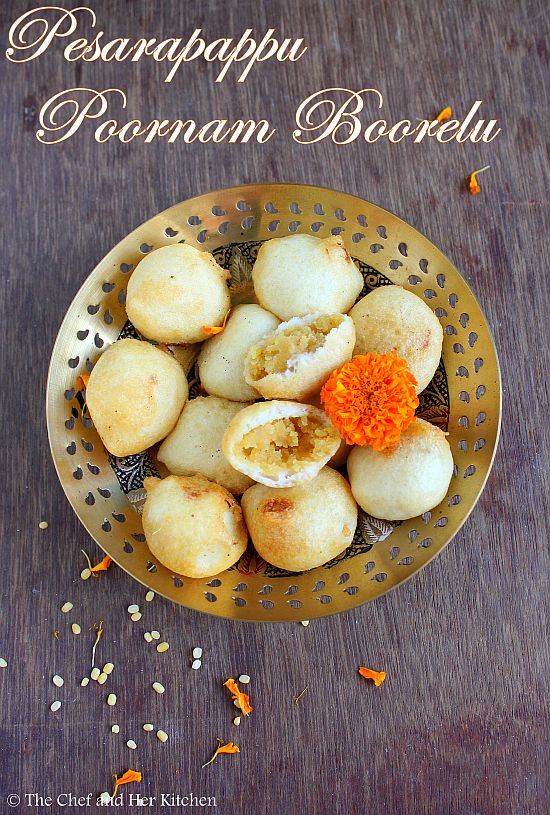
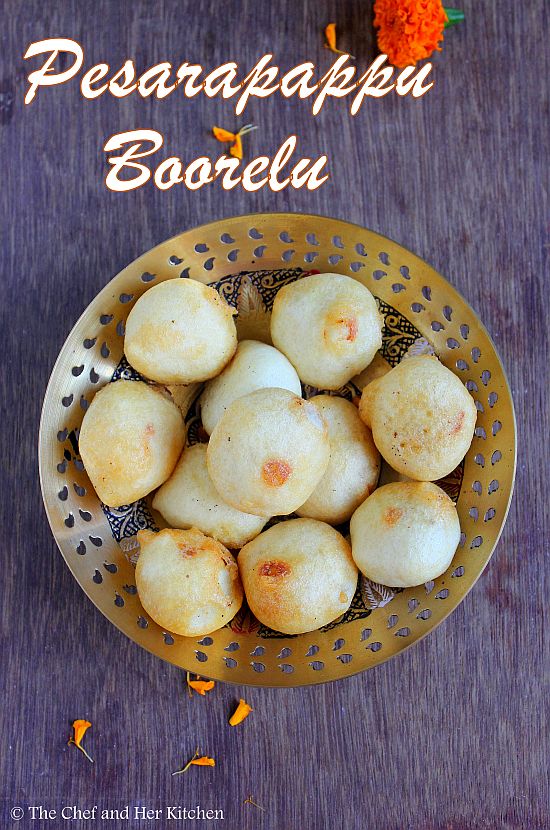
Pesarapappu Boorelu | Pesara Poornam Boorelu | Moong dal Boorelu

pesarapappu poornam boorelu
'Boorelu' or 'Poornalu' as they are called in Andhra and 'Sugeelu' or 'Sukkinunde' in Karnataka and 'Suzhiyan' or 'Sugiyan' in Tamilnadu.All these are different names and of course even the preparation methods are slightly different.The fillings and the outer coverings differ from place to place.While many use chana dal as filling for this, traditionally we used toor dal for filling and is prepared in the similar manner like how we make hoorna(filling) for Holige.The outer covering is again made up of lots of variations like urad dal batter,maida batter and rice-urad mixture(like we make) and even the proportions might be different in various households.Today I am posting a variation to the regular Boorelu - Pesarapappu Boorelu,where the filling is made up of moong dal instead of chana dal but the preparation process is almost the same.
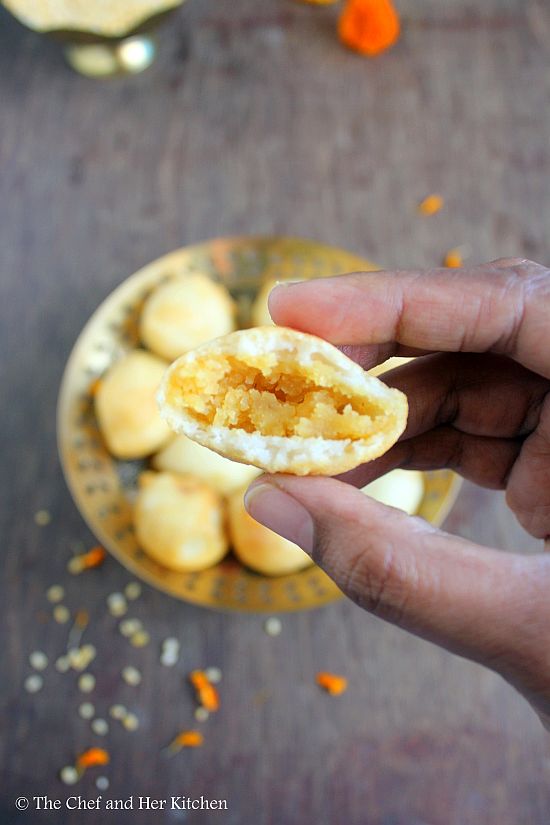
pesarapappu poornam boorelu
I was not very fond of sweets during my childhood(it is not the same now) but this is one of those sweets which I used to like even then.As they are mildly sweet and deep fried I used to relish them and used to gobble them with out complaining.My mom is an expert in making them,I must admit that one needs enough practice to prepare these,I have mentioned few notes with my experience and I hope it would be useful if you are attempting them for the first time.
Sankranti is nearing by and try these delicious pesarapappu boorelu for the festival and treat your family and friends with these delicious goodies.If you are looking for the traditional boorelu recipe using chana dal or toor dal then check out the traditional Boorelu Recipe here.
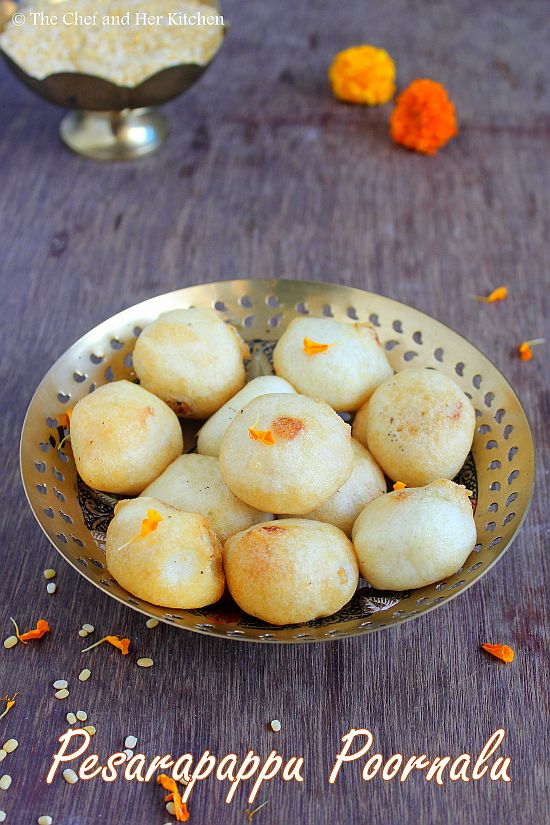
pesarapappu boorelu
Pesarapappu Boorelu | Pesara Poornalu Recipe:

Yields: 20-25 | Author: Prathibha
Prep time: 30 mins | Cooking time: 30 mins | Total time : 1 hr + soaking/fermenting time
Cuisine: Andhra | Category: Sweets

Ingredients:

for Outer layer:

1 cup Urad dal
2 cups Rice(regular sona masuri variety)
Salt to taste(1/2 tsp)
a pinch of cooking Soda

for filling:
1 cupMoong dal
1 cup grated Jaggery
1/2 cup grated fresh Coconut
2-3 Cardamoms
1 tsp Ghee

Oil,for deep frying

Method:

for Outer covering:

  • Soak rice and urad dal together overnight.
  • Next day in the morning,Add one cup of hot water while grinding the rice-urad mixture to a smooth textured batter.
  • Take care that the batter is neither thick nor thin,it should be similar to dosa batter consistency.
  • Add salt to it and let it ferment for 4-5 hrs .
for poornam(filling):
  • Soak moong dal for 10 mins
  • Bring 5-6 cups of water to a boil in a deep vessel and add ghee and soaked moong dal and let it cook until you feel it is almost cooked.Dal should hold its shape and should be firm,it should not become mushy.Press a grain of dal with your fingers to get to know whether the dal is cooked properly or not.
  • Strain this cooked dal over a strainer and let it drain the water and cool completely.Reserve this water to use it in making rasam.
  • Grind grated coconut, cooked and drained moong dal,elaichi powder and jaggery to a slightly coarse paste.
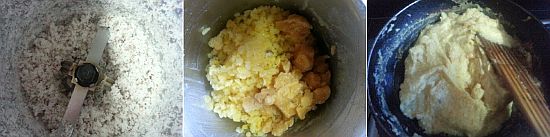
  • Add the cooked paste to the pan and keep stirring it until it turns slightly thick and non sticky and can be made as pedas.Cool the mixture completely
  • Make gooseberry sized balls out of the mixture and keep them covered until its usage.
for making Boorelu:
  • Add a pinch of soda to the rice-urad mixture and mix well.
  • Mean while heat oil in a kadai over medium flame until it is hot.
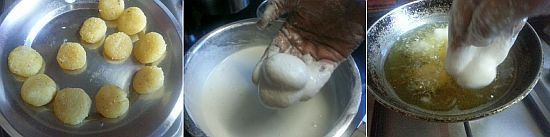
  • Meanwhile flatten the pedas a bit and keep them ready.
  • Dip each flattened stuffing(poornam) in the rice-urad batter carefully using fingers and drop them slowly in the oil.
  • Pour oil using the slotted spoon from the sides(like how we do for vadas) which helps in puffing up the boorelu nicely.
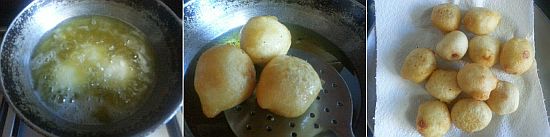
  • Turn it to the other side and fry until light golden brown in color.
Serve them hot/cold or at room temperature.

Notes:
  1. Rice-urad mixture for the outer layer should neither be thick nor very thin.If the outer layer is very thick it will reduce the sweetness of boorelu as the outer layer would be thick.
  2. While cooking moong dal,take care not to over cook it.Cooked moong dal should be firm to touch and should be cooked inside properly.
  3. The consistency of the filling should be little tight(not very soft) otherwise there is possibility that the filling might splutter while frying them.If your filling is slightly soft then try to refrigerate it for few hours or place them on kitchen towel to remove extra moisture or you can even microwave the mixture for a minute and leave it aside.This will help in hardening the mixture a bit.
  4. You can replace moong dal with chana dal or toor dal and follow the same recipe to make traditional boorelu.
  5. You can even replace jaggery with sugar and follow the same recipe.
  6. For a Vegan version avoid ghee in the recipe.
pesarapappu boorelu

Friday, October 7, 2016

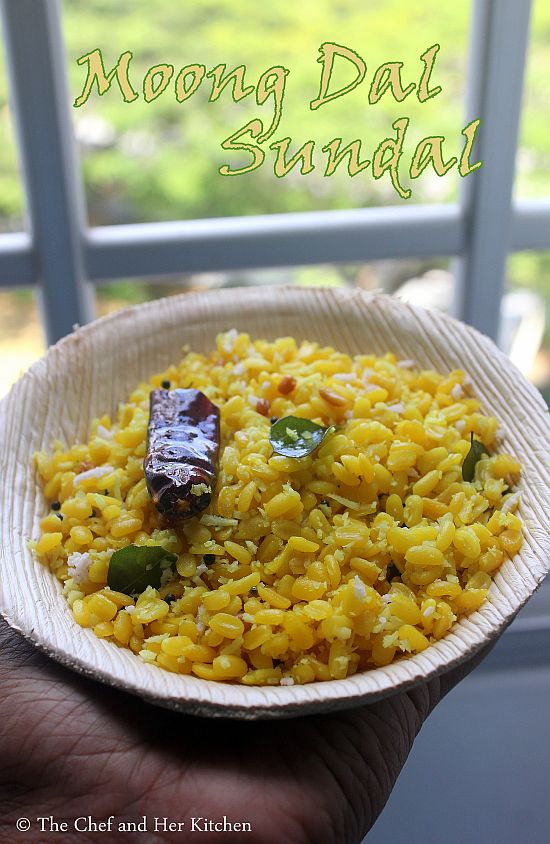
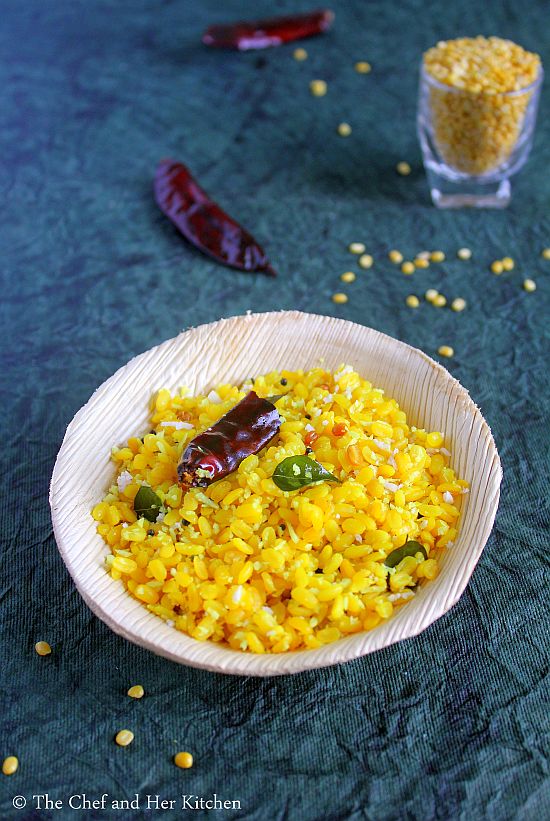
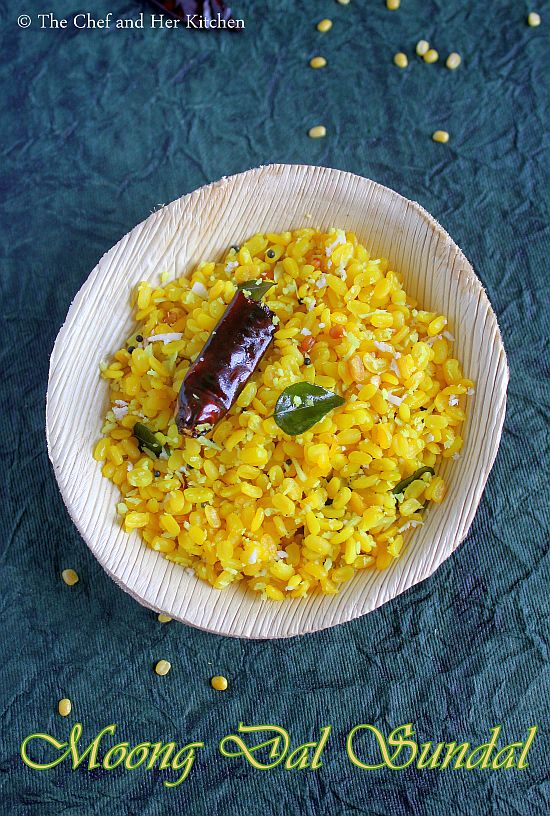
Moong dal Sundal Recipe | Pasi Paruppu Sundal | Easy Sundal Recipes

moong dal sundal
Navaratri has started and all are busy with the festival preparations. Sundal(Guggillu) is the most commonly prepared prashad for navaratri golu as it is very easy to prepare in large quantities. I had posted various sundal recipes in my blog and this year I had thought of preparing the sundal varieties which still could not make entry to my blog so that I can post them too here.Also,sundals are a very good low cal snacks option too for your evening snack.
The preparation process of most of the sundal varieties is very similar.While few varieties taste best when made simple with seasoning and coconut and few taste with an addition of ginger in the coconut paste and few varieties are made with sundal masala. Today's recipe - Moong dal Sundal falls in first category - it tastes best when made simple with seasoning and coconut. I would say that this is the most easiest sundal and takes very less time to prepare as moong dal cooks really fast.
Check out other sundal recipes in my blog:
For a complete list of Navaratri recipes, Check Here.
pasi paruppu sundal
Moong dal Sundal Recipe:
Serves 3-4 | Author: Prathibha
Prep time: 5 mins | Cooking time: 10 mins | Total time: 15 mins
Cuisine: South Indian | Category: Snacks

Ingredients:
1/2 cup Moong dal
3-4 tbsp grated fresh Coconut
a pinch of Turmeric
Salt to taste

to temper:
1 tsp Urad dal
1/2 tsp Mustard seeds
a sprig of Curry leaves
2-3 Red chillies, broken
a pinch of Asafoetida
1 tbsp Oil

Method:
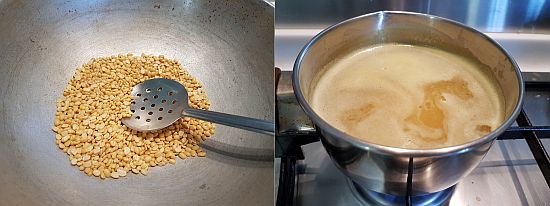
  • One can follow any of these methods to prepare moong dal.You can dry roast it a bit until it is warm and cook or you can soak in water for sometime and then cook.Both ways it work fine,do it as per your convenience.
  • Boil water in a vessel with some salt,turmeric powder and 1/2 tsp oil and once it comes to a boil add moong dal(roasted or soaked) and cook it for 4-5 mins.Keep stirring it in between so that they don't stick to the bottom of the vessel. Try to cook moong dal until it is just cooked  which means soft to bite but it should still hold its shape and not become mushy.Drain the moong dal into the colander.
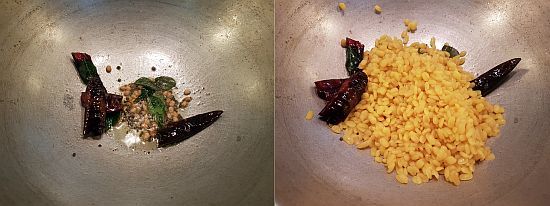
  • In a kadai heat oil and crackle mustard seeds and add urad dal, red chillies and curry leaves and fry until the dal turn slightly brown.
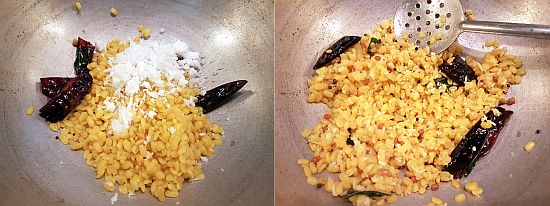
  • Add asafoetida and then add drained cooked moong dal and give a gentle stir and cook for 1 min.
  • Add salt and grated coconut and mix it gently and switch off the flame.Cover it with a lid and leave it undisturbed for 5 mins. This will help moong dal to fluff up nicely.
Serve it in bowls- warm or at room temperature.

Notes:
  1. One can follow any of these methods to prepare moong dal.You can dry roast it a bit until it is warm and cook or you can soak in water for an hour and then cook.Both ways it work fine,do it as per your convenience.
  2. As the dal gets cooked fast,make sure you do not over cook the moong dal. Even if it is bit under cooked it is fine, the steaming process at the end will let it cook completely.
  3. You can follow the same process of chana dal sundal by replacing moong dal with chana dal.
pesarapappu sundal

Monday, October 21, 2013

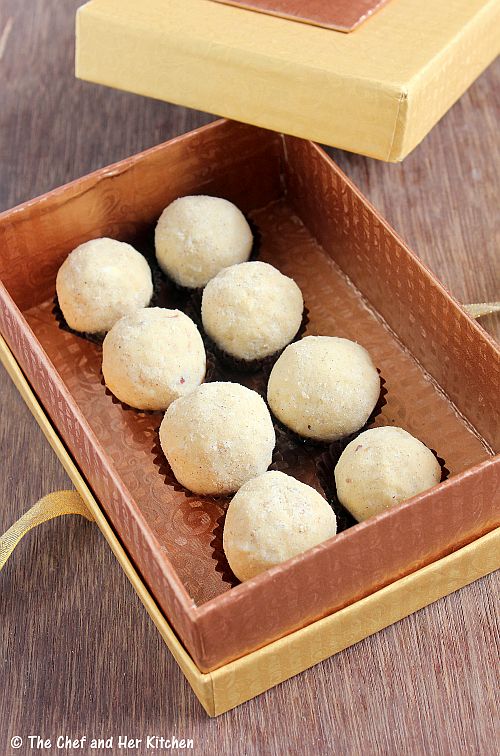
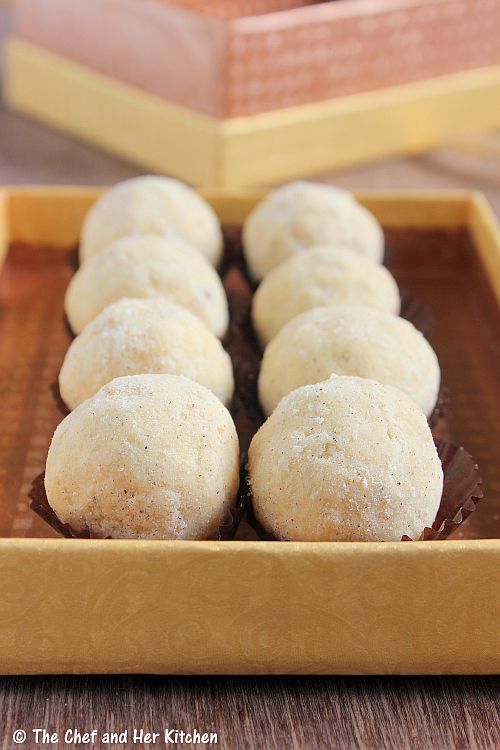
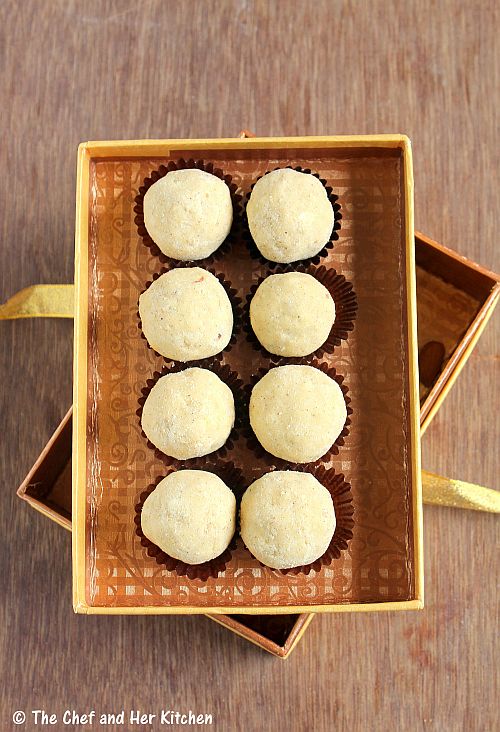
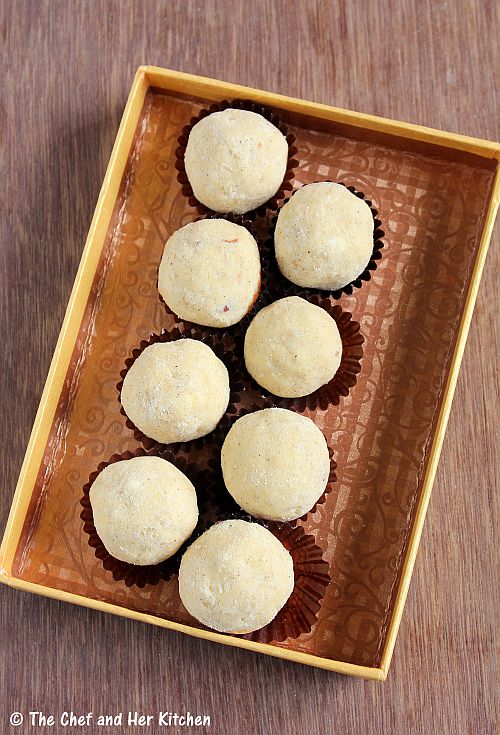
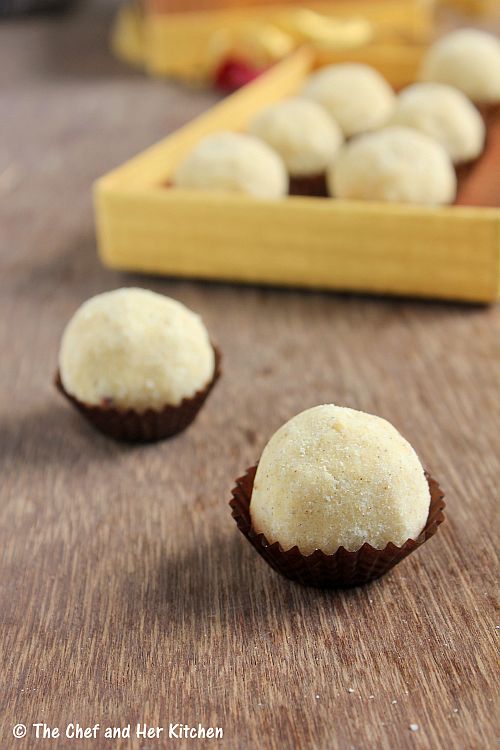
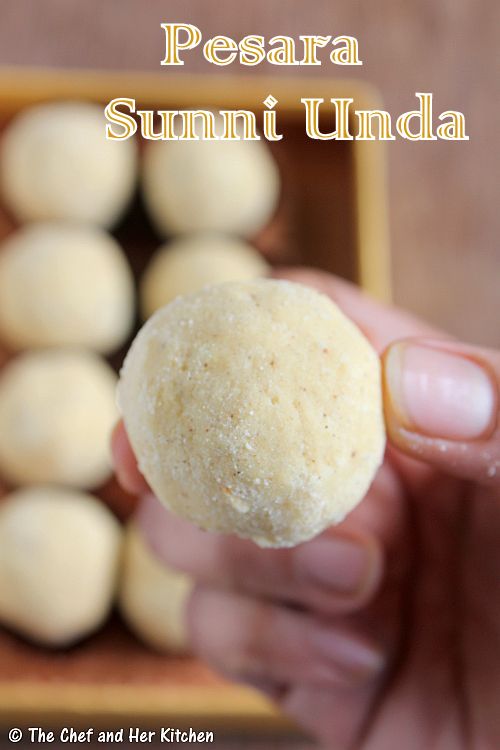
Moong Dal Ladoo | Pesara Sunni Undalu | Easy Diwali Sweets

moong dal ladoo
I was not very fond of sweets during my childhood and I used to eat only a few varieties of sweets and this Moongdal Ladoo(Pesara Ladoo) is one of them. My mom prepares it quite well and its difficult for anyone to stop at just one. My mom gives me the roasted moong dal flour when I visit her and I store it for several months in the refrigerator.If we have the flour ready, preparing these ladoos does'nt take much time.
 moong dal ladoo
When my parents visited us a few months back, I had asked my mom to prepare this ladoo so that I can post it in my blog.Though she prepared them in a large quantity, I could not take the pics immediately and after finishing almost half of what she made, I pushed myself to take the pics. Last time she visited us, she had prepared a few namkeen varieties which I would post soon.
moong dal ladoo

 moong dal ladoo

Pesara Sunni Undalu | Moong Dal Ladoos Recipe:
Yields:8-10 Ladoos | Shelf life:1 month
Prep time: 20 mins | Cooking time: 10 mins | Total time: 30 mins
Cuisine: Indian | Category: Sweets

Ingredients:
1 cup roasted Moong dal flour(recipe follows)
1 cup Sugar powder
1/3 cup Ghee(+2 tbsp ghee if needed)
12-15 Almonds,finely chopped
12-15 Cashew nuts,finely chopped
1/2 tsp Cardamom powder

for moong dal flour:
1 cup Moong dal(Yellow lentils)

Method:

to prepare roasted moong dal flour:
  • Dry roast moong dal over medium flame until you get nice aroma and well roasted ,it takes around 4-5 mins and let it cool and then powder it to a smooth powder.You can do it at home in a mixer or get it done in a mill if preparing in huge quantity.Sieve it once if required to get the soft flour of moong dal.
  • This can be refrigerated 3-4 months and when required you just to mix with ghee and sugar and make ladoos.
to make Pesara sunnunda:
  • Mix together sugar powder and roasted moong dal flour without any lumps and it is mixed properly.Check for the sweetness now if you want more sweet add 1-2 tbsp extra sugar powder and mix well again.
  • Heat ghee in a wide kadai and add chopped almonds and cashew nuts and fry them until the badam turns slightly brown.
  • Add moong dal flour and sugar mixture to it and switch off the flame.Add cardamom powder and mix it properly until the ghee is coated properly.
  • Let the mixture becomes luke warm and can be handled with hands.Make lemon sized round balls out of it and arrange them in a plate.
  • Once it is cooled completely store it in an air tight container.These can be stored for over a month.
Enjoy it as a dessert or snack.

pesara sunni undalu
Notes:
  • Roasted moong dal flour can be stored for 4-5 months when refrigerated. You can make it in large portion and make ladoos when needed.
  • These laddus can be stored for over a month and hence store it in an air-tight container.
  • If you find it difficult to make laddus out of it and the mixture is dry,feel free to add 3-4 tbsp melted ghee to it and mix again and then start making laddus.
  • The addition of fried nuts in the ladoos make them taste extremely delicious,so I highly recommend to use them and not to skip them.
  • You can add 1/4 tsp Cardamom powder to the moong dal powder-sugar mixture.It adds a nice flavor and taste to ladoos.
pesara sunni undalu
This sweet ladoo is for you all.Try this easy and delicious ladoo at home,I am sure you would definitely love it.
pesara sunnunda

Wednesday, October 9, 2013

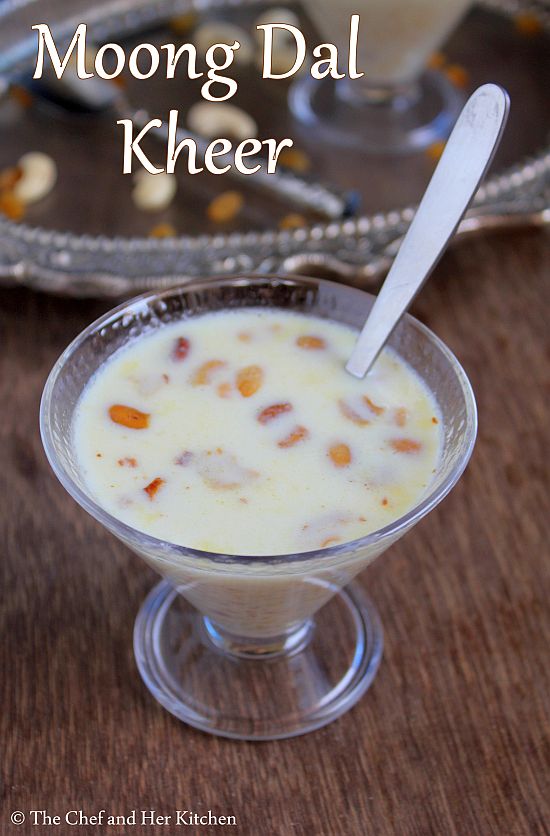
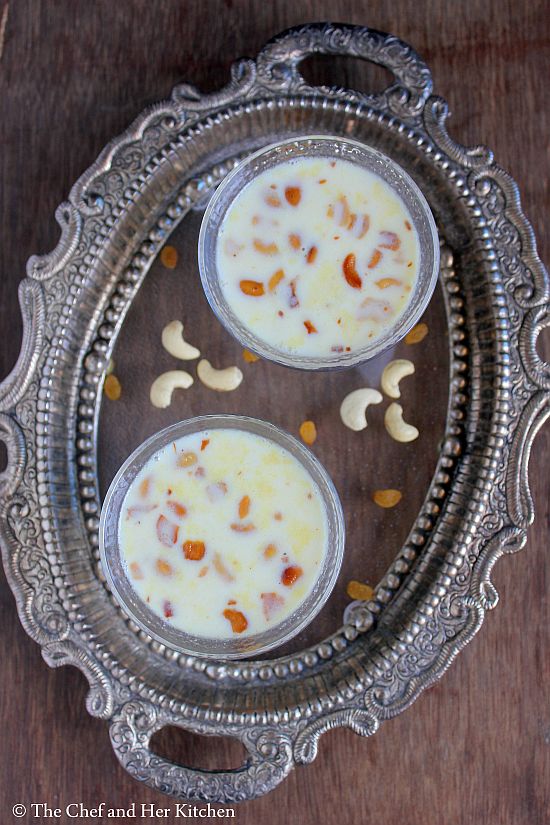
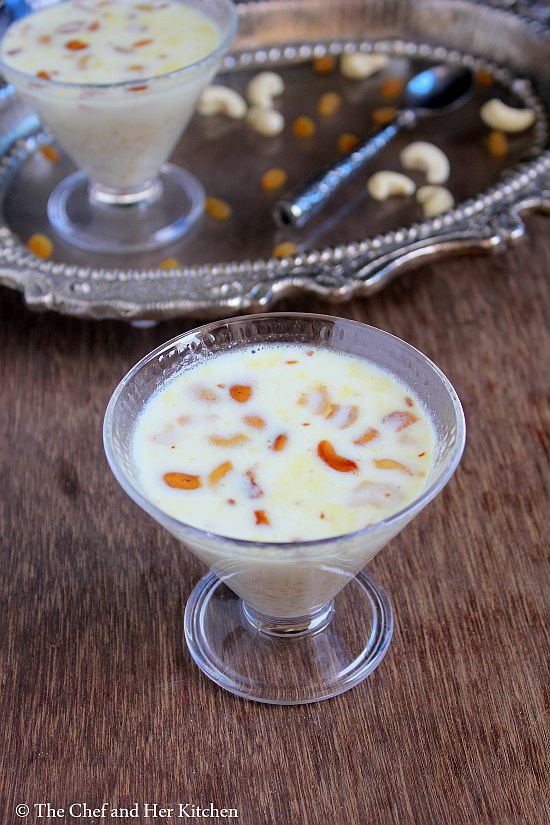
Moong Dal Kheer | Hesaru Bele Payasa | Easy Kheer Recipes

moong dal kheer
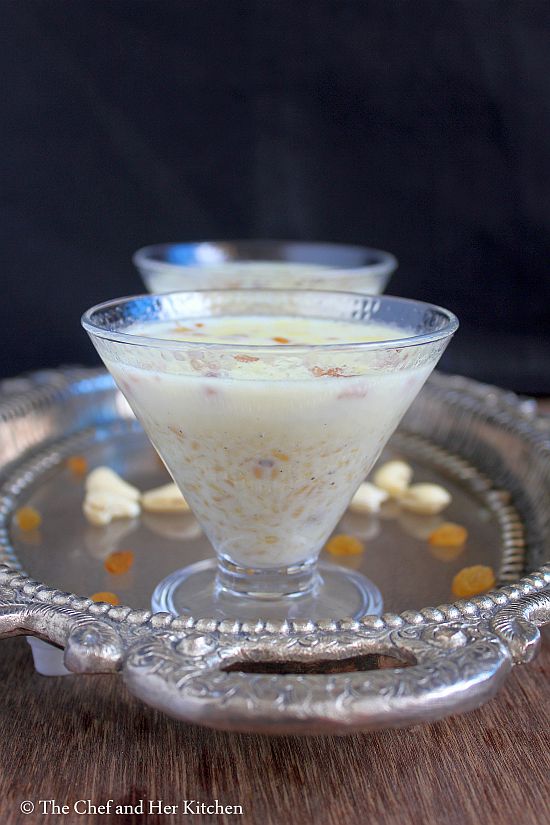
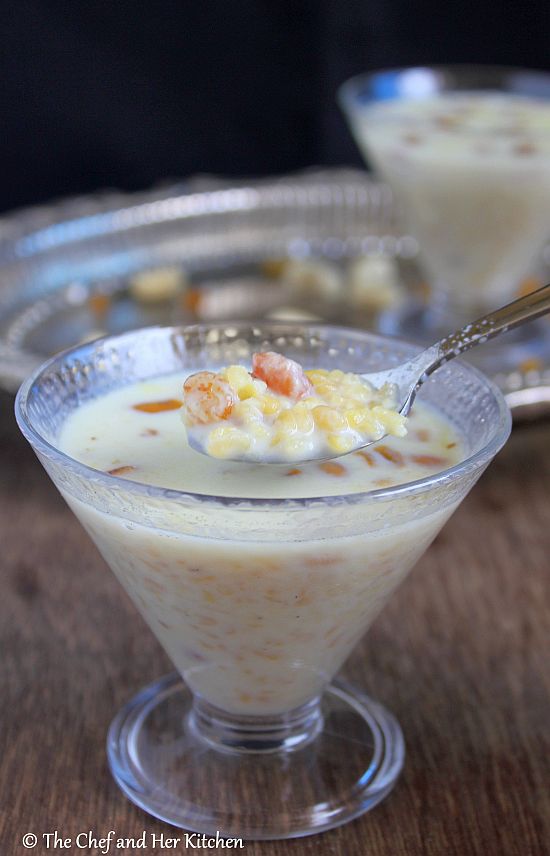
Moong dal kheer is one of the easiest kheer varieties to prepare and is also my most favorite one. I have posted a version earlier-Moong dal Payasam which is a thicker version much like payasam, check out the recipe here. Today I am posting another version of kheer which my mom prepares.My mom prepares this quite often, saying that it will give a cooling effect to the body.She always prepare this kheer which would be of the consistency like badam kheer and hence she always used to serve this in a glass instead of a cup.
moong dal kheer
Though the ingredients used in this kheer and the regular Moong dal Payasam are similar the taste and consistency is entirely different. The former version  is prepared using sugar and the consistency is thin where as the latter one can be prepared using either sugar or jaggery and is prepared thick like the other payasam varieties. I like both the versions but I prefer this lighter moong dal kheer as it is mildly sweet and love the idea of drinking the kheer biting into the fried cashew pieces and few moong dal bits here and there.This kheer is a treat when served cold on those hot summer days or as a warm kheer in the winters, it tastes nice either cold or hot.
pesarapappu payasam
Moong dal Kheer | Hesarubele Kheer | Pesarapappu Payasam Recipe:
Serves 2
Prep time:5 mins | Cooking time: 30-40 mins | Total time: 45 mins
Cuisine: Indian | Category: Sweets

Ingredients:
1/2 cup Moong dal(yellow variety)
1/3 cup Sugar
2.5 cups whole cream Milk
1 1/2 cups Water
1/2 tsp Cardamom powder
10-12 Cashew nuts, broken
2 tbsp. Raisins
2 tbsp Ghee

Method:
  • Heat ghee in a small pan and add cashew nuts and raisins and fry them separately until they turn light golden brown in color and keep them aside.
  • Boil the milk over the low flame until it becomes thick and reduces to 3/4th of volume.
  • In a small pressure cooker add the remaining ghee and add moong dal and fry until it turns slightly red in color.
  • Meanwhile boil water in another vessel and add the boiling water to the roasted moong dal.
  • Pressure cook moong dal for 2-3 whistles until the moong dal splits and is cooked. It should be properly cooked,you can cook the dal with a bite or little mushy however you like.
  • Add sugar to it and boil for 5-7 mins until the sugar is melted and the kheer starts thickening.
  • Add boiled milk to it and simmer for another 5 mins.The kheer would not be very sweet, it should be mildly sweet.If you like it more sweet add a couple of tbsp. of sugar more.
  • Add cardamom powder and fried cashew nuts and raisins mix well and switch off the flame.
Serve it hot/cold/warm or at room temperature.
hesaru bele payasam
 Notes: 
  1. You can also add fried badam along with cashew nuts to the kheer.
  2. You can make the kheer really rich by even pressure cooking the moong dal in complete milk,in that case you would need approximately 3 cups of milk.
  3. The kheer would be slightly runny in consistency so it is better to serve it in a glass instead of a cup.
moong dal kheer

Technorati Tags: , , , , , , , , ,

Friday, March 8, 2013

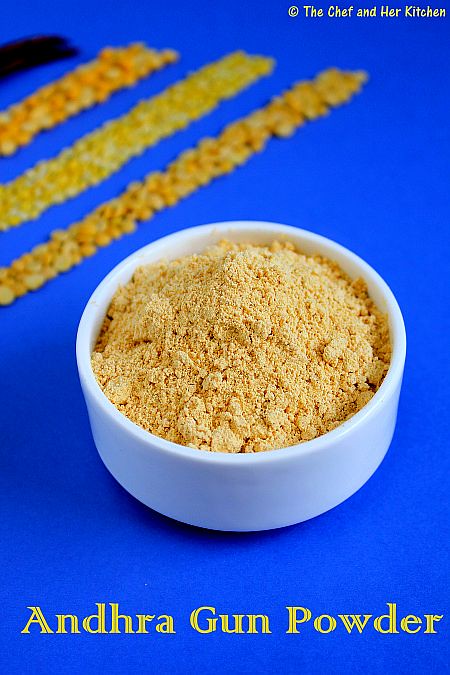
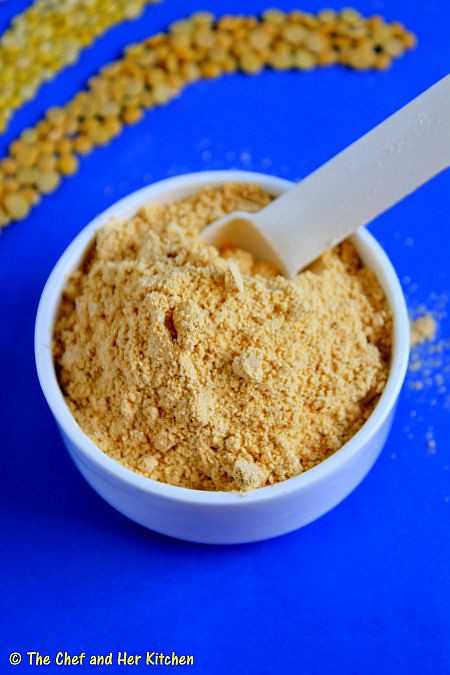
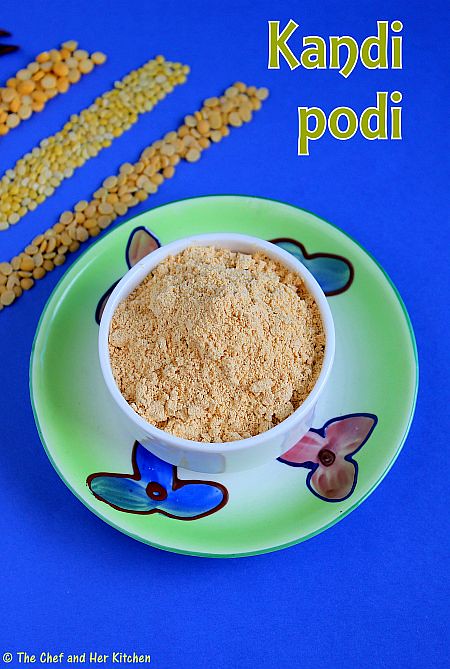
Kandi Podi | Andhra style Gun Powder Recipe

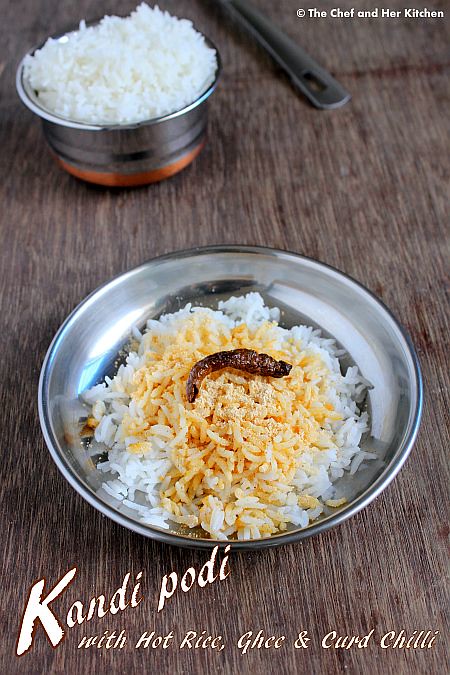
The first thing you would notice if you go to any Andhra restaurant for a thali is an array of pickle jars and various powders which are placed on every table.While few varieties might vary,the most common varieties would be Andhra Avakaya and Kandi Podi(which is fondly called as Andhra Gun powder).
Andhrites start their lunch with a powder, mostly Kandi podi which is Andhra's trademark recipe.It is usually mixed with hot rice and a generous dollop of ghee, a combination which is definitely a heaven on a plate.You can even mix Avakaya with the powder and ghee,even that tastes absolutely delicious.Many of my friends(including those who are not from Andhra) have tasted this powder/podi and have always raved about its taste. One must try this trademark Andhra Gun powder recipe for sure to understand what I am saying.

Kandi Podi | Andhra famous Gun Powder Recipe:
shelf life:stays fresh up to a month

Ingredients:
1/2 cup Toor dal
1/2 cup Moong dal
1/2 cup Chana dal
10-12 Red chillies
1 tsp Cumin seeds
Salt to taste

Method:
  • Dry roast toor dal until it turns red in color and keep it aside and dry roast moong dal until red in color and remove it from pan and keep it aside and do the same with chana dal.Always dry roast each dal separately as they will not get roasted uniformly otherwise.Let them cool.
  • Dry roast red chillies until they turn slight red in color and keep them aside.
  • Dry roast cumin seeds and keep them aside.
  • Once all the dals come to room temperature grind all the dals with red chillies,cumin seeds and salt to a powder.You can either grind it to a fine powder or slightly coarse powder.
  • Store it in an air tight container.
Serve it with hot steamed rice and a dollop of ghee.You can serve chopped raw onions along with it,it tastes delicious.
Notes:
  • Add 1-2 garlic pods after the dals are ground to a powder and grind it again to a powder.
  • Do not grind it to a very fine powder,keep it slightly coarse.
  • You can mix the kandi podi with Mango Avakaya,Usiri Avakaya,Gongura etc or just mix it with hot rice and a dollop of ghee.It tastes very delicious.

Monday, February 11, 2013

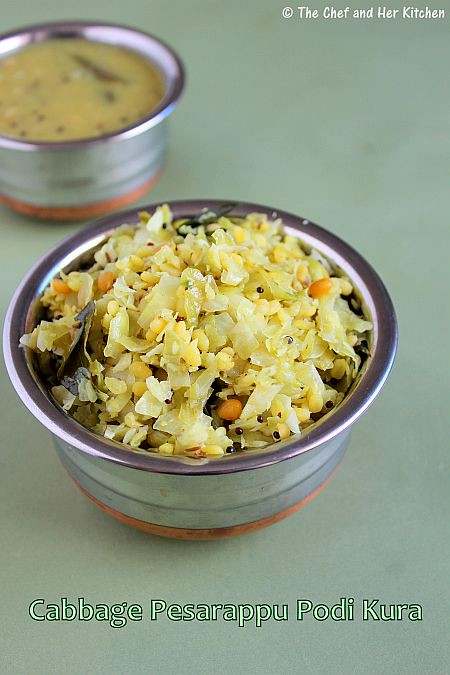
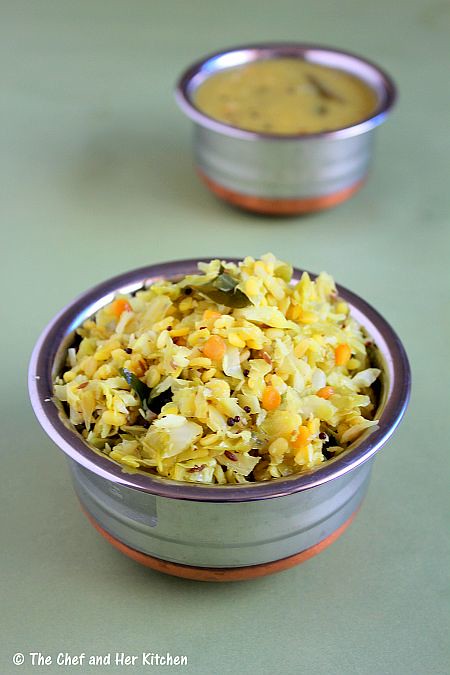
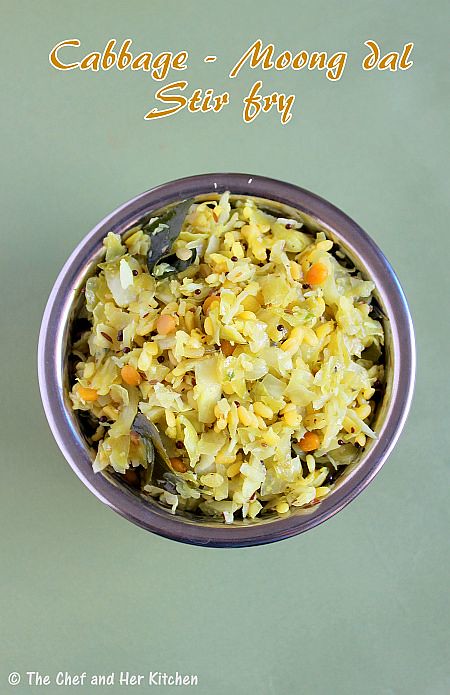
Cabbage Pesarapappu Podi Kura | Cabbage Moongdal Dry Curry

I prepare various dry curries to go with rice for our lunch and this Cabbage-Pesarapappu podi kura(dry curry) is one of my favorites which I prepare quite often.If you do not like cabbage do give this combination a try,the addition of moong dal and coconut makes this curry extremely delicious and pairs well with rice or roti.You can find a similar version of podi kura with amaranth leaves here, Thotakura Pesarapappu Podi kura which is again my personal favorite.
Cabbage Pesarapappu Podi Kura | Cabbage Moong dal Dry Curry:
(serves 2)

Ingredients:
1 small Cabbage,shredded or finely chopped
1/3 cup Moong dal(yellow lentils),soaked
1/3 cup grated fresh Coconut
5-6 Green Chillies
a pinch of Turmeric powder
1 tbsp Chana dal
1 tsp Urad dal
1/2 tsp Mustard seeds
a sprig of Curry leaves
Salt to taste
2 tbsp Oil

Method:
  • Soak moong dal overnight or for 1-2 hrs.
  • Heat oil in a kadai and crackle mustard seeds.
  • Add chana dal,urad dal and curry leaves and fry well.
  • Add curry soaked moong dal,shredded/finely chopped cabbage and turmeric powder and fry well for 2-3 minutes.
  • Cover it with a deep lid and pour water over it which enables steam cooking for the vegetable to get cooked.Keep it on low flame for 12-15 mins until the cabbage and moong dal is cooked.It would be a dry curry with slight moisture.Cook for another couple of minutes if needed.
  • Meanwhile grind grated coconut with salt and green chillies in a mixer to a coarse paste.
  • Once the cabbage moong dal is cooked add the ground coconut mixture and mix well and stir fry for 2 minutes.
Serve it hot with steamed rice/roti/chapati.

Variations:
  1. You can add grated carrots along with cabbage and follow the same recipe.
  2. You can substitute cabbage with grated carrots or grated beetroots in the recipe.The cooking time may vary accordingly.
  3. Moong dal can be substituted with Chana dal and follow the same recipe,even this tastes nice.
 

Monday, January 21, 2013

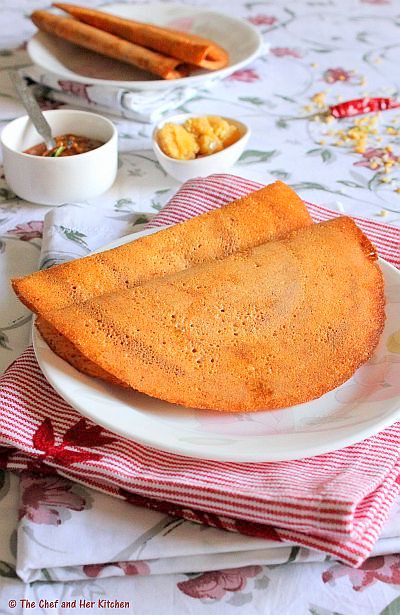
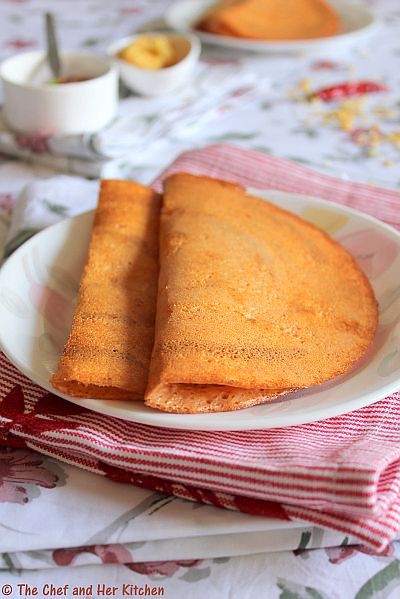
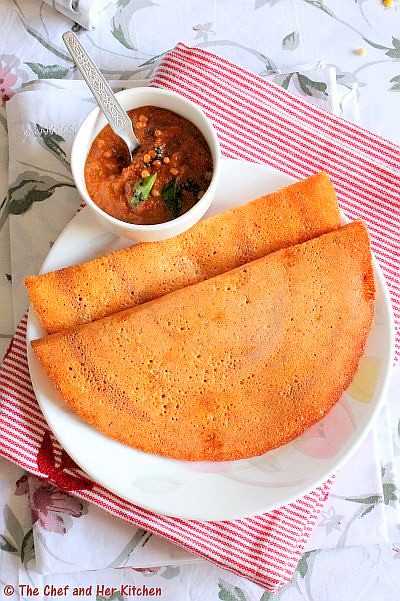
ADAI DOSA RECIPE | KARA ADAI | MIXED LENTIL DOSA

Adai's origin is from Tamilnadu where it is usually paired with the vegetable, 'Avial'.The batter for Adai is ground thicker and coarser than the regular dosa batter and it does not require any fermentation.The Adais are prepared slightly thicker than the regular dosa and they consume lots of oil as the batter is ground coarse. This version that I have made is more of a dosa and is thin and crisp. Adai is usually spicy as the batter has it all - so no need for any accompaniment. I though prefer to have it with a bit of jaggery and ghee.
Adai Dosa Recipe | Mixed Lentil Dosa Recipe :
(yields 18-20 adai)

Ingredients:
1/2 cup Raw rice(regular rice variety like sona masuri,ponni etc)
1/2 cup Idli rice
1/3 cup Toor dal
1/3 cup Chana dal
1/4 cup Moong dal
1/4 cup Urad dal
1/3 cup grated fresh Coconut
10-12 Curry leaves
4-5 Red chillies
3-4 Byadige Red chillies
1 tsp Cumin seeds
1/8 tsp Asafoetida
Salt to taste

to add to the batter:
1/4 cup chopped Coriander
2 tbsp chopped Curry leaves
Oil to roast adais

Method:
  • Soak rice for 4-5 hrs or over night.Soak chana dal,moong dal and toor dal in a separate container for 4-5 hrs or over night.Soak urad dal in another container for the same time (4-5 hrs).
  • Dry roast cumin seeds and red chillies(both the varieties regular and byadige) slightly until warm and let them cool.This process is just to make them crisp for better grinding.
  • Grind urad dal to a smooth and frothy paste by adding some water.Remove this mixture and keep aside.
  • Now grind soaked rice with the remaining dals,coconut,curry leaves,red chillies,cumin seeds and asafoetida to a smooth batter.I ground to a smooth batter as I wanted to prepare like dosa,you can even grind to a coarse batter.
  • Mix the urad dal batter with the ground batter and add enough salt to it and mix well.You can prepare adai dosa immediately with this batter if you want,I kept it aside for 3-4 hrs for little fermentation.
  • I am sure everyone knows how to make simple dosa,still I explain the process of making it for people who are not familiar with it.
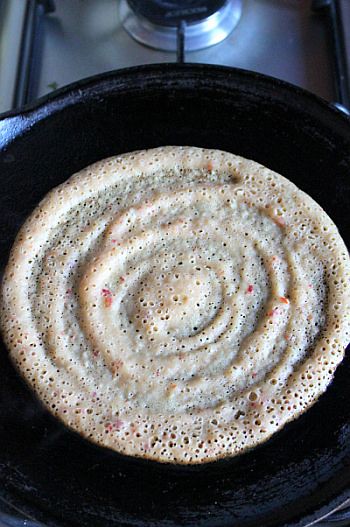
  • Mix batter well and add chopped coriander and curry leaves to the batter and mix again.Pour a big ladle of batter onto a medium hot pan and spread it in the circular motion to form a uniform shaped dosa.You can spread the batter thick or thin according to your wish.
  • Pour 1-2 tsp oil approx over it and cover it with a lid.(No need to add more oil if using Non stick pan,you can completely replace oil with ghee for better taste if you are not calorie conscious).
  • Let it initially cook on low flame for 1-2 mins and remove the lid and increase the flame later and cook for a couple of mins until you see brown/red patches.You can turn it and roast the other side if you want.(Do not try to remove the dosa in between while it is roasting.We should remove it only when you are sure that the dosa is perfectly roasted.)
  • Serve it directly and do not drop them in hot boxes.It should be served on to the plate immediately to enjoy the flavor and crispiness of the dosa.
  • Reduce the flame for half a minute and then start preparing the next dosa.Do not pour the batter on high flame.
Serve it with spicy chutney or Avial.I served it with spicy coconut chutney and jaggery.
Notes:
  1. The addition of idly rice gives crispiness to adai,if you don't have it replace it with regular rice.
  2. Ideally the batter should be ground to a coarse mixture and is made thick which we are not really fond of,hence I made it into a very slight coarse dosa kind batter.It is left to your choice, either way it tastes good and left to you.
  3. You can start preparing them immediately but I prefer to leave it aside for few hours to let it ferment.Again it is my personal preference.
  4. You can add finely chopped onions/shallots to the adai batter just before making adai.If you add the onions you cannot spread like dosa,it will be slightly thicker and you need to roast on both sides.
  5. The addition of more oil to adai makes it crispier.
Variations:
  • You can add tender drumstick leaves or grated carrots or chopped spring onion greens to the batter.Each gives a different flavor and taste to adai.
  • You can even add ginger while grinding which gives a nice flavor to adai.
 

Friday, January 11, 2013

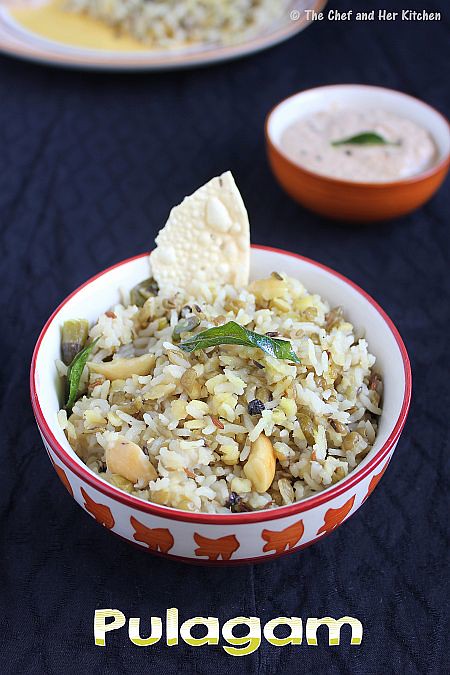
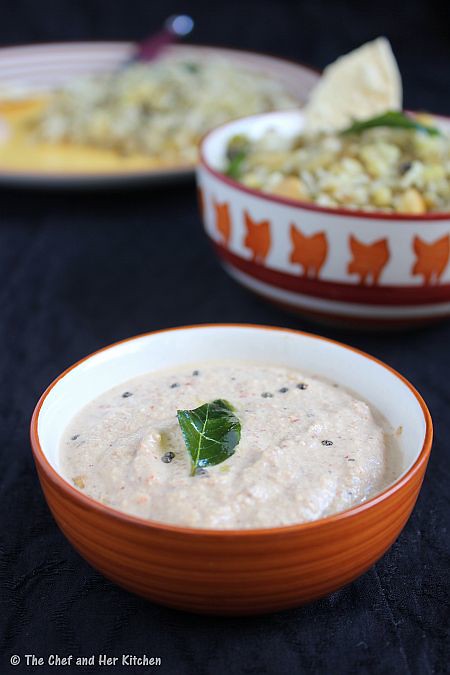
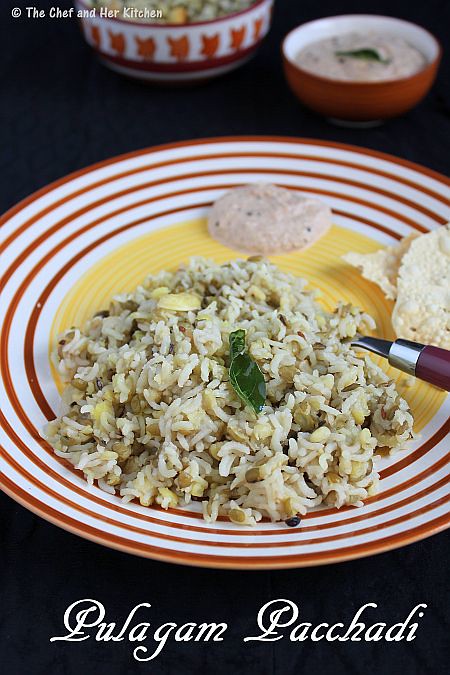
Pulagam Pacchadi Recipe - Sankranti Recipe

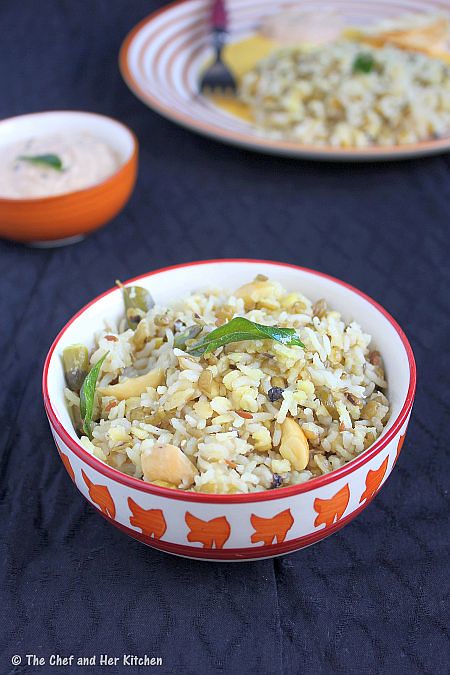
Every region has their own specials and this Pulagam-Pacchadi is a combination which is quite popular in Rayalaseema region of Andhra.This can be prepared during Sankranti. Pulagam is a dry khichdi which is made up of rice and split green lentils unlike the regular Khichdi/pongal which is a soft version and made up of rice and yellow moong dal.

Pulagam is usually served with thick and coarse ground nut chutney in the Rayalaseema region and is a quite common meal in all house holds.Split green gram adds extra nutrition to the rice and also make it more tasty.You can give this dry khichdi a try for a change instead of pongal.
Pulagam Recipe | Rice and split Green gram dry Khichdi:
(Serves 2)

Ingredients:
1 cup Rice(sona masuri or equivalent)
1 cup split Green gram(split moong dal with skin)
3 cups Water(slightly less than 3 cups)
6-8 Cashew nuts,broken
3-4 Green chillies,slit
1/2" Ginger,finely chopped
8-10 Curry leaves
8-10 black Pepper corns,slightly crushed
1 tsp Cumin seeds
Salt to taste
2 tbsp Ghee
1 tbsp Oil

Method:
  • Wash and soak rice and green gram for at least half an hour.
  • Heat oil and ghee in a cooker and crackle cumin seeds.
  • Add broken cashew nuts,pepper corns,chopped ginger and green chillies and fry for a minute or two.
  • Add curry leaves and fry and add soaked and drained split moong dal and rice and fry for a couple of minutes.
  • Add water and salt and let it come to a boil.close it with lid and pressure cook for 3 whistles.Wait until the pressure drops.
Serve it with Palli pacchadi/Groundnut chutney.
Notes:
  1. You can replace split green gram with yellow moong dal,but split green gram makes it taste different and is highly recommended to prepare pulagam.
  2. The amount of water added makes the rice soft and moist but still with separate rice granules.You can add 1/4 cup water if you like it soft or reduce 1/4 cup water to make it bit more dry.

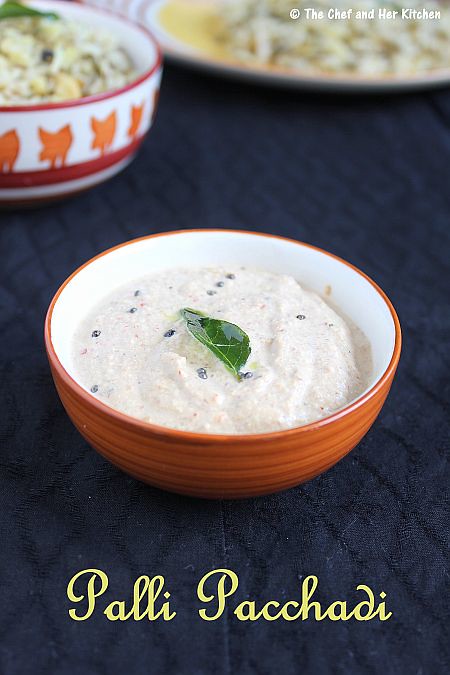
Palli (Verusenaga) Pacchadi | Groundnut Pacchadi :

Try this version of Palli (Verusenaga/groundnut) chutney with pulagam.It pairs nicely even with plain steamed rice or Idli/dosa.
Palli Pacchadi | Groundnut Pacchadi  Recipe:
 
Ingredients:
1/2 cup Groundnuts
a small Onion,sliced
1-2 Garlic pods(optional)
2-3 Red chillies
1 tsp Tamarind pulp
Salt to taste
1 tsp Oil

to temper:
1 tbsp Oil
1/2 tsp Mustard seeds
5-6 Curry leaves

Method:
  • Dry roast groundnuts and cool them.Peel the skins off and keep them aside.
  • In a pan heat 1 tsp oil and add red chillies and fry and remove them and keep aside.Add sliced onions and garlic pods and fry until they turn pink.Let the mixture cool.
  • Grind the roasted groundnuts with fried onion-garlic and red chillies,tamarind,salt to a thick and slight coarse paste.Do not grind it smooth.Add required water while grinding.
  • In the same pan heat 1 tbsp oil and crackle mustard seeds and curry leaves and add this tempering to the groundnut chutney and mix well.
Serve it with Pulagam/plain steamed Rice.You can even serve it with Idli/Dosa,in that case grind the chutney to a smooth paste.
Notes:
  1. You can even roast ground nuts in a tsp of oil.In that case you do not need to peel their skins.
  2. Red chillies can be replaced with green chillies for different flavor.
  3. Garlic pods can be avoided in the recipe if you wish.
  4. Grind it to a coarse and thick chutney,it goes nicely with pulagam and even plain steamed rice.

Thursday, October 18, 2012

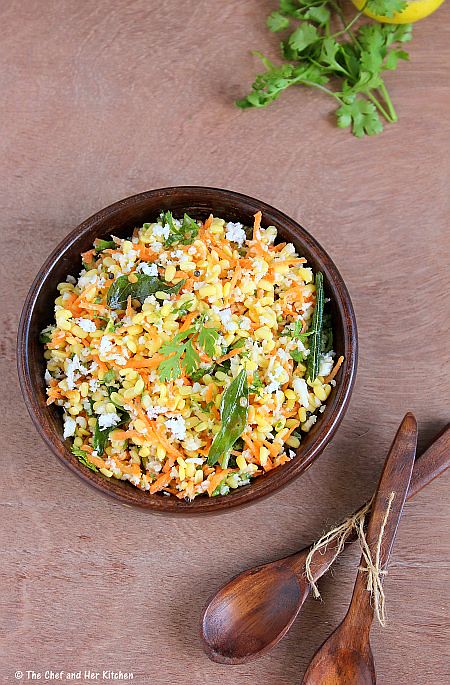
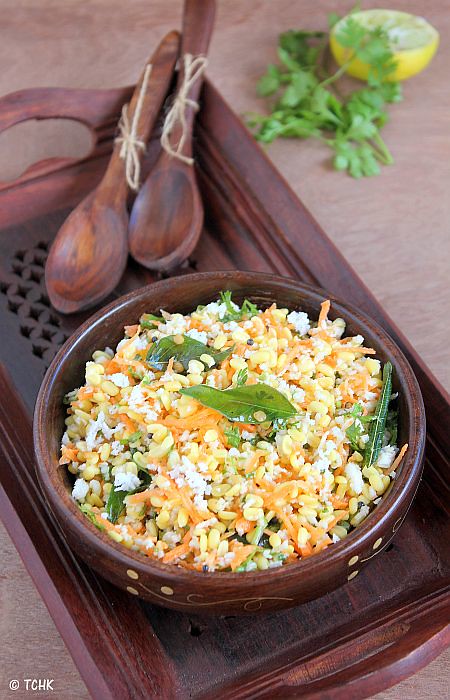
Kosambari | Hesarubele Kosambari | Moong Dal Salad

Salads can be served as a part of a meal while few varieties can be eaten as a whole meal by itself.The Salad which I am sharing today is a typical Karnataka style called 'Kosambari' which is a must to be served as a part of the meal in marriages and festivals.We usually offer soaked moong dal to God during festivals and mostly it is converted to this tasty kosambari for our lunch or evening snack.I don't mind eating it as a meal too as I like it very much.While the base ingredients of various kosambaris are same,one can play with the addition of few more vegetables or experimenting with various lentils.
If you are searching for Navratri recipes,please go through my  Navarathri recipes here for various sundal, kheer, snack and rice varieties.
Hesarubele Kosambari Recipe:
(Serves 2-3)

Ingredients:
1/3 cup yellow lentils/Moong dal
1 medium Carrot,grated
1/4 cup grated Coconut
2 tbsp chopped Coriander leaves
3/4 tsp ground green Chili paste(2 green chilles)
juice of 1/2 Lemon
Salt to taste

to temper:
1/2 tsp Mustard seeds
1 tsp Urad dal
a pinch of Asafoetida
5-6 Curry leaves
1 tsp Oil
Method:
  • Soak moong dal for an hour and drain off the excess water in a strainer.Leave it in strainer for sometime so that all the water would be strained.
  • In a mixing bowl add strained moong dal,grated coconut,chopped coriander and grated carrot.
  • Just before serving,add salt,green chili paste and lemon juice and mix well.Taste it and adjust according the seasoning according to your requirement.
  • In a small pan heat oil and crackle mustard seeds and add urad dal and fry until it turns red.Add curry leaves and asafoetida and fry for few more seconds.
  • Add the seasoning to the mixed salad and mix it nicely.
Serve it as a snack or as a part of meal.
Notes:
  • Prepare the salad just before serving,if you make it ahead the salad will leave lot of water.Hence add the salt and spice and mix just before serving.You can make ahead of half an hour and not more than that.
Variations:
  1. You can add finely chopped cucumber and also finely chopped or grated raw mango to the above recipe.Adjust lemon juice in the recipe.
  2. Moong dal can be replaced with chana dal in the recipe and follow the same process.
  3. You can even add pomegranate kernels to the salad.
  4. Yellow moong dal can be replaced with sprouted whole moong in the recipe and you can add chopped cucumber and raw mango to the same.
 
back to top