Wednesday, December 14, 2016

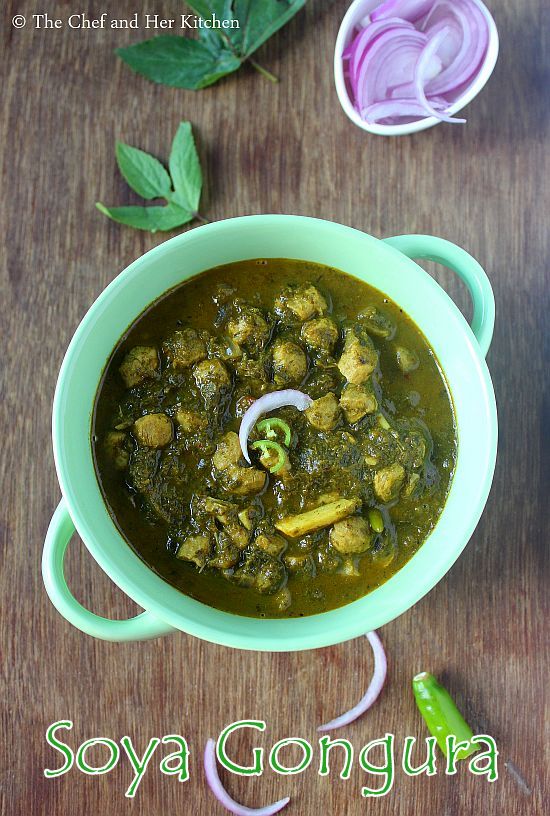
Gongura Soya Chunks Curry | Soya Gongura | Gongura Recipes

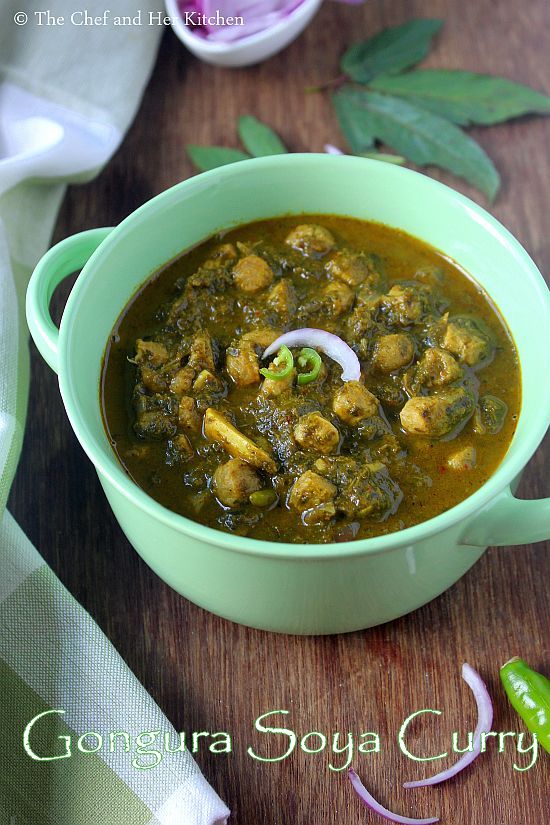
gongura soya curry
Sorrel leaves aka Gongura are sour leaves and are used to prepare the famous Andhra Gongura Pickle and Gongura Pacchadi. Though these leaves taste the best in Pickle or Pacchadi form, they are versatile and can be used in various recipes like dal,curry, stew or rice varieties. I have already posted Gongura Pappu  , Gongura Pulusu KuraGongura Pulihora , Gongura Pacchadi with Green ChilliesGongura Pacchadi with Red Chillies recipes and I am yet to post the famous Gongura Pickle, sometime soon I should post it too. I love gongura based recipes because of the unique tartness from the sorrel leaves.
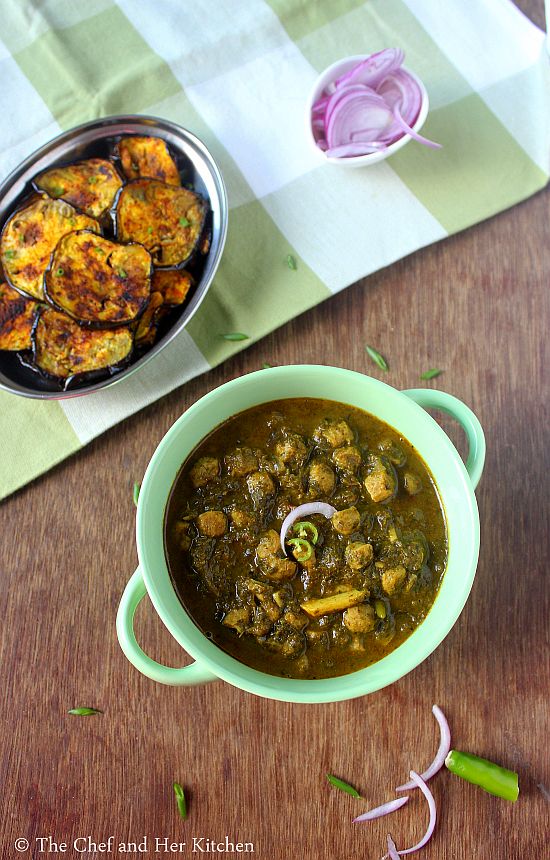
gongura soya curry
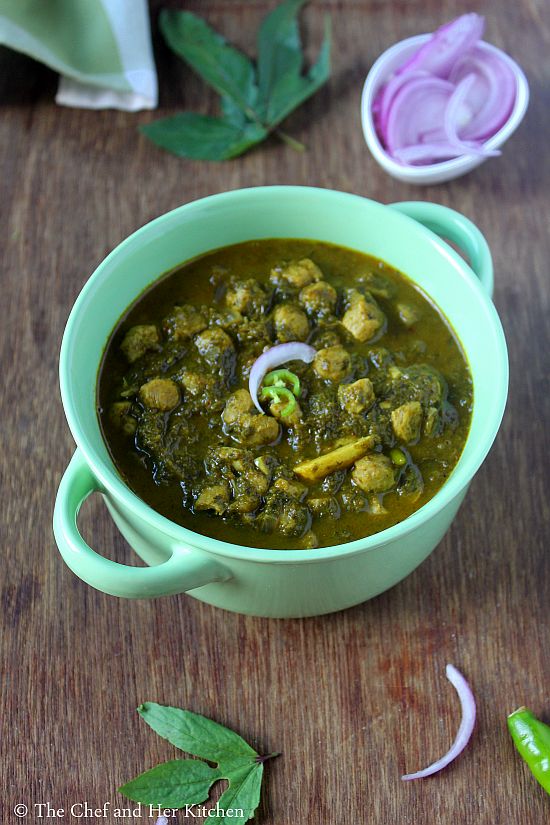
gongura soya cgunks curry
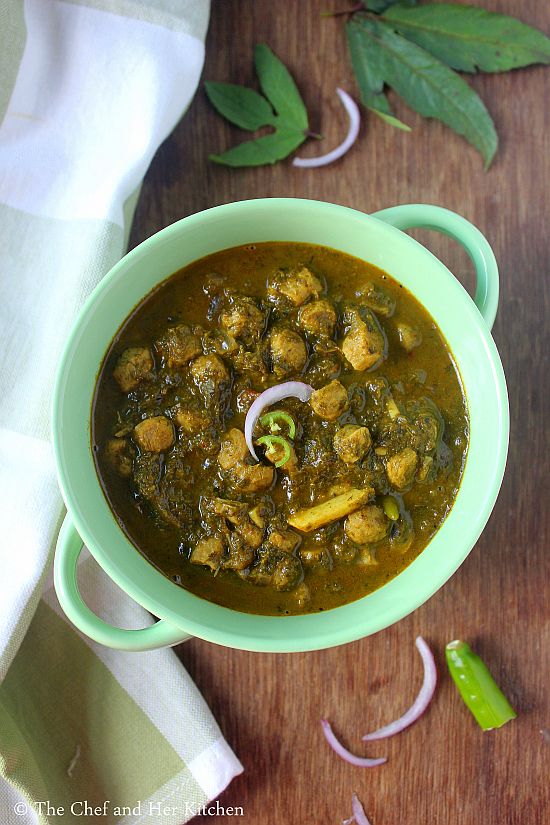
Today I am posting a curry recipe using Gongura, I saw this curry preparation in a tv show and modified it according to our taste buds. This is not a rich curry but is good as a everyday curry and a nice way to eat gongura leaves. There are so many various ways that Gongura is used in non vegetarian dishes and Gongura Mutton is one dish, today's recipe is a version of it by replacing the mutton with the soya chunks(meal maker) which is a treat for vegetarians. Soya Chunks absorb the flavors nicely and gives a nice flavorful chewy bites in the gravy.Try this different recipe with gongura and I am sure that you will try this recipe if you are gongura lover.Even if you are not, do give it a try and I am sure you will like it!!
soya gongura
Check out the list of Gongura recipes in my blog:
soya gongura

Gongura Soya Chunks Curry:
Serves 3 | Author: Prathibha
Prep time: 20 mins | Cooking time: 30 mins | Total time: 50 mins
Cuisine: Andhra | Category: Side dish for Rice and Rotis

Ingredients:
1 medium bunch Red Sorrel (Gongura) leaves, 3 cups when tightly packed
2/3 cup Soya Chunks
2 Onions, chopped into small pieces
1 Tomato, finely chopped (optional)
2-3 Green Chilies,slit
4-5 Garlic pods,roughly chopped
1.5 tsp Red chili powder
2 tsp Coriander powder
3/4 tsp Garam masala
1/2 tsp Turmeric powder
Salt to taste
2-3 tbsp Oil

Method:
  • Separate the red sorrel leaves from the stems and wash them nicely and saute the leaves in 2 tsp oil until they become soft and mushy.Cool the mixture
  • Meanwhile boil soya chunks in water for 3-4 mins until they are done and drain them and give a cold water bath twice, squeeze them each time gently and repeat and keep them aside.
  • Grind the cooled gognura leaves to a rough puree.
  • Heat 2 tbsp oil in a kadai and add slit green chilies and roughly chopped garlic pods and fry them until the green chilis wilt.
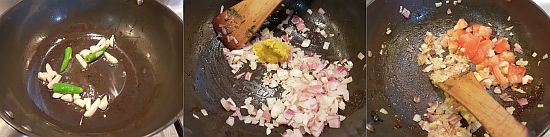
  • Add chopped onions and fry them until they become pink in color.Add finely chopped tomatoes and cook until they become mushy.
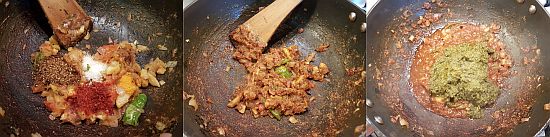
  • Now add all the spices - turmeric powder, red chili powder, garam masala, coriander powder, salt and cook the masala until the oil in the masala leaves the edges.
  • Add pureed gongura mixture to it and fry for another 5-6 mins.If the mixture is sticking add a couple of tablespoons of water in between.
  • Once the mixture is nicely fried add the cooked and squeezed soya chunks to it and add 1.5 cups of water to it and cook for 5-6 mins until it is done and oil floats on the mixture. You can add 3/4th cup of coconut milk and 3/4 cup of water at this stage.Adjust the consistency of the gravy according to your requirement.
Serve it hot with rice/rotis.

Notes:
  1. The addition of tomato is optional but I wanted to serve as a gravy for chapathis and hence I added, you can avoid it if you want.
  2. Instead of only water you can even add 3/4 th cup of coconut milk and 3/4th cup of water to make it as a gravy. This gives a subtle flavor to the gravy and also makes it rich and balances the sourness of Gongura. But I wanted to highlight and enjoy the gongura flavor so I completely avoided the coconut milk. 
  3. Gongura based dishes are usually sour, hence add more number of green chilies and spices like red chili powder and garam masala to balance the flavors.Garlic adds a nice flavor to gongura hence do not skip the garlic.
  4. You can even mash the gongura once it is cooked to a rough mixture if you want, you don't need to make it to a puree.
  5. You can replace red sorrel leaves with the green sorrel leaves too.
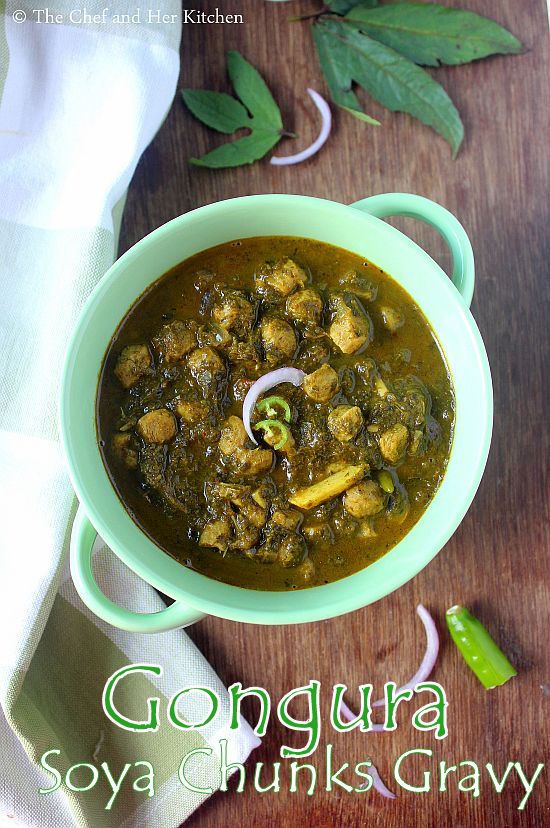
gongura soya chunks curry
Technorati Tags:

Monday, December 12, 2016

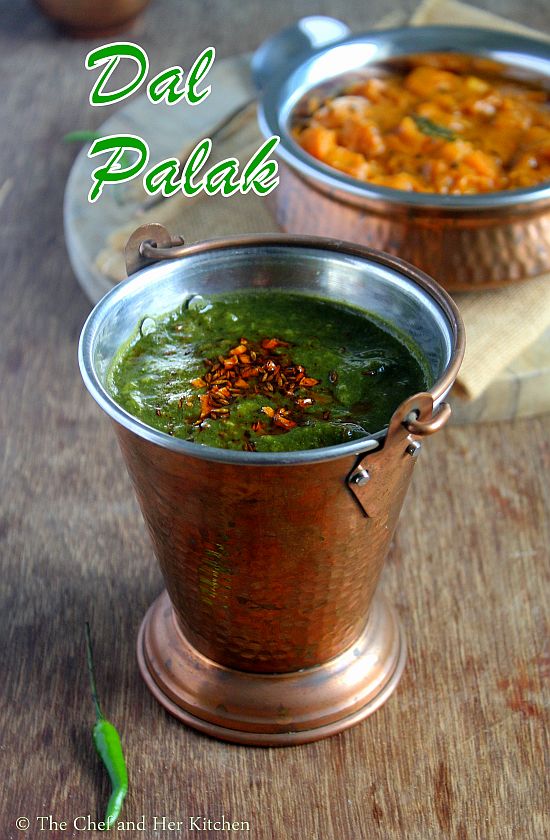
Dal Palak | Palak Moong Dal | Palak Dal

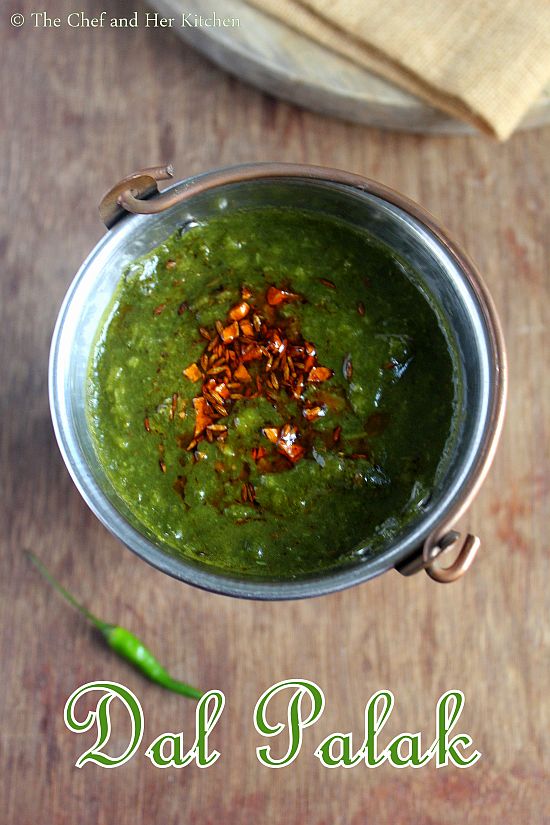
dal palak
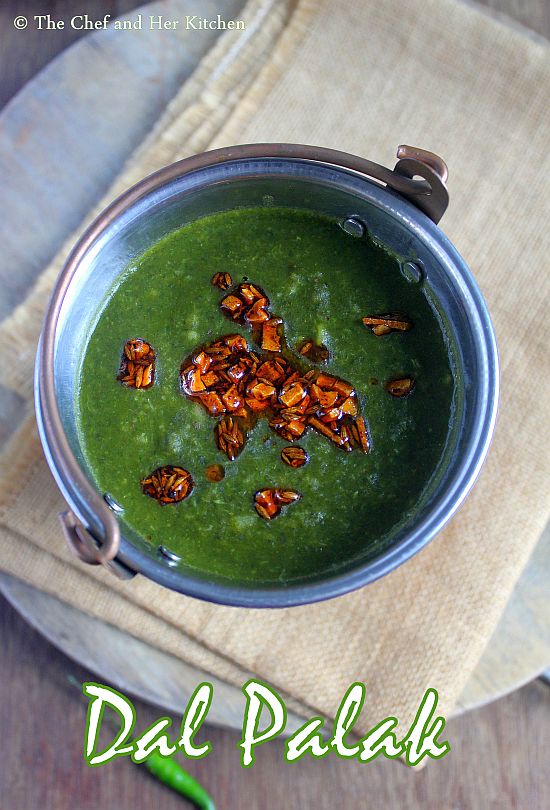
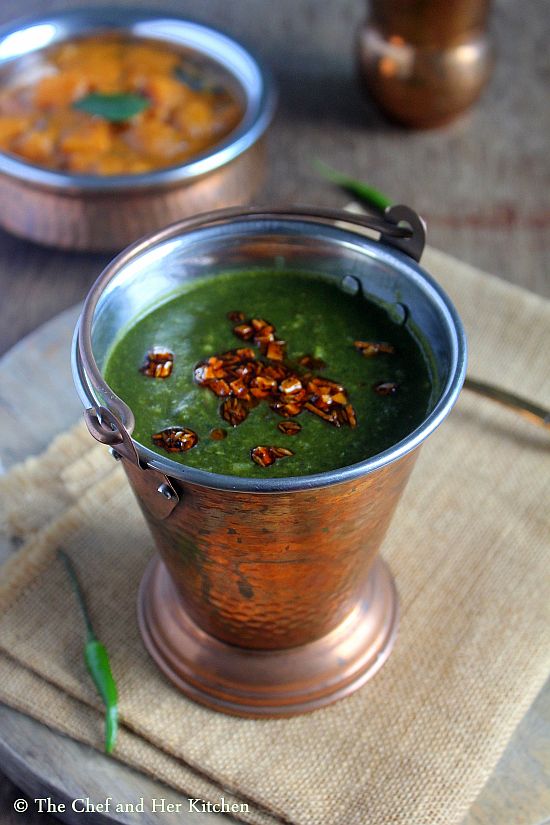
I prepare Palak dal in two types - one is the typical South Indian style of  Palak Dal using Toor dal and chopped palak and the second version is this dal where Palak is used in pureed form along with moong dal(yellow or split green gram).The first version of Palak Dal tastes best with the rice where as the second version tastes best with rotis or naans or simple steamed basmati rice. Because of the addition of palak paste the dal also gets a rich green color which itself looks so appetising. In addition to that I usually add a tadka(tempering) of finely chopped garlic in chili oil at the end to the dal which makes it even more delicious in flavor and taste and looks of the final dal, which is perfect for you to serve in your parties instead of the usual fare like Dal Tadka, Dal Fry and Dal Makhani.
dal palak
You can check out various Palak recipes in my blog:
Serves 2-3 | Author: Prathibha
Prep time: 10 mins | Cooking time: 30 mins | Total time: 40 mins
Cuisine: North Indian | Category: Main Course - Dal

Ingredients:
1/2 cup Moong dal(Yellow or split Green gram)
2 cups Spinach,chopped
1 Onion, finely chopped
2 Green Chillies
1 tsp Coriander powder
1/2 tsp Cumin powder
1/4 tsp Garam masala
1 tsp Amchur powder(Dry Mango powder)
1 tsp Cumin seeds
a pinch of Asafoetida
Salt to taste
1.5 tbsp Oil

to temper:
2 tsp finely chopped Garlic
1/2 tsp Cumin seeds
1/4 tsp Red chili powder
2 tsp Ghee

Lemon wedges, to serve

Method:

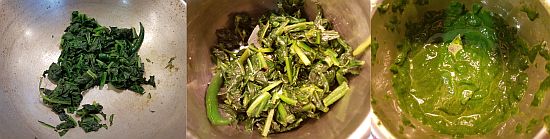
  • In a pan add 1/2 tsp oil and add green chilles and chopped spinach and fry until the spinach becomes slightly mushy and cooked.Cool it down and grind it to a smooth puree.

    • Pressure cook moong dal until 3-4 whistles and let it cool down completely.Slightly mash it and keep it ready.
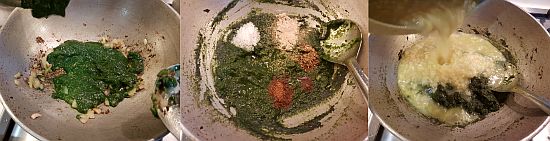
    • In the same kadai add 1.5 tbsp oil and crackle cumin seeds and asafoetida and then add finely chopped onions and fry until they turn pink in color.Add Ginger-garlic paste and fry well until the raw smell goes away.

    • Now add pureed spinach and fry nicely for 4-5 mins until the oil leaves at the edges.
    • Add all the spices - coriander powder, cumin powder, garam masala, amchur powder and salt and fry nicely again for another couple of minutes.
            

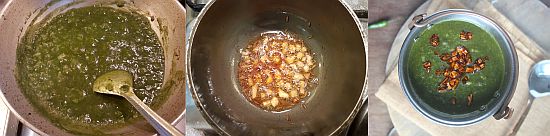
    • Add cooked moong dal to it and mix nicely and cover it and cook for 4-5 mins until it is done. 
            

    • In a small tadka pan heat ghee and crackle cumin seeds and add finely chopped garlic and fry until it turns slightly brown in color.Switch off the flame and quickly add red chili powder and give a quick stir and add this tempering to the dal.

    Serve it hot with Roti/Naan/Parathas/Rice/Jeera Rice.Serve a lemon wedge along with the dal.

    Notes:
    1. I usually do not add tomatoes when I cook any spinach dish and hence I compensate the sourness of the tomatoes by adding amchur powder and lemon.If you are using tomatoes you can add finely chopped tomatoes after you add onions and fry nicely.
    2. The tempering of garlic is optional but gives a nice flavor to the dal, hence I recommed to use it.
    3. The beauty of the dal is its green color because of the addition of the pureed palak, but one can prepare it by using chopped palak.
    dal palak

    Friday, December 9, 2016

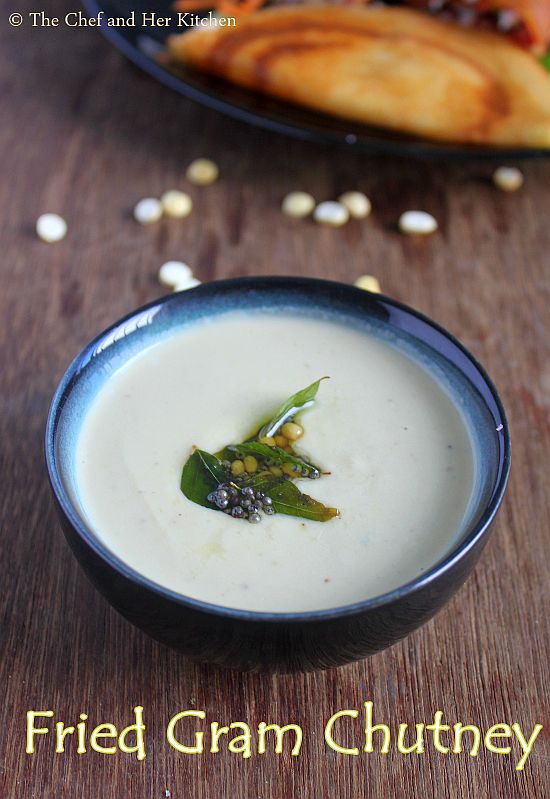
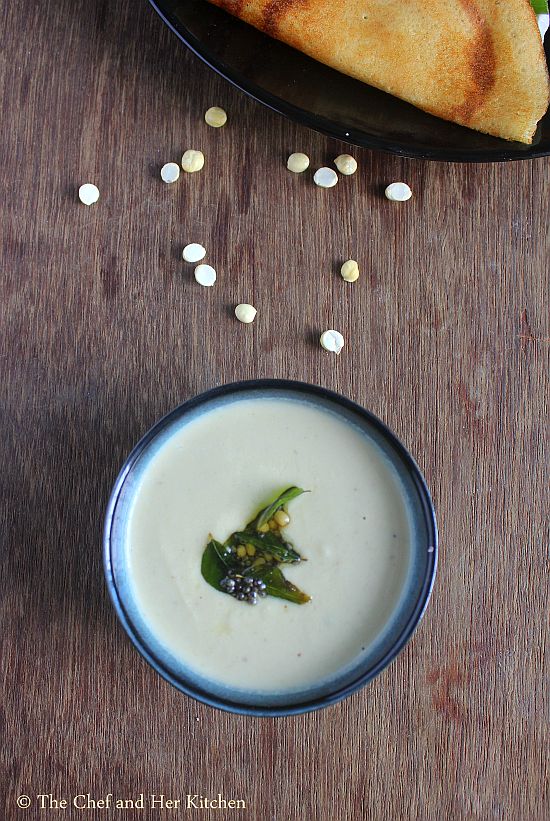
    Fried Gram Chutney | Roasted Chana dal Chutney | Putnala Pappu Pacchadi

    fried gram chutney
    Idli and Dosa are a part of menu in most of the south Indian house holds and it is always confusing to decide on the side dish that goes with the breakfast varieties. While the most popular chutneys are Hotel style Coconut chutney and Tomato Chutney, there are various other chutney varieties too which are prepared on the regular basis at my place. Today I am posting a very simple chutney variety - Fried gram chutney which is prepared in a similar way like coconut chutney but without or very little coconut being used in the recipe. You can also say this as a no coconut chutney as the coconut is optional in the recipe.My MIL prepares this chutney often just to avoid consuming more coconut as idli-dosa fare is almost an everyday affair at their place. So, this recipe is for those who wants a change from the regular coconut chutney or to avoid coconut in their chutney. 
    Check out other chutney varieties in my blog - 
    roasted chana dal chutney

    Fried(Roasted) Gram Chutney | Pottukadalai Chutney Recipe:
    Serves 2-3 | Author: Prathibha
    Prep time: 3 mins | Cooking time: 2 mins | Total time: 5 mins
    Cuisine: South Indian | Category: Accompaniments- Chutney variety for Idli/Dosa

    Ingredients:
    1/2 cup Fried(Roasted) Gram/ Putnalapappu
    1.5 tbsp fresh/frozen grated Coconut,optional
    2 Green chilies
    1-2 Garlic pods
    a small marble sized Tamarind
    Salt to taste

    to temper:
    1.5 tsp Ghee/Oil
    1/2 tsp Mustard seeds
    1/2 tsp Urad dal
    5-6 Curry leaves
    a pinch of Asafoetida

    Method: 
    • Grind fried gram, coconut(if using), green chilies, garlic, tamarind and salt to a smooth paste by adding water little by little until you get the required consistency.Remove it to a serving bowl.
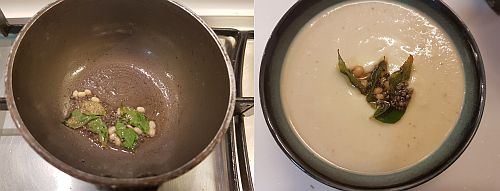
    • In a small tadka pan heat ghee(oil) and crackle mustard seeds and add urad dal and curry leaves and asafoetida and fry until the urad dal turns little red in color. 
    • Add the tempering to the prepared chutney and mix it nicely and cover it immediately to retain the flavors of the tempering.
    Serve it with Idli/ Dosa/ Uthappam.

    Notes:
    1. The addition of coconut is entirely optional but I recommend to use it.
    2. Garlic adds a nice flavor to the chutney, so do not skip it.
    3. You can make the chutney even with red chilies, in that case fry red chilies in little bit of oil and grind with the other ingredients.
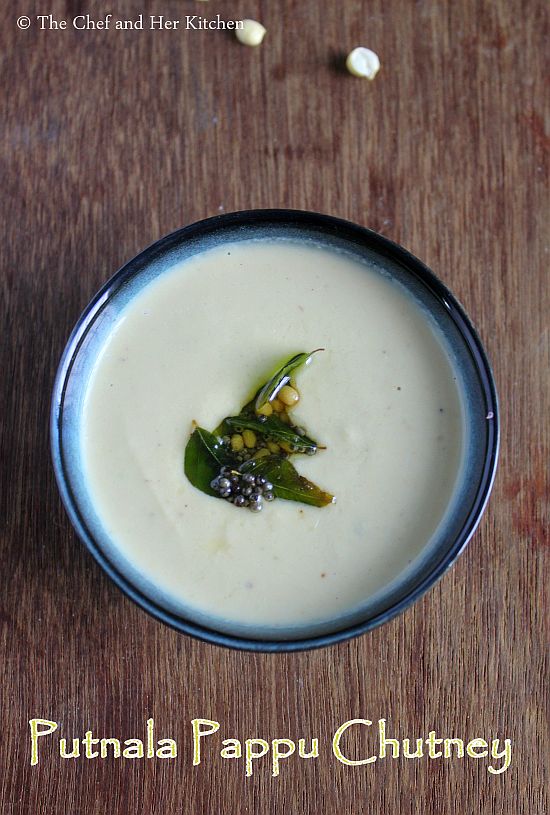
    putnala pappu chutney

    Thursday, December 8, 2016

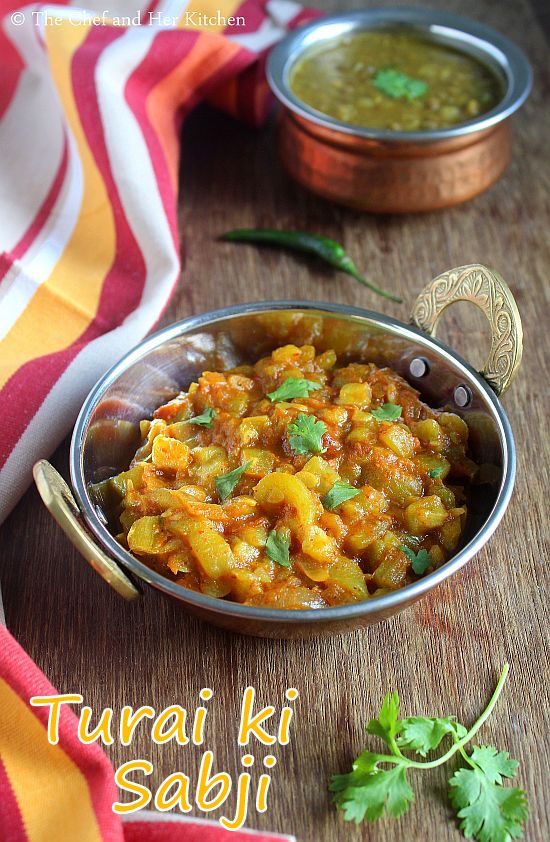
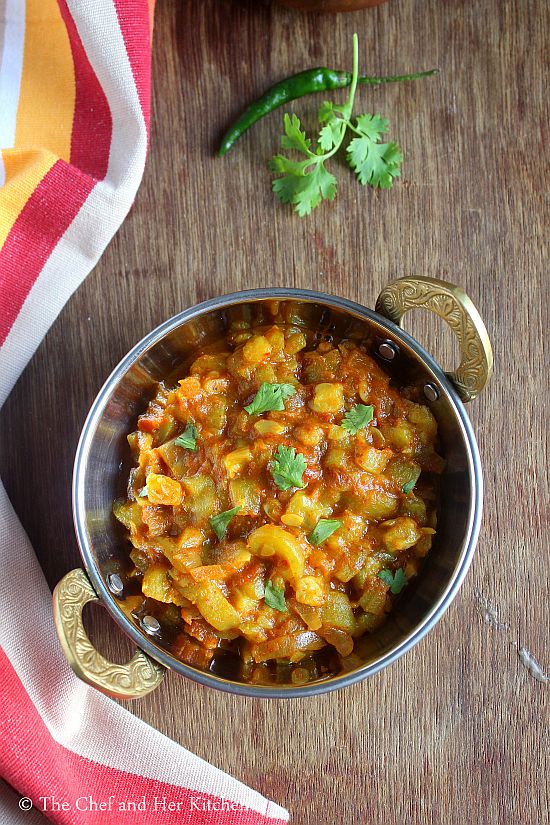
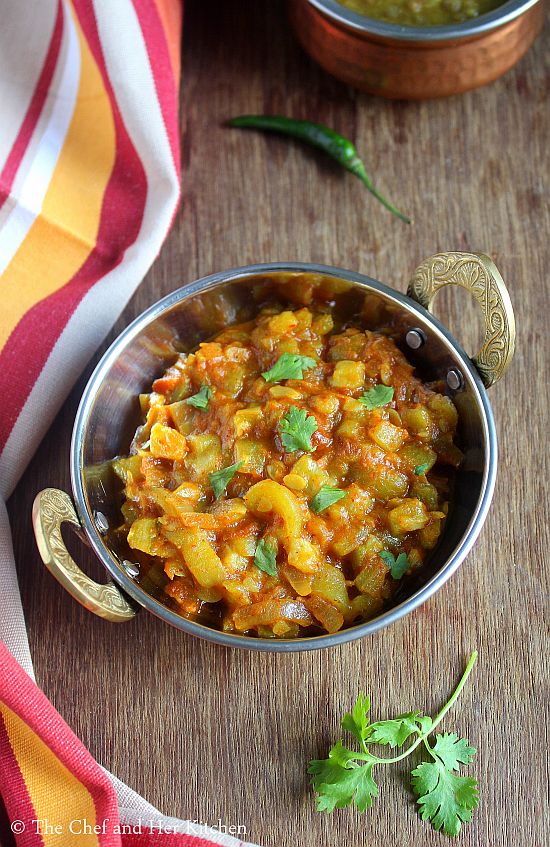
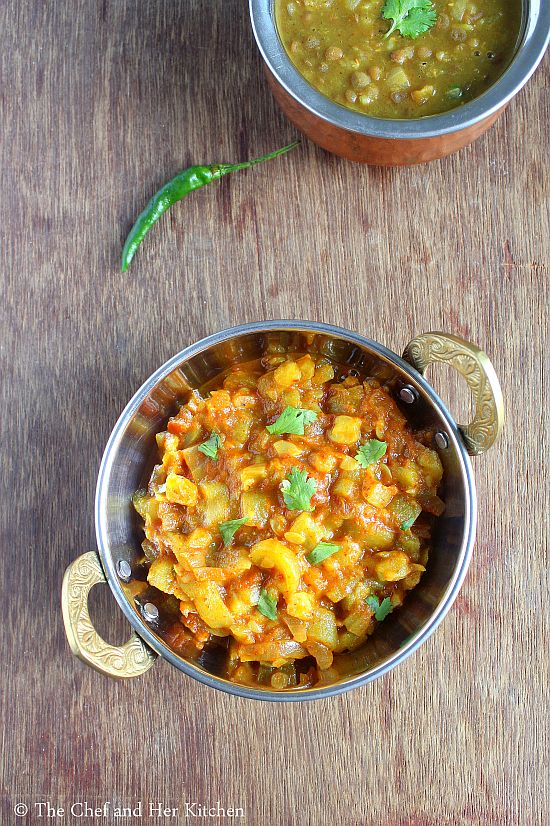
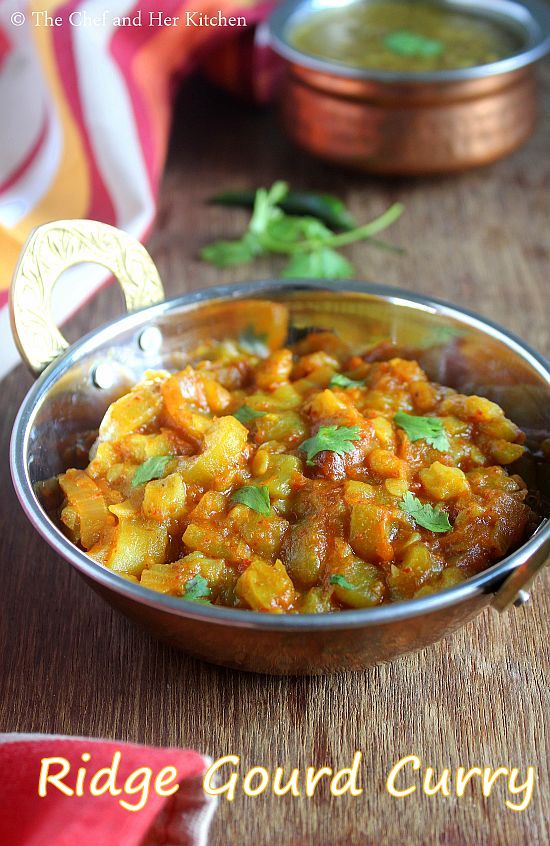
    Turai ki Sabzi | Ridge gourd Curry | Ridgegourd recipes

    turai ki sabzi
    Ridge gourd is another vegetable which TH does not eat apart from bottlegourd,sponge gourd, apple gourd and parwal. Though I use bottle gourd and ridge gourd often in my cooking I hardly get tinda and parwal as it would be just me who will be eating it.He was always clear that no tinda-tori-ghiya in his food from the beginning as he never liked them from his childhood. Though I have tried to sneak in the bottle gourd in various indirect forms like in akki rotti,dudhi muthia, lauki kofta curry, lauki paratha, lauki thepla but I could not include ridge gourd apart from the chutney. Hence I always end up preparing sabzi for my lunch or when I am alone for dinner. I somehow like the ridgegourd sabzi more than the bottlegourd sabzi because ridge gourd gives a nice bite unlike the bottle gourd even after being cooked and it tastes best with hot phulkas.
    ridge gourd sabzi
    I like to prepare my ridge gourd sabzi very simple with minimal spices as it tastes best when made with only few spices. I prepare various versions of ride gourd sabzis - Andhra style beerakaya kura,plain ridge gourd sabzi, ridge gourd sabzi with moong dal, tomato based ridge gourd sabzi and even stuffed ridge gourd sabzi,all tastes like in its own way.Today I am posting a ridge gourd sabzi using onions and tomatoes which tastes best with hot phulkas or even rice.I will post the other versions sometime soon.Now let us see how to prepare the north indian style ridge gourd sabzi  for rotis with step by step pictures.
    ridgegourd curry


    beerakaya kura
    Check out othe ridge gourd recipes in my blog - Beerakaya Pappu |Ridge gourd Dal and Ridge gourd peel chutney

    Ridge gourd Curry | Turai ki Sabji Recipe:
    Serves 2-3 | Author: Prathibha
    Prep time: 10 mins | Cooking time: 20 mins | Total time: 30 mins
    Cuisine: North Indian | Category: Curry - Side dish

    Ingredients:
    2 long Ridge gourds
    2 medium Onions, finely chopped
    2 Tomatoes, finely chopped
    2.5 tsp Coriander powder
    1.5 tsp Red chili powder
    3/4 tsp Turmeric powder
    a pinch of Sugar, optional
    3/4 tsp Cumin seeds
    1/4 tsp Asafoetida
    Salt, to taste
    2 tbsp Oil

    Method:
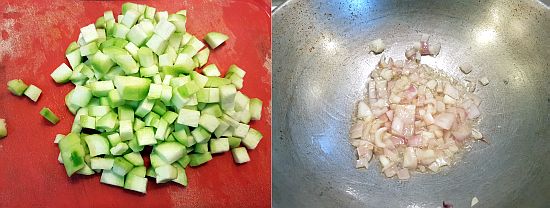
    • Wash and peel the skin of ridge gourd and cut into small pieces and keep it aside. Chop onions and tomatoes and keep them aside.
    • Heat oil in a kadai and crackle cumin seeds and add asafoetida.
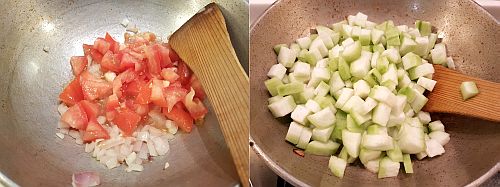
    • Add finely chopped onions and fry until the onions turn pink in color and then add chopped tomatoes and fry nicely until the tomatoes become pulpy.
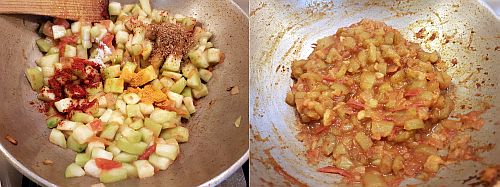
    • Add the spice powders - coriander powder,red chili powder, turmeric powder, sugar, salt and mix nicely and cook until the oil leaves the masala at the edges.
    • Add chopped ridge gourd and mix it nicely and add little water(1-2 tbsp) and cover it and cook for 7-8 mins until the ridge gourd is cooked.
    Garnish with coriander and serve it hot Phulkas/Rice.

    Notes:
    1. This curry tastes best with minimal spices. If you like it masaledar you can add 1/4-1/2 tsp of Garam masala at the end.
    2. I have used more oil in the recipe, as again it gives the best taste with more oil.You can reduce it 
    3. if you want.
    4. You can use the peeled ridge gourd skin to make this delicious Andhra style ridge gourd peel chutney which tastes nice with hot steamed rice.
    5. You can follow the same process and prepare the bottle gourd sabzi.
    6. Also, you can avoid onion and tomato in the recipe and prepare the same way and it also tastes nice.
    ridgegourd curry
    Technorati Tags:

    Tuesday, December 6, 2016

    Rasgulla Recipe | Spongy Rasgulla Recipe | Bengali style Roshogolla

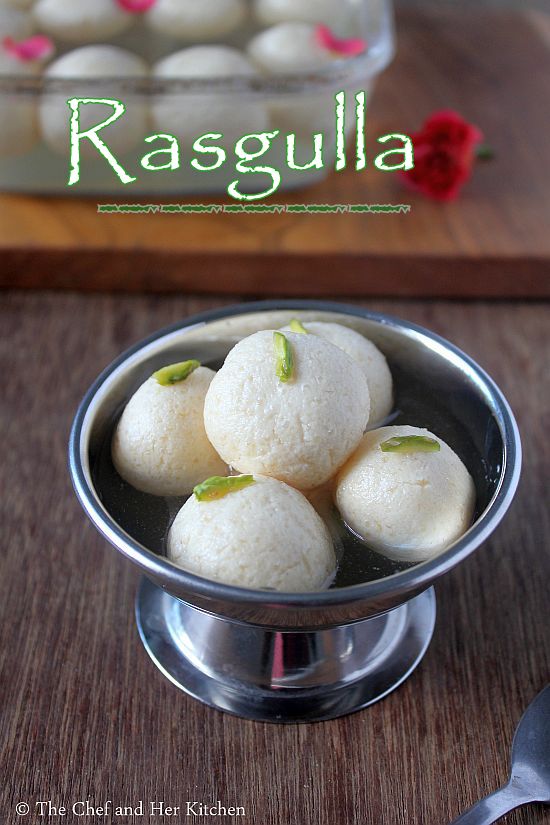
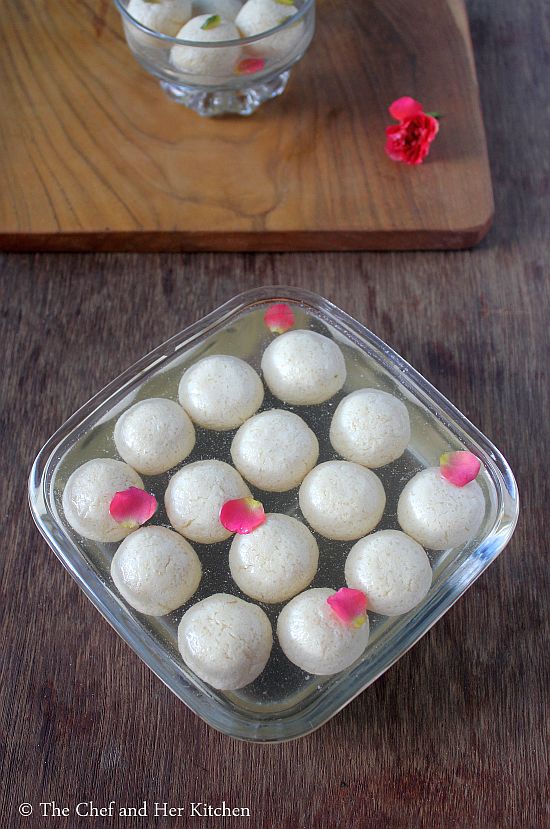
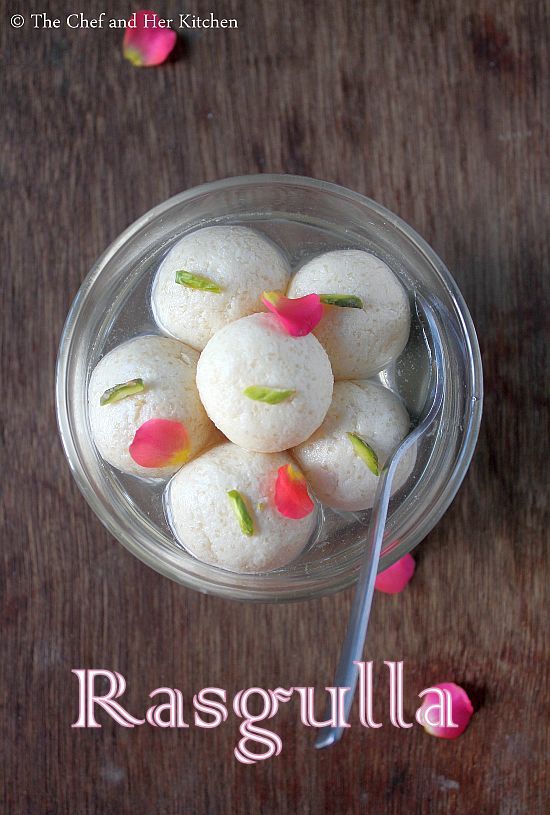
    rasgulla
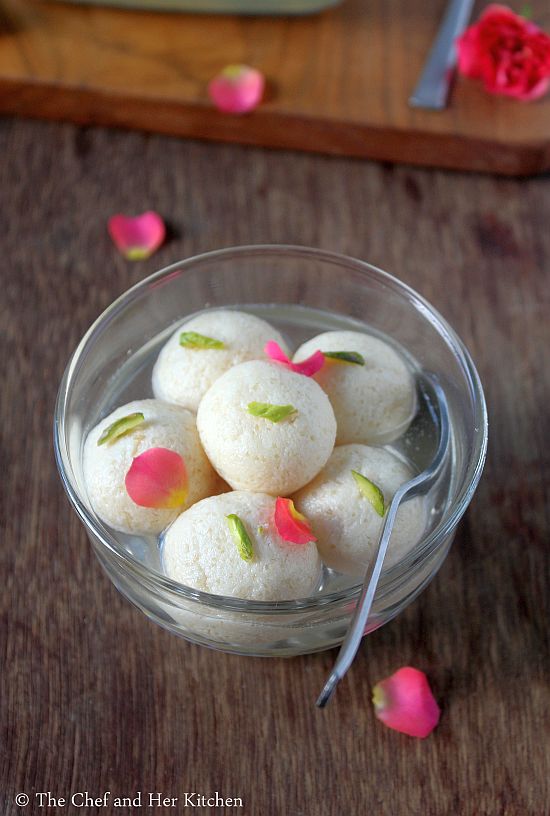
    Rasgulla is a popular bengali sweet and is pronounced as Roshogolla or Rosogulla by the Bengalis. Rasgulla is one of the most popular sweets in India and thanks to Haldirams for making it available in each and every corner of the country. These spongy rasgullas are favorite to many and I am one among them.I have mentioned many times before that I never liked sweets as a kid and the only one sweet which I used to eat was rasgulla and that too I used to squeeze out the syrup a bit and eat.Now, of course the taste buds have changed drastically and I need at least a bite of sweet or a chocolate piece to satisfy my sweet cravings after every meal. I still cannot eat sweets in more quantity at once but can easily eat one or two pieces with out complaining.
    rasagulla
    I usually do not try or post these sweets recipes unless for diwali but there is a reason why I am posting a sweet recipe(for me this is a very big sweet as it is bit tricky one too) now. Today is our 10th marriage anniversary which is a milestone not to be neglected and hence posting this sweet recipe to mark our celebrations.
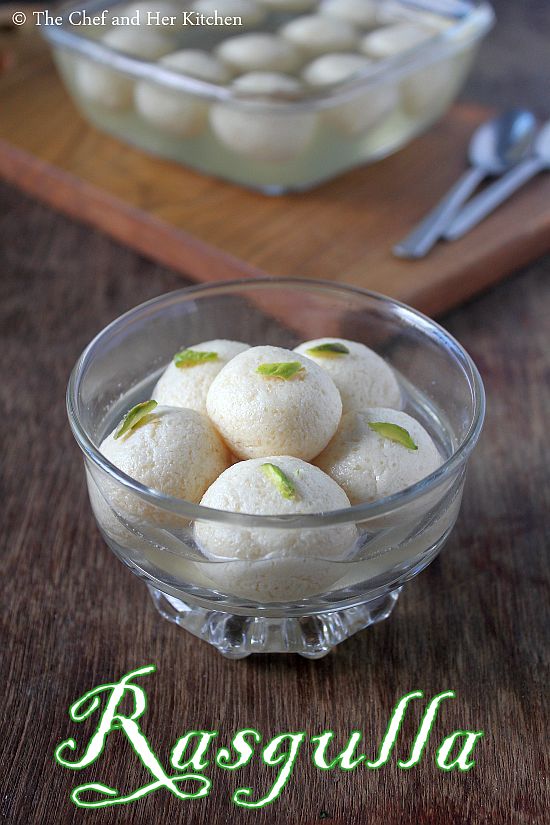
    rasgulla

    rasgulla
    Coming to today's post - rasgulla, I have been planning to post it from such a long time and finally it happened now!! I must say that the process of preparation of these rasgullas sound very simple, but it is very tricky and one can go wrong easily. I have a few failed attempts before and of course we learn from our failures too. I have gone through various blogs and cook books too to find out the mistakes and then tried them and finally got succeeded. I tried my level best to include most of the pointers which one needs to take care while preparing them in this post. Read the recipe carefully and also please go through the notes section where I have highlighted the important things to keep in mind while preparing the rasgullas at home. Though these rasgullas are easily available in the market, but one can try these homemade rasgullas for an experience too, also they taste good in their way too. You can prepare rasmalais with the homemade rasgullas too.Now let us see how to prepare soft and spongy rasgullas at home.
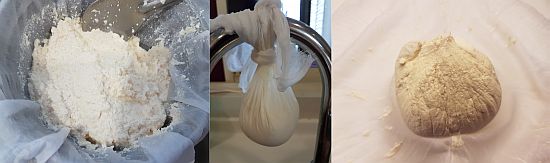
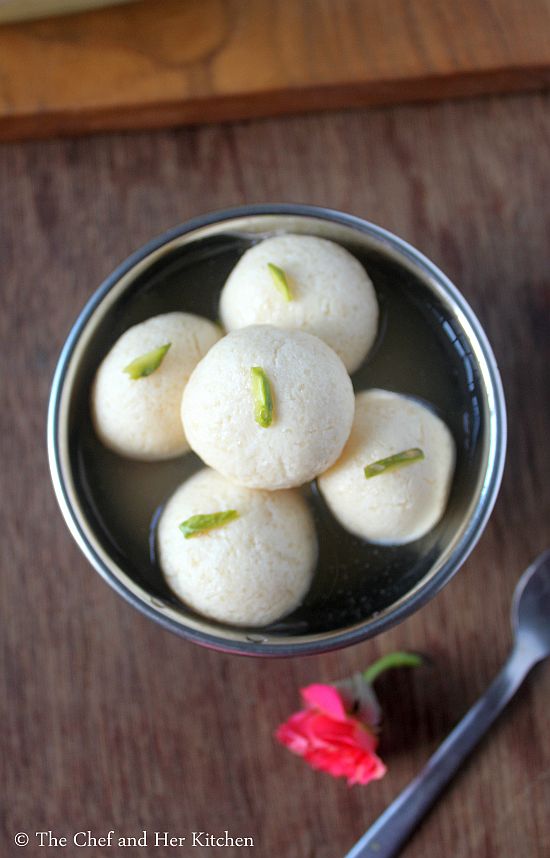
    rasgulla
    Check out other popular Indian sweets(desserts) recipes in my blog: 
    rasgulla
    Homemade Spongy Rasgulla Recipe:
    makes 16-18 rasgullas | Author: Prathibha
    Prep time: 15 mins | Cooking time: 30 mins | Total time: 45 mins
    Cuisine: Bengali-Indian | Category: Sweets

    Ingredients:
    1 liter full cream Cow's Milk
    1 tsp Sooji/Maida,optional
    2-3 tbsp Lemon juice or Vinegar or 1/4 cup Yogurt
    1 3/4 cups Sugar(2 cups if you want it very sweet)
    4 cups Water
    1/2 tsp Green Cardamom powder
    Chopped Pistachios, to garnish
    Saffron strands,for garnish

    Method:
    to prepare Chenna:
    • If you milk usually gives too much of malai(cream) on top when heated, it is better to boil the milk previously and remove the thick formed cream on top of it.Otherwise this yields very greasy rasgullas.
    • Boil milk in a big vessel over medium flame and keep stirring in between(otherwise the milk solids get stuck at the bottom of the vessel) until it comes to boil,now reduce the flame to LOW and add a tbsp of lemon juice and mix it nicely and check if the milk starts curdling, if not add more lemon juice until the milk starts curdling.You need to add the lemon juice until you see the slight greenish whey separates.Generally it takes 2-3 tbsp of lemon juice depending on the quality of milk.You can use vinegar instead of lemon juice in the recipe.Also, you can add yogurt in the recipe, you might need approximately 4 tbsp or more to curdle the milk.
    • Once the milk curdles SWITCH OFF the flame and remove the vessel off the stove. You can add few ice cubes to the curdled mixture to avoid further cooking(which yields hard chenna), but it is optional if you do the next step quickly.Also if you are using yogurt to curdle the milk you do not need to add ice cubes or wash the chenna(which we will be doing in the next step),you can proceed to strain the mixture.
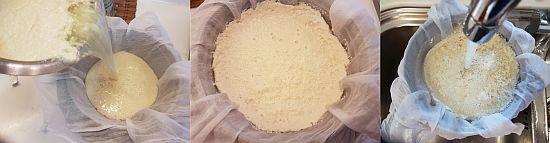
    • Meanwhile line a strainer with a cheese cloth or muslin cloth and pour the curdled mixture and strain the chenna through it. You can use the collected whey to add to your gravies or to prepare roti dough or to curdle milk again later. Wash the collected chenna(lined on the strainer in a muslin cloth) thoroughly a couple of times under the running water. This process helps in removing the lemony/sour taste from the chenna, you can skip washing chenna if you have used yogurt to curdle the milk.
    • Gather the edges of the muslin cloth and gently squeeze all the excess water from the chenna and tie a knot and hang it on the tap for 20-30 mins. Make sure you drain most of the water from the chenna and also ensure that it is not very dry.You can see the texture of chenna in the picture for better understanding.
    to prepare rasgulla balls:
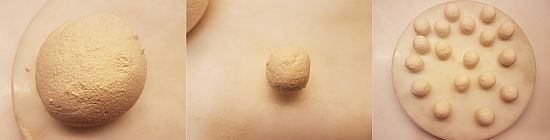
    • Add sooji/maida(if using) to the crumbled paneer(chenna) and with the heels of your palm mash and knead the chenna nicely for about 7-8 mins to make a soft pliable dough .
    • The chenna starts leaving the fat, means your palms will start becoming greasy which indicates you to stop kneading.
    • You can divide the chenna into 16-18 equal portions and roll them into equal sized balls.You should be able to roll them into balls with out cracks, which indicates that the texture is correct.Cover the prepared balls with a slightly moist muslin cloth.
    to prepare Sugar syrup and cook rasgullas:
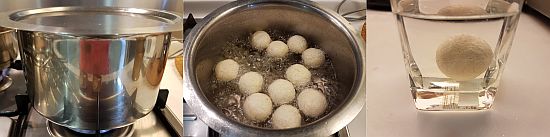
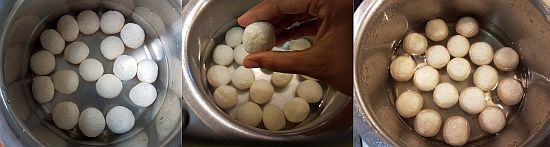
    • Add 4 cups of water and 1 3/4 cups of sugar to a large pot and let it come to a boil, add cardamom powder to it and once the sugar melts and comes to a rolling boil, gently slide each ball into the water, I added the prepared ones in two batches, do not over crowd them as they need space while boiling and they will become double in size and also to retain their round shape. Boil them for 12-15 mins over HIGH flame, you can uncover and check them in between if you want, which is actually the most fun part of the entire process to see them doubling!!
    • To check whether the rasgullas are done or not - drop a rasgulla in a glass of drinking water, if it sinks,it means DONE, else put it back and let them cook for another couple of minutes and repeat the test.
    • Once the rasgullas are cooked, transfer them one by one into another large bowl of plain drinking water.
    • Repeat the process of cooking another batch of rasgullas and follow the same procedure and test and also transfer them to the pot of cooked rasgullas(transferred to the drinking water pot).
    • Let the sugar solution(in which we boiled rasgullas) cool down and come to room temperature. If you are using saffron strands or kewra water add them at this stage after the syrup comes to room temperature.Remove the rasgullas from the plain water and squeeze them gently and put them in the cooled sugar solution.
    • Chill them for 3-4 hours or over night.
    • You can add chopped pistachios for garnish while serving.
    Serve them and enjoy homemade soft and spongy Rasgullas!!

    Notes:
    1. Milk plays a major role in preparing rasgullas - use only full fat milk not the toned milk.But try to remove the malai(cream) layer formed on top of the milk else it will give greasy rasgullas.
    2. Once the milk is curdled, switch off the flame. Do not let it cook further to avoid hard chenna which in turns gives hard rasgullas. Also thoroughly wash the chenna to remove lemony taste.
    3. Ready paneer does not work for this recipe.
    4. Try to remove most of the moisture from the chenna. If there is too much moisture your rasgullas will break in the syrup and is it is very dry it will make rasgullas dry too.
    5. The addition of sooji or maida is optional which helps in binding.You can completely avoid it and still get nice and spongy rasgullas.
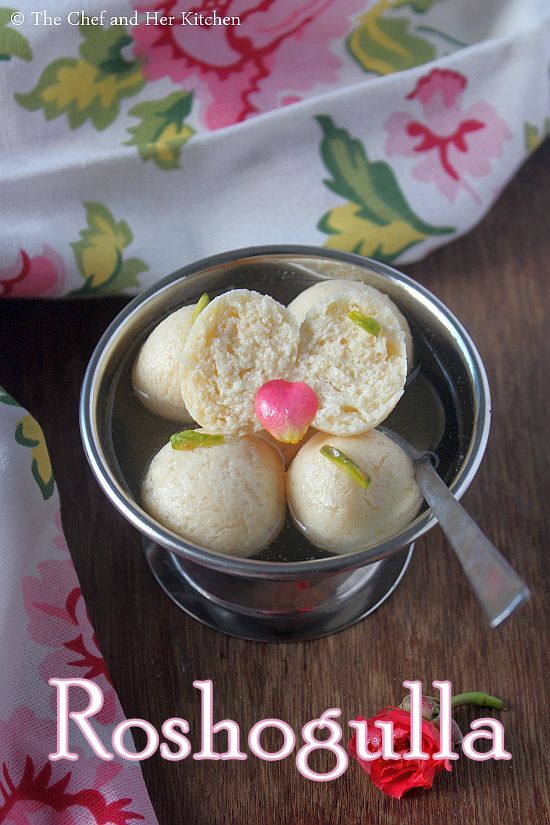
    6. Knead the chenna nicely until you get a smooth dough which takes easily 7-8 mins, if you roll a ball it should not break.
    7. Transfer the cooked rasgullas to the regular water, this ensures that the rasgullas will not cook further and become chewy by sitting in the hot sugar syrup.
    8. Use wide bottomed vessel to cook rasgullas and give them enough space to expand, it is better to do it in two batches for the mentioned quantity.Else they might become flat or loose shape if not enough space is given while boiling.
    9. You can even pressure cook the rasgullas for one whistle in the pressure cooker over medium flame.
    10. Chill them in the refrigerator for best taste as they soak up the sweet sugar syrup nicely. 
    11. I used 1 3/4 cups of sugar and they were of correct sweetness for us, but if you want them more sweet increase it to 2 cups. You can check the sweetness of your sugar syrup before you let it to cool down, if you want it more sweet or less sweet adjust by adding more sugar or water and boil it until it melts and then let it cool down.
    12. You can use the leftover sugar syrup to prepare shikanji or Sooji halwa or in any other sweets preparation.
    roshogulla

    Friday, December 2, 2016

    Dahi Papdi Chaat Recipe | Papdi Chaat | Dahi Papdi Recipe

    dahi papdi chaat
    I love Chaats!!! 
    I love Chaats very much!!
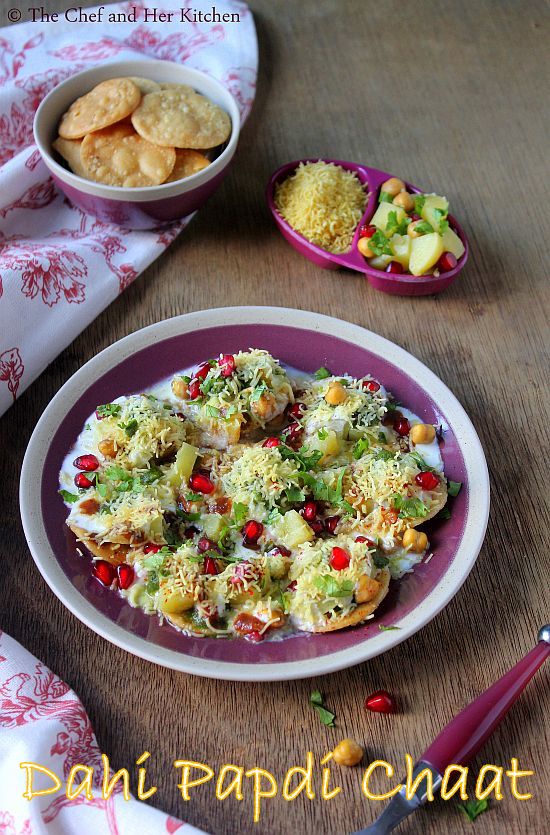
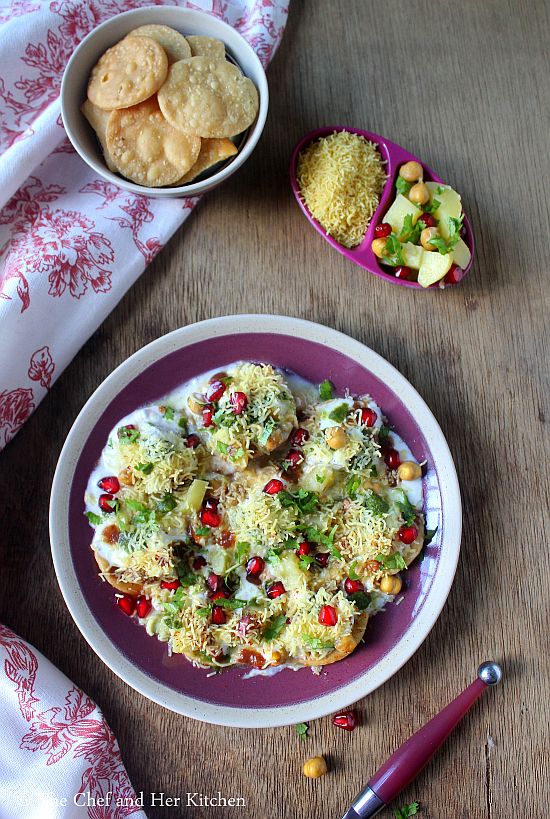
    When I say this,I really mean it.I can shamelessly admit that I can eat Chaats for any meal of the day - whether it is a breakfast, lunch or dinner. YES..that is my love for Chaats. Infact Panipuri was one of our breakfasts even during my childhood.We used to not get the puris(for chaat) in the place where we lived, but it did not stop us anytime.I remember amma and me used to prepare a huge batch of puris for the breakfast and used to save the unpuffed ones for the Sev puri, Masala Puri, Tikki puri or Papdi chaat. On the days we used to have panipuri for breakfast, my mom used to prepare another breakfast for my father because somehow he did not like the idea of having panipuri for breakfast.Also, to highlight we have growm up eating Bangarpet style Pani Puri which is a speciality from my grand mom's home town Bangarpet. I had already blogged about the recipe in my space incase if you want to know more about it.I will also warn you that it is an acquired taste as the pani used in the Bangarpet pani puri is way different from the regular Mumbai style Pani Puri or Delhi style Golgappe or Calcutta style Puchka. But I love all foms of Pani puris and needless to say that I love any chaat varieties. I think I have told enough about my love for chaats and let me talk more about this chaat now.
    dahi papdi chaat

    dahi papdi chaat
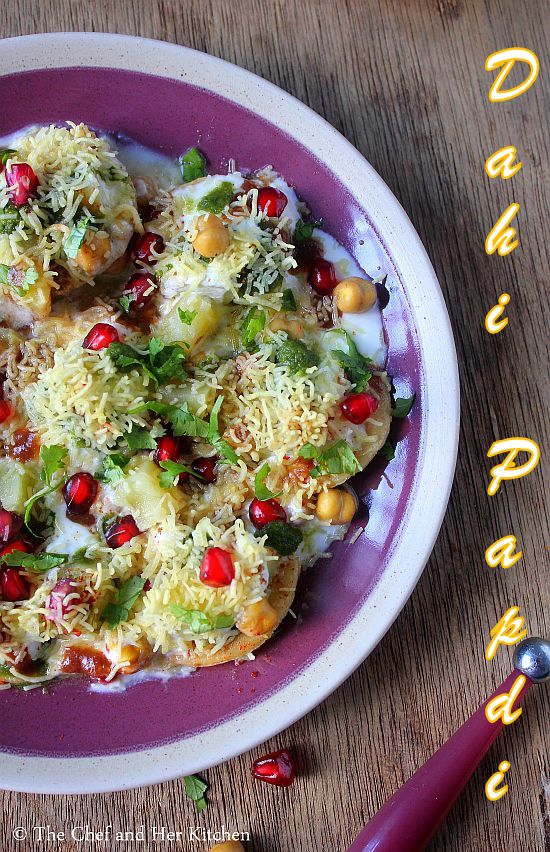
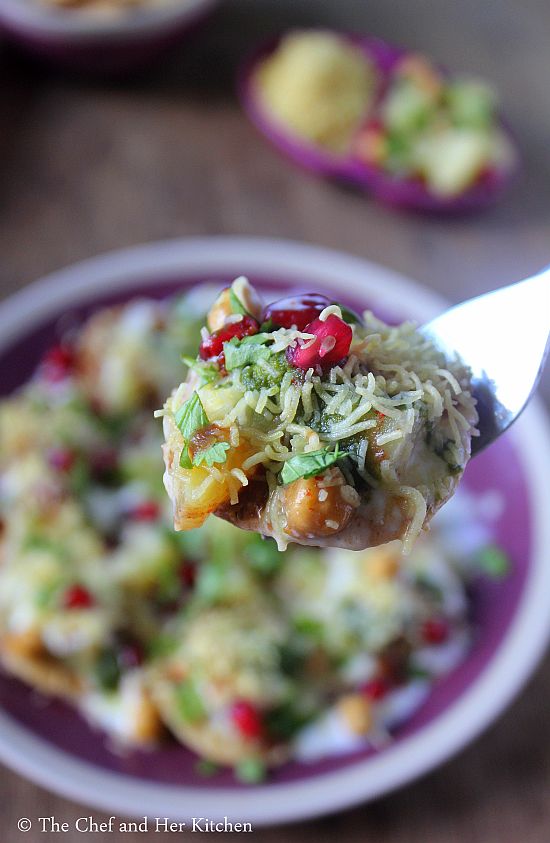
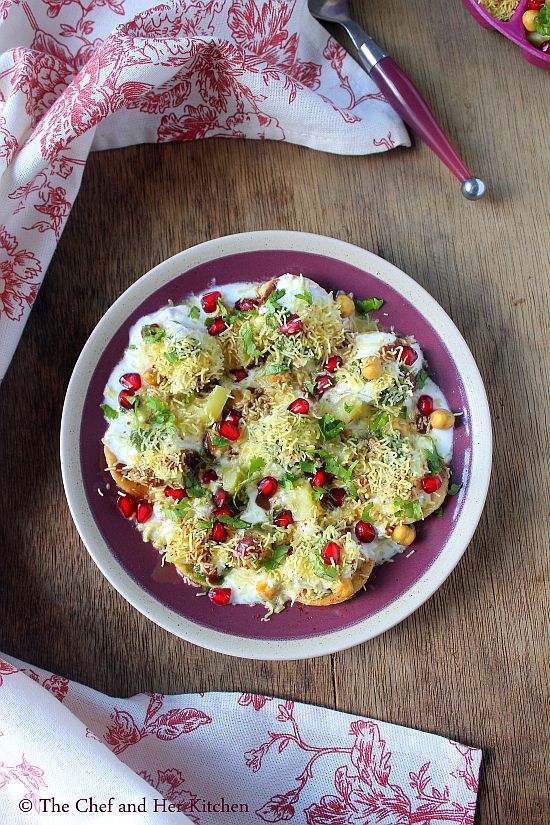
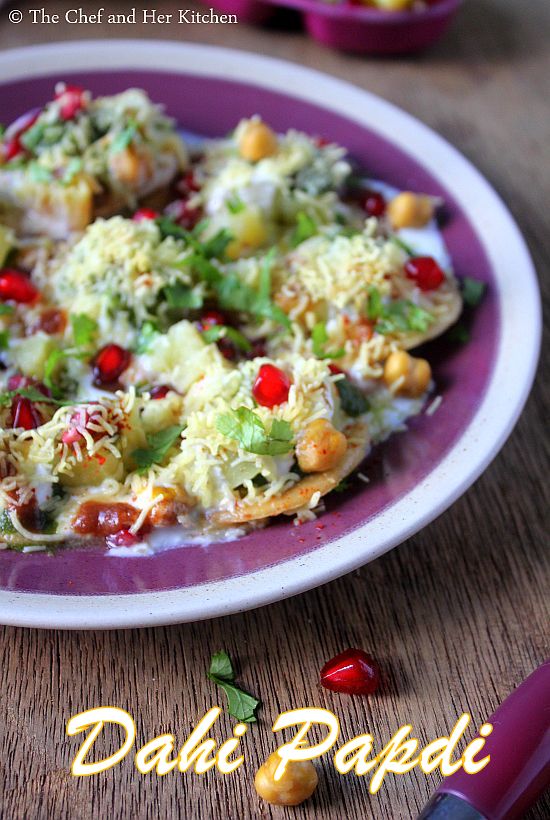
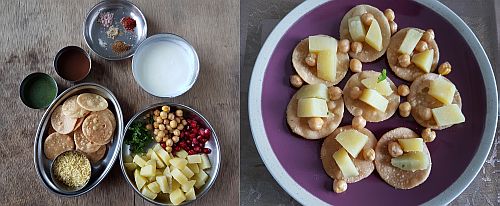
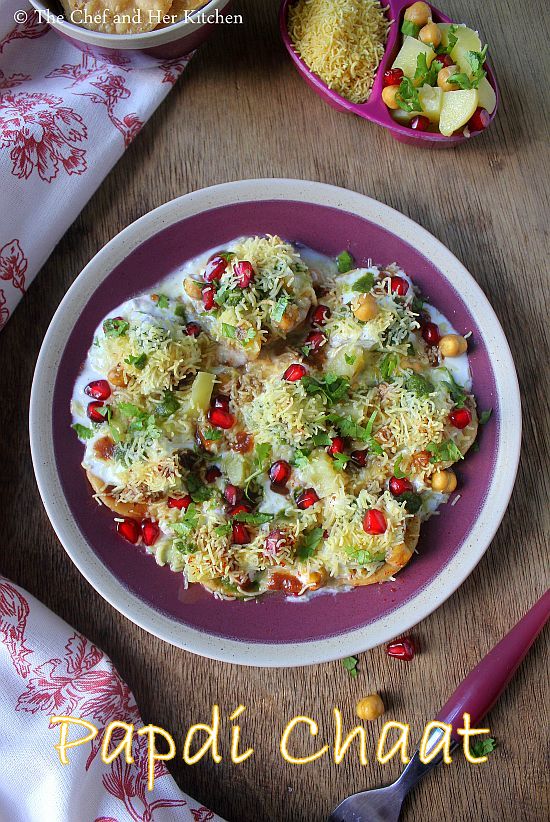
    Papdi Chaat or Papri Chaat is a typical Delhi style Chaat which is a perfect medley of flavors and textures from various components used in the chaat. It is very similar to Dahi Puri when it comes to preparation, just that we use flat puris known as papris instead of puffed up puris. Also, we add pomegranate kernels and also a typical Delhi style Papri chaat has mini dahi bhallas in it.There are no fast and hard rules in the preparation process of these chaats.One can add more or less of dahi, spice powders, chaat chutneys to their chaats according to each individual's preference.The balance of sweetened curds with the tangy and spicy chutneys,spices on a crisp papdi layered with chickpeas and potatoes is definitely a winner on any palate.I am sure most of you would have tried this at least once,if you have not tried it I would suggest to give this lip smacking chaat recipe a try for sure. Let us see how to prepare Delhi style Papdi Chaat with step by step photos.
    dahi papdi chaat

    dahi papdi chaat
    Check out other Chaat recipe on my blog:
    dahi papdi

    dahi papdi

    Dahi Papdi Chaat Recipe:
    Serves 2 | Author: Prathibha
    Prep time: 15 mins | Cooking time: 15 mins | Total time: 30 mins
    Cuisine: North Indian | Category: Chaats

    Ingredients:
    14  Papdis(baked/deep fried)
    1/3 cup Chickpeas,boiled
    1 large Potato,boiled,peeled and chopped
    2-3 tbsp chopped fresh Coriander
    3-4 tbsp fresh Pomegranate Kernels
    10-12 small marble sized Dahi Bhallas,optional(I did not add)
    1/4 cup fine Sev
    1 cup chilled fresh thick Curd
    2 tbsp Sugar
    1/4 cup Green chutney
    1 tsp Red chili powder
    1 tsp Chaat masala
    Salt to taste

    Method:
    • Add enough salt to potatoes while cooking them.Peel the potatoes and chop them into fine pieces.
    • Pressure cook white chickpeas with added salt for 3 whistles and let it cook on sim for 10 mins.Let the pressure cooker cool and then drain the chickpeas and keep it ready.
    • Beat fresh curds nicely and add sugar,salt and 1/2 tsp roasted cumin powder and mix well.
    • Arrange papdis on 2 plates,7 each.
    • Add boiled chickpeas and then followed by 1 tsp boiled and chopped potatoes on each papdi. If you are adding mini dahi bhallas, add 5-6 of them in each plate at this stage.
    • Add little bit of kharjur -imli chutney and green chutney on all the papdis.Sprinkle a fat pinch of red chili powder, roasted cumin powder, salt and chaat masala on each papdi.
    • Then add beaten curd generously all over the papdis on both the plates
    • Again top it again with a generous drizzle of kharjur-imli chutney and green chutney.Sprinkle a pinch of roasted cumin powder,red chili powder,chaat masala and salt on the spread curd.
    • Add few more chopped potatoes, boiled chickpeas ,generous serving of pomegranate kernels on the spread curd.
    • Top it with sev generously and garnish with coriander.
    Serve it immediately.
    Do not keep it for long as it will become soggy,so prepare this just before serving,Keep all the ingredients ready before you serve this.

    Notes:
    1. You can replace boiled yellow chickpeas with steamed moong sprouts in the recipe.
    2. The amount of the addition of curd, chutneys and spice powders in each plate completely depends on individual choice.Add more or less according to your taste buds.
    3. Use only freshly made roasted cumin powder for the chaats, it enhances the flavor of chaat.
    4. Do not keep the prepared chaat sit for long as it will become soggy,so prepare this just before serving,Keep all the ingredients ready before you serve this.
    5. If you like the garlicky flavor you can even used Garlic Chutney along with the other chaat chutneys.For Garlic Chutney - grind 8-10 pods of garlic with 2 soaked red chillies,lemon juice and salt to a fine paste.
    6. You can make more number of plated increasing the quantities accordingly,there are no measurements.
    papdi chaat

     
    back to top