Friday, January 13, 2017

Sogasu Poli | Sogasu Obbattu | Holige Recipes

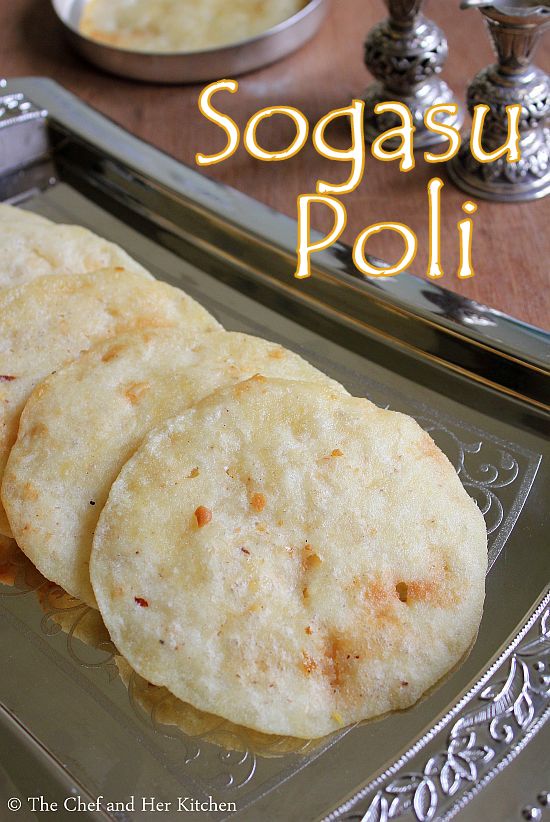
sogasu poli
At my mom's place,any major festival is incomplete without a holige and hence we prepare various holige varieties at home.While the most popular one are  Hoornada holige(Pappu Obattu) and Coconut Holige,my mom prepares various other holige varieties like Til Poli(Nuvvula Obbattu), Shenga Holige(Groundnut holige), Dates Holige etc. While these holiges are fried on the tawa there are few holiges which are deep fried like Paala Obattu(Haalu Holige), Sajjige Obattu(Sajjappa),Garugu Obattu, Sogasu Obbattu and every holige tastes best on its own and has its own importance for the festivals.
sogasu poli
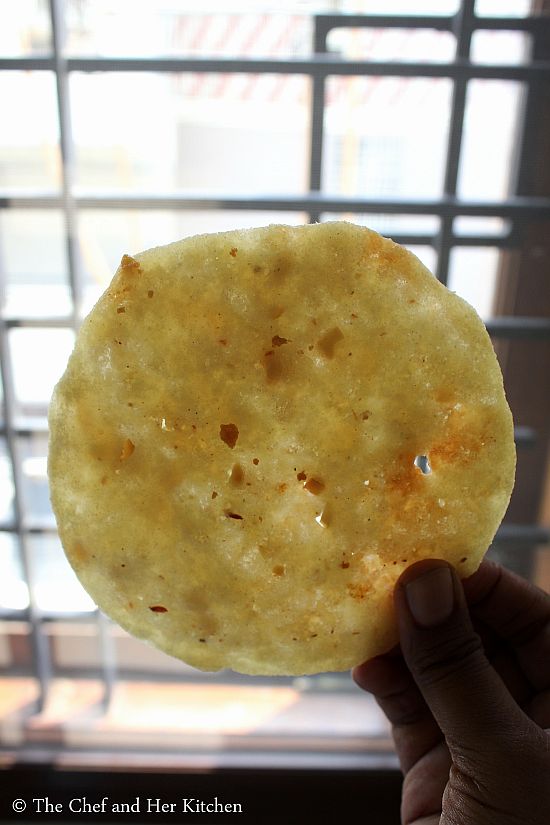
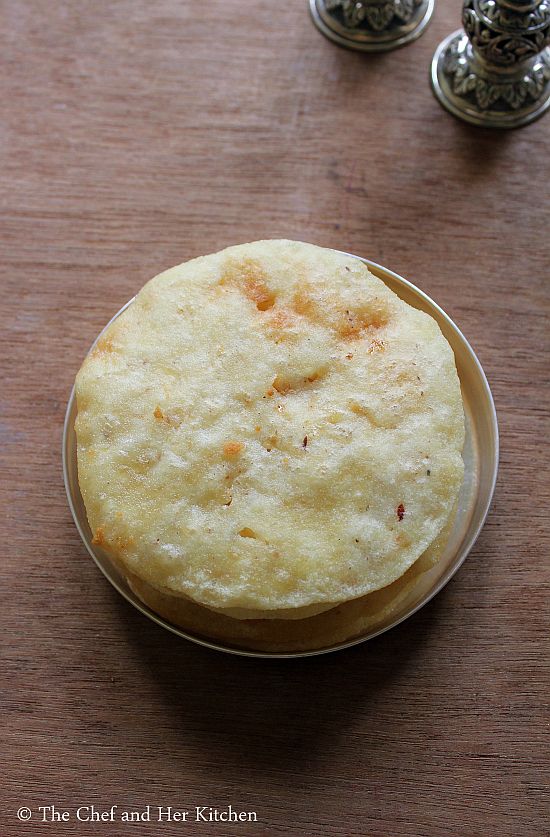
Today I am posting Sogasu Poli recipe which is very similar to Garugu Obattu and Sajjappa.They all look similar and all are deep fried but the filling,taste and texture of each holige is different from each other. Sogasu Poli and Sajjappa uses rawa filling which is made differently for each holige and where as Garugu Obattu uses rice flour filling.I know that it is very confusing if you are hearing all these names for the first time but once you go through all the recipes you can easily differentiate them.The best part about these holiges is that they can be stored easily up to a week, if they last that long!! These can be made ahead and serve as prashad for Navaratri Golu prasadam too, also tastes best when eaten hot as they are super crisp.This is apparently one of my favorite holiges and would gulp a couple of them at one go.As it is Sankranti tommorow, try this different traditional holige recipe to impress your family.
Check out other Holige recipes in my blog:
sogasu poli
Sogasu Poli | Sogasu Obbattu :
Shelf life: 2 days | Yields: 10-12 polis
Prep time:20 mins | Cooking time:40 mins | Total time:60 mins
Cuisine: South Indian | Category: Sweets

Ingredients:
for Stuffing: 1 cup fine Chiroti(Holige) Rava
1 cup fresh grated Coconut
1 cup Sugar,preferably slghtly fine
1/4 cup finely chopped Cashewnuts
1 tsp Ghee

for kanaka(outer cover):
1 cup Chiroti/Holige rawa(baarik rava)
a fat pinch of Salt
1/2 cup Oil(to soak the kanaka)
Oil for deep frying

Method:

for filling:
  • Mix chiroti rava, fresh grated coconut, chopped cashewnuts and sugar in a large bowl nicely until everything is nicely mixed and keep it aside for 2-3 hours.
  • Now the mixture would have become wet and soft.Mix it nicely again.
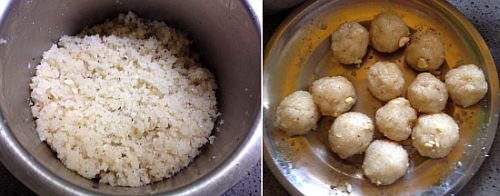
  • Grease your palms with ghee and make big lemon size balls out of the filling and keep them aside.
 for Kanaka:
  • Mix chiroti rawa with a pinch of salt to it and add water to it and knead in to a very smooth dough.The consistency of the dough should be very loose than the regular roti dough.
  • Now using your fist hit the dough for few mins to get the softer dough.

      
  • Now place this dough in a deep vessel and pour oil over it until the dough is completely soaked in oil.Let the dough rest for a minimum of 1 hr and up to 2 hrs.Drain the excess oil and use it for other purpose.
  • See the pics to get to know the consistency of the kanaka.
for making Sogasu Poli:
  • Cut the holige paper into a round and place it on the rolling stone which we use to roll rotis.Grease holige paper or banana leaf or a plastic cover with oil.
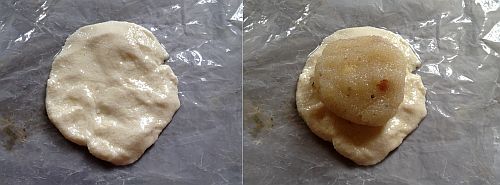
  • Pinch a small amla sized dough and flatten it a bit using your hands as shown in the pics and place one round of filling and seal it properly from all the edges like how we do for parathas.
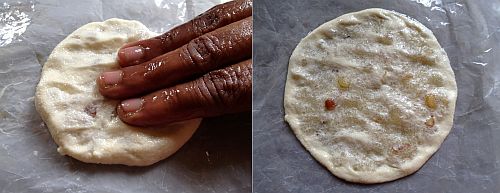
  • Now flatten it slowly with hands to get 3" diameter circle to the size of big pooris.It should not be very thick like paratha nor thin like rotis.See the pictures for clear idea.
  • Meanwhile heat oil for deep frying in a kadai and gently slide the patted holige from the sides into the oil taking care that oil would not splutter.
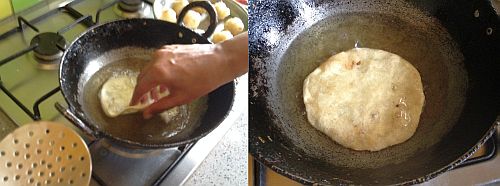
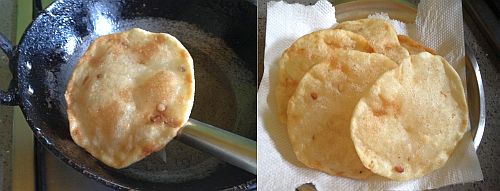
  • Deep fry them until they are slightly brown on both side.
  • Drain them on kitchen towels to remove the extra oil.
  • Repeat the process for making holiges,smear the holige paper liberally with oil and follow the same procedure.
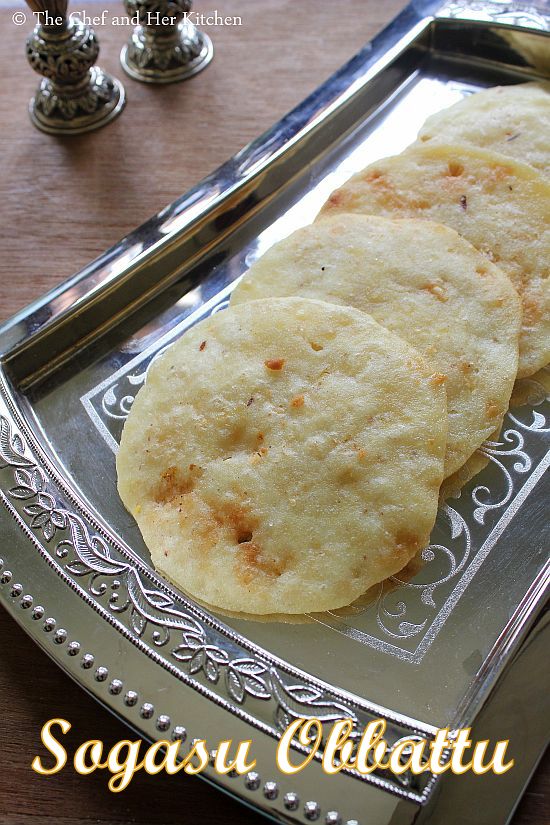
Serve them hot/warm or at room temperature.You can store them at room temperature for upto a week.
Notes:
  1. Always make kanaka before proceeding to make filling which helps in saving time.
  2. As these can be stored for a week you can make them ahead if you want.But the fresh ones are more crispier and tastier.
  3. The addition of nuts is entirely optional but it adds a nice taste to every bite of holige.
  4. If you are a health freak instead of deep frying you can even fry it on tawa like how we do for parathas,they taste still good but the deep fried ones taste anytime better.
sogasu obbattu

Wednesday, January 11, 2017

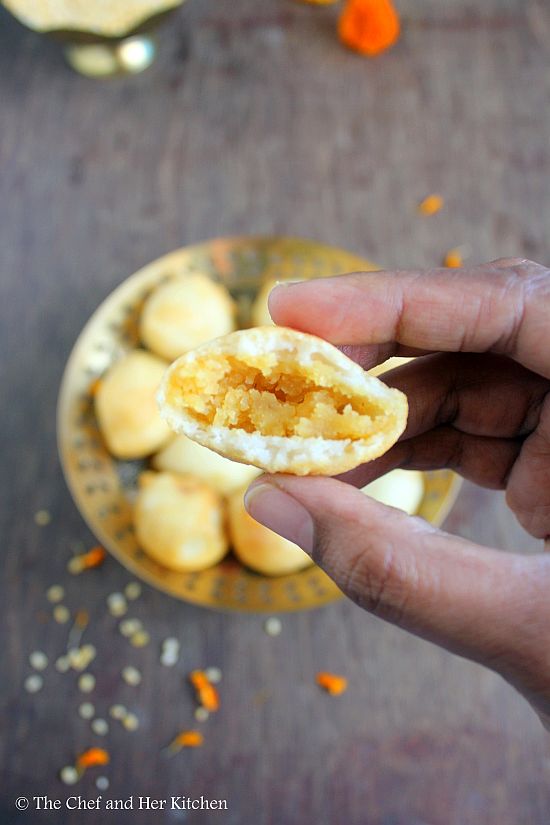
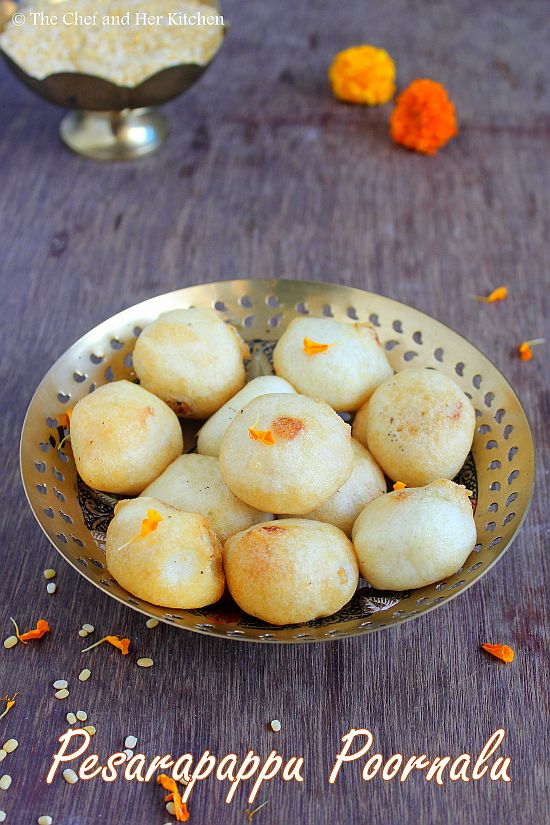
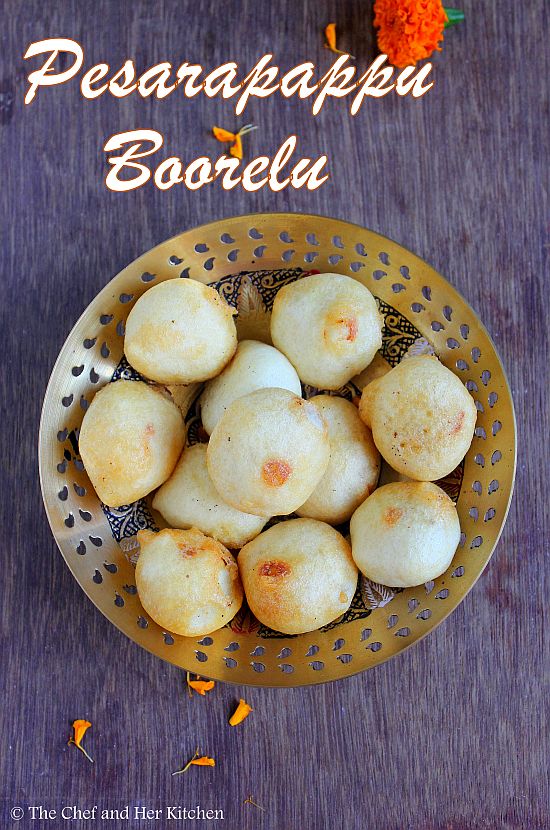
Pesarapappu Boorelu | Pesara Poornam Boorelu | Moong dal Boorelu

pesarapappu poornam boorelu
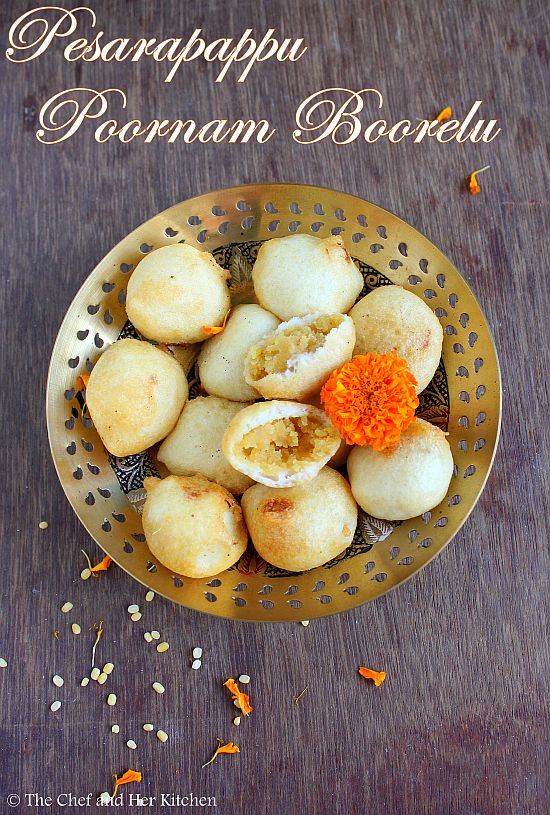
'Boorelu' or 'Poornalu' as they are called in Andhra and 'Sugeelu' or 'Sukkinunde' in Karnataka and 'Suzhiyan' or 'Sugiyan' in Tamilnadu.All these are different names and of course even the preparation methods are slightly different.The fillings and the outer coverings differ from place to place.While many use chana dal as filling for this, traditionally we used toor dal for filling and is prepared in the similar manner like how we make hoorna(filling) for Holige.The outer covering is again made up of lots of variations like urad dal batter,maida batter and rice-urad mixture(like we make) and even the proportions might be different in various households.Today I am posting a variation to the regular Boorelu - Pesarapappu Boorelu,where the filling is made up of moong dal instead of chana dal but the preparation process is almost the same.
pesarapappu poornam boorelu
I was not very fond of sweets during my childhood(it is not the same now) but this is one of those sweets which I used to like even then.As they are mildly sweet and deep fried I used to relish them and used to gobble them with out complaining.My mom is an expert in making them,I must admit that one needs enough practice to prepare these,I have mentioned few notes with my experience and I hope it would be useful if you are attempting them for the first time.
Sankranti is nearing by and try these delicious pesarapappu boorelu for the festival and treat your family and friends with these delicious goodies.If you are looking for the traditional boorelu recipe using chana dal or toor dal then check out the traditional Boorelu Recipe here.
pesarapappu boorelu
Pesarapappu Boorelu | Pesara Poornalu Recipe:

Yields: 20-25 | Author: Prathibha
Prep time: 30 mins | Cooking time: 30 mins | Total time : 1 hr + soaking/fermenting time
Cuisine: Andhra | Category: Sweets

Ingredients:

for Outer layer:

1 cup Urad dal
2 cups Rice(regular sona masuri variety)
Salt to taste(1/2 tsp)
a pinch of cooking Soda

for filling:
1 cupMoong dal
1 cup grated Jaggery
1/2 cup grated fresh Coconut
2-3 Cardamoms
1 tsp Ghee

Oil,for deep frying

Method:

for Outer covering:

  • Soak rice and urad dal together overnight.
  • Next day in the morning,Add one cup of hot water while grinding the rice-urad mixture to a smooth textured batter.
  • Take care that the batter is neither thick nor thin,it should be similar to dosa batter consistency.
  • Add salt to it and let it ferment for 4-5 hrs .
for poornam(filling):
  • Soak moong dal for 10 mins
  • Bring 5-6 cups of water to a boil in a deep vessel and add ghee and soaked moong dal and let it cook until you feel it is almost cooked.Dal should hold its shape and should be firm,it should not become mushy.Press a grain of dal with your fingers to get to know whether the dal is cooked properly or not.
  • Strain this cooked dal over a strainer and let it drain the water and cool completely.Reserve this water to use it in making rasam.
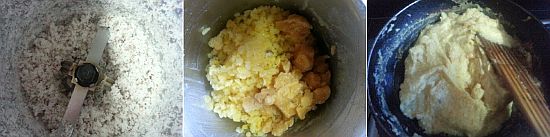
  • Grind grated coconut, cooked and drained moong dal,elaichi powder and jaggery to a slightly coarse paste.
  • Add the cooked paste to the pan and keep stirring it until it turns slightly thick and non sticky and can be made as pedas.Cool the mixture completely
  • Make gooseberry sized balls out of the mixture and keep them covered until its usage.
for making Boorelu:
  • Add a pinch of soda to the rice-urad mixture and mix well.
  • Mean while heat oil in a kadai over medium flame until it is hot.
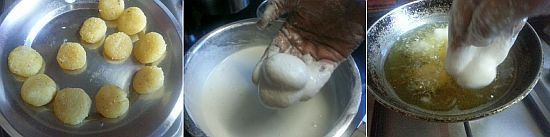
  • Meanwhile flatten the pedas a bit and keep them ready.
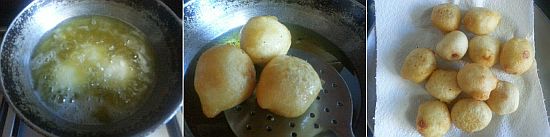
  • Dip each flattened stuffing(poornam) in the rice-urad batter carefully using fingers and drop them slowly in the oil.
  • Pour oil using the slotted spoon from the sides(like how we do for vadas) which helps in puffing up the boorelu nicely.
  • Turn it to the other side and fry until light golden brown in color.
Serve them hot/cold or at room temperature.

Notes:
  1. Rice-urad mixture for the outer layer should neither be thick nor very thin.If the outer layer is very thick it will reduce the sweetness of boorelu as the outer layer would be thick.
  2. While cooking moong dal,take care not to over cook it.Cooked moong dal should be firm to touch and should be cooked inside properly.
  3. The consistency of the filling should be little tight(not very soft) otherwise there is possibility that the filling might splutter while frying them.If your filling is slightly soft then try to refrigerate it for few hours or place them on kitchen towel to remove extra moisture or you can even microwave the mixture for a minute and leave it aside.This will help in hardening the mixture a bit.
  4. You can replace moong dal with chana dal or toor dal and follow the same recipe to make traditional boorelu.
  5. You can even replace jaggery with sugar and follow the same recipe.
  6. For a Vegan version avoid ghee in the recipe.
pesarapappu boorelu

Monday, January 9, 2017

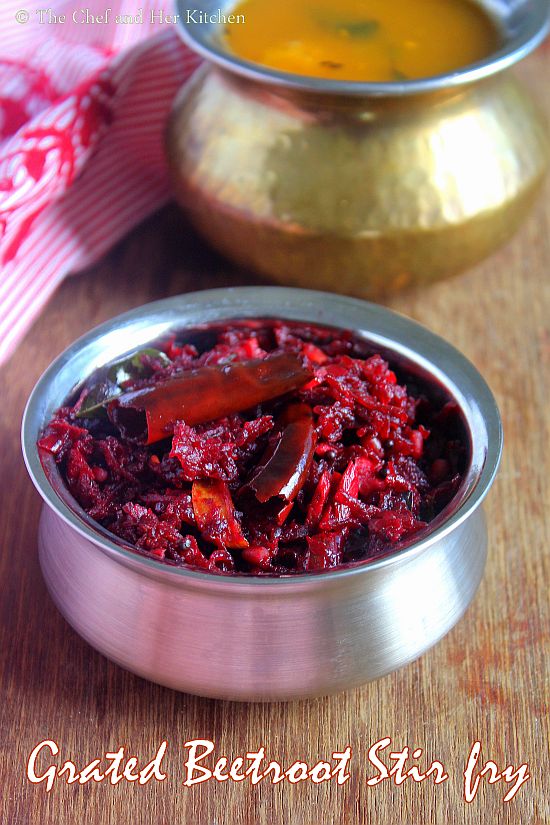
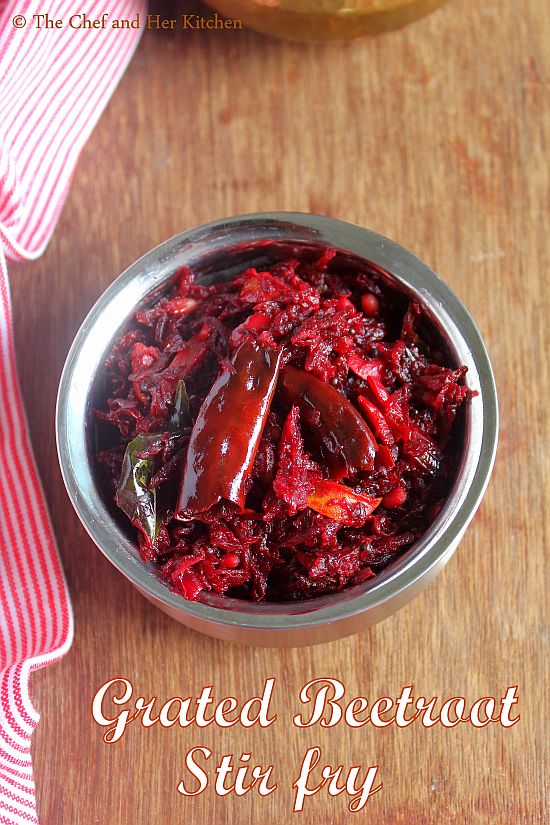
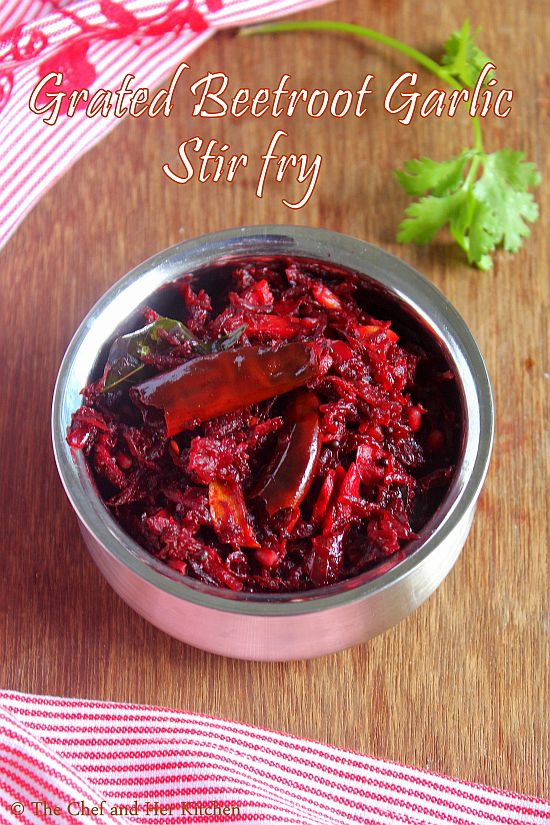
Grated Beetroot Stir fry with Garlic | Easy Beetroot Stir fry Recipe

grated beetroot stir fry
I have already posted two versions of the beetroot stir fry - Beetroot Stir fry using Coconut and the other version - Spicy Beetroot Curry using Vangibath masala powder. You must be wondering why again this new version and what is it about. I had tasted this simple version of garlic flavored Grated Beetroot stir fry in a meal cooked by a cook during my pregnancy and instantly liked it and from then it has been added to our regular menu. I make it quite often that I prepare this version more than the regular coconut version. I love garlic and the roasted crushed garlic imparts a nice taste to the curry. Also as the beetroot has been grated this cooks very fast compared to the chopped beetroot curry.I also prepare the same version with carrot and even that tastes very nice.
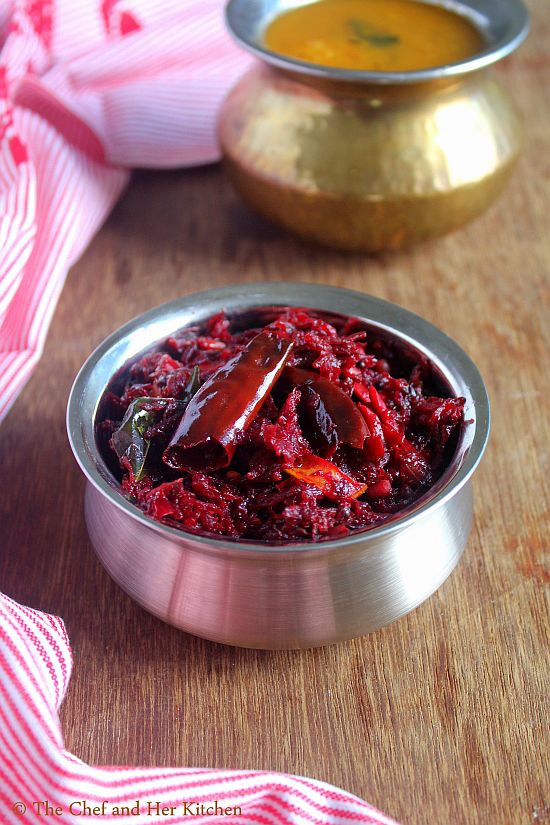
grated beetroot stir fry with garlic
In Kerala, they make Beetroot thoran with grated beetroot and coconut, I would post that version some time later.This is a very basic recipe that even a beginner can prepare it in the kitchen. You can pair it with hot steaming rice or roti, it tastes nice and makes a simple meal.If you like Beetroot then you must check out Bengali Vegetable Chops with beetroot stuffing and also Carrot-Beet Halwa. recipes.
You can check out various vegetables and greens stir fry recipes here to pair with everyday dal/sambar and rice.

grated beetroot stir fry

Grated Beetroot Stir fry Recipe:
Serves 2 | Author: Prathibha
Prep time: 5 mins | Cooking time: 15 mins |  Total time: 20 mins
Cuisine: South Indian | Category: Stir-fry/Palya

Ingredients:
1 large Beetroot, peeled and grated
1 medium Onion, finely chopped
3-4 pods of Garlic, peeled and crushed
1/2 tsp Red chili powder or Garlic Chili powder
1 Red chili, broken
1 tsp Urad dal
1/2 tsp Mustard seeds
7-8 Curry leaves
1.5-2 tbsp Oil
Salt, to taste

Method:
  • Wash,Peel and grate Beetroot and keep it ready.
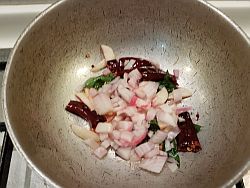
  • In a kadai heat oil and crackle mustard seeds and then add urad dal, broken red chili,garlic pods and curry leaves and fry until the dal turns a bit red in color.
  • Add finely chopped onion and fry until the onions turn slight brown in color.

  • Now add grated beetroot and salt and mix nicely and cover it and cook for 5-6 mins.Add a tbsp of water if needed.
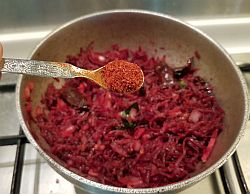
  • Open the lid and add the chili powder (Garlic chili powder) and mix nicely and cook for another 2-3 mins.
  • Switch off the flame.
Serve it hot with rice/roti/chapati.

Notes:
  1. You can replace beetroot with carrot in the recipe and follow the same method by grating the carrot or you can even mix both grated carrot and beetroot and follow the same recipe.
  2. Crushed garlic pod is the star ingredient in this simple recipe, do not skip it.
  3. Also I have mentioned more oil quantity as it depends on the size of the beetroot and also somehow this simple stir fry tastes best when made with more oil.You can reduce it if you want.
  4. Do not cook the curry for very long period.It cooks very fast and tastes best when a slight crunch is maintained in the beetroot.
grated beetroot stir fry with garlic

Friday, January 6, 2017

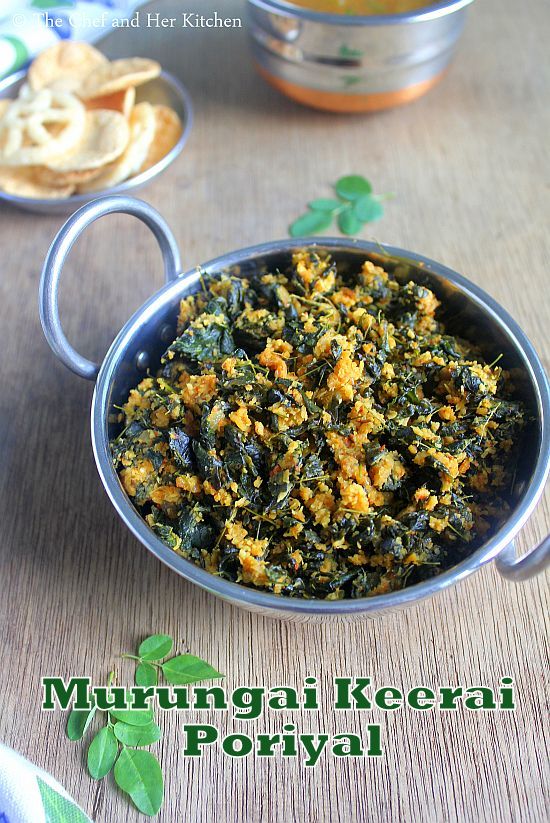
Drumstick Leaves Curry Recipe | Murungai Keerai Poriyal | Munagaku Talimpu

murungai keerai poriyal
Drumstick leaves have a very good content of iron and are very healthy and it is advisable to include them in our diet often. But it is a very tedious process to remove the leaves from the stems otherwise these leaves have a peculiar taste compared to other greens.We used to have a tree in my neighbor's house and hence procuring the fresh leaves and drumsticks was never an issue then, but finding good leaves is a challenge in Singapore.When ever I go to Little India I buy the vegetables and greens which are not available in the local markets and specially our Indian vegetables and greens. Sometimes I buy two bunches of each variety that it will last easily for upto a week with a marathon of greens based recipes in that week.
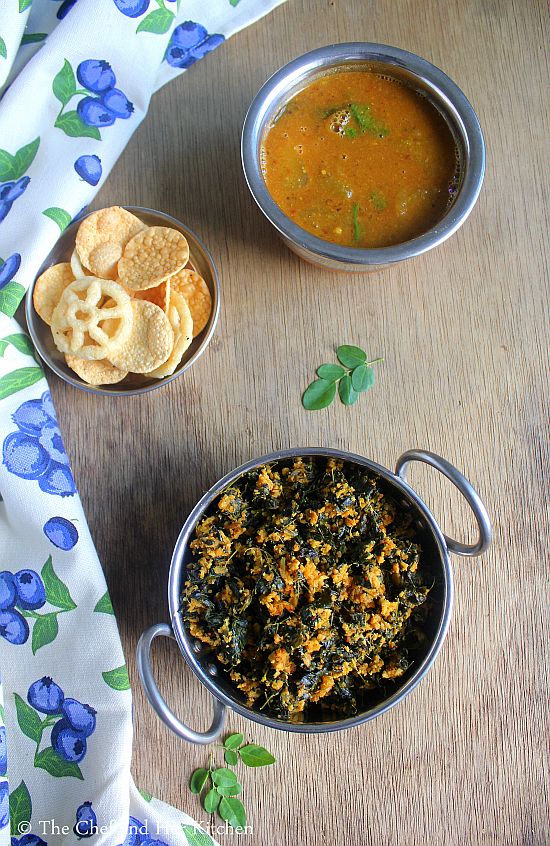
murungai keerai poriyal

murungai keerai poriyal
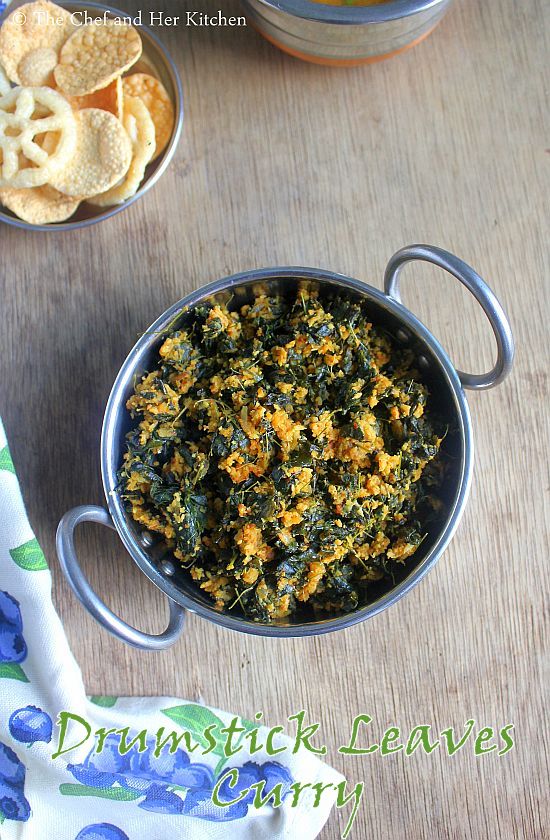
My mom usually makes the stir fry with it and also rasam with it apart from using it in Drumstick leaves Adai.You can even add the leaves to the dosa batter and prepare dosas which is very healthy and nutricious too. Try to include these iron rich greens in your diet often, it is worth the effort of cleaning those greens because of the goodness that these greens provide us.I am posting a version of Drumstick leaves Curry recipe which has small portion of toor dal and coconut but will post another simple version of Drumstick leaves stir fry later.
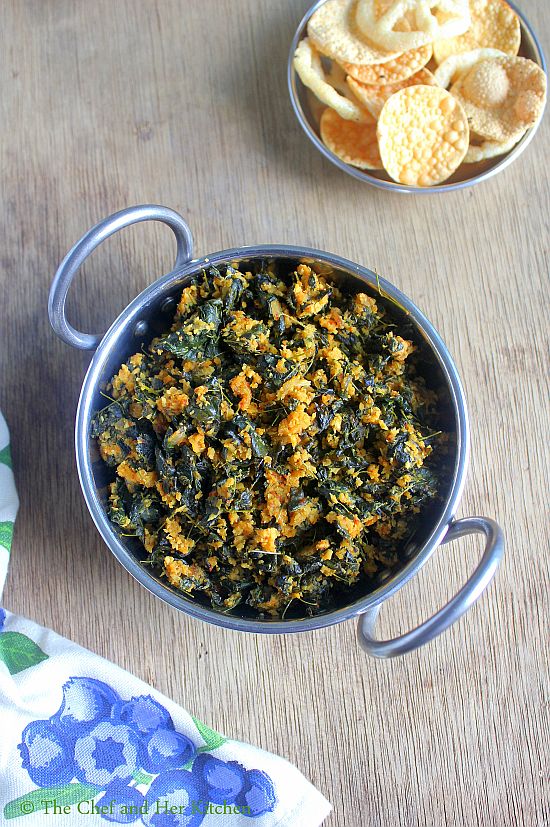
murungai keerai poriyal
Drumstick Leaves Curry Recipe:
Serves 2-3 | Author: Prathibha
Prep time: 20 mins | Cooking time: 30 mins | Total time: 50 mins
Cuisine: South Indian | Category: Side dish - Curry for Rice

Ingredients:
2 cups Drumstick leaves,removed from stems
2 tbsp cooked Toor dal(pigeon peas)
1 small Onion, finely chopped
2 tsp thin Tamarind extract
1 tsp Red chili powder
1/4 tsp Turmeric powder
Salt, to taste
1.5 tbsp Oil

to grind:
2 tbsp grated fresh/frozen Coconut
2 garlic cloves
2-3 peeled Shallots,optional

Method:
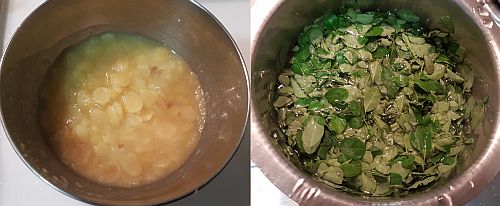
  • Carefully remove the leaves from the stems,try to remove the smaller stems as much as possible. Wash the leaves and keep it aside.
  • Pressure cook Toor dal until done, do not pressure cook for long that it will become mushy.I usually take from the dal I cook for sambar/dal on that day. Drain it and keep it aside.
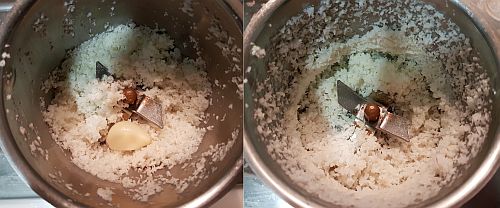
  • Grind grated coconut with garlicand shallots(if using) to a coarse powder and keep it ready.
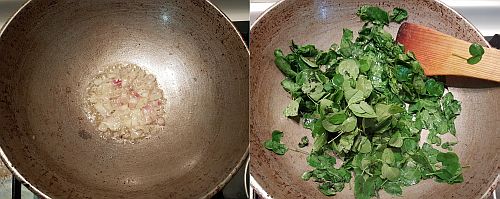
  • In a kadai heat oil and add finely chopped onions and fry until they turn pink.
  • Add squeezed drumstick leaves,salt and turmeric powder and fry nicely until the leaves shrink and get cooked.
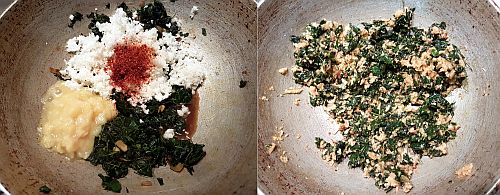
  • Add tamarind extract,cooked toor dal,ground coconut, red chili powder and mix gently and fry until the curry becomes slightly dry and the moisture is well absorbed.
Serve it hot with Rice/Chapati.

Notes:
  1. Try to remove the smaller stems as much as possible as they those stems might irritate you while eating and also is not good for your digestive system.
  2. You can avoid toor dal and still make the same, it tastes nice too.
  3. You can replace toor dal with moong dal in the recipe. In that case you just need to soak moong dal for half an hour.
drumstick leaves curry

Wednesday, January 4, 2017

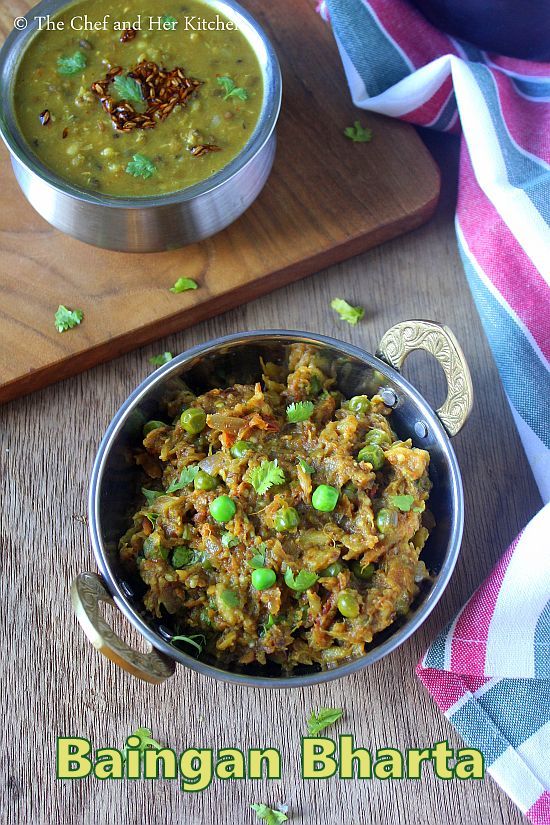
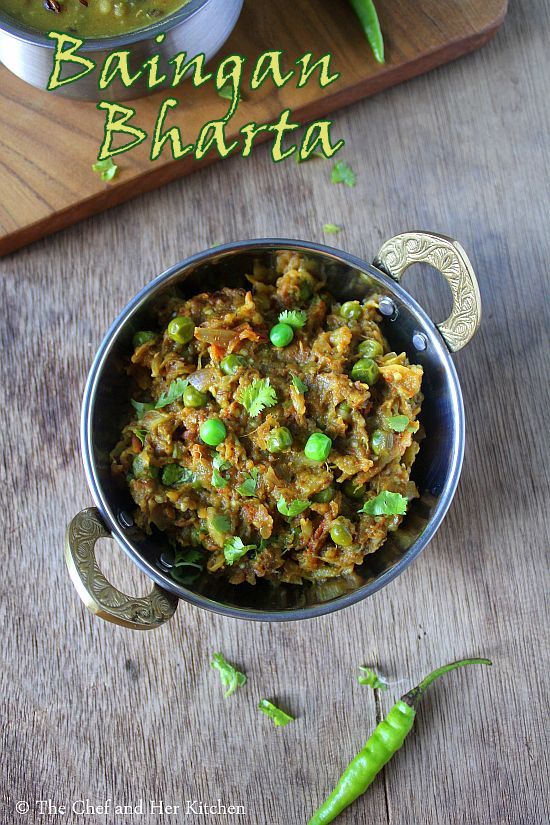
Baingan Bharta Recipe | Punjabi stlye Baingan Bharta

baingan bharta
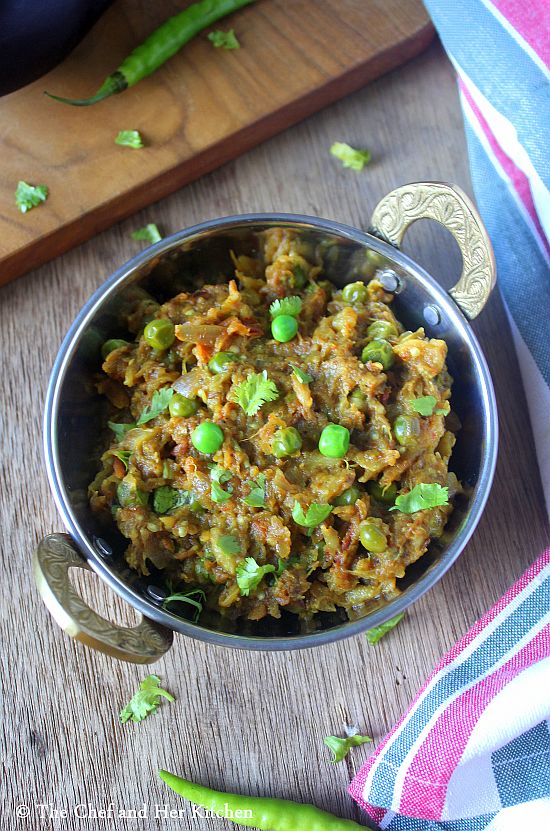
Baingan Bharta is a classic Punjabi dish where the eggplant is cooked by roasting it on open fire which gives the smoky flavor and then  it is mashed and spiced up with various spices and onion.Baingan Bharta tastes best with minimal spices and I really like to eat it bit spicy.I add a handful of green peas sometimes just to give the volume to the curry, so it is entirely optional and can avoid it.This curry is more popular curry in dhabas because of the smokyness of the dish which is done by dhungar method,I have mentioned about it in my notes section in case if you are keen to try it and have access to the charcoal.On the contrary few do not like the smoky flavor, for ex- my dad, he does not like the smoky flavor in anything and also does not eat this sabzi when it is made.
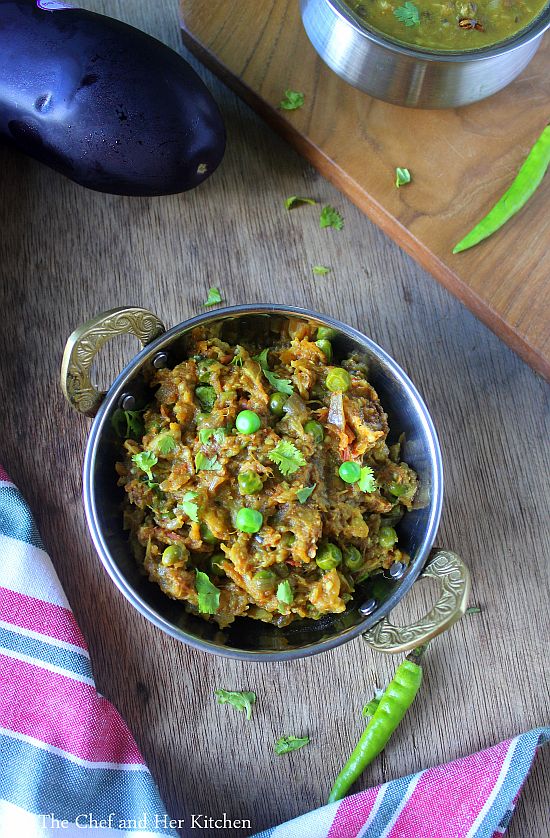
baingan bharta
In Andhra, we prepare 'Kalchina Vankaya Pacchadi' where the brinjal is roasted on open flame and is combined with various ingredients to prepare pacchadi(chutney) which goes with rice.There is another version of Bharta known as 'Choka' where we add raw and fresh ingredients and spices to the  mashed up roasted eggplant pulp which tastes good in its own way.
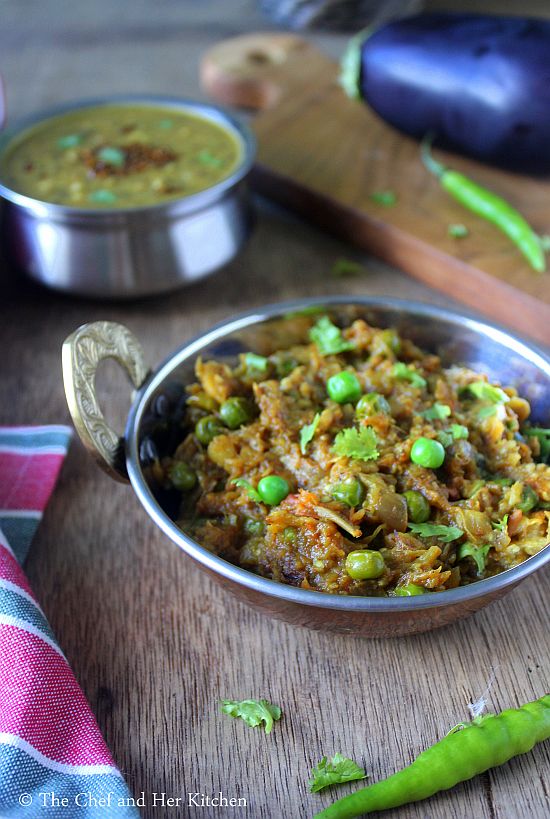
baingan bharta
Whenever I pick up large eggplants I always pick atleast two of them so that I can prepare this Bainga Bharta and Bengali Begun Bhaja, both are favorite at my place.I have blogged already various brinjal recipes in my blog.
baingan bharta
Check out other tasty preparations with Eggplants:
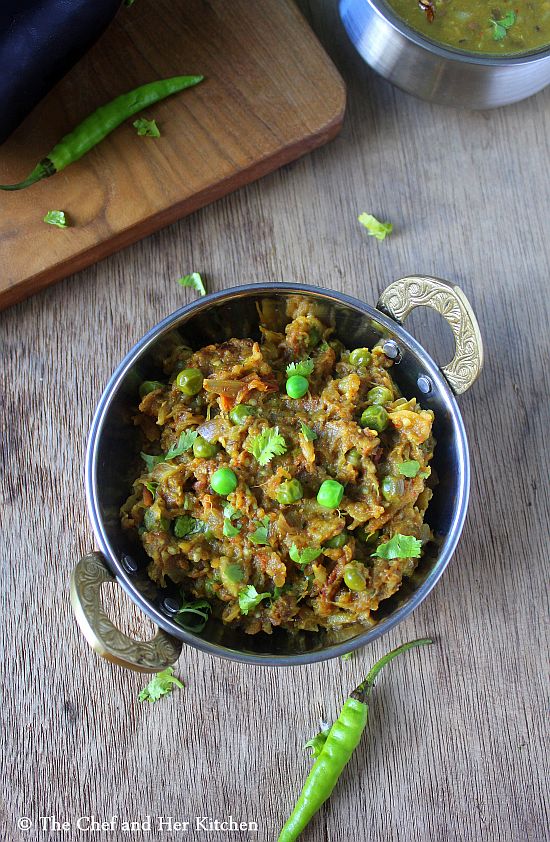
punjabi style baingan bharta

Baingan Bharta Recipe:
Serves 2 | Author: Prathibha
Prep time: 10 mins | Cooking time: 30 mins | Total time: 40 mins
Cuisine: Punjabi | Category: Side Dish(Curry)

Ingredients:
1 large Eggplant/Aubergine(Bharta wala Baingan)
1 Onion, finely chopped
1 large Tomato, finely chopped
a handful of fresh/frozen Green Peas, optional
2 Green chilies, finely chopped
2 tbsp chopped Coriander leaves
3/4 tsp Red chili powder
1/4 tsp Garam masala
1/2 tsp Turmeric powder
1 tsp Cumin seeds
Salt to taste
2 tbsp Oil

Method:
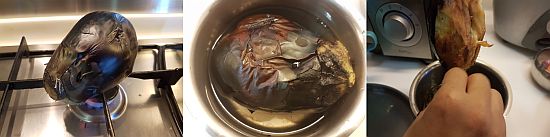
  • Wash and wipe the large eggplant and apply oil all over the skin and poke it with a fork and place it on a open flame over medium heat. You can make a big slit and include a couple of garlic cloves, it gives a nice flavor to the bharta later. Keep rotating it in between in all directions until the whole eggplant is evenly roasted. Check it for doneness by inserting a knife, if it slides easily which indicates that it is done.Also the eggplant would have become soggy. Put it in a bowl of water immediately and leave it for 10 mins.
  • Peel out the charred skin of the eggplant and also the stalk and mash it roughly with a masher. You can even chop it finely or run it in mixie in a whipper mode once.
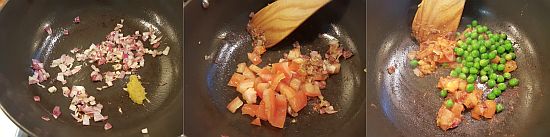
  • Heat oil in a kadai and crackle cumin seeds and add finely chopped green chilies and onions and fry nicely until they turn pink.
  • Add ginger-garlic paste to it and fry nicely until the onions become brown.If you are adding green peas add at this stage and fry nicely.
  • Add chopped tomatoes to it and fry until the tomatoes become mushy and the whole mixture leaves the oil at the edges.
  • Add the spices - red chili powder, garam masala, turmeric powder, salt and fry for another couple of minutes.
  • Lastly add the mashed baingan pulp and mix it nicely and cook for 5-6 mins until it is well cooked and the flavors incorporate in the bharta. Switch off the flame.
Add coriander leaves and mix.
Serve it hot with Rotis/Phulkas/Parathas/Naans.

Notes:
  1. You can also give Dhungar(smoke technique) to the baingan bharta. For that heat a charcoal on open flame until it is red and hot and place it in a small plate and add few drops of oil and place this plate on the prepared bharta and cover it immediately with a tight lid and leave it for a minute or two. This gives a nice smoky flavor to the bharta like how we get it in the dhabas.
  2. Add minimal spices to the baingan bharta, it tastes best. Also you need to fry the masala nicely which gives a nice taste to the bharta.
  3. I usually add green peas when a baingan is small just to get more quantity.You can completely avoid it.
  4. Instead of Ginger-Garlic paste you can just add finely chopped garlic which is good too.
baingan bharta

Monday, January 2, 2017

Mango Sago Pudding | Easy Mango Dessert Recipes

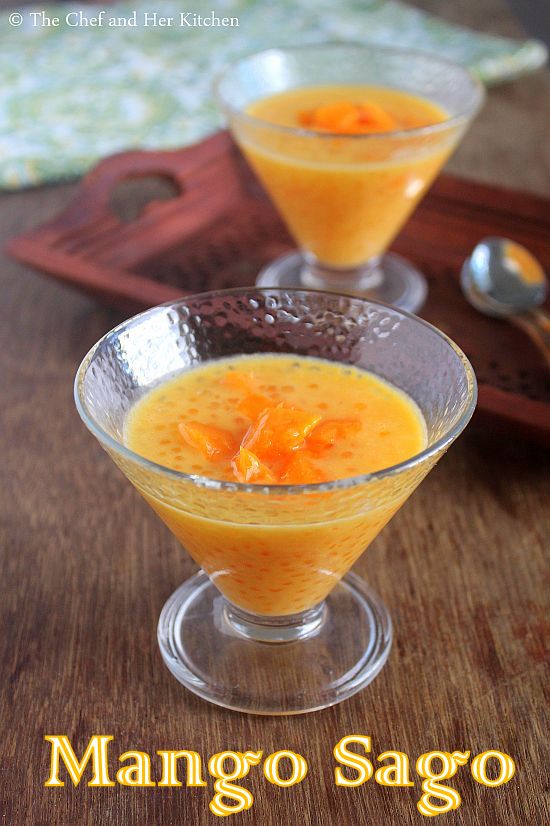
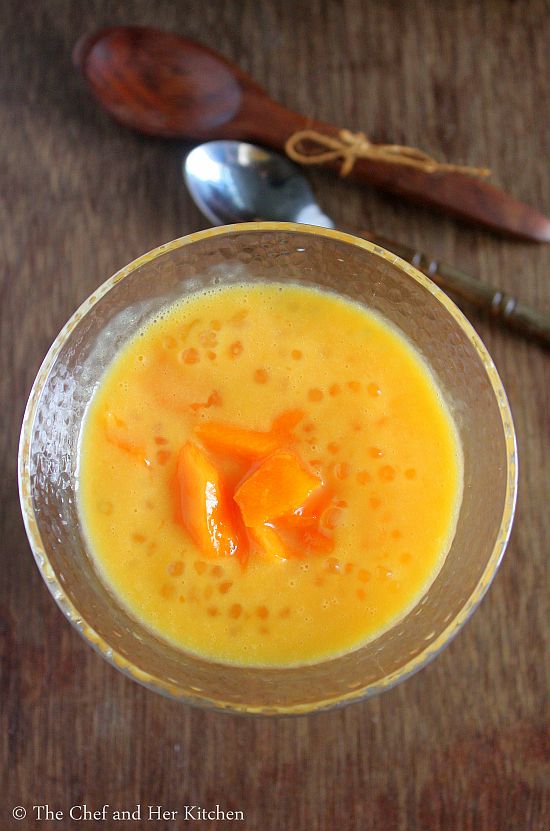
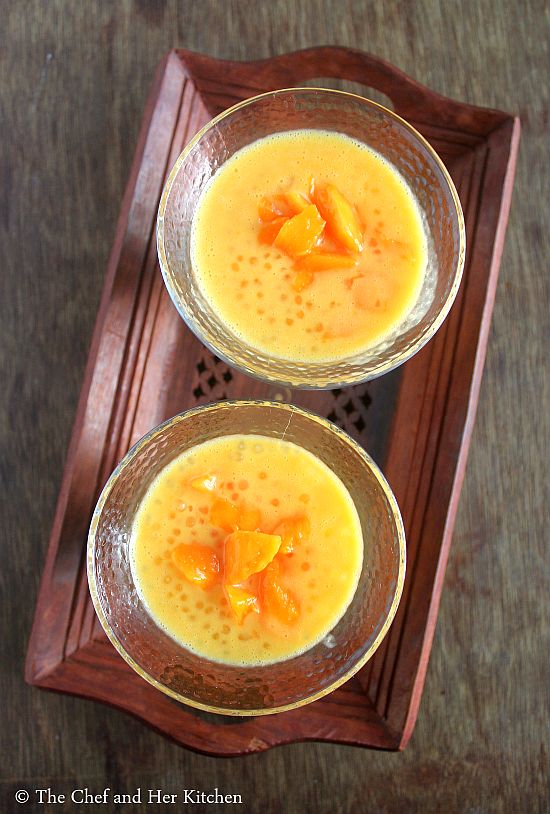
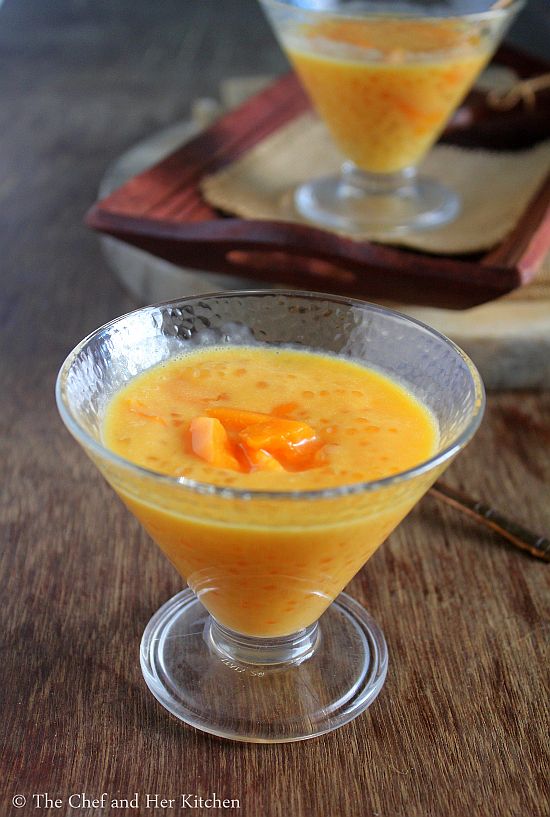
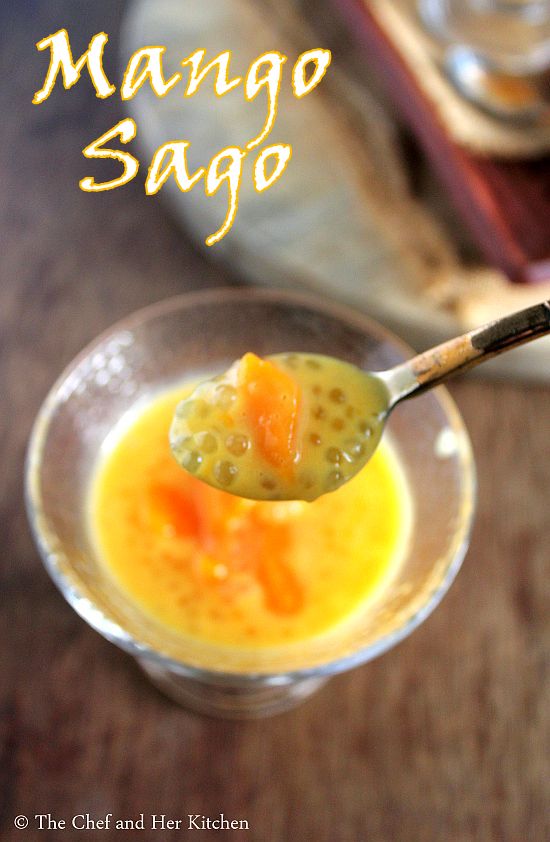
mango sago
I have been planning to post this popular Singapore dessert from ages but coincidentally I am able to post it only after shifting to Singapore. It is a popular dessert in Singapore and is available in most of the food joints and food courts here.Though the mango season is over, we still get mangoes here and whenever I spot them I buy them for little 'V'. I make milkshakes and smoothies for him and keep those mangoes only for him as he is really fond of mangoes. I have made this Mango Sago recently for his evening snack instead of his usual Mango Milkshake ritual and the kiddo had it happily and said- "mamma, it is yummy!! ", what else I can ask for from a two year old kiddo. It is fairly simple to make and also very filling at the same time.
mango sago
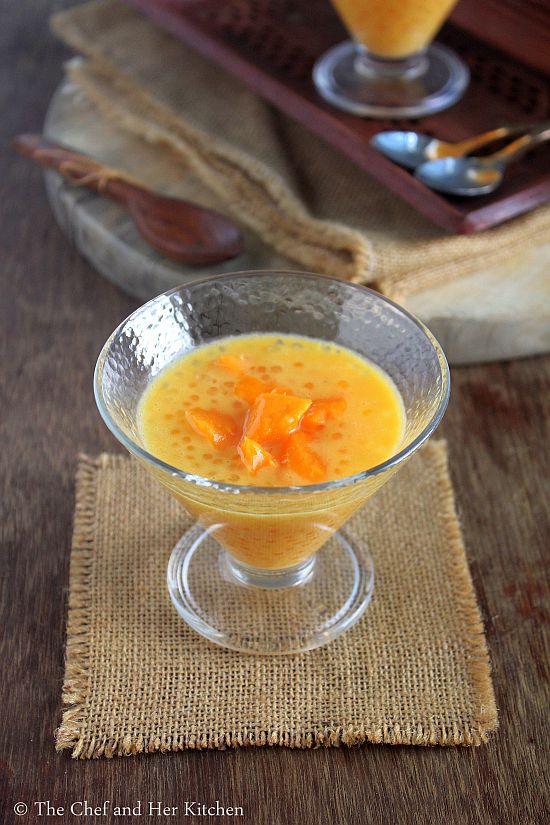
mango sago pudding
Mango,as the fruit by itself is a great dessert and one can prepare various desserts with it.The flavor of mangoes is great especially in the desserts, sweets, ice creams, kulfis and puddings. I have posted many mango desserts recipes already in my blog in case if you are interested to check them.Sago is also used in sweets preparation like Sago Kheer, Sago Halwa etc.
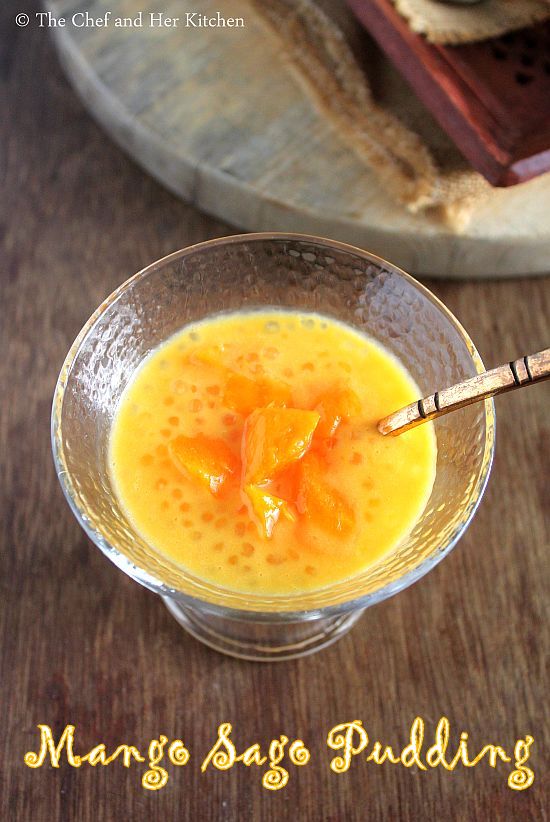
mango sago pudding
Coming to the recipe part, it is extremely simple to prepare and is a mix of Sago Kheer and creamy Mango Milkshake. In short,cooked sago pearls are mixed with the thick creamy mango milkshake just that you need to follow few steps to make it fool proof. In the traditional method, evaporated milk is used but I have substituted with full cream milk and condensed milk for my convenience.There are no hard and fast rules with the quantities in the recipe, one can add them as per their taste buds.Now, off to the recipe.
mango sago pudding
Check out various mango desserts recipes in my blog:
mango sago pudding
Mango Sago Pudding Recipe:
Serves 3-4 | Author: Prathibha
Prep time: 10 mins | Cooking time: 10 mins | Total time: 20 mins
Cuisine: International | Category: Desserts

Ingredients:
1 large ripen Mango
1/4 cup Sago pearls, medium size
1/2 cup Condensed milk or 3/4 cup Evaporated milk
1-2 tbsp Sugar,if needed (more if using evaporated milk)
1 cup full cream Milk

Method:
  • Wash and soak sago pearls for an hour and wash it again to remove the extra starch in it.Cook it for 5-7 mins until they turn transparent and gets cooked, if you want you can bite one and test whether it is done or not.Drain the cooked sago pearls and wash again under the running water, this removes additional starch, I skipped this step.
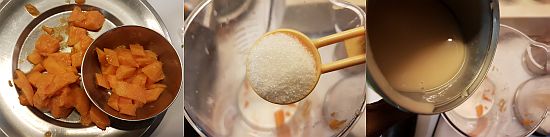
  • Wash,peel and chop mango into small pieces.Reserve 1/4 cup pieces for garnish and usage later.
  • Meanwhile boil full cream milk until it is reduced to half and cool the milk.
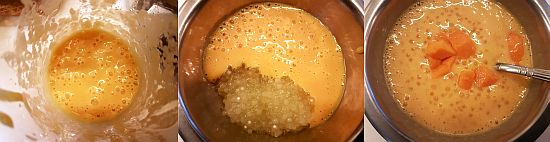
  • Grind the cooled milk, mango pieces, condensed milk(or evaporated milk) and sugar as per your requirement to a smooth puree in a blender. The addition of sugar is based on the sweetness of mango and usage of condensed milk or evaporated milk,you can increase or decrease or avoid it completely as per your wish.
  • Now mix the pureed mango mixture with the cooked and washed sago pearls to an uniform mixture.The consistency should be slightly thick,not very thin.
  • Add reserved mango pieces(reserve 5-6 pieces) and mix nicely and pour into individual bowls and garnish with few mango pieces and chill it for 2-3 hrs.
Serve it cold and Enjoy!!!

Notes:
  1. It is ideal to wash the sago pearls, before soaking, after soaking and after cooking, this is to remove the excess starch content in them.You can follow the process you usually use to cook them, it is completely fine.
  2. Use nicely ripen mangoes for this dessert for dark yellow color and also for good flavor. If you are in India you can use Alphonsos or Kesar mango varieties for this dessert.
  3. The traditional recipe uses evaporated milk and sugar in the recipe but I find it convenient to use condensed milk in the recipe, it gives creamy rich taste to the dessert. If you are calorie conscious you can even avoid it but it will not turn creamy like how it is supposed to be.
  4. If you don't have mangoes you can always use canned mango pulp to make this dessert.
  5. Pomelo sacs can be also added to this dessert for a variation to make Mango Sago Pomelo Pudding.
mango sago

 
back to top