
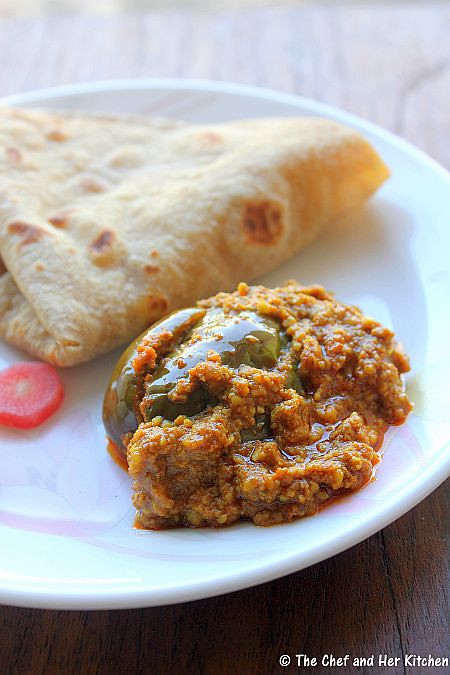
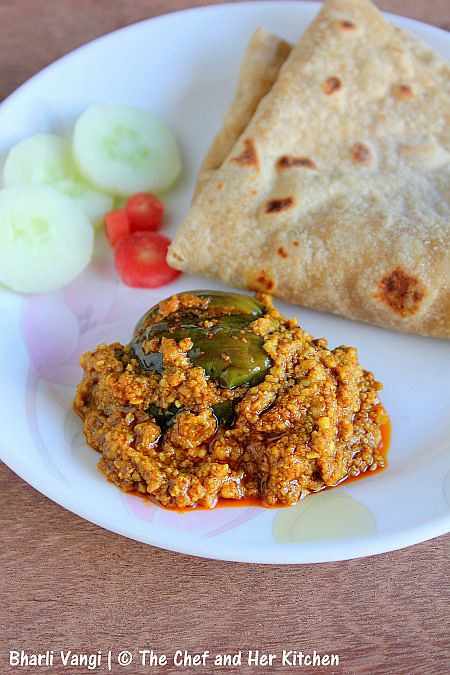
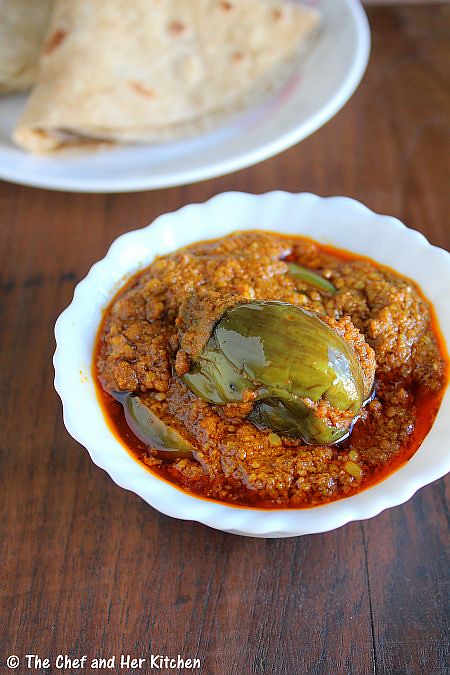
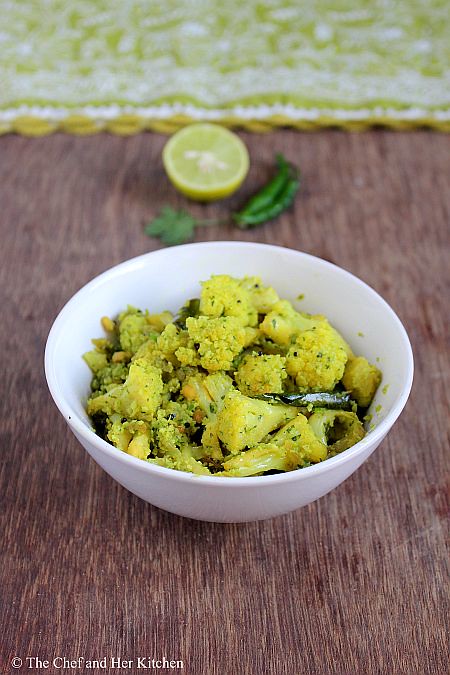
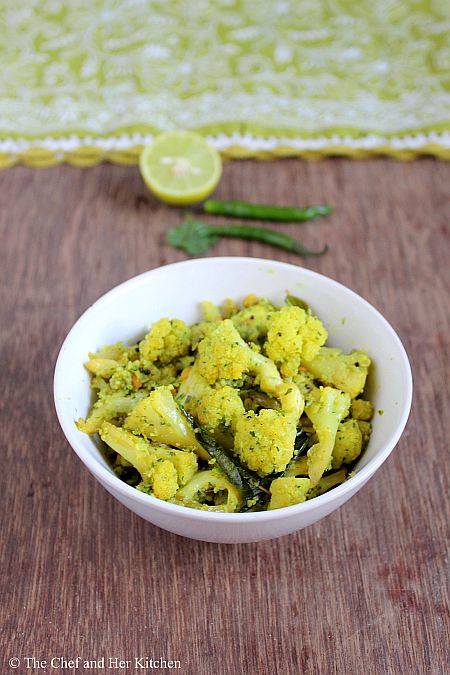
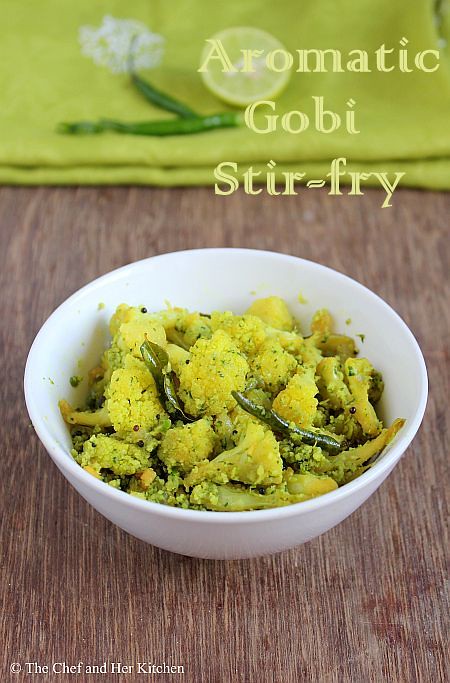
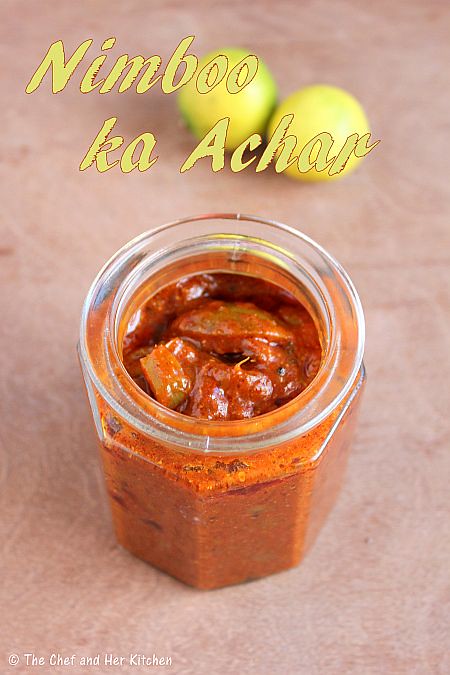
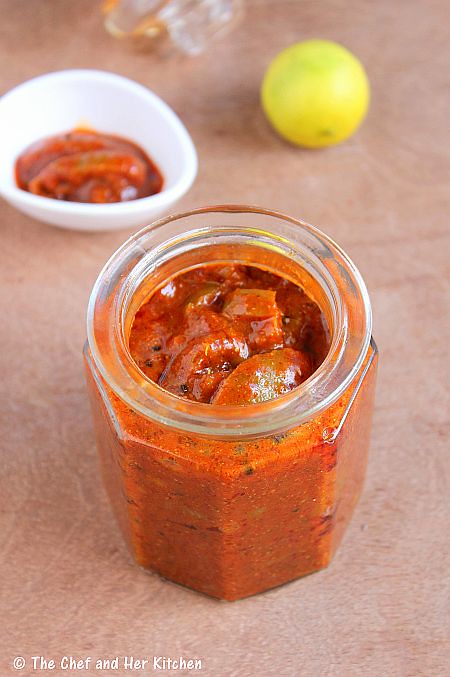
 Vegetables


The morning time on a week day would be busy in packing breakfast, fruits and snack box for TH as he leaves quite early in the morning. I usually pack the breakfast for him and most of the times it would be Muesli,Cereals,Sandwich,Burger and sometimes south Indian breakfast items.As he works for long hours, apart from the breakfast, I also pack fruits and a few snacks.Both of us usually prefer to take small meals through the day rather than having a three meal day.

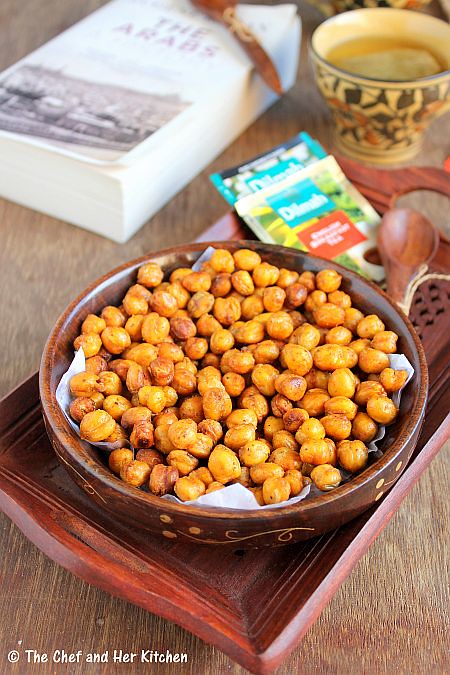
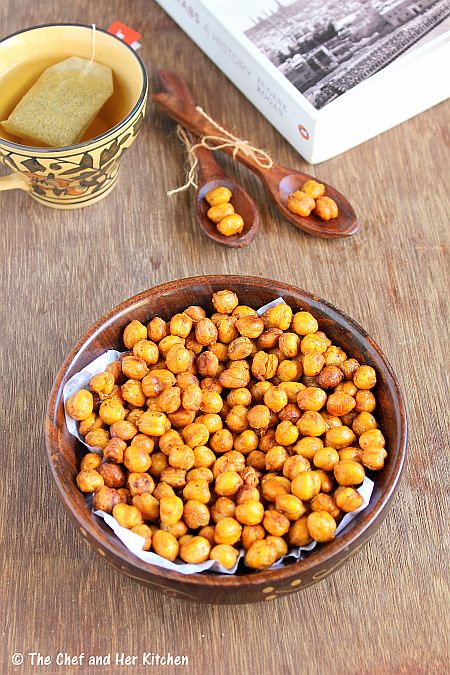
I am always on the look out for healthy and low fat snacks.While I do prepare various instant varieties like salads,sundal etc, I always look for snacks which could be prepared ahead and stored for a few days.This oven roasted chickpeas is one such recipe, which I prepare very frequently as both of us love chickpeas in all forms. This is definitely a protein packed and low fat snack which is perfect to munch with your evening cuppa.I am posting the chatpata Indian style roasted chickpeas. The flavors are very versatile and one can be creative in the use of flavors.

You can check out few low fat snack recipes in my blog.I would add few more snacks soon.
- Spicy Puffed Rice/Karam Borugulu
- Spicy Phool Makhana | Roasted Lotus Seeds
- Sago Chiwda | Puffed Sago Snack
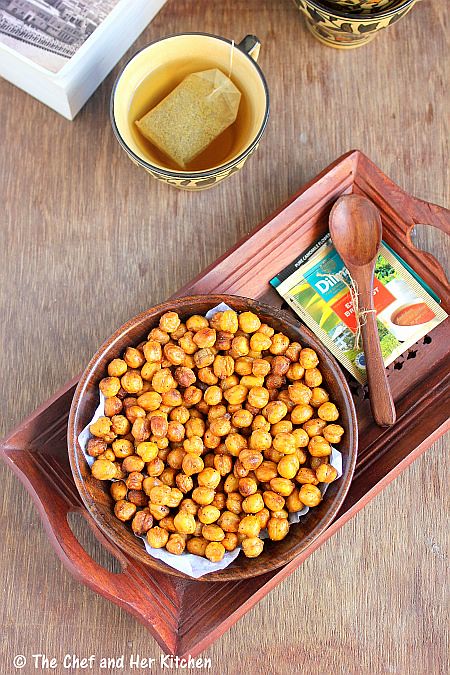
Spicy Oven Roasted Chickpeas Recipe:
shelf life: stays crisp for 2 days,but can be stored up to a week
Ingredients:
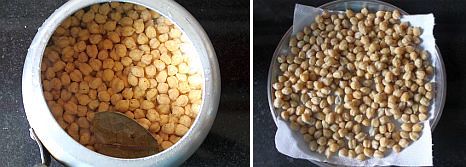
2 cups white Chickpeas / Kabuli Chana(or Kala chana)
1 Bay leaf
1/4 tsp strong home made Garam masala or 1/2 tsp ready made garam masala
to marinate:
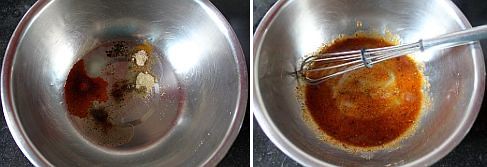
1 tbsp Olive oil
1 tsp Red chili powder
1 tsp Chaat masala
1/4 tsp Turmeric powder
1/2 tsp Amchur powder
1/4 tsp Pepper powder
1 tsp Salt(or to taste)
Method:
- Wash and soak chickpeas for 7-8 hours or overnight.Pressure cook chickpeas with a bay leaf and garam masala for 2 whistles and reduce the flame and keep it for 5-6 mins.Switch it off. Once the pressure drops drain the chickpeas and spread them as a thin layer on a kitchen towel and let the moisture dries up.
- In a bowl add olive oil, red chili powder, pepper powder, chaat masala, turmeric powder, amchur powder and salt and whisk well.
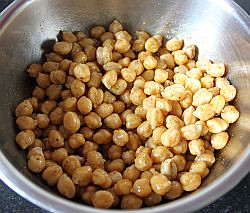
- Add the drained and dried chickpeas to the mixture and mix it nicely and let it marinate for half an hour.
- Line a baking tray with a silver foil and spread the marinated chickpeas in a single layer.
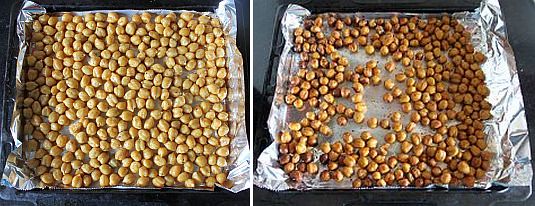
- Bake it in the oven at 160 degrees for 30-35 mins until they turn crisp.Try to mix them in between once or twice.Keep an eye after half an hour,they might get burnt.Every oven differs in time and temperature,so judge them accordingly.When you touch them after they are done they would be slightly soft and they would become crisp once they are cooled down completely.
Store them in air tight container.They stay crisp for 2-3 days.
Notes:
- I make it in small quantities and finish them in 2-3 days.I think you can keep the roasted chickpeas up to a week.
- You can play with the flavors for chickpeas.You can experiment with garlic,pepper powder and salt or adjust the spices according to your wish.
- Every oven differs in time and temperature,so judge them accordingly.
- You can use kala chana(black chickpeas) instead of white chickpeas in the recipe.


