Thursday, March 16, 2017

Pulihora Gongura Pacchadi | Pulihora Gongura Pickle Recipe

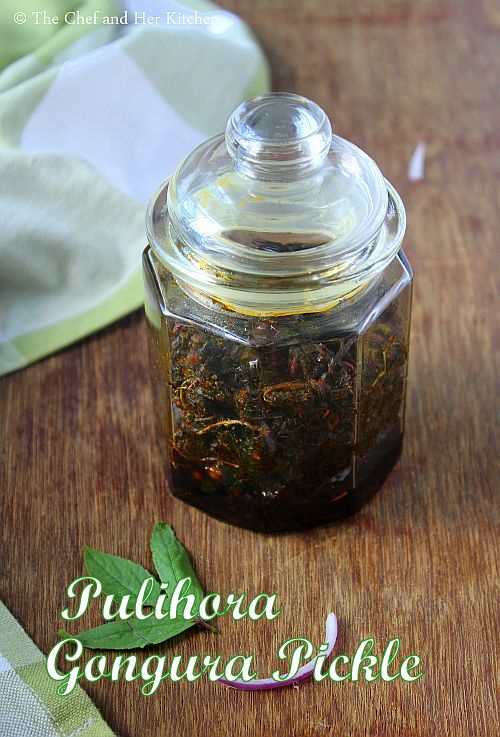
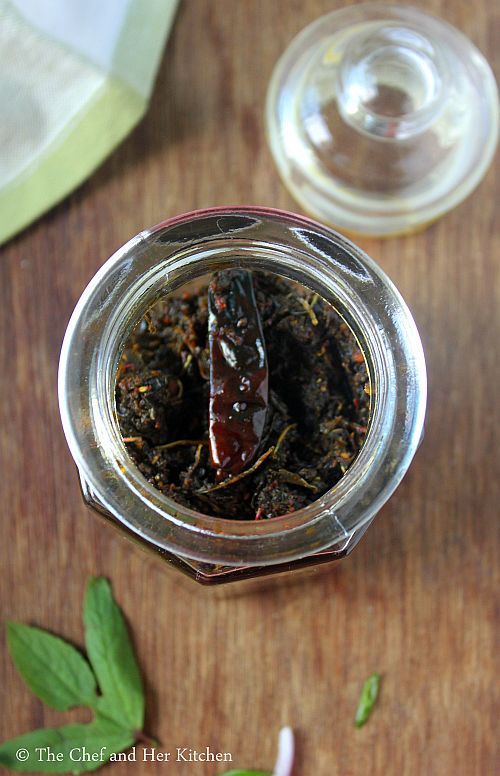
pulihora gongura pickle
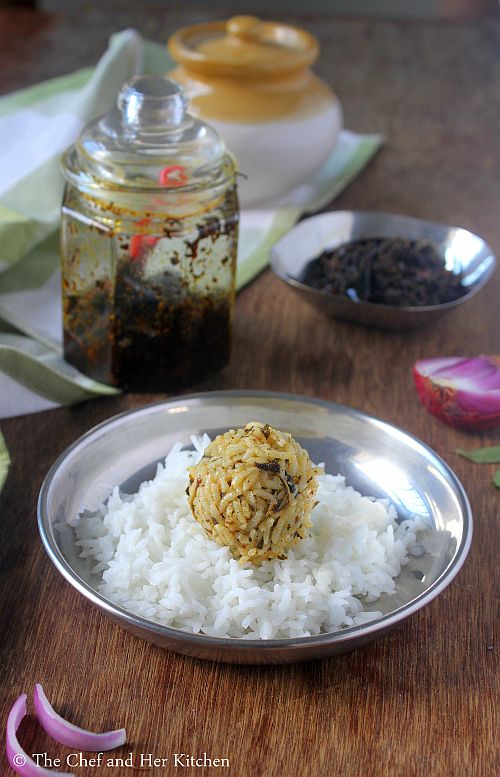
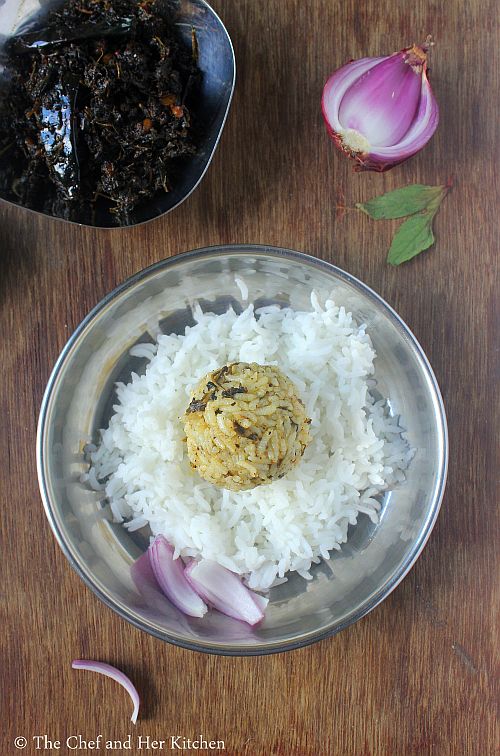
Andhra style pulihora gongura pacchadi recipe with step by step photos.Pickles or Pacchadis are an integral part of every Andhra meal.There are various varieties of pickles and pacchadis which can be prepared with various vegetables and greens.Gongura Pickle and Avakaya are the most famous pickle varieties of Andhra and is a favorite to many.Gongura pacchadi should be mixed with hot steamed rice with lots of ghee and raw onions, it tastes absolutely delicious.
pulihora gongura pickle
Andhra Gongura pickle needs no introduction and it is one of my favorite Andhra pickles,it is a must try if you visit any Andhra restaurant.But today I am posting a variation to the regular Gongura pickle - Pulihora Gongura Pickle, where the gongura pickle is prepared in a pulihora style. I have posted Gongura Pulihora already in my blog, which is a Gongura rice variety prepared in pulihora style and this is Pulihora Gongura Pacchadi which is a Gongura Pickle prepared using Pulihora tempering, so do not get confused by the similar names. Both the pickles taste lip smacking and both varieties taste great in its own way.
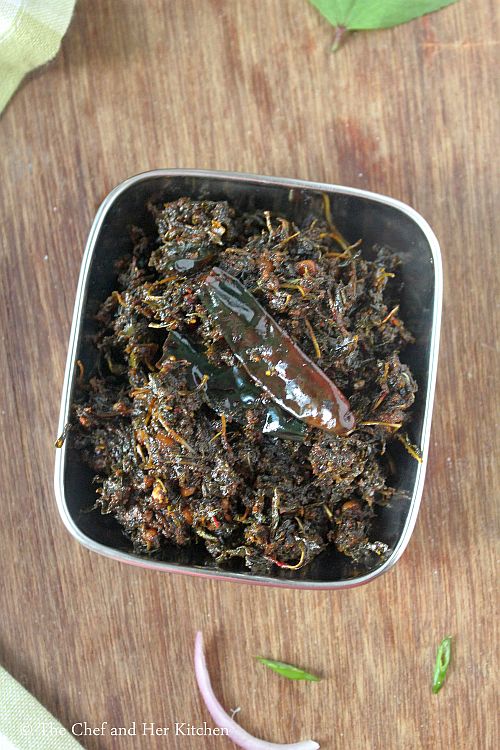
pulihora gongura pacchadi
 I also have posted a version of Gongura Pacchadi with Green Chilies and Gongura Pacchadi recipe using Red chllies which have less shelf life and should be consumed in a day or two
pulihora gongura pickle
Check out all Gongura recipes in my blog here:
pulihora gongura pickle
Here is how to make Andhra style Pulihora gongura pickle recipe with step by step photos.
Andhra style Pulihora Gongura Pacchadi Recipe:
Shelf life: 2-3 weeks | Author: Prathibha
Prep time: 15 mins | Cooking time: 30 mins | Total time: 45 mins
Cuisine: Andhra | Category: Pickles/Pacchadis

Ingredients:
1 large (or 2 medium) bunch of Red Sorrel leaves
1 small lemon sized Tamarind, soaked in water
1.5 tbsp Red chili powder
2-2.5 tsp Salt,approx
1 tsp Turmeric powder
1.5 tsp Mustard seeds
3/4 tsp Fenugreek seeds
2 tbsp Oil

to temper:
1/4 cup Oil
1 tsp Mustard seeds
1.5 tbsp Chana dal
1 tbsp Urad dal
4-5 Red chilies, torn
1/2 tsp Turmeric powder
1/4 tsp Asafoetida

Method:
  • Clean,wash and drain the water from the leaves and spread the leaves on a clean kitchen towel/cloth and let it dry under shade in the house for half day until the moisture dries up slightly from the leaves.

  • Soak tamarind and extract pulp from the tamarind and keep it ready.
  • Dry roast mustard seeds and fenugreek seeds separately and grind to a fine powder.

  • Heat 2 tbsp oil in a kadai/pan and add dried sorrel leaves and cook until the leaves soften a bit.If you have dried the leaves it will not become mushy while sauteing it, but that's okay it increases the shelf life of the pickle.But DO NOT add water while grinding the leaves.
  • Add red chili powder, salt and turmeric powder to the ground mustard seeds-fenugreek powder and grind to a fine powder.Add cooked sorrel leaves to it and grind it in mixie.If the leaves are not dried a bit it will turn to a powder,else it will become a paste.Keep all the ingredients ready for tempering.

  • Heat 1/4 cup oil in the same kadai and crackle mustard seeds and then add chana dal and urad dal and fry until the dals turn slight brown in color.Add red chilies and asafoetida and cook until the chilies are fried.

  • Add the tamarind pulp and turmeric powder and cook until the tamarind is thickened and oil starts floating on top.
  • Now add the ground sorrel paste and mix nicely and cook until the mixture leaves the oil at the edges.You can add more oil(by heating it separately) in between if you feel there is less oil.
  • Cool it and store it in a clean sterilized bottle and store it upto 2-3 weeks in refrigerator.
Serve it with hot steamed rice with ghee and onion.

Notes:
  1. The process of drying the leaves is optional, but I prefer that way as it increases the shelf life and can be stored in the refrigerator for upto 3 weeks.If you are making instant pacchadi and not looking for shelf life, you can prepare this with out drying the leaves and can be stored upto 2-3 days in refrigerator.
  2. If the leaves are dried for very long the leaves will not be able to be ground to a paste and will yield so many dry strands in the final chutney.So make sure you do not dry it completely,just drying for half day is enough.
  3. If you are using white sorrel leaves double the amount of tamarind used in the recipe as the white sorrel leaves are less sour in taste.
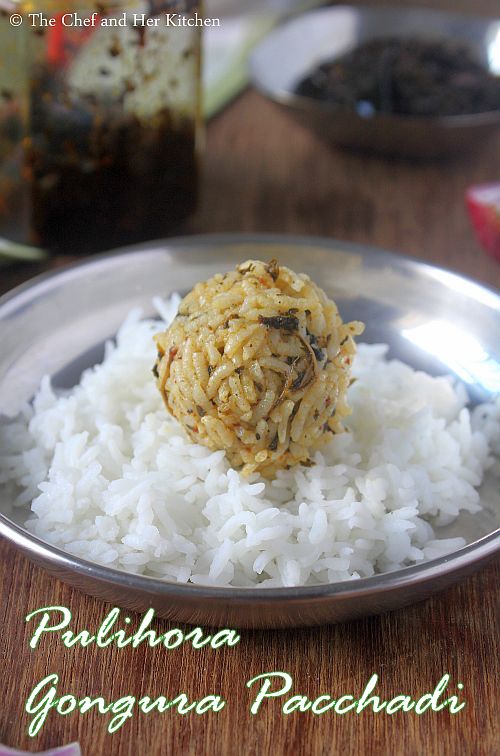
pulihora gongura pacchadi

Monday, March 13, 2017

Savory Semolina Cake Recipe | Savoury Semolina Bread

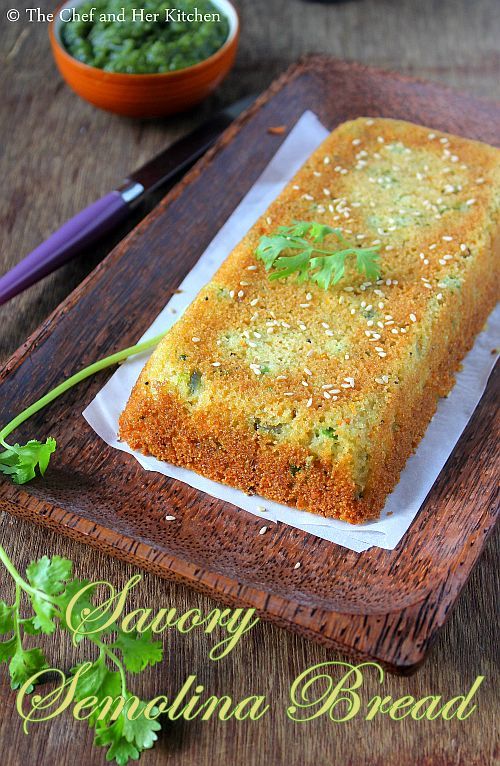
savory semolina cake
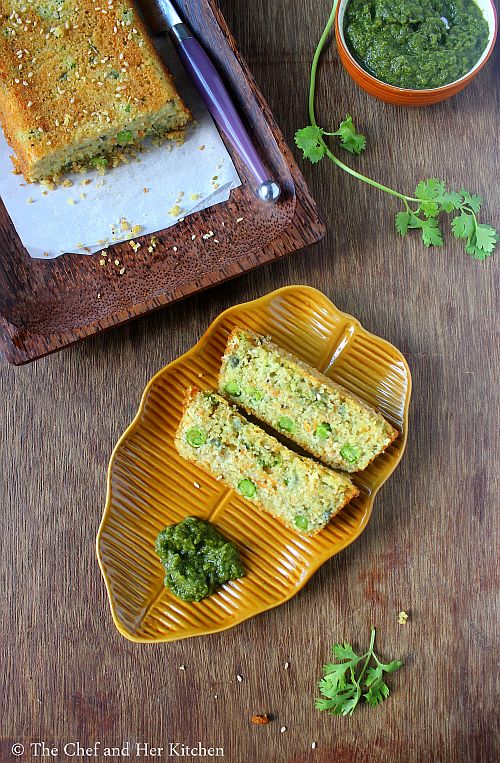
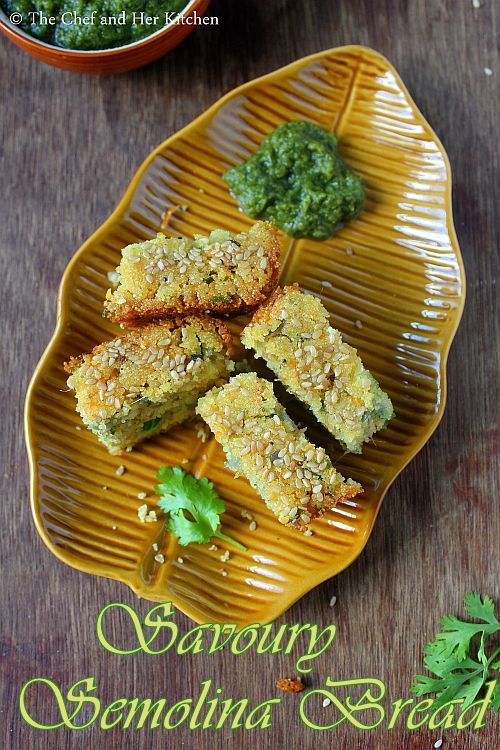
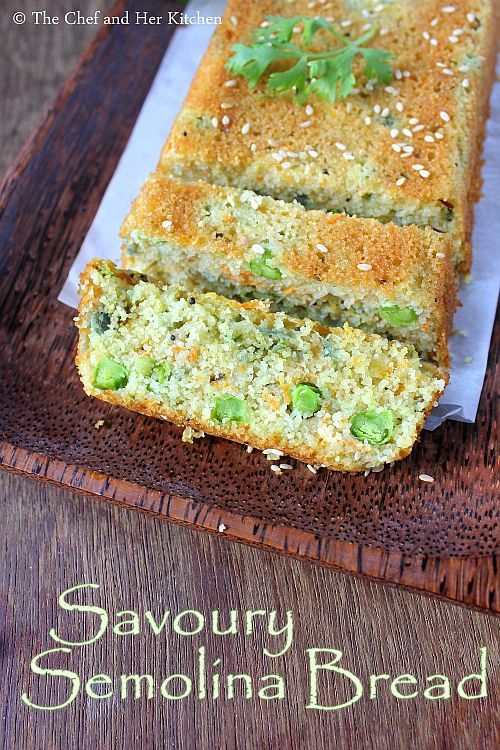
There were days where I was glued to tv to watch few of my favorite shows of Nigella Lawson, Anjum Anand and Master Chef Australia.I had watched most of the episodes of various series of  Nigella Lawsons and jotted down all the recipes and few of Anjum Anand's recipes.Among all the recipes of Anjum Anand this Savory Semolina Cake caught my attention then because it is a very quick snack to prepare and it is very similar to Rava Idli but in a baked form, I liked that idea.Also, I feel this simple snack looks very exotic when it is served on your dining table and is perfect for simple tea time or high tea snack. You can even bake them in individual muffin cups to serve for your tea parties.I had prepared this snack many number of times from the time I stumbled upon this recipe in her show.
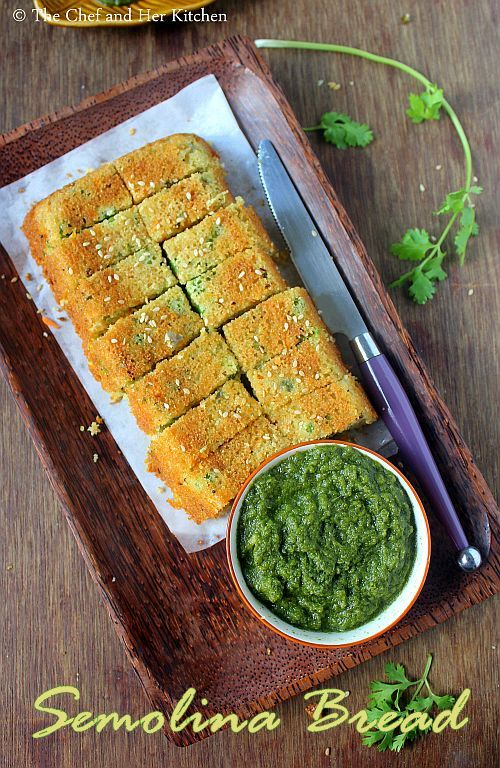
semolina bread
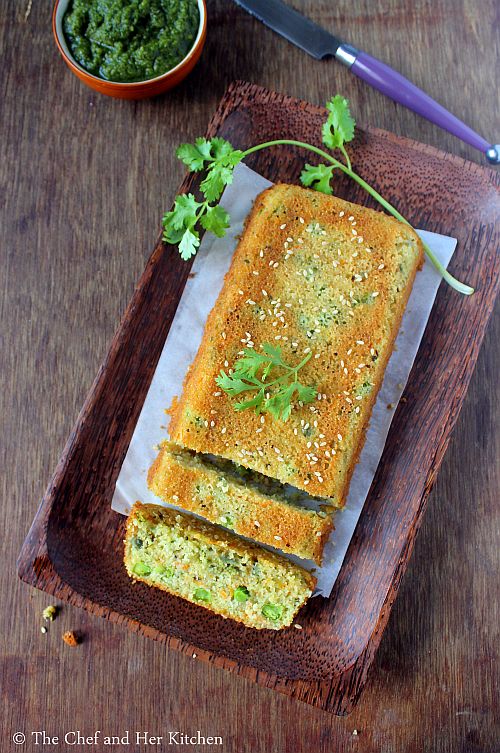
savory semolina cake
The recipe needs very basic ingredients from your pantry and the preparation process is quite simple and the only time taking part is during baking. Try this simple savory cake recipe in case if you have not tried it still, I am sure you will like it.It can be served with Green Chutney as an evening snack or for breakfast.
savoury semolina cake
Check out other savory snacks using bread in my blog:
savoury semolina bread
Savory Semolina Cake | Savoury Semlina Bread Recipe:
Serves 3-4 | Source: Anjum Anand-Author
Prep time: 15 mins | Baking time: 30-35 mins | Total time: 45 mins
Cuisine: Modern Gujarati | Category: Snacks/Breakfast

Ingredients:
1 cup Rawa/Sooji
1 cup sour Curd
1/2 cup Water
1/3 cup grated Carrot
1/3 cup fresh/frozen Green Peas
1 small Onion, finely chopped
1/4 cup chopped Coriander leaves
3/4" Ginger, grated
2 Green chilies, crushed to paste
2 tsp Sesame seeds
1/2 tsp Turmeric powder
3/4 tsp Baking soda
1/2 tsp Mustard seeds
3/4 tsp Cumin seeds
2-3 tbsp Oil
Salt,to taste

Method:
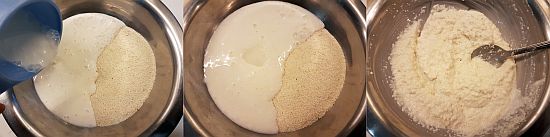
  • Mix sooji with curd and water and leave it for 5 mins for the sooji to absorb the water.
  • Preheat the oven at 180 deg C/350 deg F for 10 mins.
  • Line the loaf pan with a parchment and grease the edges with oil and keep it ready.
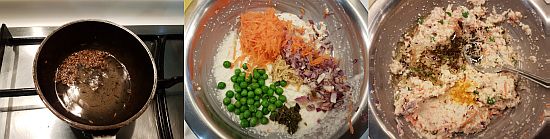
  • Add all the vegetables- grated carrots, green peas, chopped onions and coriander leaves, chili paste, grated ginger, turmeric powder and salt and mix nicely.
  • In a small tempering pan heat oil and crackle mustard seeds and cumin seeds and add this to the sooji mixture. The mixture should be of medium consistency like rava idli batter, if not add a couple of tablespoons of water to achieve that consistency.
  • Add baking soda and mix well and leave it for 3-5 mins.
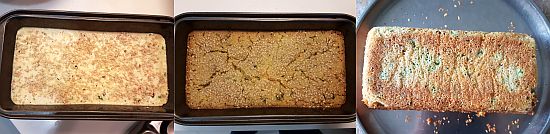
  • Pour the batter into the prepared tin and sprinkle sesame seeds on top of it and bake it for 35-40 mins until the tooth pick comes out clean.
  • Let it cool a bit in the pan and gently tap into an inverted plate and let it come to room temperature or until it is just warm.
Cut into slices and serve it warm with Green Chutney.

Notes:
  1. You can add vegetables of your choice - chopped french beans, corn and chopped palak to the batter.You can even use frozen vegetables for this.
  2. You can even add red chili powder to the batter but I did not add it.
  3. The batter can be prepared ahead and just before baking add the baking soda and bake it in oven.
  4. You can even use 1/2 tsp baking powder and 1/2 tsp baking soda for the recipe. 

Thursday, March 9, 2017

Rasmalai Recipe | How to make Rasmalai recipe

rasmalai
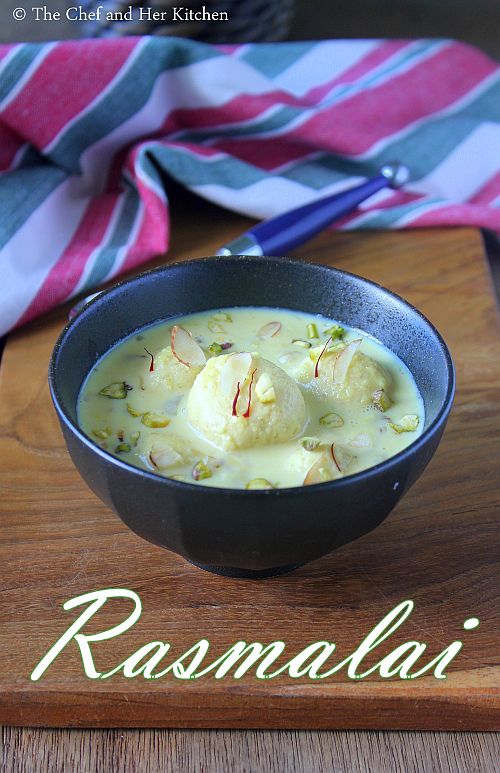
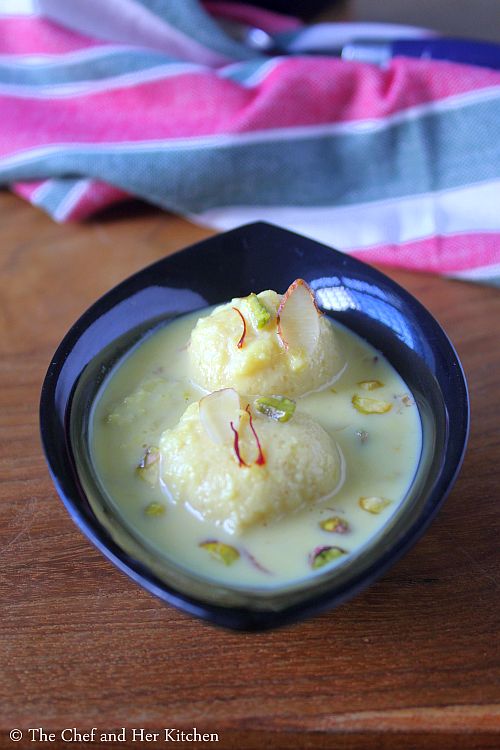
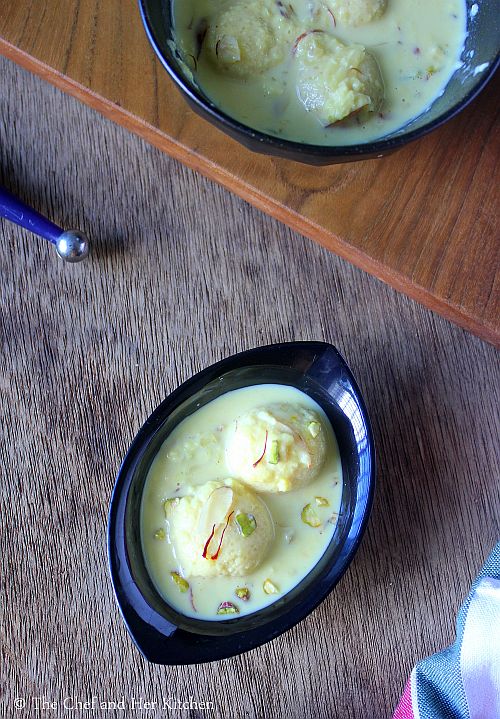
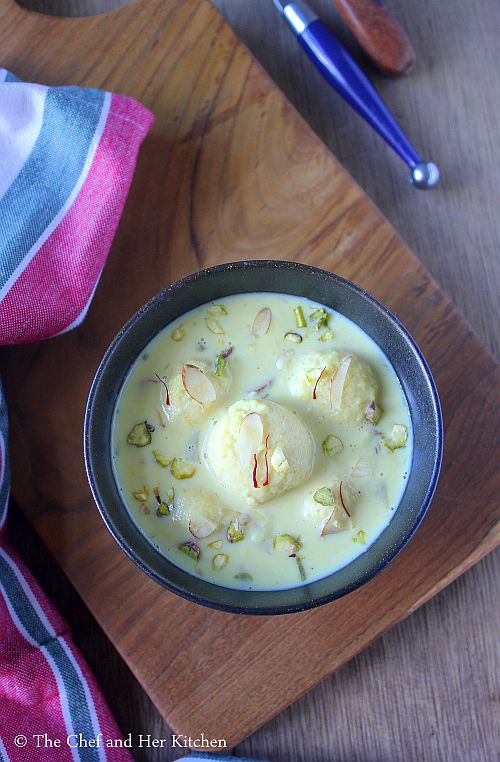
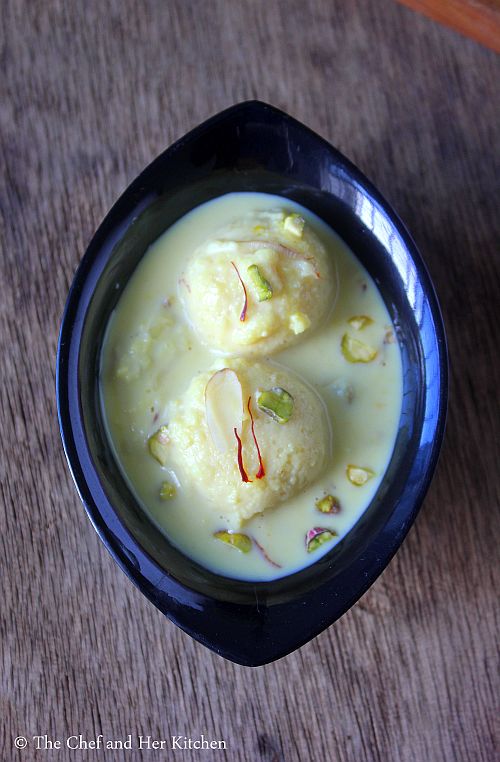
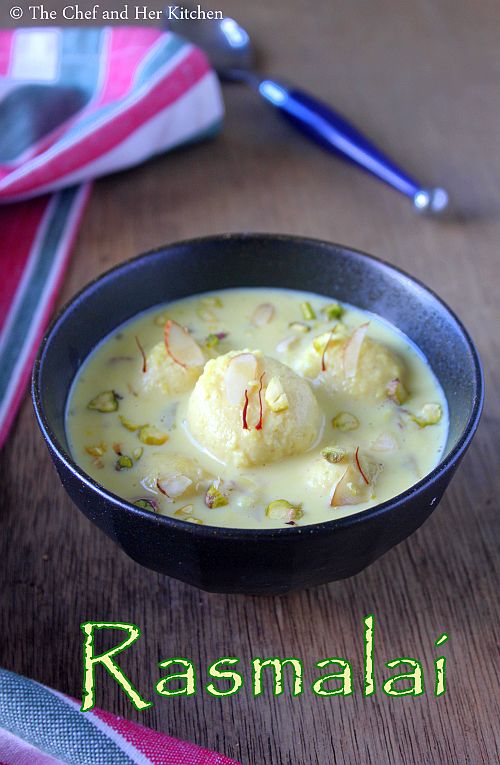
Easy Rasmalai recipe with step by step photos.Rasmalai or Rossomalai is a popular Bengali sweet apart from Rasgulla. Rasmalai is a popular dessert which takes its place in the menu for Weddings or for special occasions. Rasmalai is a soft and spongy flattened cottage cheese dumpling served in thickened milk known as 'Ras'.Rasmalai is a mildly sweetened dessert compared to other sweets and hence one can easily have a couple of them at one go and still not feel heavy too.
rasmalai
When I had made Rasgullas last time I had saved just a few to make rasmalai as it was a long due for me to post these recipes in my blog.You can check out the detailed process and preparation of Rasgullas with various tips and tricks in my blog here.Once you have rasgullas(either homemade or store-bought) making rasmalai at home is a breeze, though it needs occasional stirring in between.
rossomalai
I have used condensed milk to sweeten the ras(milk) and also added a couple of tablespoons of sugar but one can add only sugar to the recipe.The preparation process of ras(thickened milk) is very similar to Basundi or Rabdi just that we do not need to boil it for that long to get a very thick rabri kind but a slightly thickened milk.For a quicker version, one can more quantity of condensed milk and evaporated milk and store bought rasgullas for a quicker rasmalai.Today I am posting the traditional method of preparing Rasmalai at home.As Holi is around the corner,why not prepare this delicious rasmalai and treat your loved ones with a homemade delectable sweet.
rasmalai
Check out other milk based similar sweets in my blog:
rasmalai
Check out how to prepare Rasmali recipe with step by step photos here:
Easy Rasmalai Recipe | Bengali Rossomalai:
Serves 4-5 | Author: Prathibha
Prep time: 10 mins | Cooking time: 30 mins | Total time: 40 mins
Cuisine: Bengali | Category: Sweets/Desserts

Ingredients:
12-15 Rasgullas,homemade or store bought(at room temperature)
1 liter full cream Milk
3-4 tbsp Condensed milk,optional
2 tbsp Sugar(increase it to 1/4 cup if not using condensed milk)
10-12 Almonds
12-15 Pistachios
12-15 strands of Saffron
1/2 tsp Cardamom powder
few saffron strands,to garnish

Method:
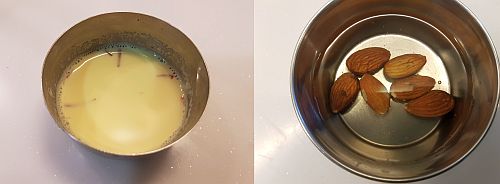
  • Soak almonds in water for 10 mins.Soak saffron strands in 2 tbsp warm milk for 10-15 mins.
  • Cut the soaked almonds and pistachios to small pieces.I used a nut grater to cut the dry fruits.
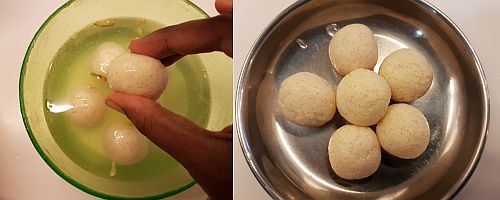
  • Press the rasgullas gently to remove extra syrup from them and keep them ready.If you are making fresh rasgullas for rasmalai,flatten them up while shaping. Click here to see the whole and detailed process of the preparation of rasgullas.
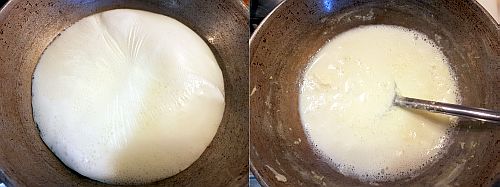
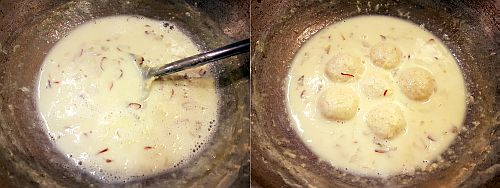
  • Boil milk in a thick kadai and once the milk comes to a boil reduce the flame and let it boil on low-medium flame.Keep collecting the cream formed on the milk and push it to the sides giving place to form more cream.Continue the process until the milk reduces to half.You need to keep stirring in between else the milk gets burnt at the bottom.This process might take roughly 20-25 mins,so be patient enough to check it at regular intervals.
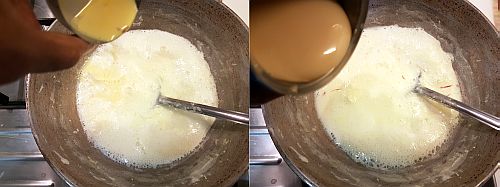
  • Add saffron soaked milk to the reduced milk and then add condensed milk and sugar and mix it nicely.
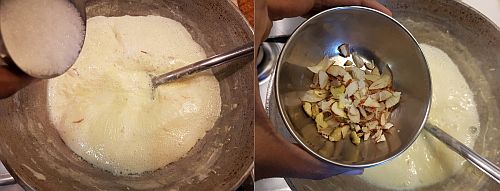
  • Now add chopped dry fruits to it and continue simmering until it becomes slightly thick.Check the sweetness and add more sugar if needed at this stage.
  • Add the squeezed rasgullas to the thickened milk and boil it for 4-5 mins.
  • Cool it and refrigerate it.
Serve it chilled by garnishing with more saffron strands and nuts.

Notes:
  1. You can add rose water at the end for a flavorful one.
  2. Use good quality saffron to get a nice yellow hue for rasmalai, you can alternatively add some yellow color to the chenna while kneading for rasgulla.
  3. If you are making rasgulla at home, try to flatten few before they are put in the syrup and also cook rasgullas(for rasgulla) and flattened rasgullas(for rasmalai) separately so that they get cooked uniformly.
  4. If you are using ready rasgullas,let them come to room temperature and then press them gently to squeeze out the syrup and flatten it gently, else they will break if you do with the cold rasgullas.
  5. The addition of condensed milk is optional,but makes the milk more creamy.I added it as I had it at that moment,else use just the sugar.
  6. For a quicker version use full cream evaporated milk and condensed milk in the recipe and you do not need to boil it for longer.Also use store bought rasgullas for the recipe.
rasmalai
Technorati Tags:  , ,

Monday, March 6, 2017

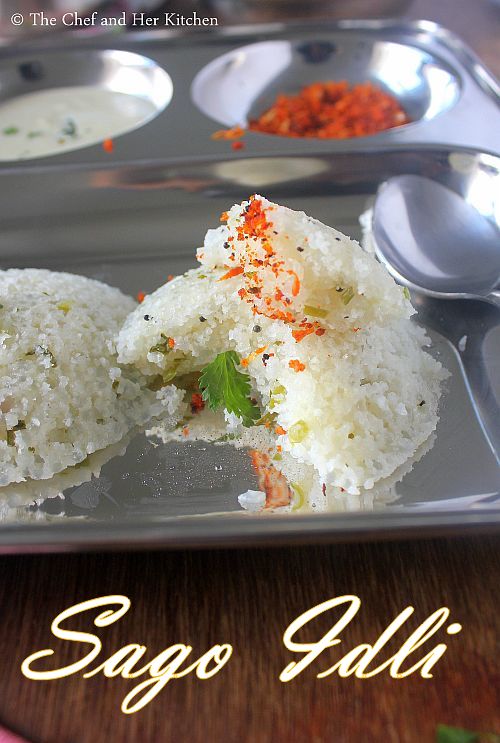
Sago Idli Recipe | Sabudana Idli | Sabbakki Idli | Javvarisi Idli

sabudana idli
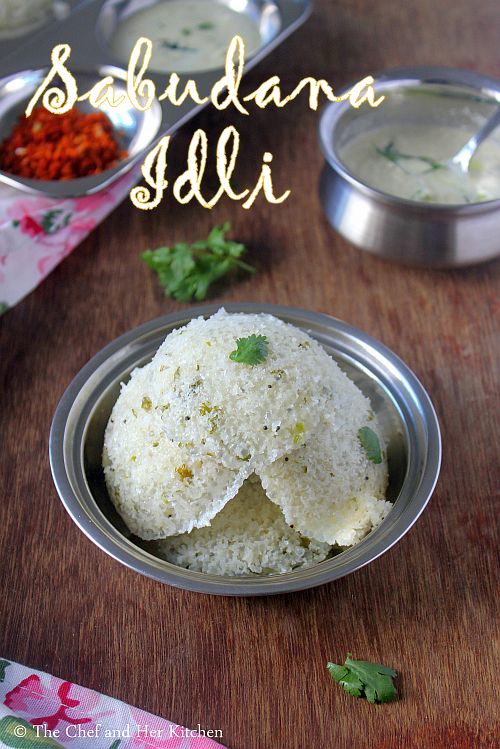
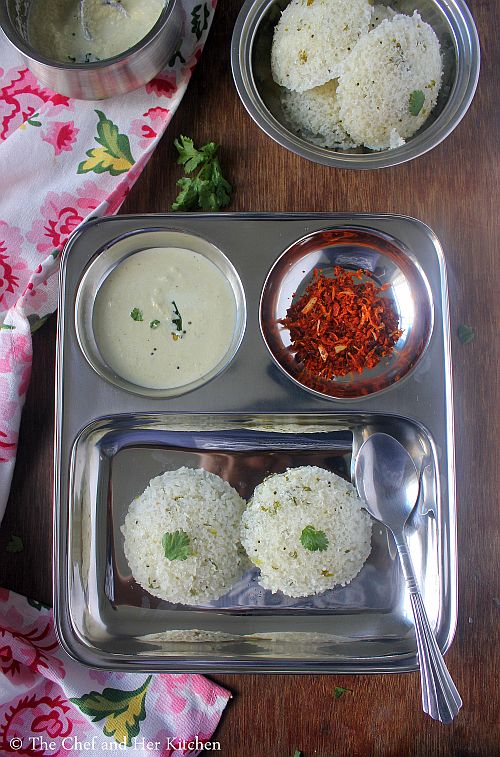
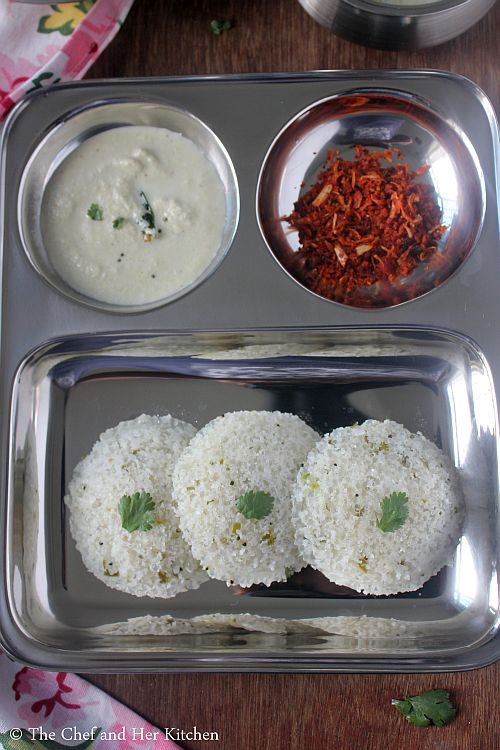
Sago Idli Recipe with step by step photos.This recipe was passed to me by a cousin long ago when she had tasted it for the first time at her relatives place. Though the original recipe she had shared is bit different from this recipe which I had modified over a period of time to suit our taste buds. Sago Idli is a nice and different Idli variety which you can make for your regular breakfast or when you have guests,it will impress them for sure. The Idlis turn out very soft because of the usage of sago in the recipe and also the sour curd adds a nice taste to the Idlis.I have mentioned various variations in the notes section in case if you want to give a try.
sabbakki idli
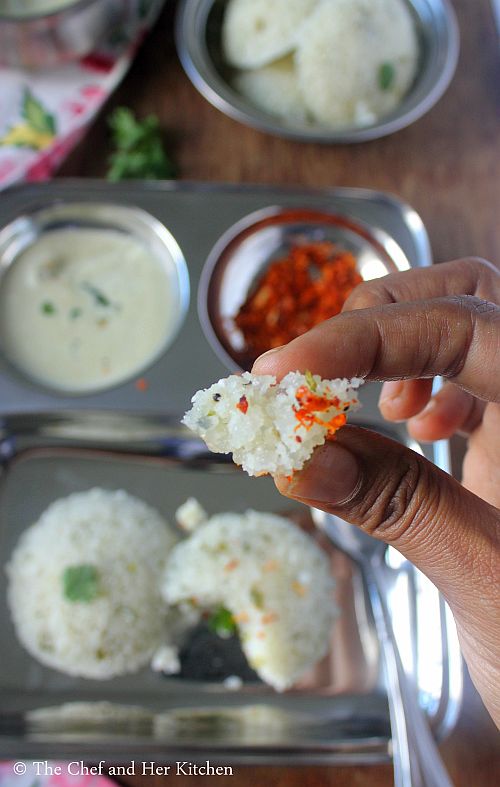
The preparation process of sago Idli is very similar to the Rawa Idli just that the sago is mixed with rice rawa and soaked in sour curd overnight and prepare in the same process as Rawa Idli.
sago idli
Check out other Idli varieties in my blog:
javvarisi idli
Here is how to prepare sago idli recipe with step by step photos:
Sago Idli | Saggubiyyam Idli Recipe:
Serves 3-4 | Author: Prathibha
Prep time: 10 mins | Cooking time: 20 mins | Total time: 30 mins +soaking time
Cuisine: South Indian | Category: Breakfast

Ingredients:
1 cup Nylon Sago(or small sago variety)
1 cup Rice Rava*
1.5 cups sour Curd
1- 1.5 cups Water
1/3 cup grated fresh Coconut
1 small onion, finely chopped(optional)
2-3 tbsp chopped Coriander leaves
2-3 Green Chilies,finely chopped
5-7 Curry leaves, finely chopped
1/4 tsp Cooking soda
1/2 tsp Mustard seeds
1.5 tbsp Oil
Salt, to taste

Method:
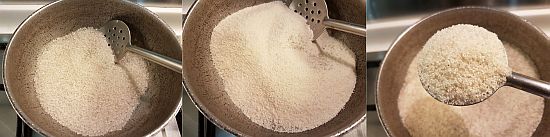
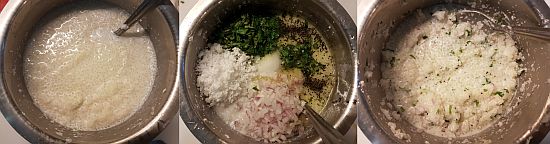
  • Check for stones and dirt in the nylon sago and rice rava. Dry roast the nylon sago slightly until it is warm and then add rice rava and dry roast for another couple of minute until the mixture is warm. Do not roast it for long to change color, just roast until it is warm.
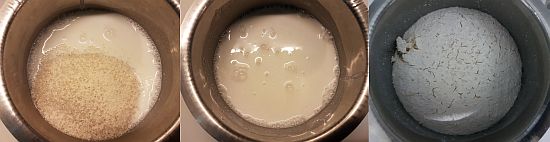
  • Mix curd and water with a whisk and then soak sago-rice rava mixture in it over night or for 4-5 hours.
  • Sago-rava mixture would have swollen up and the batter would have become very dry. Add 1/3-1/2 cup of water until you get the idli batter consistency.
  • Heat 1.5 tbsp of oil in a small kadai and crackle mustard seeds and then add chopped green chilies and curry leaves and fry until they wilt.
  • Add grated coconut, salt, chopped onion and coriander leaves and the tempering along with the oil and mix it nicely.
  • Grease the Idli plates and keep the steamer(or cooker) ready for steaming. Fill the steamer(or cooker) with 1-1.5 inch depth of water and switch on the flame and keep it ready.
  • Now add the cooking soda to the prepared batter and mix it nicely and pour the batter in the prepared idli plates.Do not bother if you see few drops of liquid(water) falling from the holes of idli plates, it would be alright after it is cooked.
  • Steam the idlis for 15 mins or until the tooth pick comes out clean.
  • Remove the Idlis with a Idli spoon and put them in hot box.

Notes:
  1. To prepare Rice rawa*: Clean and Soak the rice for some time and drain it completely and spread over a cloth so that it will drain off excess water.Coarsely grind the pound mixture in a mixer and then sieve it(do it in whipper mode).Use the rawa which is in sieve and the flour that it is sieved can be used for dosa's or regular rice flour.
  2. You can increase the Rice rava quantity upto 2-2.5 cups if you are making it for a large crowd.
  3. Instead of green chili you can add torn dry red chili in tempering.I add green chili for a green look of the Idlis.
  4. The addition of onion is optional but gives a nice crunch, you can avoid it totally.
  5. You can add vegetables like grated carrots and frozen peas to the batter before steaming.
  6. Make sure you use sour curd for the recipe and also let the mixture sit overnight ,else the idlis will taste bland.
  7. You can even add broken cashewnuts in the tempering ,it adds nice taste to the Idlis.
  8. Nylon sago works best for the recipe,in case if you do not have use the smaller variety of sago and increase the rice rava quantity to 1.5 cups.
  9. If you do not have Rice rava you can use Idli Rava but Rice rava is good for the recipe.Otherwise you can use even the regular sooji for the recipe.
sago idli
Technorati Tags:

Thursday, March 2, 2017

Andhra Tomato Pickle Recipe | Tomato Nilava Pacchadi

tomato pickle
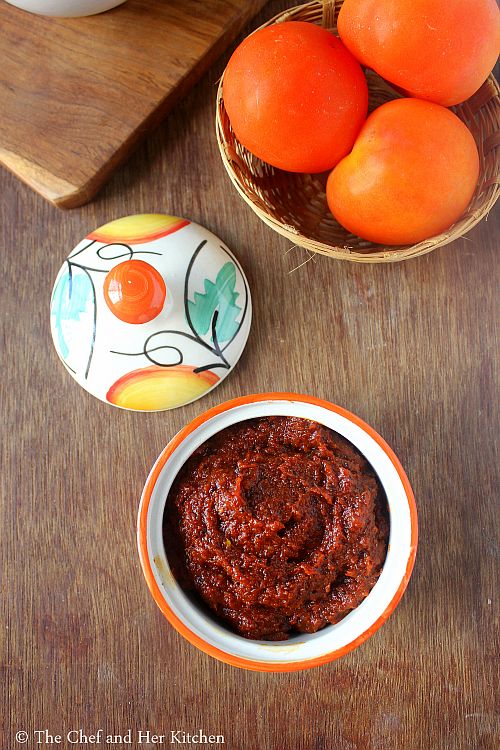
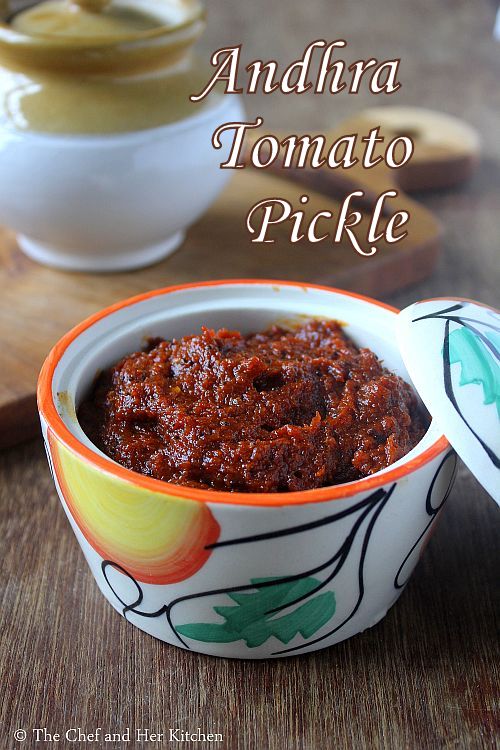
Andhra tomato pickle recipe with step by step photos.South India has various varieties of pickles and Tomato pickle is one among the popular ones.Today I am posting a simple Andhra style Tomato pickle which is very versatile to use.It can be paired with rice,curd rice or chapati or it can be served with idli/dosa and also can be used as a spread for your toast.I have posted another version of Sun dried Tomato pickle where the tomato chunks are dried in the sun and the pickle is made with the semi dried tomato chunks, this pickle can be stored for an year with out any refrigeration. But today's version is a simple version and the pickle can be stored upto 2 months when refrigerated.
tomato nilava pacchadi
My MIL always keep a couple of these kind of ready pickles in her refrigerator like Tomato pickle(chutney version), Ginger pickle(chutney version), Mango Ginger Pickle(chutney version), Green chili-coriander chutney which has long shelf life and hence she always serve 3-4 varieties of chutneys along with the regular coconut chutney and also a couple of spice powders for Idli and Dosa. 
tomato nilava pacchadi
One can prepare this tomato pickle in two variations- either cooking the tomato chunks directly or grinding the tomatoes to a puree and cook it to the pickle consistency. The taste wise both ways it is equally good but I find the ground version easy to prepare and has more shelf life. This pickle can be prepared in small quantities and can be stored for a week or two, in that case one can add even curry leaves while tempering to the pickle.Now off to the recipe.
Check out other South Indian multi purpose Pickle varieties:
andhra tomato pickle
Here is how to make Andhra style tomato pickle recipe with step by step photos.
Andhra style Tomato Pickle | Niluva Tomato Pacchadi Recipe:
Yields: 3 cups pickle | Author: Prathibha
Prep time: 10 mins | Cooking time: 50 mins | Total time: 1 hr
Cuisine: Andhra | Category: Pickles/Pacchadi

Ingredients:
8-10 large ripen Tomatoes,washed and chopped
1 large lemon size Tamarind
2-3 tbsp Red chili powder
1 tsp Turmeric powder
1 tsp grated Jaggery,optional
1 tsp Mustard seeds
3/4 tsp Fenugreek seeds
1.5-2 tbsp Salt
1/4 cup Sesame Oil

to temper:
1.5 tsp Mustard seeds
1/3 tsp Asafoetida

Method:
  • Dry roast the mustard seeds and fenugreek seeds and let them cool a bit and grind it to a fine powder.
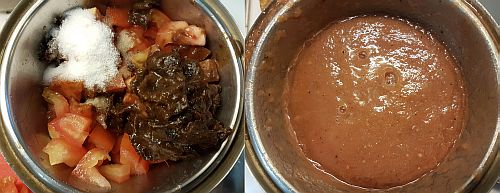
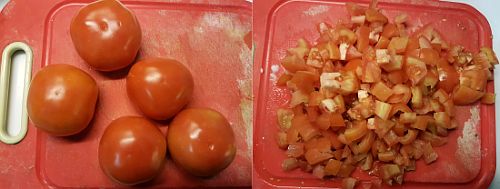
  • Wash,wipe and remove the eyes of tomatoes and chop them roughly. If you want to cook the chopped tomatoes you can chop them small or else if you are grinding it first(like I did) you can cut into big chunks.
  • Soak tamarind in water and remove the pulp and discard the fibers and all.
  • Grind chopped tomatoes with tamarind pulp and salt to a fine puree and keep aside.
  • Heat oil in a thick bottomed large kadai and crackle mustard seeds and then add asafoetida.
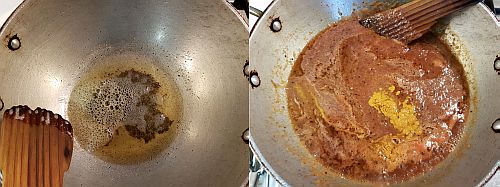
  • Now add ground tomato puree and mix it immediately and add turmeric powder and cook for 10-12 mins until the mixture starts bubbling.If you are adding chopped tomatoes add them to the oil and cook until they turn pulpy and then add tamarind pulp to it and proceed with the same steps.Now close the kadai with a lid and then cook for another 15-20 mins until the mixture becomes really thick and most of the water from the tomato puree evaporates. You need to close it with the lid to avoid spluttering, you should be cautious while opening it in between to give a stir to the mixture.
  • Now add red chili powder, roasted mustard-fenugreek powder, jaggery and mix well and cook for another 8-10 minutes and the mixture leaves oil at the edges.Taste the pickle at this point and adjust the seasoning.
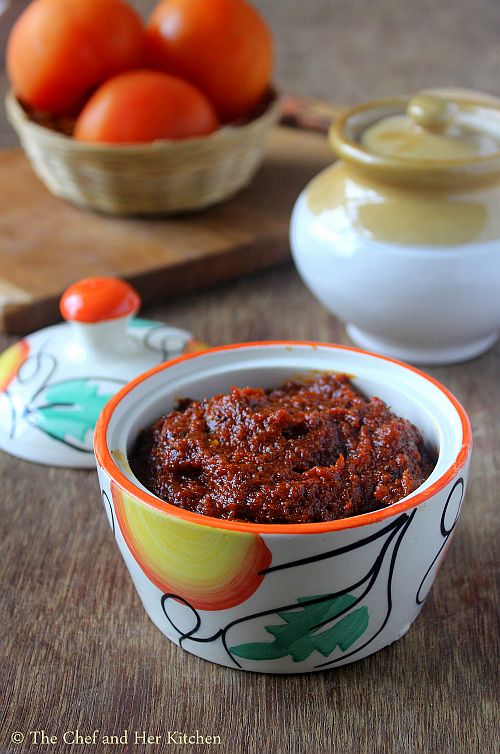
  • Switch it off and let the pickle comes to the room temperature.Store it in a sterilized bottle in the refrigerator for upto 1-2 months.
Serve it with Idli/Dosa/Chapati/Roti/Rice. While serving for Idli and Dosa, scoop out the required portion and add few tablespoons of water and mix to a chutney consistency and serve it.

Notes:
  1. I find the ground version of tomato pickle easy, but if you want you can make with chopped tomatoes, it tastes great both ways.
  2. You can add the fenugreek seeds in the tempering if you want. Also if you are making small quantity you can use curry leaves in the tempering.
  3. I suggest to refrigerate the pickle for longer shelf life, easily upto 1-2 months.
  4. Use naati tomatoes for the pickle, it tastes nice.In case if you use hybrid tomatoes adjust the tamarind pulp accordingly.
andhra tomato pickle
 
back to top