Monday, December 26, 2016

Dondakaya Pacchadi | Ivy Gourd Chutney | Andhra Pacchadi Varieties

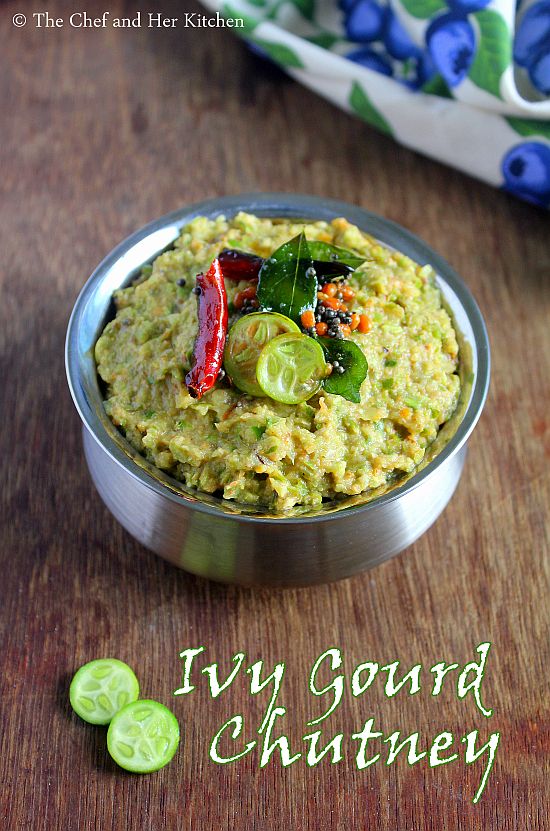
ivy gourd chutney
Pacchadi is nothing but Chutney prepared out of vegetables and is served with Rice. Pacchadis are a part of an everyday Andhra meal and an Andhra Thali is incomplete without a Pacchadi variety. There are various Pachhadi varieties in Andhra and is prepared with many vegetables like Brinjal. Ladies finger, Bottle gourd, Bitter gourd, Ridge gourd, Carrot, Radish, various greens etc. I am posting a very versatile recipe which can be adapted to prepare with many vegetables mentioned in the notes.
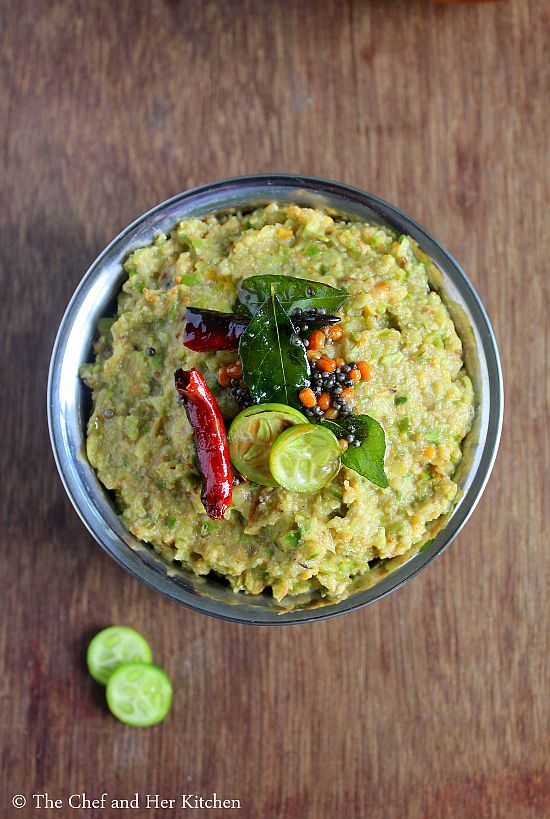
tindora chutney
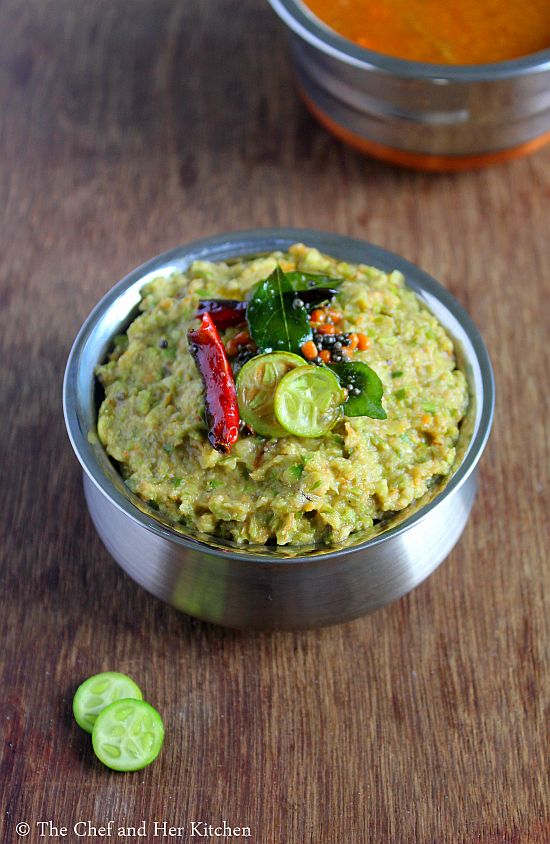
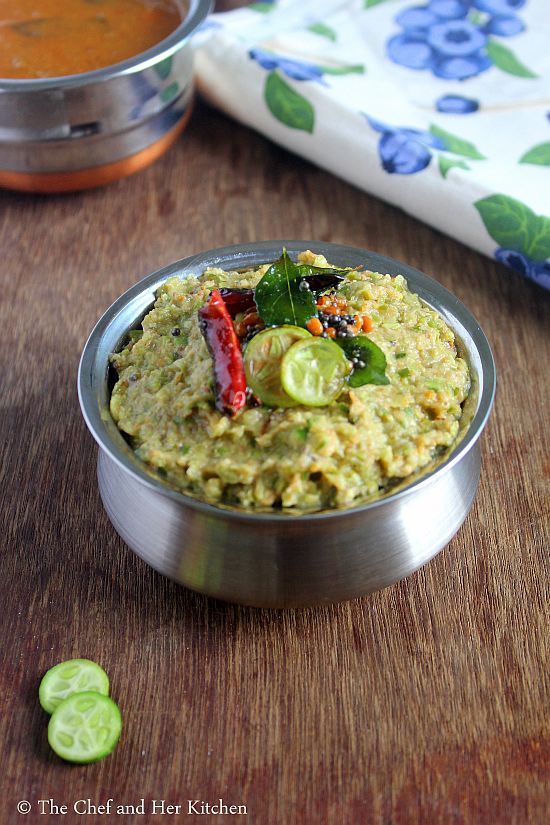
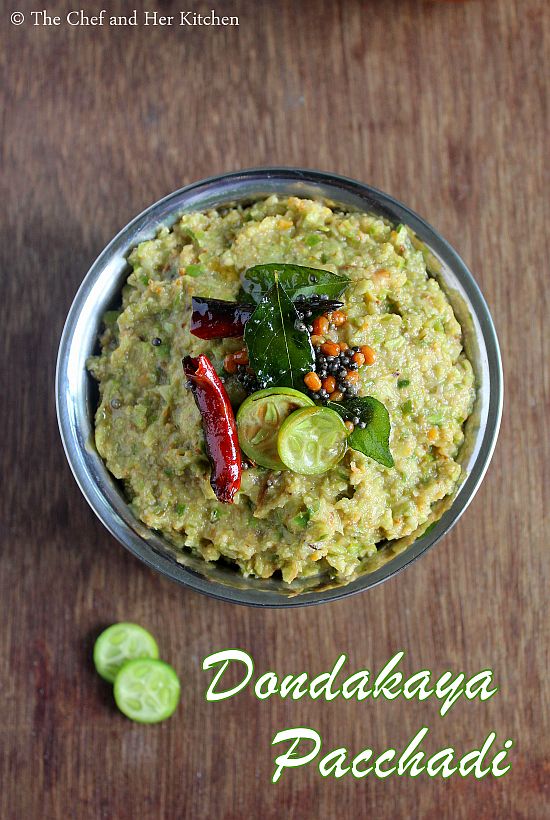
Today I am posting a simple Dondakaya Pacchadi, aka Ivy Gourd Chutney. We prepare Dondakaya Pacchadi in two variations - one is this and the other one is a raw version where we use raw Ivygourd which tastes surprisingly delicious,which I post some other time. Ivy gourd is one of my favorite vegetable and I always end up preparing a simple Dondakaya fry most of the time which is my favorite,one can prepare Dondakaya Poriyal(kura) with Coconut or Dondakaya Ullipaya Karam which tastes delicious too. If you want to try something new you can even try the Maharasthrian style Masale Bhaat which itself is a complete meal.Now off to the recipe.
dondakaya chutney
Check out other Pacchadi varieties for Rice in my blog:
andhra dondakaya pacchadi
Dondakaya Pacchadi Recipe:

Serves 3-4 | Author: Prathibha
Prep time: 10 mins | Cooking time: 20 mins | Total time: 30 mins
Cuisine: Andhra | Category: Side dish - Pacchadi(Chutney) for Rice

Ingredients:
200 gms Ivygourd/Dondakaya (20-25 pieces)
3-4 Green chilies(or Red chilies)
2-3 Garlic pods,optional
1/2 tsp Tamarind paste
1 tsp Chana dal
1.5 tbsp Urad dal
3/4 tsp Cumin seeds
2 tsp Oil

to temper:
1 tsp Oil/Ghee
1/2 tsp Mustard seeds
1 tsp Urad dal
5-6 Curry leaves
1 broken Red chili
a pinch of Asafoetida

Method:

  • Wash, trim both the sides of Ivy gourd and cut them into thin roundels and keep them ready.
  • In a kadai heat 1 tsp oil an add chana dal, urad dal and cumin seeds and fry until the dals turn slight red in color.
  • Add green chilies(or red chilies) and garlic pods and fry until the chilies wilt.Remove the mixture into a plate and let it cool.
  • Grind the roasted dals ,chilies and garlic mixture to a fine powder.
  • In the same kadai heat oil and add sliced ivy gourd roundels and fry for 5-7 mins until they are 3/4 th cooked.If you are using whole tamarind add it now and cook for a minute to soften it else you can add it during grinding if you are using tamarind pulp.Let it cool.
  • To the ground spice powder add the fried ivy gourd pieces and grind it in whipper mode to a coarse paste.Remove the mixture into a serving bowl.
  • Heat oil(or ghee) in a small tadka pan and crackle mustard seeds and add urad dal,curry leaves, red chili and asafoetida and fry until the dal turns red in color.Add the tempering on top of the pacchadi and mix it gently and keep it covered.
Serve it with hot steamed rice,ghee and fryums.

Notes:
  1. You can use red chilies instead of green chilies. You can even skip garlic if you do not like it.
  2. You can follow the same process to make other pacchadi varieties like Brinjal Pacchadi, Bottle gourd Pacchadi, Ridge gourd Pacchadi, Ladies finger Pacchadi, Cabbage Pacchadi and other vegetables and greens too.
dondakaya pacchadi

Friday, December 23, 2016

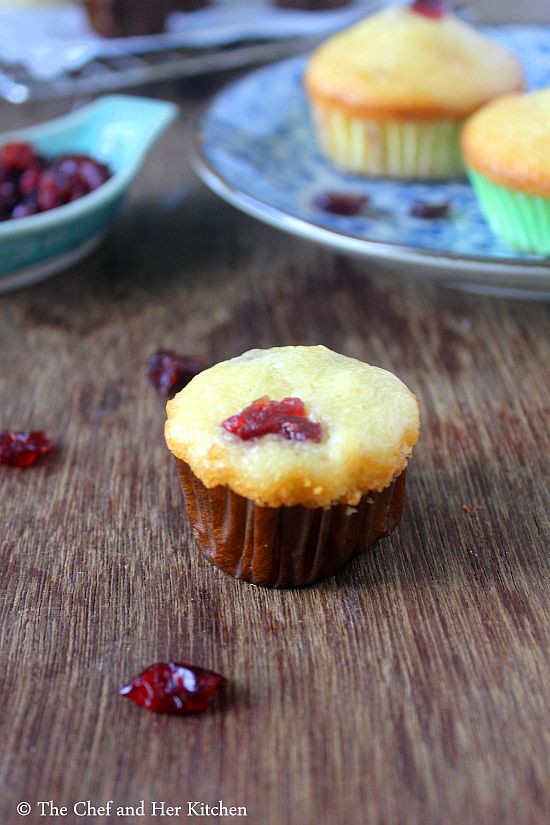
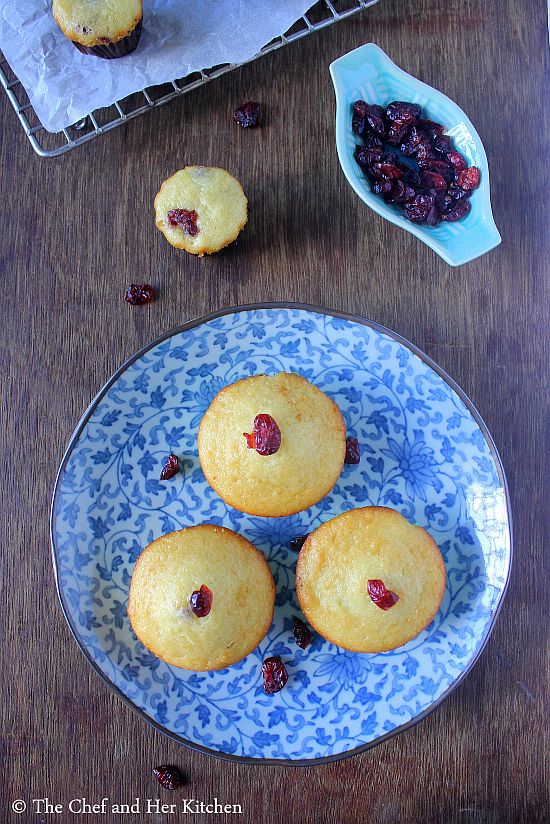
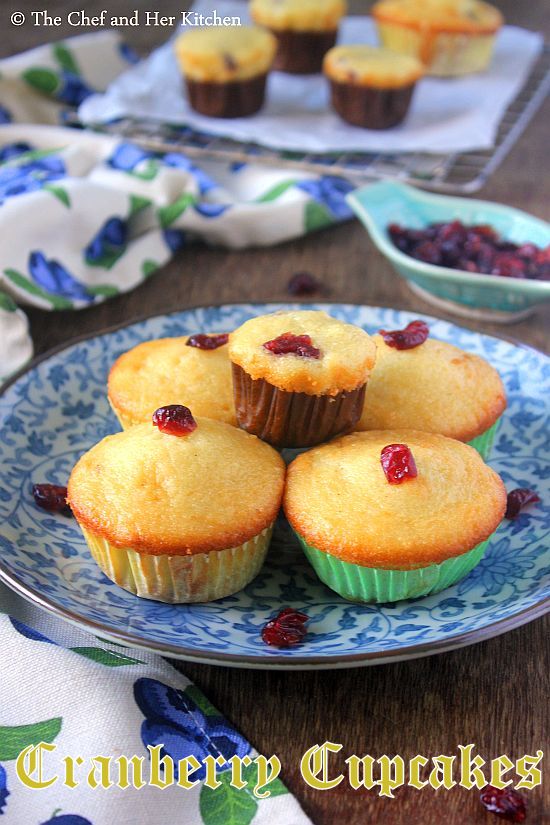
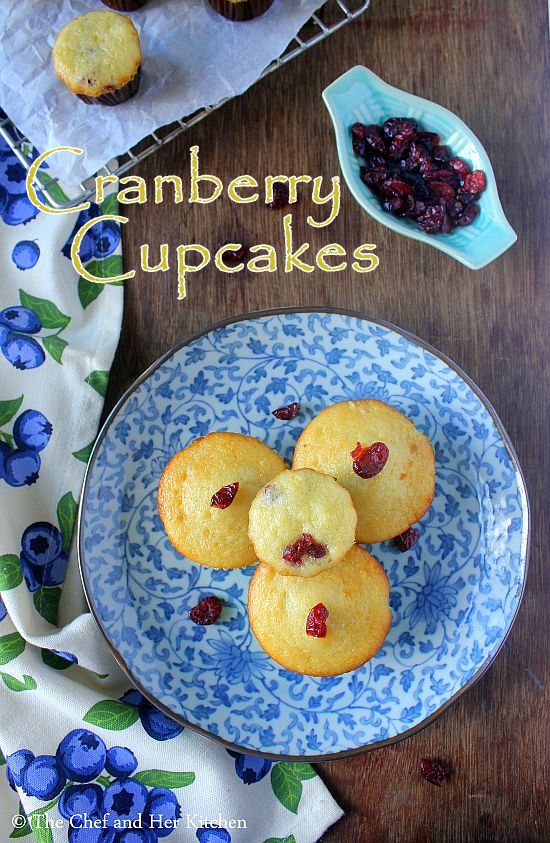
Cranberries Cupcakes | Easy Cranberries Muffins Recipe

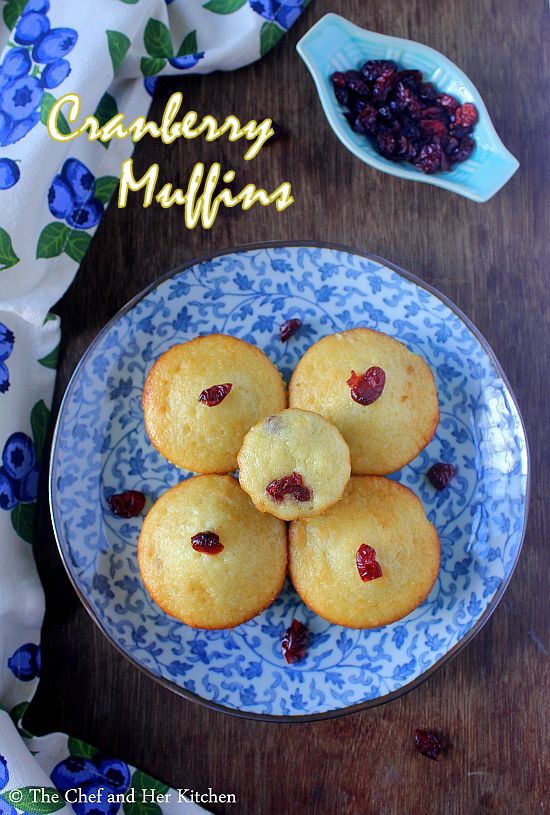
cranberry muffins
Wishing all my friends and readers a very Merry Happy Christmas!!!
When my bestie Lubna messaged and asked me if I could do a guest post for her Christmas bakes series what else I would have told other than YES, it is my pleasure to do a post for a good friend like her. We both can chat for hours together about the food, menus, pictures, food photography and so on. I am thankful to blogging that I could make wonderful friends like her who are friends for life. I actually did not have much time when she asked me as I had travel plans, so could not do an elaborate bake and chose a simple cupcake which I promised to send her on time.As her theme was Christmas bakes I chose something fruity and these cranberry cupcakes are the most easiest cupcakes to prepare.So if you are looking for simple and quick Christmas bakes, this recipe is apt for you.If ou are interested to check Christmas Fruit Cake recipe, check it here. I am posting the same in my blog too just to keep record of the recipe for later use and also for my readers not to miss this recipe.
cranberry muffins

cranberry cupcakes
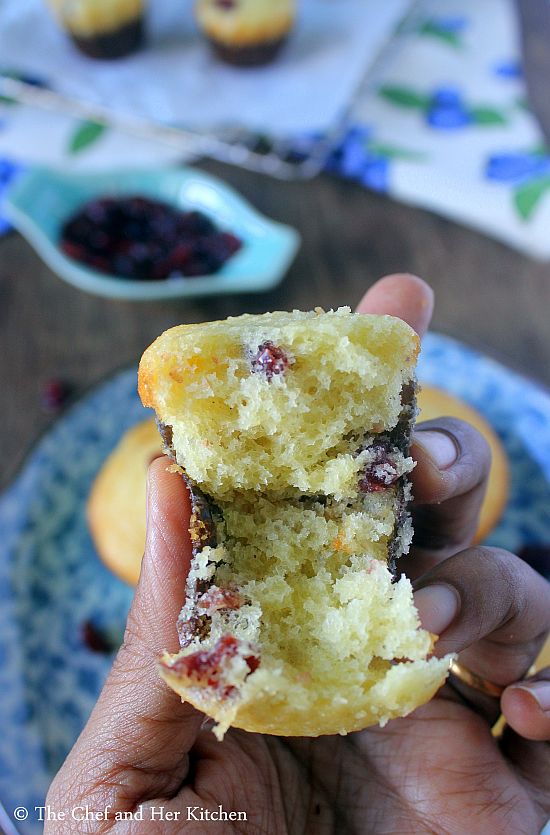
I bake a batch of cupcakes or muffins for my son every week and it has become a ritual now. I try to do mostly whole wheat based cakes for him and of course there are exemptions at times. These muffins I have tried from a book named Mini Cakes by Joanna Farrow. This book was gifted to me by a fellow blogger Deesha in one of her contests. This book is apt for those who look out to prepare a small batch of cakes and cupcakes.This book has lot of brownies.cupcakes, little cakes,muffins and cake pops recipes.These cranberry muffins are really easy and quick to make and can be prepared in less than half an hour. I have tweaked the recipe a bit in order to prepare with the ingredients in my hand and have mentioned the details in the notes section.
cranberry cupcakes
cranberry cupcakes
Check out other cupcakes/muffins recipes in my blog:
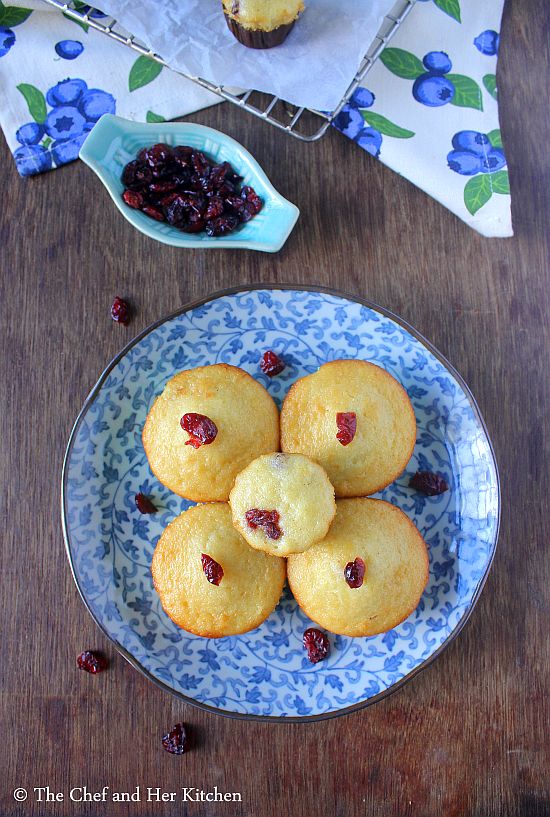
cranberry cupcakes
Cranberry Muffins Recipe:
Yields 9 big Cupcakes ,I got 6 big and 6 small cupcakes
Prep time: 10 mins | Baking time: 15 mins | Total time: 25 mins
Cuisine: International | Category: Muffins/Cupcakes - Baking

Ingredients:
100 gms All Purpose flour
100 gms Cranberries, roughly chopped
100 ml fresh Yogurt, beaten
80 gms Caster Sugar
1 Egg
2 tbsp Vegetable/Canola Oil
3/4 tsp Vanilla essence
1 1/2 tsp Baking Powder
1/2 tsp Baking soda
a pinch of Salt

Method:
  • Preheat the oven to 190 deg C/375 deg F/Gas Mark 5. Line a muffin pan with the liners, I have used 6 piece big muffin tray and 6 small muffin cups here for this recipe.
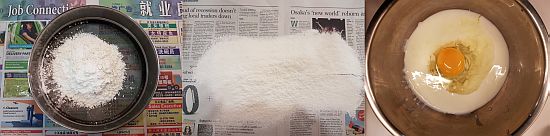
  • Sift the flour, baking powder, baking soda and salt into a mixing bowl. I did on paper and shifted it to the bowl. You can mix in caster sugar to the flour mixture here or beat with the wet ingredients in the following step.
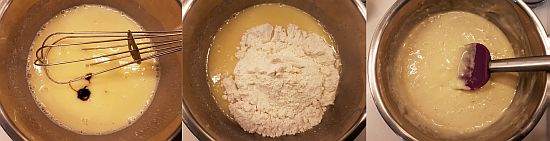
  • In another bowl beat yogurt,oil and egg with a wire whisk until evenly combined.Add vanilla essence and mix it nicely.
  • Add the whisked wet ingredients into the dry flour mixture and fold in gently until the ingredients are just mixed.This mixture will be slightly thicker compared to cake batter.
  • Add a tsp of flour to the cranberries and mix them in a cup and then add to the muffin batter and mix gently.
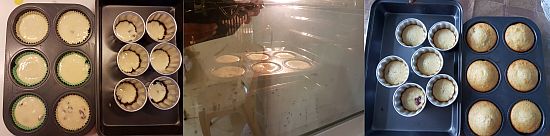
  • Spoon the mixture into the paper cases until 3/4 th of the liners.Bake them in a preheat oven at 180 deg C for 12-15 mins until they are done.Do a toothpick test to check the doneness of the muffins, if you prick the toothpick in the center it should come out clean which indicates that the muffins are done.
  • Leave the muffins in the tin for 2 mins and transfer them in their case to a wire rack to cool.
  • Serve warm or at room temperature.
You can dust them with icing sugar.

Notes:
  1. The original recipe called for self raising flour, I used all purpose flour and increased the quantity of baking powder in the recipe than mentioned. If you are using self raising flour use the same amount as all purpose flour and reduce the baking powder to 1/2 tsp in the recipe and you can avoid baking soda too.
  2. The original recipe used 55 gms of sugar which I felt was very less and hence added more in the recipe and that was perfect for our liking.
  3. These are low fat muffins which I could feel in the taste Though they were soft and fluffy I felt they could have been more moist. You can increase the oil more by 1-2 tablespoon in the recipe and reduce the yogurt accordingly if you want very moist muffins.
cranberry cupcakes

Wednesday, December 21, 2016

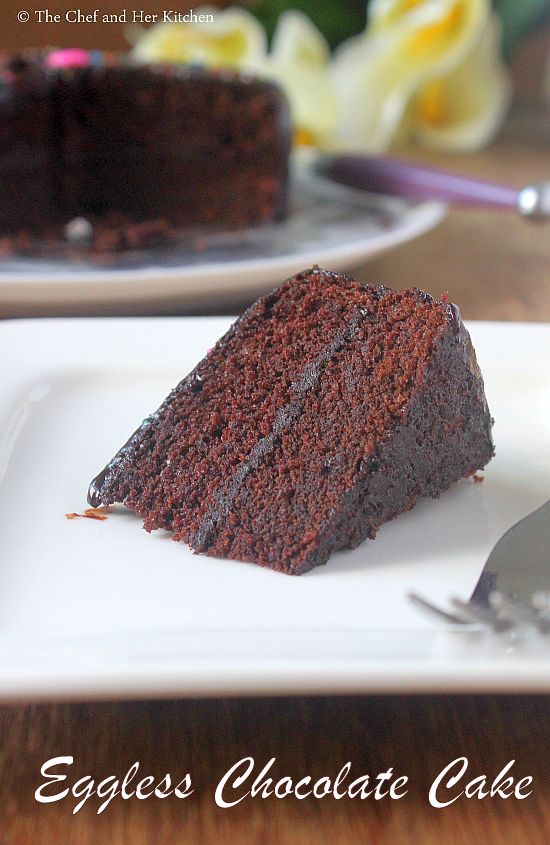
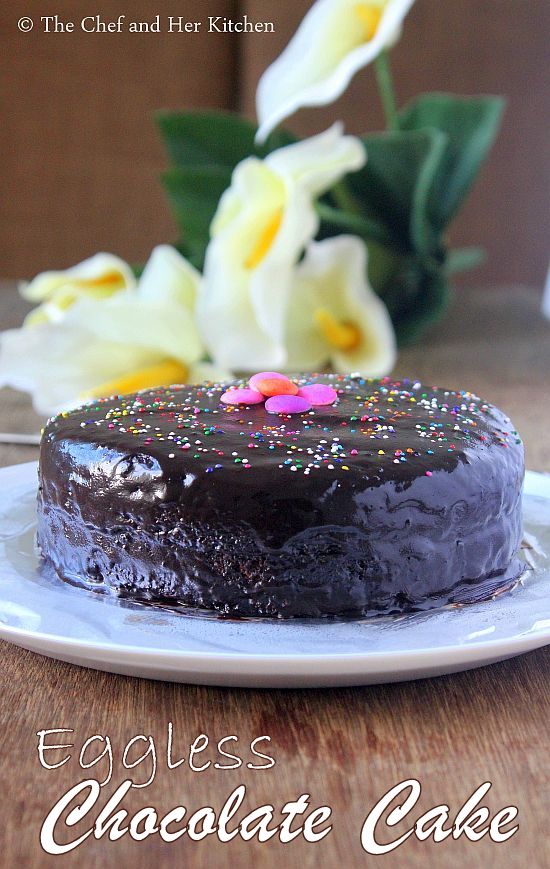
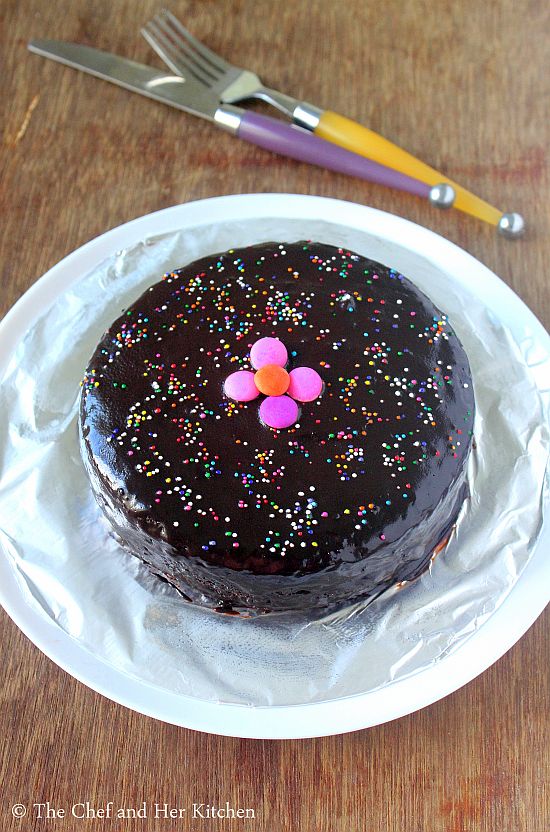
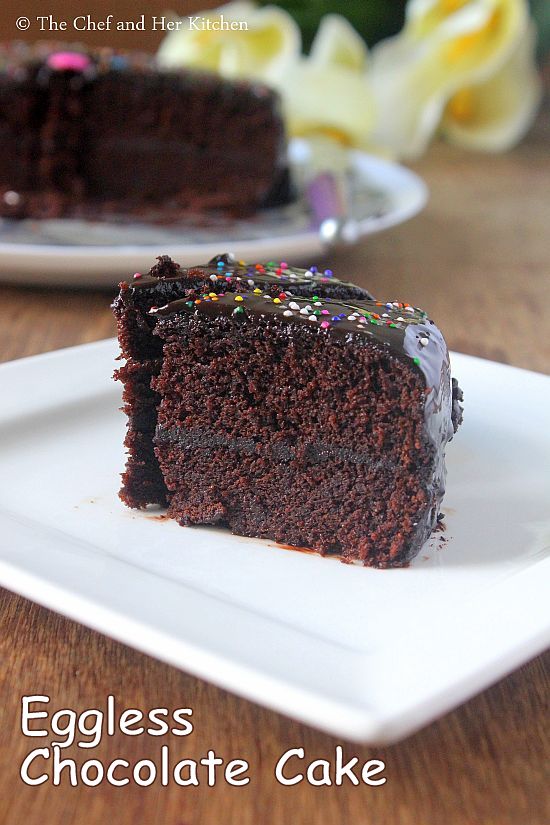
Eggless Chocolate Cake Recipe | Basic Eggless Chocolate Cake with Chocolate Ganache

eggless chocolate cake
I have realised that I still have not posted an eggless chocolate cake recipe in my blog though I have made it umpteen number of times. I have tried many eggless chocolate cake recipes and this recipe from maria's blog is one among the best that even a beginner can do it without any hassles. This is an easy eggless chocolate cake recipe with no eggs and no butter. As it is Christmas time I thought it is perfect to post this recipe atleast now,better late than never.
easy eggless chocolate cake
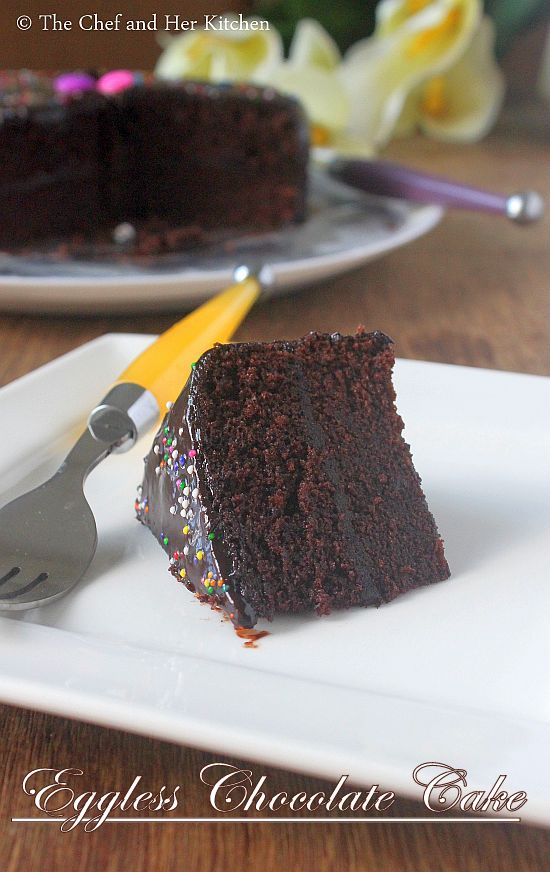
This recipe yields a rich, moist and soft eggless Chocolate cake which is perfect for any occasion.I have made this cake for my helper's birthday to wish her in my style and needless to say that she was surprised and overwhelmed with joy seeing this cake and a small gift from my kiddo. I had made this cake in a jiffy and hence the finishing was not perfect but one can easily make it and decorate it as their wish.
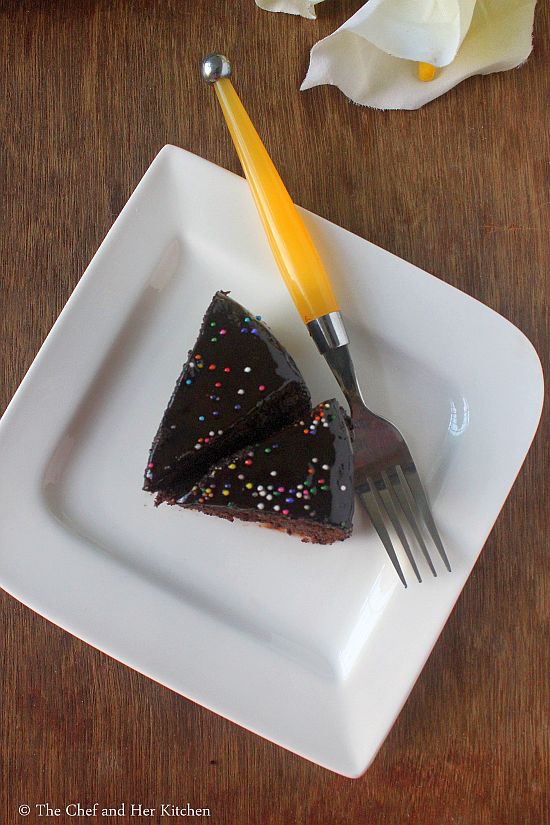
basic eggless chocolate cake
One can follow the same recipe to prepare eggless chocolate cup cakes and they turn out good too.You can make this as a plain eggless chocolate cake with no frosting too, in that case one needs to increase the sugar portion a bit more,check it in my notes section.But the chocolate cake with chocolate ganache is a match made in heaven and I just love the thick ganache on my chocolate cake, it makes it even more rich and yummy.But one can use even simple cocoa butter frosting or chocolate icing to decorate this simple eggless chocolate cake. I have tried this recipe many times and I must say that this is a fool proof basic eggless chocolate cake recipe which you can blindly follow the recipe and make this delicious cake.I will post other eggless chocolate cake recipes later which are equally good.
eggless chocolate cake

Check out other eggless cakes recipes in my blog here:
eggless chocolate cake
Eggless Chocolate Cake Recipe with Chocolate Ganache:
makes a 7" round cake
Prep time: 10 mins | Cooking time: 25 mins | Total time: 35 mins
Cuisine: International | Category: Dessert/Cake

Ingredients:
for Cake:
1 cup All purpose flour(1 cup - 240 ml)
6 tbsp Unsweetend Cocoa powder
1 tsp Baking Soda
1/2 tsp Baking powder
1/8 tsp Salt
1/2 cup Caster Sugar,if  using frosting (use 3/4 cup sugar if not using frosting)
1/2 cup Oil (Canola/neutral Vegetable Oil)
1/4 cup beaten Yogurt at room temperature
1/4 cup Milk,at room temperature
1/4 cup Hot Coffee(1 tsp instant coffee powder mixed in 1/4 cup hot water)
1 tsp Vanilla Essence

for Ganache:
100 gms Dark Couverture Chocolate chips
200 gms heavy Cream

Method:
for Cake:
  • Grease a 7" round pan lightly with oil and line it with a parchment paper.Preheat the oven at 180 deg C (350 F) for 12-15 mins.
  • Sieve the flour, cocoa powder, baking powder, baking soda and salt for a couple of time until you get the uniform mixture. 
  • Boil water until it is bubbling and mix with instant coffee powder and keep it ready.
  • In a big bowl add beaten yogurt and sugar and mix well until the sugar melts. Add oil, milk, hot coffee and vanilla essence to it and mix it nicely with a whisk.
  • Now add the sieved dry ingredients into the wet ingredient mixture and beat it nicely with an electric beater for 2-3 mins or using a wire whisk until the mixture is well incorporated. Do not over mix the batter.
  • Pour the batter into the prepared pan and gently tap it so that there will not be any air bubbles formed in the final cake.
  • Bake it for about 25-30 mins until the cake is done. Check the doneness of the cake by doing a tooth pick test. Prick a toothpick in the center of the cake and if it comes clean means it is done.Please keep an eye after 20-25 mins and check once. If the tooth pick is sticky with the chocolate liquid bake for 5 more mins or until it comes out clean.
  • Remove it from the cake and let the cake rest in the pan for 7-8 mins until the cake becomes bit warm, gently run the knife around the edges of the cake and unmold the cake on to a wire rack and let it cool completely.
for Ganache:
  • Heat the cream over medium flame until it is hot(you do not need it bubbling, just hot enough to melt the chocolate) and pour over chocolate chips and whisk it nicely until you get an uniform smooth ganache mixture and let it become slightly warm.
for arranging the cake:
  • Level the cake if necessary by cutting the top portion.Cut the cake into two equal halves by running the knife horizontally in the center slowly from the edges towards inside.
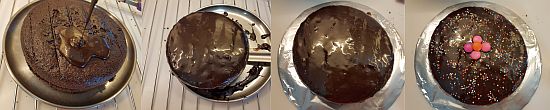
  • Apply a thick layer of ganache and place the other layer and pour the warm ganache over it by starting pouring in the center first and slowly at the edges so that it flows down the edges. Make sure you cover the whole cake.
  • Sprinkle few color sprinkles or gems or decorate it with fruits or simply dust it with cocoa powder or leave it as it is.
  • Allow it to set in refrigerator for couple of hours or overnight.
Just before serving keep the cake outside for 15-20 mins and cut it and serve.

Notes:
  1. If you are covering the cake with an icing or ganache keep the sugar quantity as it is, else increase it to 3/4 th cup or little more than that for a sweet cake.
  2. Use good quality cocoa powder and good quality chocolate for a richer taste.
  3. I did not take the pain to level the edges of the cake before pouring the ganache and also I poured a very thin layer and hence you can see a bit of unevenness.You can do it bit carefully and achieve a perfect look.
  4. The ganache thickens as it sits, make sure you pour it when it is still warm for smooth flow of the ganache.
  5. You can even frost the cake with cocoa frosting or chocolate icing. 
  6. You can even prepare cupcakes out of this recipe.You will get approximately 9-10 big Cupcakes.
eggless chocolate cake

Monday, December 19, 2016

Strawberry Jam Recipe | Homemade Jam Recipes

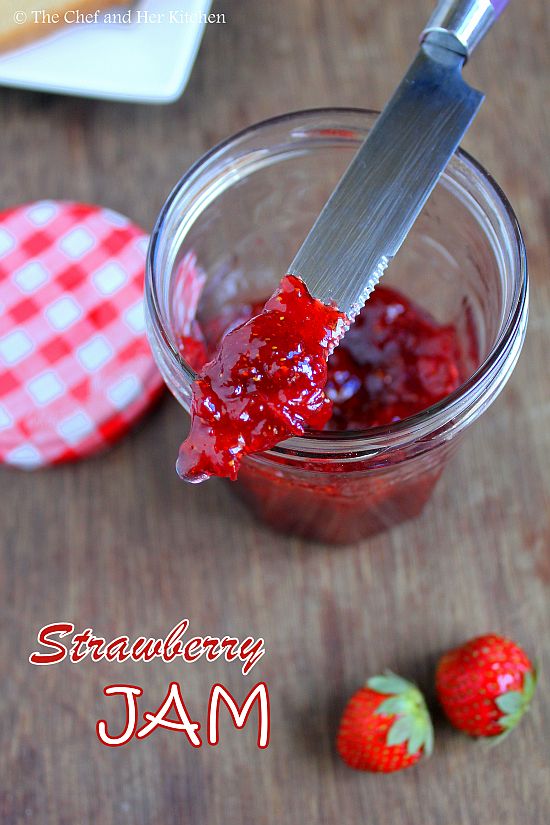
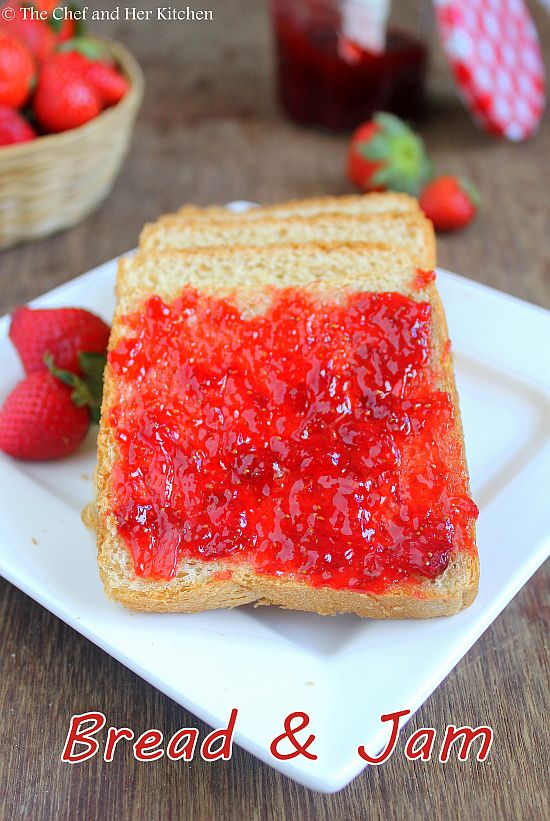
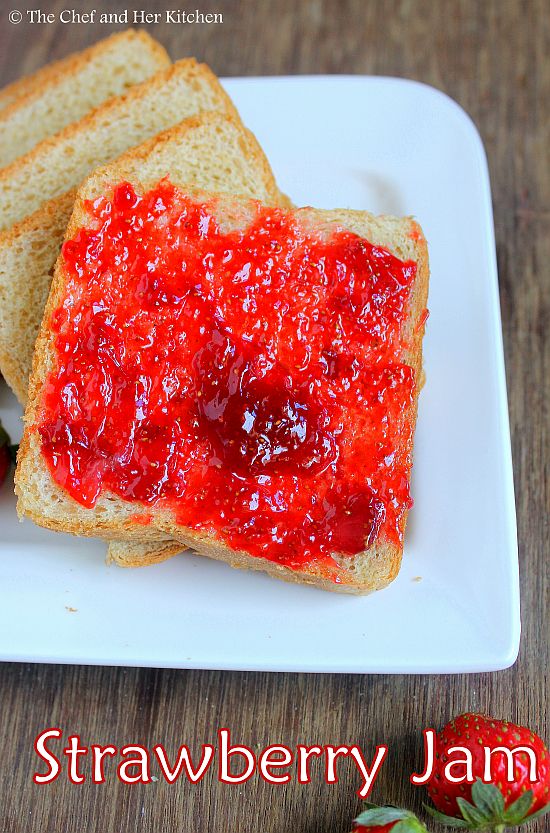
strawberry jam
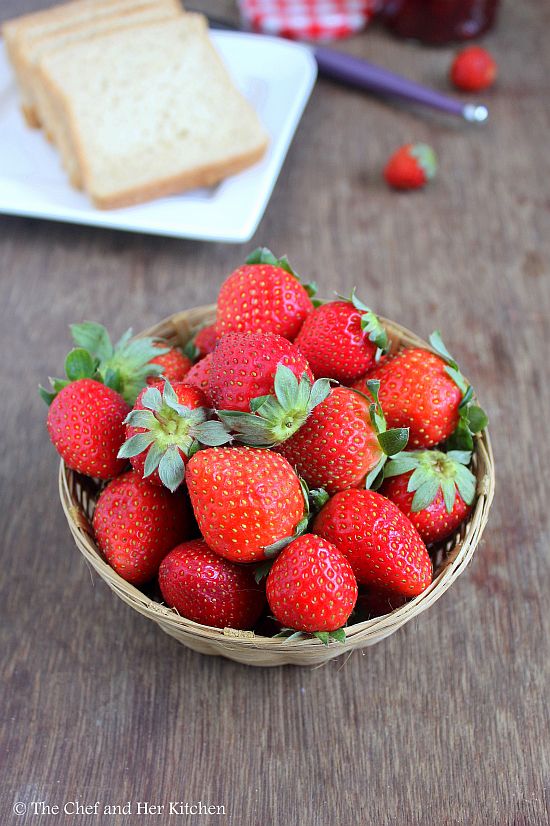
I like all kinds of berries to eat them as its own or in any dessert.Most of the times I end up eating them just like that unless I get an itch to make something else with it. In Mumbai we used to get fresh strawberries directly delivered from a farm in Mahabhaleswar through a building resource and hence we were fortunate to get lot of fresh and juicy strawberries every week through out the strawberry season.
strawberries recipes
I usually used to make a very small quantity of simple strawberry jam and used to finish it in 3-4 days.My strawberry Jam was simple to make with just strawberries, sugar and lemon with no additional preservatives or pectin.I have checked various recipes on net where a vanilla pod or cinnamon stick is added for extra flavoring. I have tried both the versions with the vanilla pod and cinnamon stick and absolutely loved both the versions which enhanced the taste of the jam in its own way.
homemade strawberry jam

pectin free strawberry jam
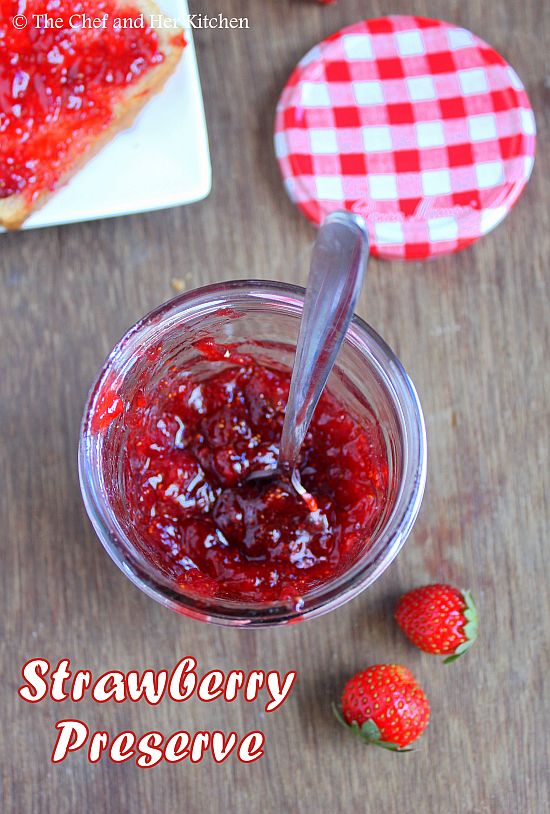
I usually make the jam with less sugar and also do not cook it for long and hence the shelf life was less but the recipe I am posting today is perfect in texture of jam and also has good shelf life.If the required amount of sugar is added and is cooked for long the jam sets beautifully even without Pectin as the fruits usually contain some amount of pectin naturally.Check out this Pectin free and Preservative free homemade Strawberry Jam recipe.
homemade strawberry jam recipe

strawberry preserve
Other Strawberry recipes in my blog:
homemade strawberry jam
Homemade Strawberry Jam Recipe:
yields: 1 Jar of Jam | Shelf life: 2 weeks
Prep time: 10 mins | Cooking time: 30 mins | Total time: 40 mins
Cuisine: World | Category:Jams/Preserves

Ingredients:
500 gms Strawberries
1 heaped cup Sugar(roughly 250 gms)
juice of 1 small Lemon
Lemon Zest of 1 small Lemon,optional
Vanilla Pod or Cinnamon stick(for flavoring),optional

Method:
  • Place 2 small plates in the freezer to test the consistency of jam later.
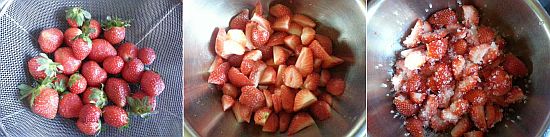
  • Wash and wipe the strawberries nicely, hull the strawberries and cut them into 4 pieces or more if the strawberries are really big.
  • Add Sugar to the strawberries and keep aside for about a couple of hours or overnight.This step is optional but it will help the strawberries to release their natural juices and also helps to retain its bright color.
  • Add the lemon zest and lemon juice to the strawberry-sugar mixture.If you are using vanilla pod cut and scrape the seeds from the pod and add to the mixture or you can add a small cinnamon stick to the mixture and transfer the mixture to the pan and cook it on the low flame until the sugar disssolves completely. 
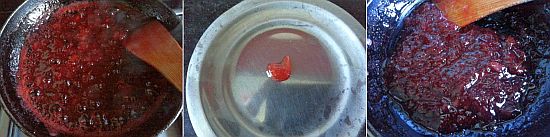
  • Then increase the flame and cook on high flame for 7-8 mins until the mixture bubbles.Carefully skim off any foam off the top of the jam.
  • Mash the mixture nicely with a potato masher or by using back of a ladle.I like my jam slightly chunky so I leave few bits here and there.
  • Simmer the mixture for 15-20 mins by mixing the mixture in between.The mixture would have thickened by now and it is time to test the consistency.
  • Pour a drop of jam on the chilled plate and if the jam is set and does not move it is considered as done, if it is runny the jam still has not reached the right stage and hence you need to cook it for some more time before you test the consistency again.
  • Cool the mixture completely and carefully transfer the mixture into sterilized jars using a dry spoon.
  • Seal and store the jam in the refrigerator for up to 10-15 days.
Spread it on a toast or make jam sandwiches or chapati-jam roll ups and enjoy!!

Notes:
  1. You can follow the same process to prepare any berry jam like blueberries, blackberries, raspberry, mulberry or you can even prepare mixed berry jam.
  2. As we are not using any preservatives this jam can be stored up to 2 weeks if handled carefully.I had successfully used it for a month too.
  3. I like the flavor of both cinnamon and vanilla pod in the strawberry jam.You can use any of them or you can skip it if you do not want any additional flavor to the jam.
  4. You can add 1/2 tsp cinnamon powder or 1/2 tsp vanilla extract instead of the cinnamon stick and pod in the recipe.
strawberry jam

Friday, December 16, 2016

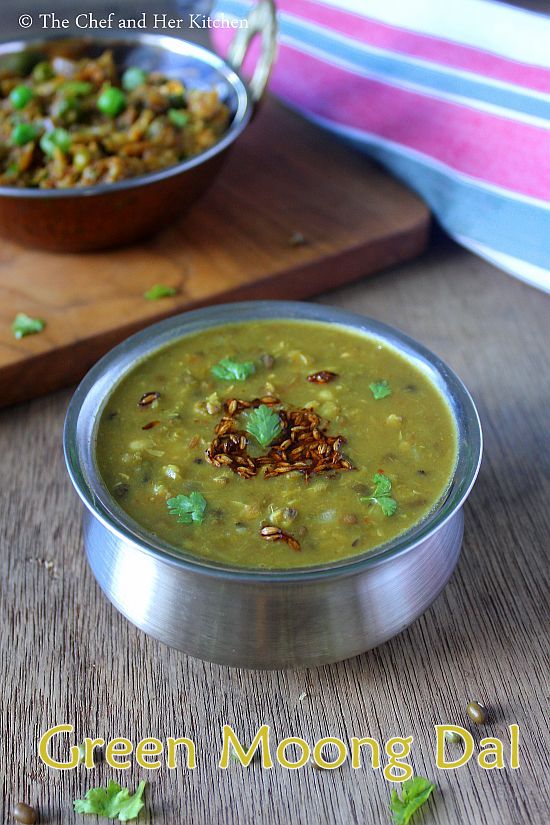
Whole Green Moong Dal Recipe | Hara Moong Dal | North Indian Dal recipes

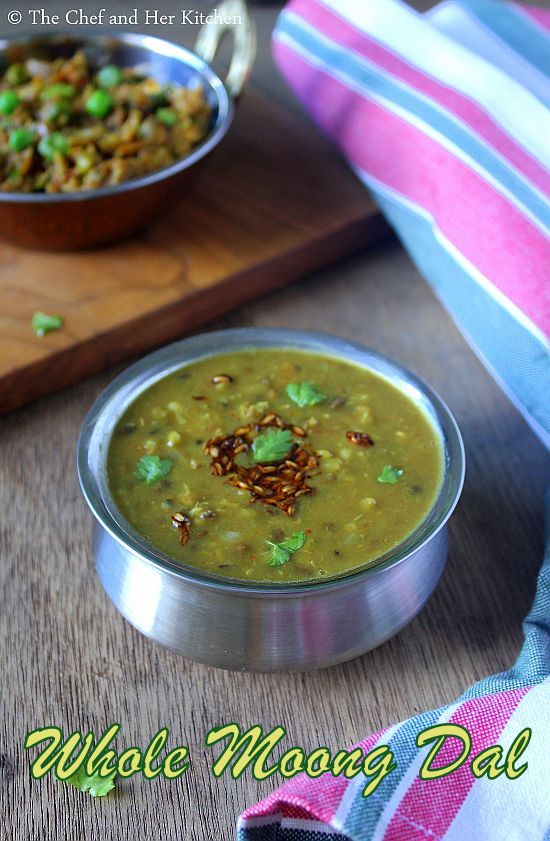
whole moong dal
Lentils and Legumes are a good source of protein especially for vegetarians and I make sure that I include one kind of dal or legumes in my daily meal in some form or the other.It is quite boring to eat the same variety of dals on daily basis and hence I usually stock up my pantry with all kinds of dals and lentils available in market so that I would not need to repeat the dal at least for a few days. The preparation process of this dal is very simple and I love it with minimal spices.I somehow like the texture of dal when prepared with whole lentils like Whole Masoor dal, Whole Green Moong dal, Matki etc, I feel they add more earthyness to the dal. 
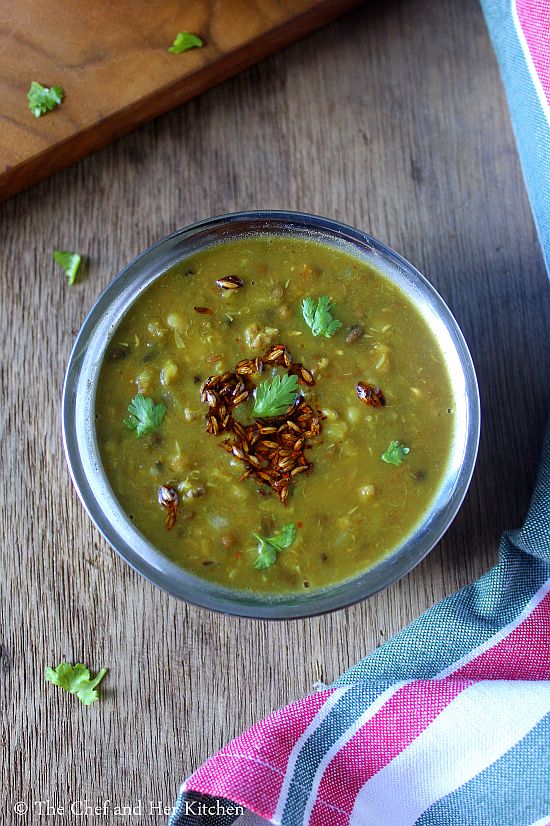
whole green moong dal
I even combine the dals and few combination of dals are our absolute favorite like Chilka Urad-Chana dal, Chilka Moong- Chana dal and also Mixed dal. All these dals are quick to prepare if you forget to soak your legumes like chole, rajma etc.
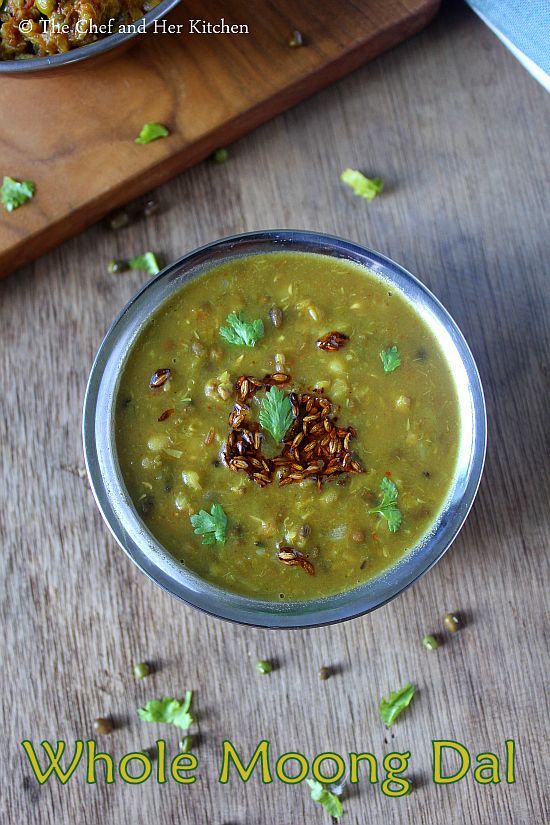
whole green moong dal
Check out other Whole moong recipes in my blog:
whole moong dal
Whole Green Moong Dal | Saboot Moong Dal Recipe:
Serves 2-3 | Author: Prathibha
Prep time: 5 mins | Cooking time: 25 mins | Total time: 30 mins
Cuisine: North Indian | Category: Side dish- Dals/Lentils

Ingredients:
1/2 cup Whole Green Moong
1 big Tomato,finely chopped
1 medium Onion,finely chopped
1/4 tsp Garam masala,optional
1 tsp Red chili powder
1/2 tsp Cumin seeds
1/2 tsp Turmeric powder
a pinch of Asafoetida
1 tbsp chopped Coriander
salt to taste
1 tbsp Oil

for tempering:
1/2 tsp Cumin seeds
1/4 tsp Red chili powder
a pinch of Asafoetida
1 tsp Ghee/Oil

Method:
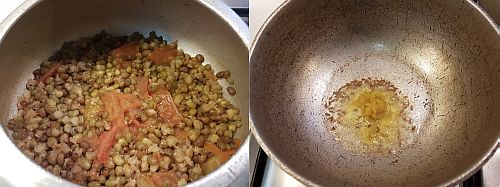
  • Wash and soak whole moong for 4-5 hrs.Add a pinch of turmeric and chopped tomato to it and pressure cook for 2 whistles and reduce the flame and let it cook for 10-12 mins.You can even add tomatoes while frying onions too.
  • Heat oil and crackle cumin seeds and add finely chopped onions and ginger-garlic paste and fry until it is brown in color.
  • Add cooked whole moong to the fried onion mixture and add turmeric powder, red chili powder, garam masala and enough salt and mix nicely and cook it for another 8-10 mins.
  • Add chopped coriander to it and give a stir.
  • Meanwhile heat oil/ghee in the tadka pan and crackle cumin seeds and add asafoetida and red chili powder and pour it into the dal and cover it immediately.Just before serving mix it in the dal and serve.
Serve it hot with hot rice/jeera rice/pulao or roti/paratha.

Variations:
  1. You can follow the same process for making any dal like yellow moong dal, split moong, toor dal, masoor dal, whole masoor dal, chilka urad-chana dal, toor-chana dal, mixed dal, chana dal.
  2. You can also follow the same process for legumes like white/black chickpeas,rajma,lobia but make sure you soak them for 7-8 hrs.
  3. You can add a tsp of Kasuri methi while frying onion-tomato mixture for a different flavor.
  4. The addition of Garam masala is optional. I like this dal very simple flavors.
green moong dal
 
back to top