Monday, December 30, 2013

Tomato Kothimeera Pacchadi | Pacchadi Recipes

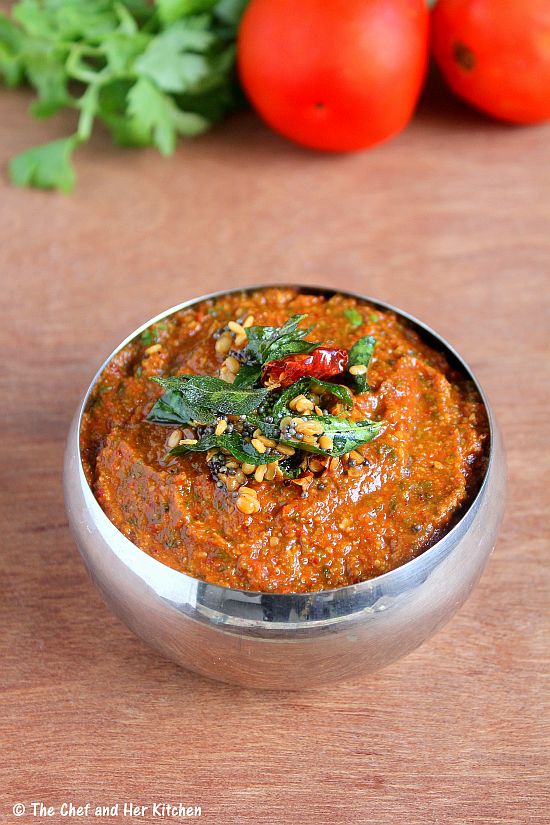
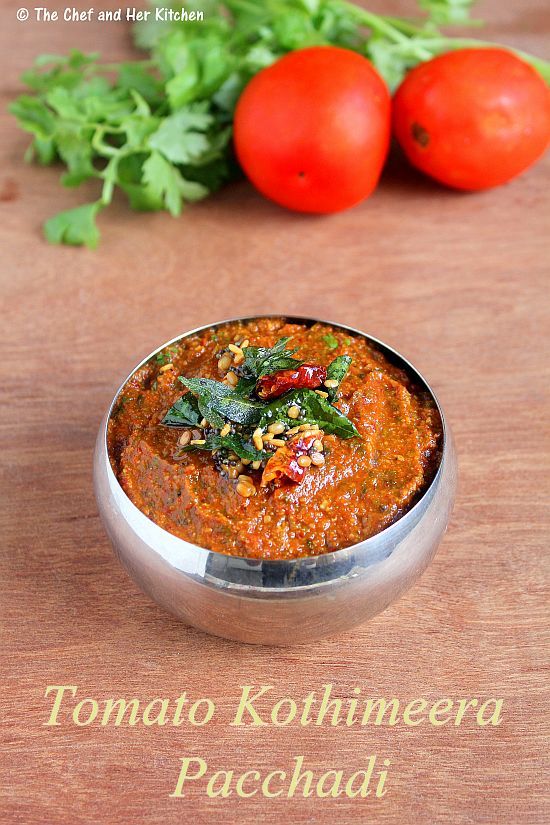
tomato kothimeera pacchadi
I am a big fan of Andhra style Pacchadis which is usually mixed with hot rice and ghee.Ideally Pacchadis are prepared in a stone mortar, as in the olden days and hence these kind of pacchadis are called 'Roti Pacchadis', where 'roti' stands for 'stone mortar' in telugu. Pacchadis can be prepared with various vegetables, greens and dals and the texture should be very thick and slightly coarse unlike the chutneys we prepare for the breakfast items. Today I am sharing a simple Pacchadi recipe with Tomatoes and coriander - Tomato Kothimeera Pacchadi which serves as a nice combination with rice.

tomato kothimeera pacchadi


Tomato Kothimeera Pacchadi | Tomato Coriander Chutney for Rice:
Serves 4-5
Prep time:10 mins | Cooking time:15 mins | Total time: 25 mins
Cuisine: South Indian | Category: Pacchadis-Accompaniments

Ingredients:
3-4 large ripen Tomatoes,roughly chopped
a small bunch of Coriander leaves(roughly 1.5 cups)
2 tbsp Urad dal
1 tsp Cumin seeds
5-6 Red chillies
a small cherry size Tamarind
Salt to taste
1 tbsp Oil

to temper:
1 tsp Oil/Ghee
1/2 tsp Mustard seeds
1 tsp Urad dal
a sprig of Curry leaves
1 Red chili,broken
a pinch of Asafoetida

Method:
  • Clean the coriander leaves and retain tender stems along with the leaves and chop it roughly.
  • Heat oil in a pan/kadai and add urad dal and roast until it turns slight red in color.Remove and keep the urad dal aside.
  • In the same pan add cumin seeds and red chillies and fry them until they are roasted and remove them aside.
  • Now in the same pan add chopped tomatoes and fry for a minute and cover it and cook until it turns pulpy.It takes 4-5 mins.
  • Add chopped coriander leaves along with the tender stems and tamarind to it and fry for another 3-4 mins until the mixture becomes slightly dry.Cool the mixture slightly.
  • Grind roasted urad dal with roasted red chillies,cumin seeds and salt to a coarse powder.Add cooled tomato - coriander mixture and grind it to a coarse paste.I usually do it in whipper mode to get slight coarse and pulpy pacchadi.
  • Heat oil/ghee in a small tempering pan and crackle mustard seeds and add urad dal and red chillies,curry leaves and asafoetida and fry until they wilt and add this tempering to the pacchadi.
Serve it with hot steamed rice and ghee.

Notes:
  1. You can store it in refrigerator for 2-3 days in an air tight container.
  2. If you are preparing this chutney for Idli or Dosa,grind the chutney to a smooth paste instead of coarse paste.
  3. If you find the pacchadi very tangy add a pinch of sugar or jaggery while grinding the chutney.

Monday, December 23, 2013

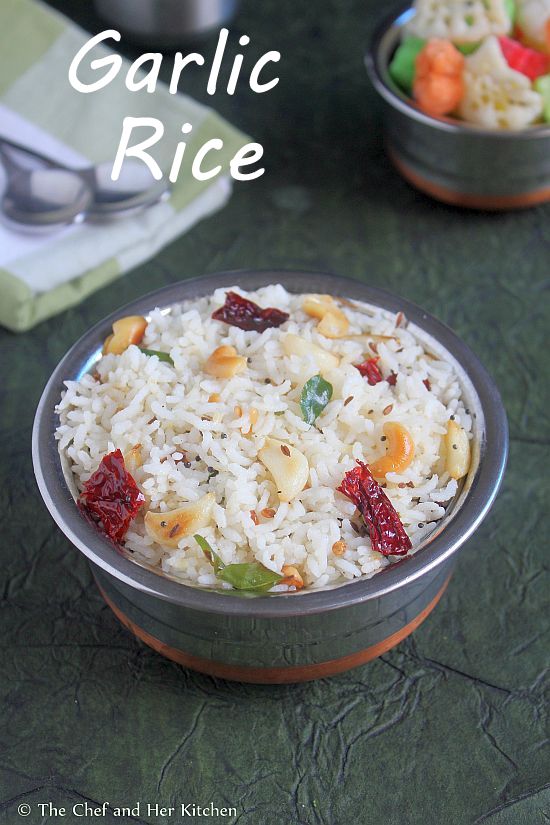
Garlic Rice | South Indian Rice Varieties

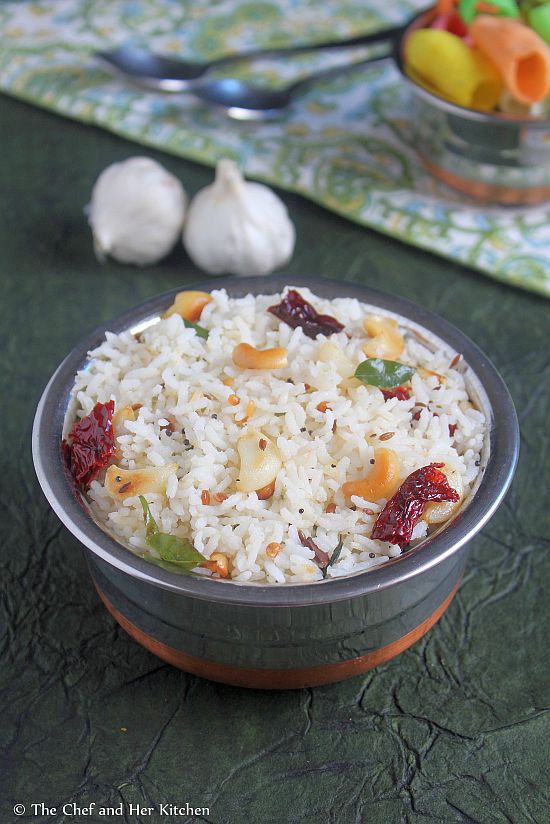
garlic rice
There are rare instances when I have left over rice at home and if I have it, I usually turn it into a variety rice or fried rice.While the most common rice variety with the left over rice is the Talimpu Annam (Seasoned Rice or Phodnicha Bhaat),I like to prepare this garlic rice as well.One can prepare it with fresh rice but make sure it is cooled nicely.In fact my mom always prepares this with fresh rice and she used to pack it for my lunch box.This recipe requires lot of garlic and if you are a garlic lover I am sure you will love this rice.
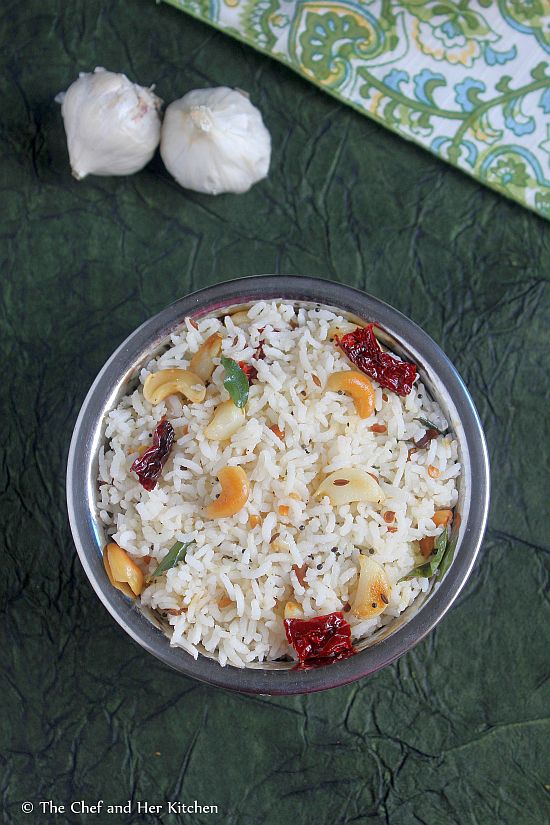
garlic rice
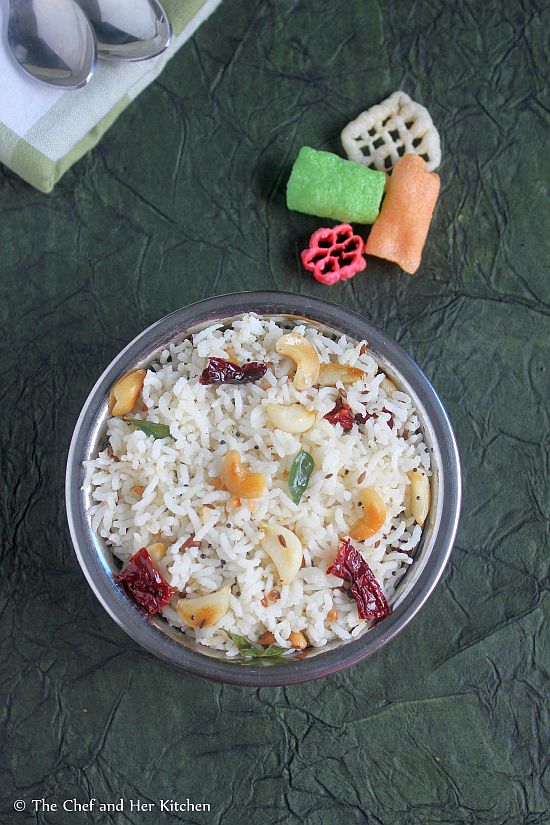
Typically for South Indian rice varieties, we use either Sona masuri rice or equivalent varieties like Ponni or Surti Kolam etc based on the availability in that area.However I do not suggest Basmati rice for few south Indian recipes as it does not bring out the exact taste of rice.For south Indian rice varieties the rice needs to be soft and fluffy and should not have any fragrance and hence Basmati rice is not ideal for a few Rice based preparations.
garlic rice

Garlic Rice Recipe:
Serves 2
Prep time:10 mins | Cooking time:20 mins | Total time:30 mins
Cuisine: South Indian | Category: Rice Varieties - Main Course

Ingredients:
1 cup Raw Rice (Sona masuri or equivalent)
18-20 small Garlic pods
8-10 Cashew nuts,slit into halves
4-5 Red chillies,broken
8-10 Black Pepper corns,coarsely ground
juice of 1/2 Lemon(optional)
a sprig of Curry leaves
1 tbsp Chana dal
1 tsp Urad dal
1/2 tsp Mustard seeds
2 tbsp Oil
1 tbsp Ghee
Salt to taste

Method:
  • Cook Rice and spread it in a plate to let it cool down and make sure that the rice grains stay separate.You can use 2 1/4 cups of water for 1 cup of sona masuri and cook it in pressure cooker or rice cooker.
  • Heat oil and ghee in a deep kadai/pan and crackle mustard seeds.
  • Add chana dal, urad dal and cashew nuts and fry until they turn slight golden in color.
  • Now add garlic pods and fry until they turn slightly brown.You do not need to fry until crisp,the garlic pods should be soft but cooked well.
  • Add red chillies,curry leaves and freshly ground pepper powder and fry again for a minute.
  • Switch off the flame and add the tempering to the spread cooled rice.Add salt and lemon juice(if adding) to it and mix it nicely.Now taste it and adjust the seasoning according to your wish.
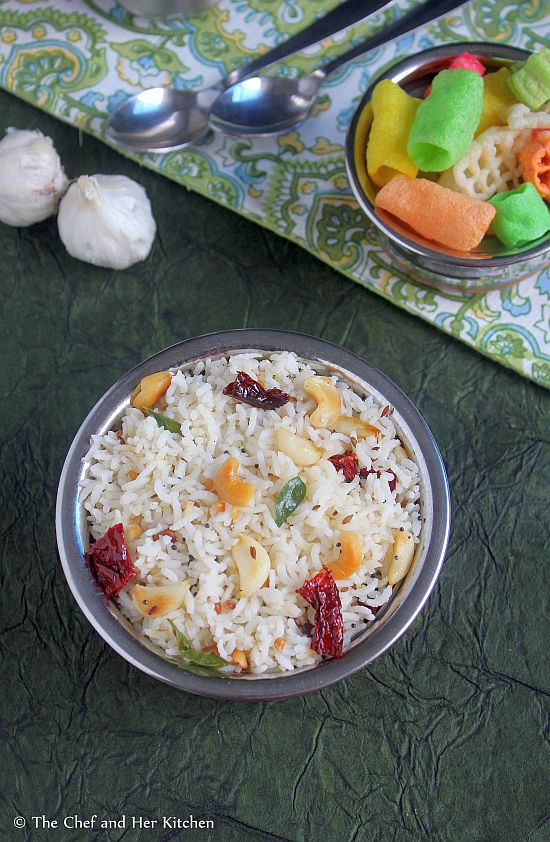
Serve it with Chips/Fryums.

garlic rice

Notes:
  1. I have mentioned standard Indian size garlic pods in the recipe.If you are using the big sized ones reduce the number to 6-8 pods and slice them into fat bits,do not slice them thin.
  2. Use spicy variety red chillies as the main spice we used here is red chillies.Also use freshly ground coarse pepper corns,it is added for the flavor.
  3. This rice tastes nice if it is prepared spicy.But you can prepare it according to your spice levels.
  4. I mentioned lemon juice as optional but it balances the taste,so I recommend to use it.But add it accordingly to balance the flavors of rice.
  5. You can even use left over rice to prepare this.
  6. Do not use Basmati rice for this rice,use sona masuri or ponni or surti kolam or any equivalent variety to prepare this.

Wednesday, December 18, 2013

Thalipeeth Recipe | Maharasthra Recipes

thalipeeth
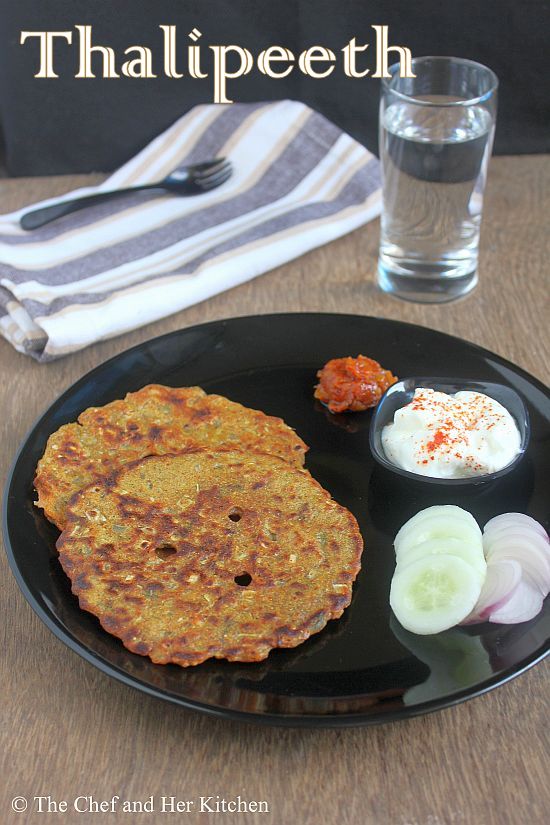
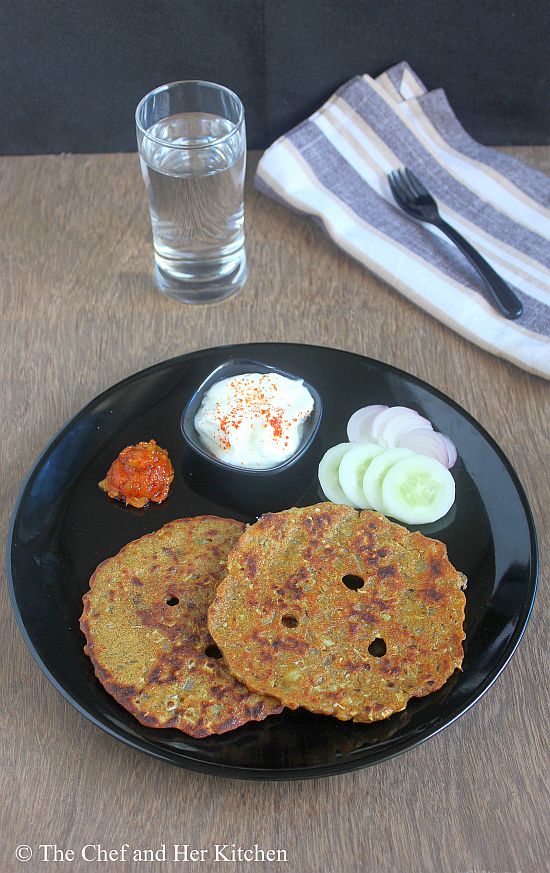
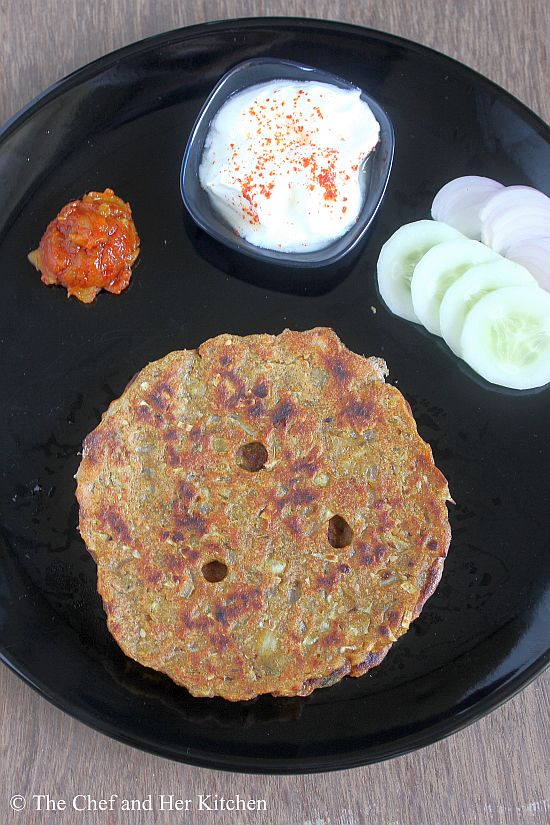
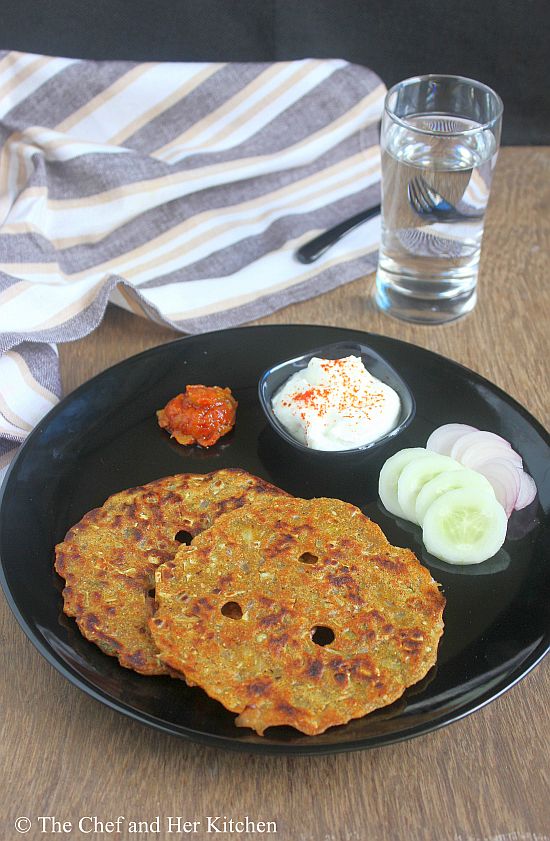
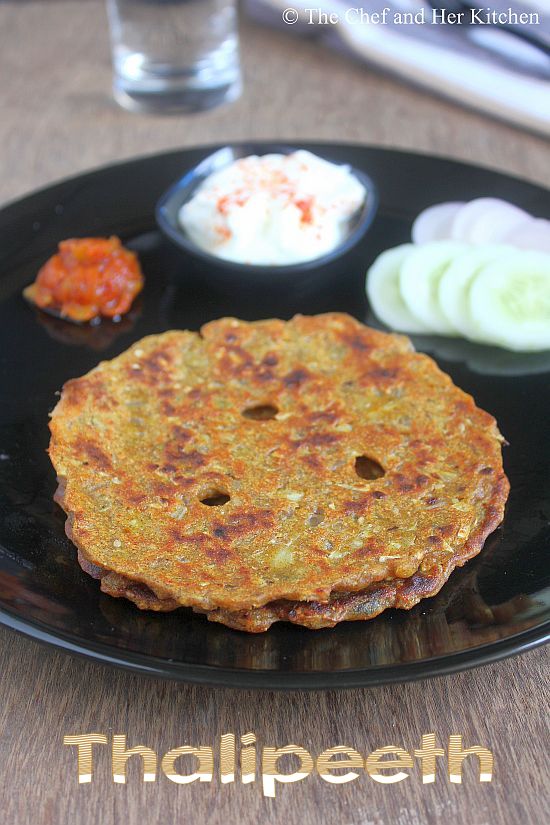
Thalipeeth is a flat bread made up of Bhajani,which is basically a flour mix of various grains and pulses.Bhajani(thalipeeth flour) is easily available in Mumbai and is used to prepare thalipeeth and chakli varieties.I use bhajani for thalipeeth but if you do not have it you can make thalipeeth with various flours available in your pantry. I have mentioned my instant bhajani proportions too in the recipe. I have posted another Mahrasthrian thalipeeth variety- Sabudana Thalipeeth recipe earlier which tastes delicious too.
maharasthrian thalipeeth
In Karnataka, we prepare Masala Akki rotti, Ragi Rotti which is prepared in a similar way like thalipeeth.Hence it was easily adapted in our menu and I usually prepare it for breakfast or dinner. To my surprise TH has become a fan of Thalipeeth after he tasted it in a famous Maharasthrian joint in Mumbai.There,the Thalipeeth is deep fried instead of shallow fry and hence it tastes even better.Thalipeeth is usually paired with spiced curd and pickle,which makes it a complete meal.As it is made up of mixed flours it is healthy and also quite heavy, so a couple of thalipeeth should be sufficient for a meal.
thalipeeth recipe
Check out similar rotti/thalipeeth varieties in my blog.
thalipeeth

Thalipeeth Recipe:
Serves: 2-3 | Yields: 7-8 Thalipeeth
Prep time:10 mins | Cook time:20 mins | Total time:30 mins
Cuisine: Mahrasthrian - Indian | Category: Breakfast/Snacks

Ingredients:
2 cups Bhajani (instant version recipe follows)
2 Onions,finely chopped
2 tbsp Chopped Coriander seeds
1/4 cup coarsely ground Groundnuts(optional)
1 tbsp Sesame seeds
1 tsp Coriander powder
1/2 tsp roasted Cumin powder
1/2 tsp Red chili powder
Salt to taste
Oil,to roast

for quick Bhajani(Thalipeeth flour),I used:
1/2 cup Jowar flour
1/2 cup Bajra flour
1/4 cup Rice flour
1/4 cup Ragi flour
1/4 cup Besan(Chickpea flour)
1/4 cup wheat flour

Method:
  1. In a big bowl combine all the flours,if you are using bhajani add it to the bowl.
  2. Add finely chopped onions, green chili paste, chopped coriander, sesame seeds, ground nut powder, coriander powder, cumin powder, red chili powder and salt and mix well.
  3. Add water to it and knead it to a soft dough,I usually use warm water to knead the dough.It should be smoother than the chapati dough.The dough would be slightly sticky because the combination of various flours.
  4. Grease a plastic sheet and take a small orange sized ball and pat it to form a 4-5" diameter disc of 1/2" thickness.You need to wet your hands for easy spreading.Slightly press the edges with your fingers to give a nice circle.Make few holes in between.
    Transfer it carefully on to a hot tawa and pour oil in the holes and also around the edges and cover it with lid.You can smear some water on top of the thalipeeth,this will make sure that the thalipeeth would not get dry.
  5. Let it roast it on medium flame for 2-3 mins,once it is brown at the edges turn to the other side and roast again.
    Repeat the same for the remaining dough to make thalipeeth.
Serve it hot with Mango Thokku, spiced Curd and salad.

thalipeeth

Notes:
  1. We get Bhajani easily in Mumbai,I use it most of the time and if I don't have it I mix the flours in the above mentioned proportion.Basically you can use all the flours in your pantry.
  2. If you want to make bhajani(thalipeeth flour) at home,dry roast 1 cup Jowar grains,1 cup Bajra grains,1/2 cup rice,1/2 cup wheat grains,1/4 cup Chana dal,1/4 cup Urad dal,2 tbsp Coriander seeds and 1 tbsp Cumin seeds separately until they are aromatic and cool them and grind it in a mixer or get it done in a flour mill.
  3. The addition of ground nut powder is completely optional but I recommend to use it for an extra taste.
  4. You can add finely chopped vegetables like cabbage,methi leaves,spinach leaves or grated vegetables like cucumber,bottle gourd,radish to make thalipeeth.

Wednesday, December 11, 2013

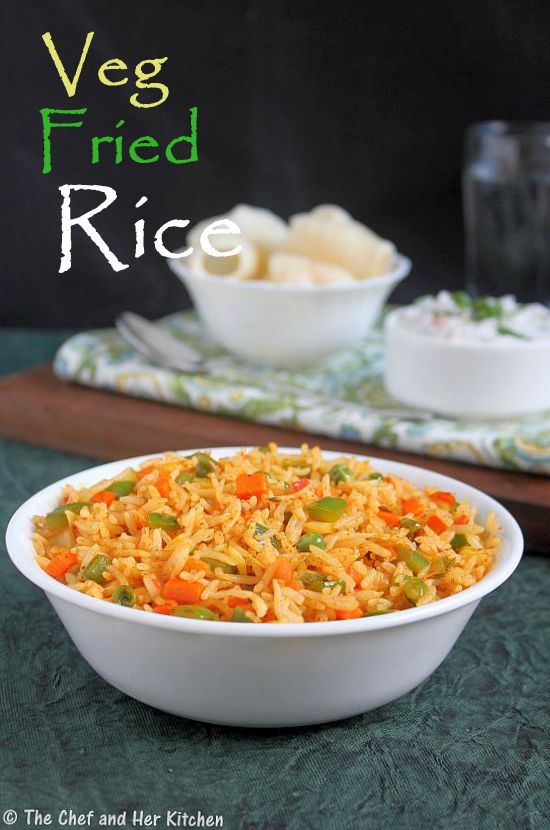
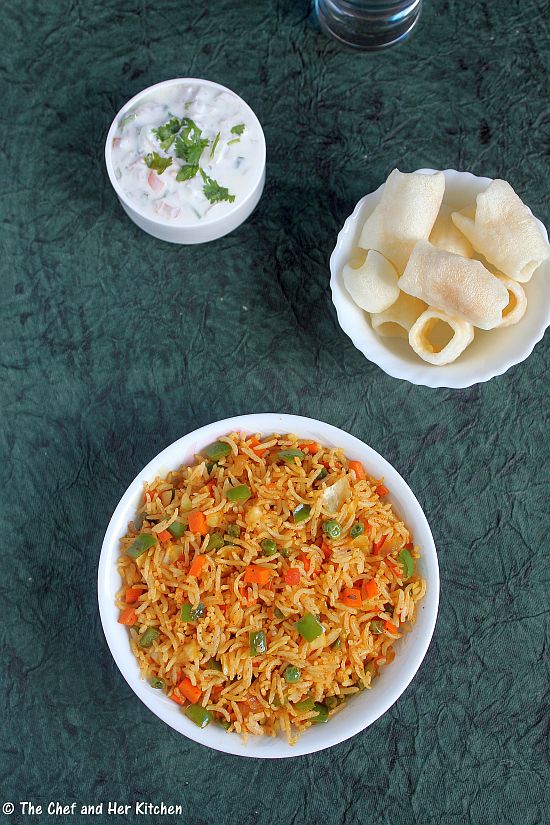
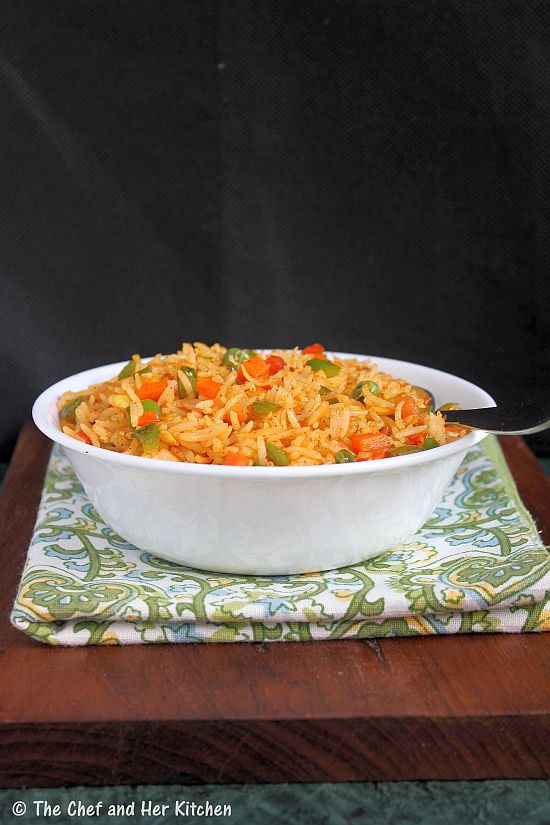
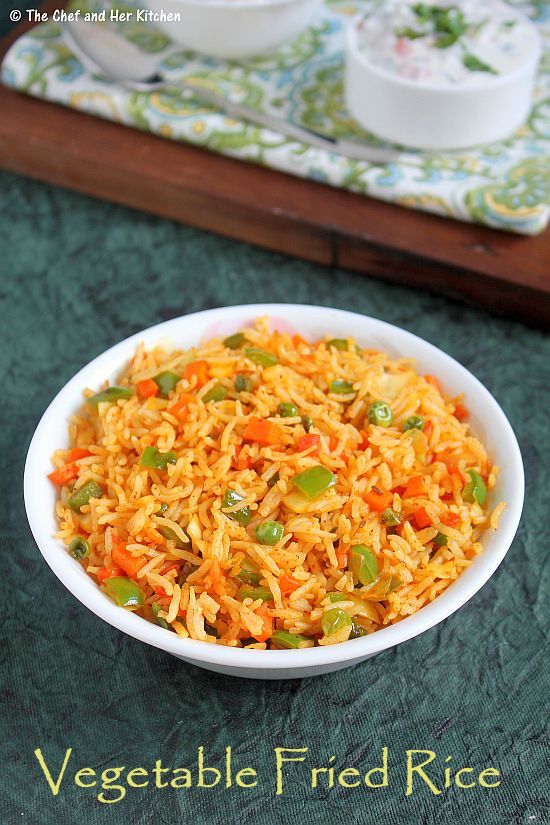
Vegetable Fried Rice Recipe - Indian style

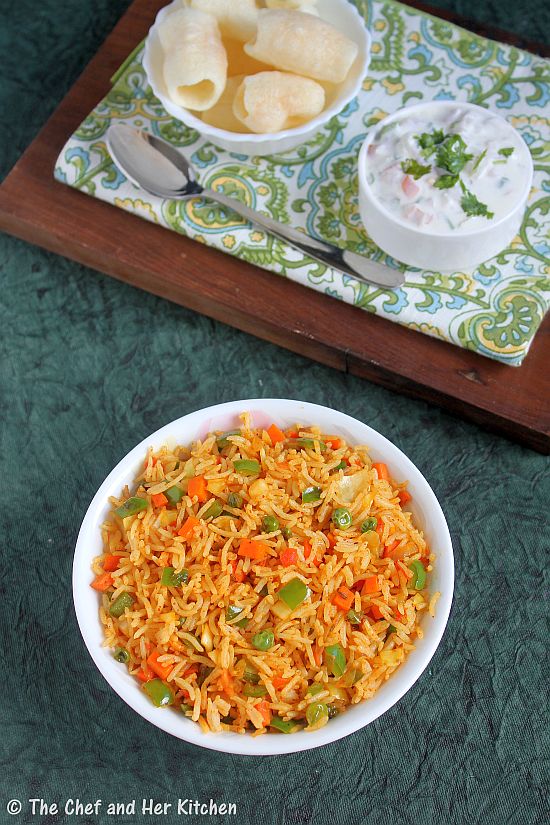
Indian style vegetable fried rice
I prefer to prepare Pulao or Fried rice varieties for a one pot meal as they are not only easy to make but also allow us to use many vegetables in a single dish.Fried rice is very quick to make if we have left over rice handy.I prepare various fried rice varieties apart from the famous Indo-Chinese Veg fried Rice and Indian style Fried rice.I plan to post some other varieties soon.
vegetable fried rice
I learnt this recipe from my MIL a few years back.When she mentioned that she would prepare fried rice for lunch, I had no clue that she would make this version of fried rice.I had thought that she would prepare Chinese style fried rice(that was the only fried rice I was aware of in those days) and I was surprised to see the Indian style fried rice and I really liked the taste of this masaledar Indian fried rice.Later when I tasted the famous Tawa Pulao in Mumbai I realized that her fried rice tastes something similar to Mumbai's Tawa Pulao.You can try this Indian style fried rice for your kids by keeping the spices minimal.This is a nice lunch box option and also a good way to use vegetables in our diet.
Indian style vegetable fried rice
If you are interested check out mix vegetable rice recipes like Indo-Chinese Vegetable Fried rice,Mixed Vegetable Pulav,Tawa Pulao and Coconut Milk Vegetable Pulav in my blog.

easy vegetable fried rice

Indian Style Vegetable Fried Rice Recipe:
Serves 2
Prep time:10 mins | Cooking time:40 mins | Total time:50 mins
Cuisine:North Indian | Category:Rice-MainCourse

Ingredients:
1 cup Basmati Rice
1 medium Carrot,peeled finely chopped
10-12 French Beans,finely chopped
1 small Capsicum,finely chopped
1/4 cup fresh/frozen Green peas
2-3 tbsp Cabbage,finely chopped
1 large Onion,finely chopped
1 large Tomato,finely chopped
1/2 tsp Home made Garam masala or 1 tsp store bought Garam masala
1/2 tsp roasted Cumin powder
3/4 tsp Red chili powder
1/2 tsp Turmeric powder
1 tsp Cumin seeds
1 Bay leaf
Salt to taste
Coriander leaves,to garnish
1 1/2 tbsp Oil
1 tbsp Ghee/Butter

Method:
  • Wash and soak rice for 10 mins.Cook it in rice cooker or pressure cooker with 2 cups of water until done.gently fluff it with fork and spread it on a wide plate to cool completely.
  • Heat oil and ghee/butter together in a thick kadai/pan and crackle cumin seeds.Add bay leaf and fry for half a minute.
  • Add chopped onions and fry until they turn translucent.Add ginger-garlic paste and fry well for a minute.
  • Now add finely chopped carrots,french beans and green peas and fry them for 2 mins and cover it cook on low flame for 4-5 mins until they are half cooked and taste still crunchy.
  • Add cabbage,tomato and capsicum and fry again for 2-3 mins.You should maintain the crunch of all the vegetables.Let the tomato become slightly mushy.
  • Add turmeric powder,red chili powder,garam masala and coat the vegetables with the masalas and fry for a minute.
  • Add the cooked and cooled rice and enough salt and gently mix so that the rice would not break.Mix and let it cook for 2-3 mins on low flame,stir it occasionally.
  • Now add chopped coriander and mix well.
Serve it hot with Onion-Tomato raita or Tomato sauce and chips/papad.
veg fried rice

Notes:
  1. You can even use pav bhaji masala instead of garam masala in the recipe.
  2. Add 1 tsp lemon juice to the rice at the end and mix well,it is optional.I like it with out lemon juice.
  3. You need to cool the rice completely otherwise it will become mushy.
  4. I use home made Garam masala which is quite strong and hence use less quantity.If you are using stor bought masala increase the masala according to your taste buds.
  5. It is important to maintain the crunchiness of vegetables for a good fried rice.
easy vegetable fried rice


Friday, December 6, 2013

Fenugreek leaves Stir fry | Methi Bhaji

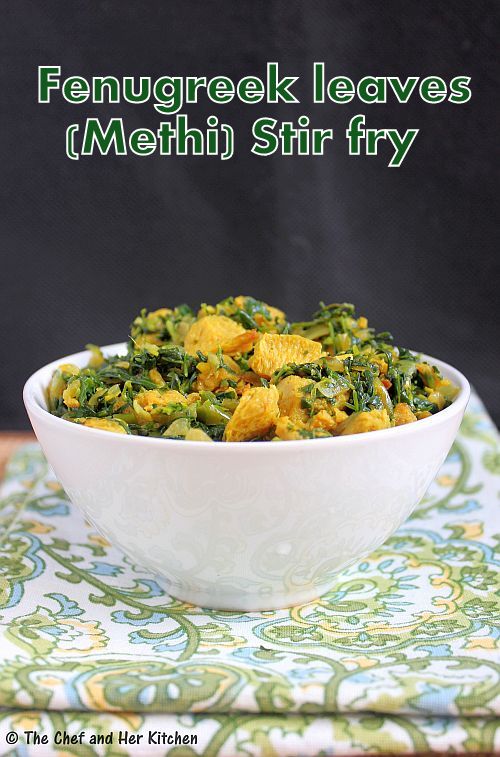
fenugreek leaves stir fry
I use various varieties of greens- green/red amaranth, methi, palak and dill leaves regularly in my cooking and I make it a point to use them at least 3-4 times a week to pair with my Jowar bhakris.I prepare either stir fry or dal with red and green amaranth but methi and palak are very versatile greens and can be used for various preparations-snacks,dal,stir fry,curries,gravies,rotis,parathas etc. However, if I want to serve the greens with bhakris,I prefer it in the form of either a simple stir fry or Saag.
This is a typical Maharasthrian style preparation of greens,you can adapt this recipe to prepare any greens stir fry.It is called as 'Methichi Bhaji' in Marathi.Usually Maharashtrians do not add any tempering in the greens and keep the garlic to dominate the flavor in the stir fry.I just love this simple stir fry and I sometimes add soya chunks or fried mini urad vadis to it, to add a nice bite to them.
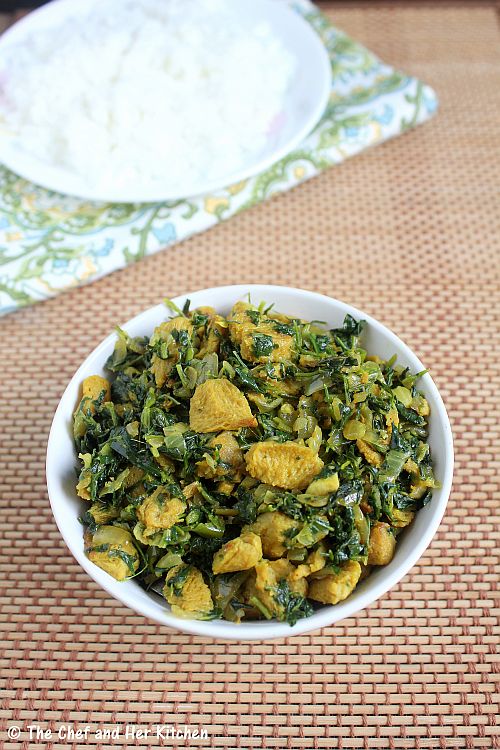
methi stir fry


Fenugreek leaves Stir fry | Methichi Bhaji Recipe:
Serves 2-3
Preparation time: 15 mins | Cooking time: 20 mins | Total time: 35 mins
Recipe Cuisine:Maharasthra - Indian | Recipe Category: Side dish for Rice/Roti

Ingredients:
1 big bunch Fenugreek leaves/Methi
15-20 Soya Chunks(optional)
1 big Onion,roughly chopped
4-5 Green chillies,finely chopped
5-6 Garlic pods
2 tbsp Oil
Salt to taste

Method:
  • Clean the fenugreek leaves and wash them properly and soak it in salted water for 8-10 mins.Chop the leaves finely along with tender stalks.
  • Boil water in a small pot and add soya chunks and boil them for 4-5 mins until they are done.Drain them and cool them slightly,squeeze the extra water from it and drop them in normal water and squeeze them again and repeat it one more time.If you are using big soya chunks,chop them into small pieces roughly and ignore it if you are using mini soya chunks.
  • Heat oil in a kadai and add chopped garlic and fry until they turn slight brown in color.
  • Add chopped onions and green chillies and fry for few mins until onions turn pink.
  • Add squeezed soya chunk pieces and stir fry for 2 mins.
  • Now add the chopped methi leaves and fry for 10-12 mins until the fenugreek leaves are cooked.Take care that you would not over cook the greens,they taste best when they are cooked right.You can initially cover it slightly for 2-3 mins and then remove it later and fry it with out lid.
Serve it hot with Roti/Rice/Jowar Bhakri/Bajra Bhakri.

Notes:
  1. You can use green amaranth leaves or red amaranth leaves or spinach and follow the same process.
  2. I usually do not add any seasonings in the oil as I like the garlic flavor to dominate in the recipe.You can reduce the garlic if you are not a big fan of it.
  3. I like to keep this recipe simple as it tastes best as it is and I love to eat this with Jowar or Bajra Bhakris.
  4. Use only tender stems of the greens for this recipe.Chop them roughly.
  5. The addition of soya chunks is entirely optional,I like to add them as they give a nice bite in the curry.They absorb the flavors beautifully too.


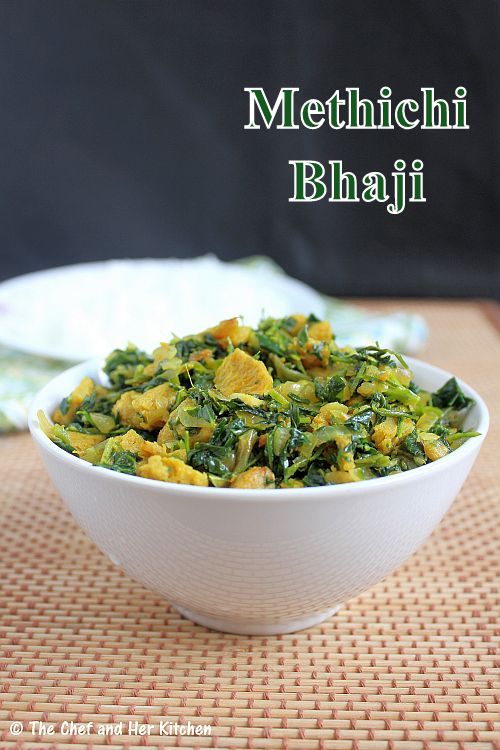
methichi bhaji
 
back to top