Showing posts with label Coriander leaves. Show all posts

Thursday, July 13, 2017

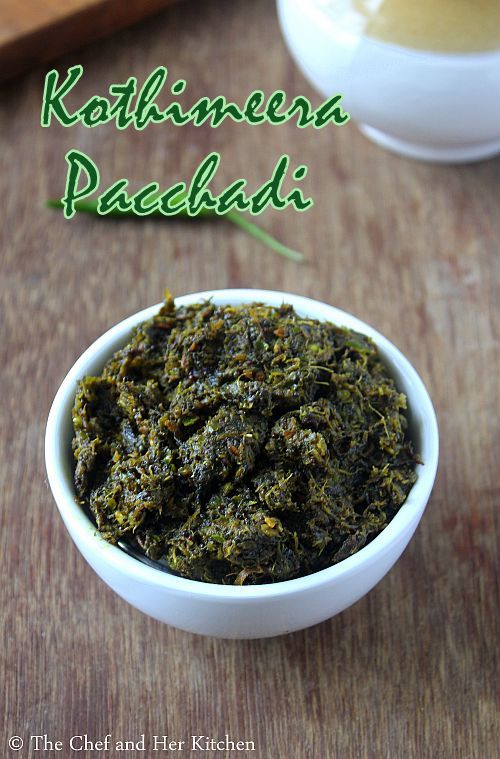
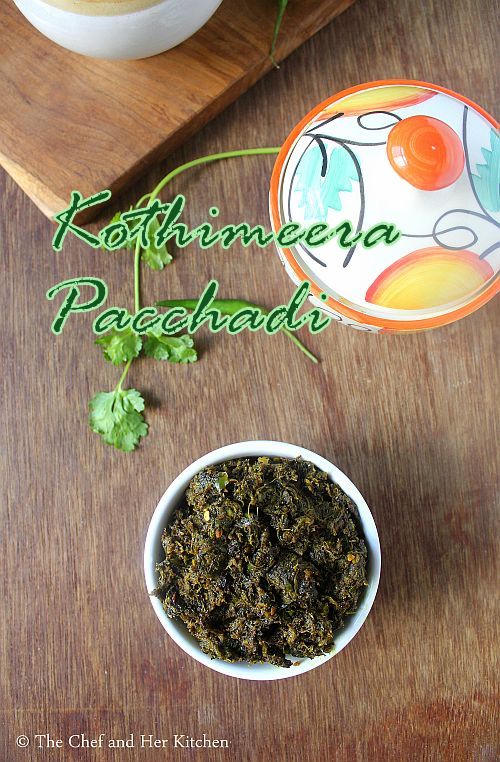
Kothimeera Pacchadi | Coriander Chutney for Idli,Dosa

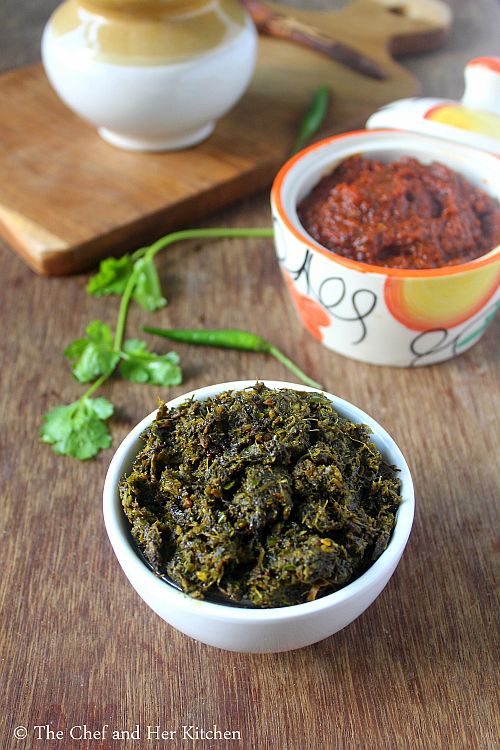
kothimeera pacchadi
Kothimeera pacchadi recipe with step by step photos.Idli and Dosa appears quite frequently for breakfast in any south Indian home. It is always challenging to think of a different side dish for Idli and Dosa apart from the usual fare like Coconut Chutney and sambar. Though I make various chutnies like Tomato ChutneyTomato-Onion ChutneyCarrot ChutneyCapsicum ChutneyPeanut Chutney, Fried gram chutney but the moment I hear about any new chutney recipe I would like to try it immediately as we south Indians are never tired of the various chutney varieties.
kothimeera pacchadi
During my last visit to my mil's place I had noticed a couple of vaious chutney variety jars sitting in the fridge and everyday she used to serve with different combinations of chutnies and powders with Idli and Dosa.These chutnies do not have large shelf life like couple of months but they are good to store for a couple of weeks or until a month. Niluva tomato pacchadi and this Kothimeera pacchadi were few among those pacchadi varieties which she keeps preparing often.Though I do not prepare Idli and dosa on daily basis but we love to indulge them over weekends atleast twice or thrice a month.Hence I never needed to make storable chutnies at my place but when my inlaws visited us last month Idli and Dosa featured quite often for our breakfast.Hence I had prepared few chutney varieties like niluva tomato pacchadi, mamidi allam pacchadi, allam pacchadi and this kothimeera pacchadi and these chutnies stayed quite well for a month. Though we prepare the regular chutnies, it is always nice to have an array of chutnies and powders to be served along with Idli and Dosa,it definitely jazz up your breakfast a bit.
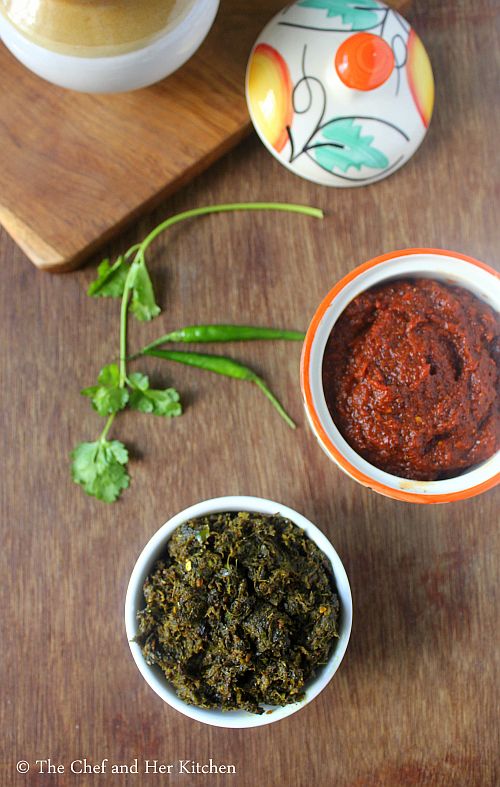
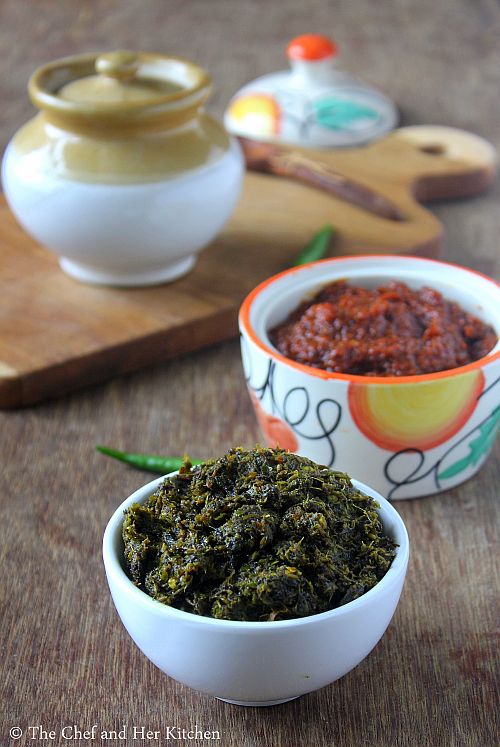
kothimeera pacchai for idli,dosa
Check out other chutney and powder varieties for Idli and Dosa:
coriander chutney for idli,dosa
Here is how to prepare Kothimira pacchadi recipe with step by step photos.
Kothimeera Pacchadi | Coriander Chutney Recipe for Idli,Dosa:

Serves 3-4 | Author: Prathibha
Prep time: 5 mins | Cooking time: 20 mins | Total time: 25 mins
Cuisine: Andhra | Category: Accompaniments,Side dish for Idli/Dosa

Ingredients:
1 big bunch Coriander leaves(roughly 3-4 cups)
8-10 Green chilies
1 big lemon sized Tamarind
1/2 tsp Turmeric powder
1 tsp Cumin seeds
Salt,to taste
1 tbsp Oil

to temper:
1/2 tsp Mustard seeds
2 tsp Oil

Method:
  • Wash and drain the water from the coriander leaves and green chilies and chop them roughly.
  • Heat oil in a kadai and crackle cumin seeds and then add green chilies and fry until they wilt a bit.
  • Add chopped coriander leaves,turmeric powder,tamarind and salt and fry until they become wilted and become a lump,this might take 12-15 mins.Cool it.
  • Grind the coriander leaves mixture to a coarse paste in the mixer.If needed add a couple of tablespoons of water while grinding it.
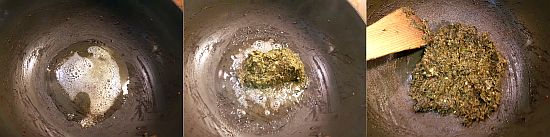
  • Heat oil in the same pan and crackle mustard seeds and then add ground paste and fry for another 3-4 mins until there is no moisture left in the chutney.Let it cool.
  • Store it in an airtight glass container in the refrigerator.It stays nicely up to 3-4 weeks.
Take out required portion as required into the cup and add little water and dilute it and serve it as a side dish with Idli/Dosa/Uthappam.

Notes:
  1. If you want to prepare the coriander chutney for rice, you can add a tbsp of urad dal and chana dal each before frying the green chilies and coriander leaves and proceed the same way.This chutney cannot be stored more than 2-3 days.
  2. This chutney is extremely spicy and tastes best when served with other mild chutnies like coconut chutney, tamarind chutney.
  3. You can reduce the number of green chilies in the recipe if you cannot bear much spice in the recipe.
  4. If you want you can add bit of jaggery or sugar in the recipe to cut down the spice.
kothimeera pacchai for idli,dosa
Technorati Tags:

Thursday, September 4, 2014

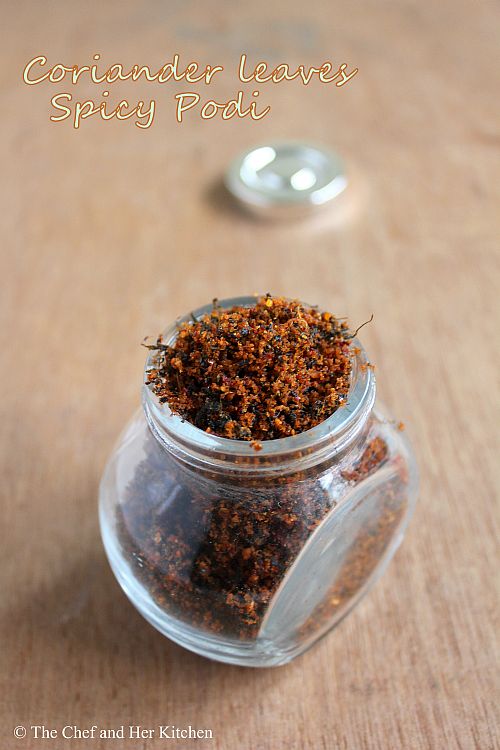
Kothimeera Podi | Coriander Leaves Spicy Powder | Podi Recipes

coriander leaves spicy podi
A typical south Indian meal is incomplete without a Podi(spicy powder).We prepare various podi varieties,while few are paired with breakfast others with rice.Mom makes various podi varieties and she always packs a few varieties for me when I visit her.Her Kakarakaya(Bittergourd) podi is quite tasty and is the most favorite one at our home.
Coriander leaves podi is quite flavorful and delicious when mixed with hot steamed rice.Try this coriander podi when you have abundant coriander leaves,you will thank me for introducing this aromatic and flavorful coriander podi to you.
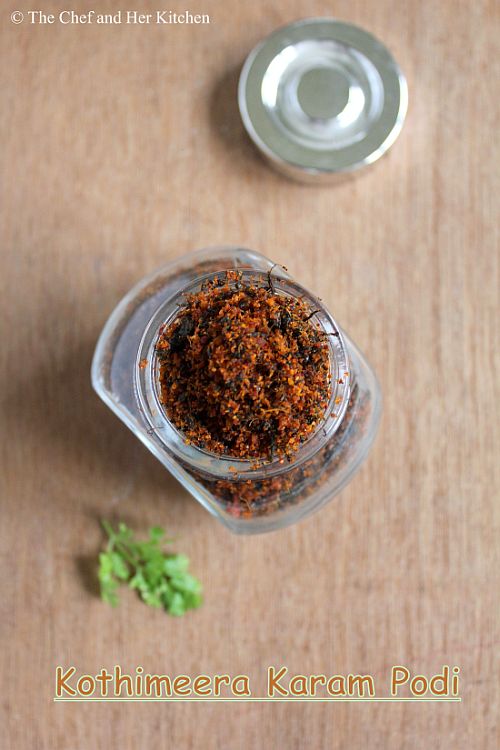
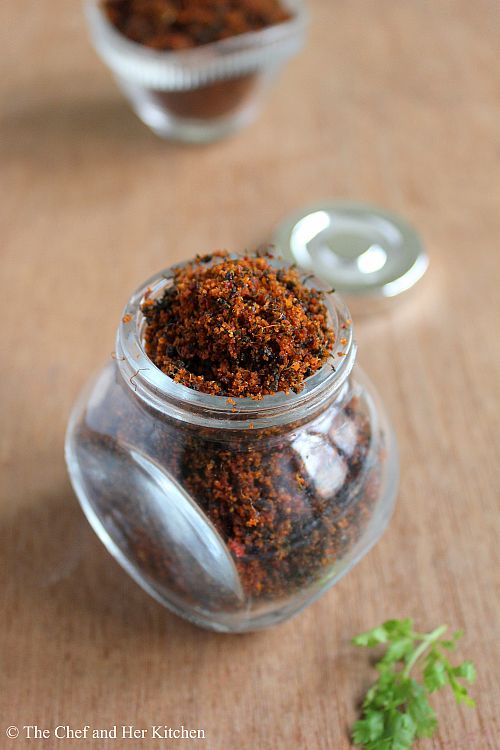
kothimeera karam podi
As I usually stock these podi varieties sometimes it is really helpful on those lazy days.I just prepare steamed rice and mix various podi varieties with hot rice and ghee along with fryums and papads- a satisfying meal for me.
Check out other Podi recipes for rice in my blog:
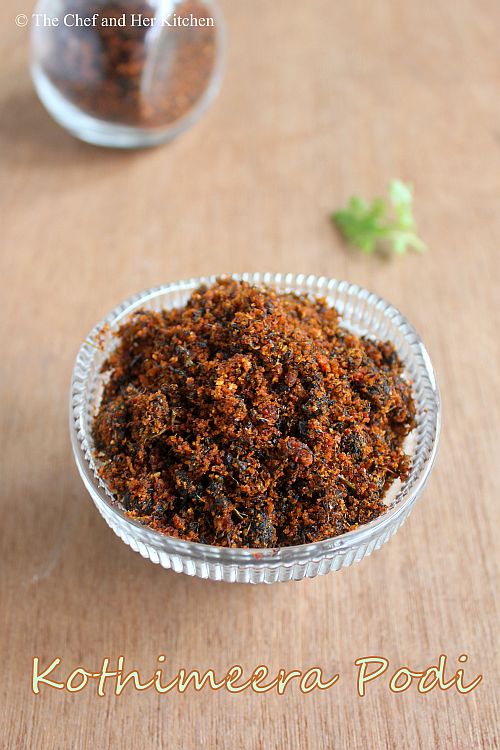
kothimeera podi

Kothimeera Karam Podi Recipe:
shelf life:2-3 months
Prep time:10 mins | Cooking time:40 mins | Total time:50 mins
Cuisine: South Indian | Category: Accompaniments - Podis

Ingredients:
1 large bunch Coriander leaves
1 cup grated Dry Coconut
15-16 Red chillies
1 large gooseberry sized Tamarind
1 1/2 tbsp grated Jaggery,optional
2 tsp Mustard seeds
3-4 tbsp Oil
Salt to taste

Method:
  • Separate the coriander leaves from stems and wash the coriander leaves and wipe with a kitchen towel completely and spread in a thin layer and let them dry for few hours until no moisture is left. They would not get dried completely, they will just loose the moisture content slightly and look little dry.
  • Heat 1 tsp oil in a pan and add red chillies and fry them until they turn brown and remove them and let them cool.
  • Grind red chilies with grated dry coconut  and salt to a coarse powder. Add jaggery and tamarind and grind it again. Remove the mixture and keep it aside.
  • Grind the coriander leaves(slightly dried) to a coarse powder in WHIPPER mode. Do not run it in normal mode as it might turn to a chutney.
  • Heat 3 tbsp oil in a thick kadai/pan and crackle mustard seeds and add coarsely ground coriander leaves to it and fry until the coriander leaves are browned and become slightly crispy. They will turn to brown to slight blackish in color. This will take 15-20 mins.
  • Add ground coconut- chili mixture to it and fry again for another 3-4 mins.
  • Cool the powder completely. Store it in air tight container.
Serve it with hot rice and ghee and raw onion if you prefer.
 
Notes:
  1. As we grind the dried coriander leaves first and then fry it in oil,the color of the coriander leaves is not preserved but it tastes delicious with wonderful flavor and also can be stored for long.
  2. You can replace coriander leaves with curry leaves or mint leaves and follow the same recipe to prepare Karivepaku(Curry leaves) Podi and Pudina(Mint) Podi respectively.
  3. You can add more dry coconut if you wish,it adds more taste to podi.
  4. The addition of jaggery is optional but helps in balancing the flavors.
    kothimeera podi

Monday, December 30, 2013

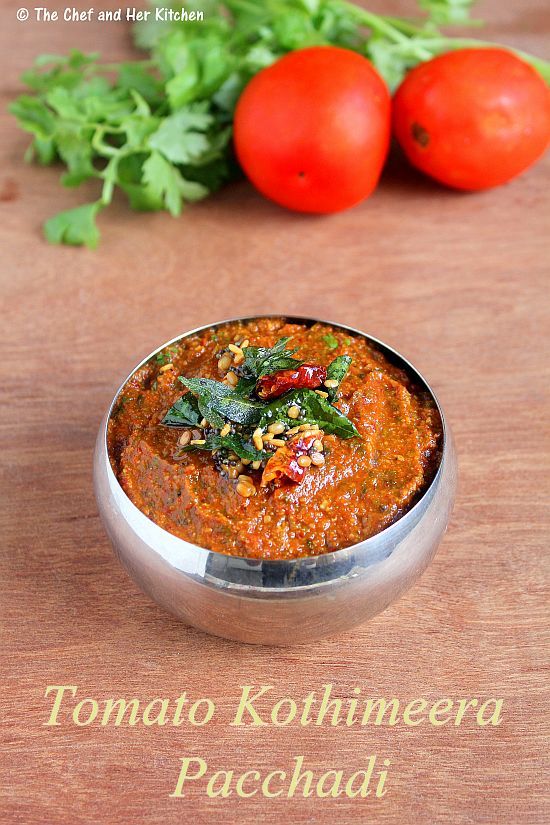
Tomato Kothimeera Pacchadi | Pacchadi Recipes

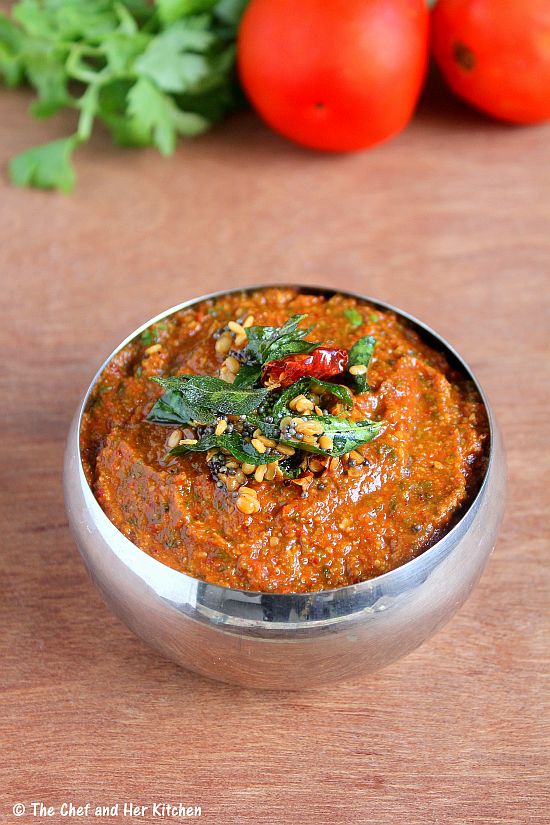
tomato kothimeera pacchadi
I am a big fan of Andhra style Pacchadis which is usually mixed with hot rice and ghee.Ideally Pacchadis are prepared in a stone mortar, as in the olden days and hence these kind of pacchadis are called 'Roti Pacchadis', where 'roti' stands for 'stone mortar' in telugu. Pacchadis can be prepared with various vegetables, greens and dals and the texture should be very thick and slightly coarse unlike the chutneys we prepare for the breakfast items. Today I am sharing a simple Pacchadi recipe with Tomatoes and coriander - Tomato Kothimeera Pacchadi which serves as a nice combination with rice.
tomato kothimeera pacchadi


Tomato Kothimeera Pacchadi | Tomato Coriander Chutney for Rice:
Serves 4-5
Prep time:10 mins | Cooking time:15 mins | Total time: 25 mins
Cuisine: South Indian | Category: Pacchadis-Accompaniments

Ingredients:
3-4 large ripen Tomatoes,roughly chopped
a small bunch of Coriander leaves(roughly 1.5 cups)
2 tbsp Urad dal
1 tsp Cumin seeds
5-6 Red chillies
a small cherry size Tamarind
Salt to taste
1 tbsp Oil

to temper:
1 tsp Oil/Ghee
1/2 tsp Mustard seeds
1 tsp Urad dal
a sprig of Curry leaves
1 Red chili,broken
a pinch of Asafoetida

Method:
  • Clean the coriander leaves and retain tender stems along with the leaves and chop it roughly.
  • Heat oil in a pan/kadai and add urad dal and roast until it turns slight red in color.Remove and keep the urad dal aside.
  • In the same pan add cumin seeds and red chillies and fry them until they are roasted and remove them aside.
  • Now in the same pan add chopped tomatoes and fry for a minute and cover it and cook until it turns pulpy.It takes 4-5 mins.
  • Add chopped coriander leaves along with the tender stems and tamarind to it and fry for another 3-4 mins until the mixture becomes slightly dry.Cool the mixture slightly.
  • Grind roasted urad dal with roasted red chillies,cumin seeds and salt to a coarse powder.Add cooled tomato - coriander mixture and grind it to a coarse paste.I usually do it in whipper mode to get slight coarse and pulpy pacchadi.
  • Heat oil/ghee in a small tempering pan and crackle mustard seeds and add urad dal and red chillies,curry leaves and asafoetida and fry until they wilt and add this tempering to the pacchadi.
Serve it with hot steamed rice and ghee.

Notes:
  1. You can store it in refrigerator for 2-3 days in an air tight container.
  2. If you are preparing this chutney for Idli or Dosa,grind the chutney to a smooth paste instead of coarse paste.
  3. If you find the pacchadi very tangy add a pinch of sugar or jaggery while grinding the chutney.

Tuesday, June 4, 2013

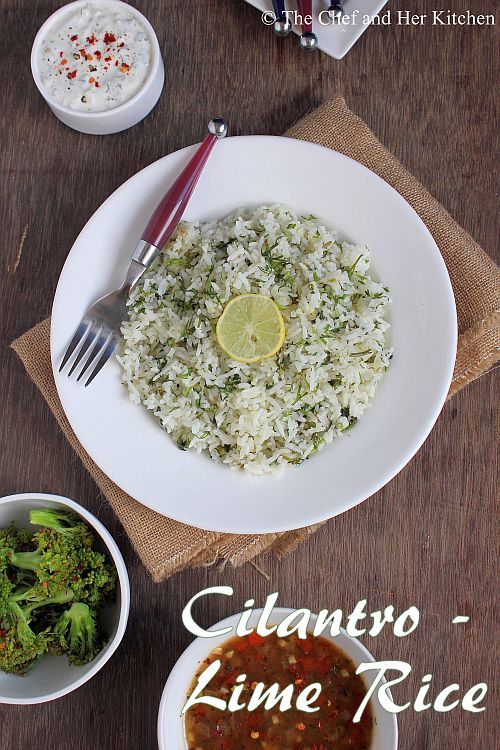
Cilantro Lime Rice Recipe | Easy Mexican Recipes

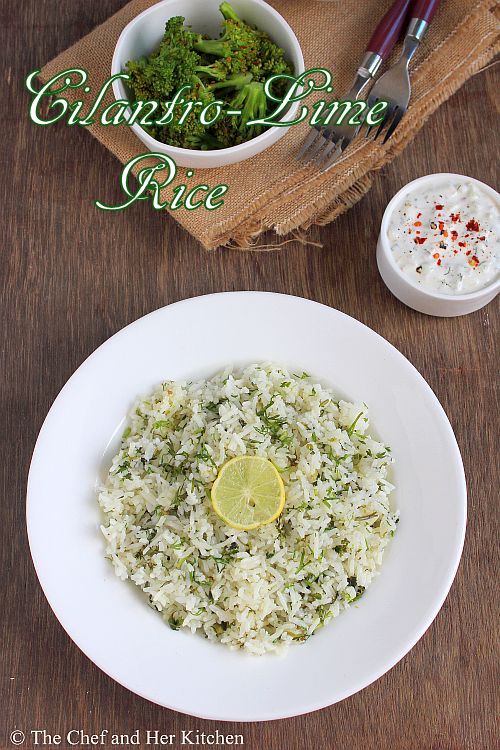
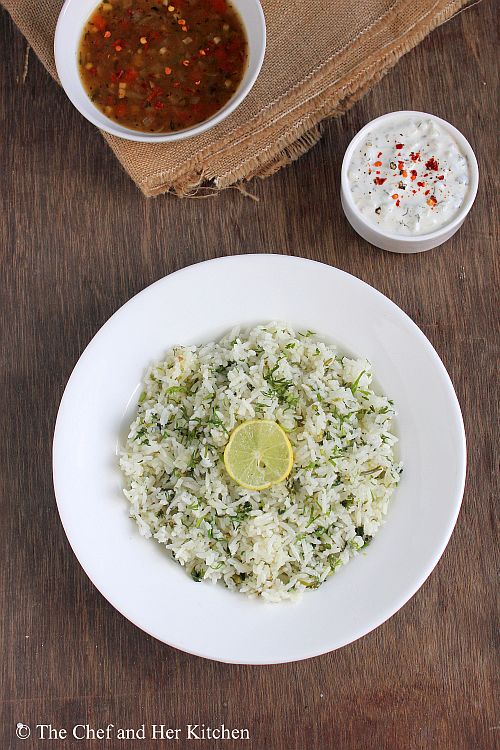
chipotle style cilantro lime rice
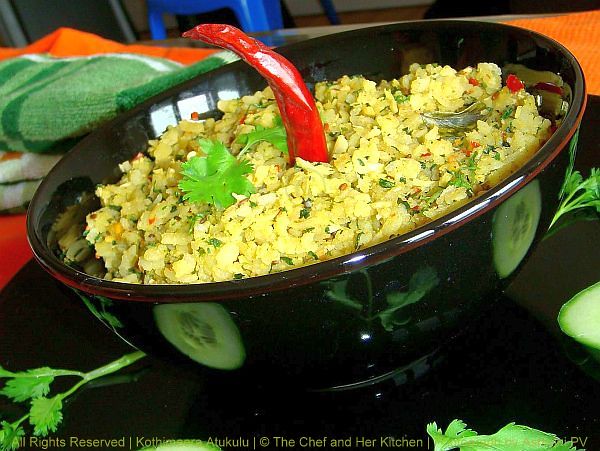
Cilantro lime rice is one of the main components of the famous Chipotle style Mexican Burrito Bowl.It is an easy recipe which can be prepared with minimal ingredients available in the kitchen.You do not need to make the complete Burrito bowl to enjoy this Cilantro-Lime rice.It pairs up beautifully with any spicy dish and I like to pair it with a spicy bell pepper sauce and Cucumber-Sour cream dip or Rajma.
 chipotle style cilantro lime rice

Chipotle style Cilantro Lime Rice Recipe:
(Serves 2)

Ingredients:
1 cup Basmati Rice or Long grain Rice
Juice of 1 big Lime
3-4 tbsp chopped fresh Coriander leaves
1 tbsp Olive Oil/Butter
Salt to taste

Method:
  • Wash and Soak Basmati rice for 10-15 mins.Drain the water and keep it aside.
  • Heat olive oil/butter in a thick bottomed kadai and add rice and fry well until it becomes translucent.
  • Add 2 cups of water and add salt and few drops of lime juice and cover it and cook it on low flame for 12-15 mins until it is cooked completely.Once the rice is done keep it covered for 10 mins.
  • Fluff up the rice with a fork carefully,do not over do this.Add the rest of lime juice,chopped coriander and mix well and keep it aside for 10-15 mins until the flavors blend well.
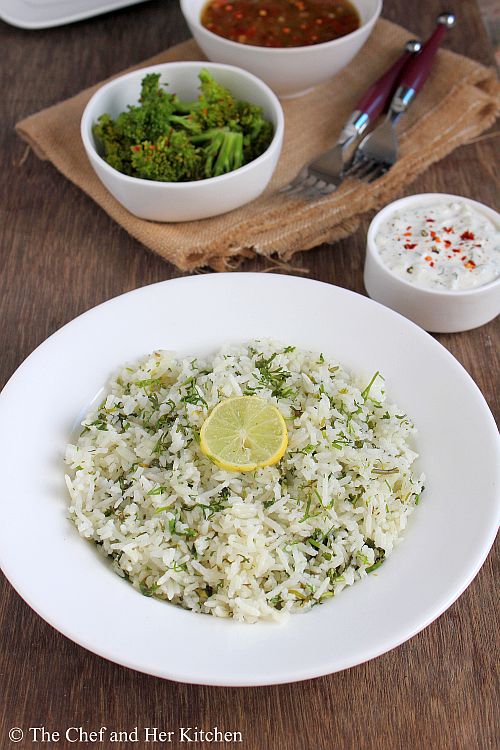
Serve it with any spicy side dish or spicy bell pepper sauce(recipe below) and Cucumber-Sour cream dip like I did.I even served Broccoli stir fry as a side.
You can even use it in your burrito bowl.I like to combine this with Indian Kidney beans -Rajma .
cilantro lime rice
Notes:
  1. Sometimes the rice turn bitter if lime juice is added to rice while cooking,hence I prefer to add it after the rice is cooked.
  2. Adding few drops of lime juice while cooking makes the rice fluffy and would not stick.
  3. You can saute 2-3 finely chopped garlic pods and 1 finely chopped onion in the oil before adding the rice.
  4. If you have vegetable stock in hand,use it instead of water,it makes the rice even more flavorful.
  5. You can use any neutral flavored oil instead of olive oil in the recipe.
  6. You can use this rice to stuff in a burrito with sour cream,salsa and veggies to make a wrap.
cilantro lime rice

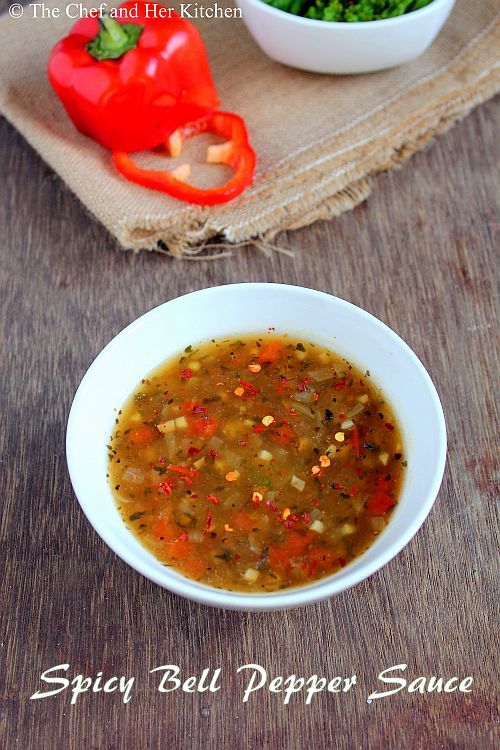
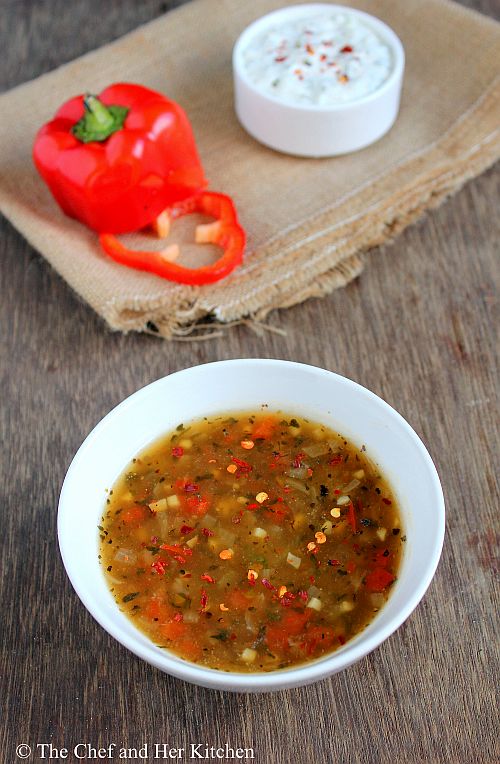
spicy bell pepper sauce

Spicy Bell Pepper Sauce Recipe:

Ingredients:
1/2 Red bell pepper,finely chopped
1/2 Yellow bell pepper,finely chopped
1 small Onion,finely chopped
2-3 big Garlic pods,finely chopped
1 tsp Corn flour
few drops of Vinegar(or Soya sauce)
few drops of Tabasco sauce or Hot sauce
1 tsp Mixed Herbs or Herbs de Provence
1/2 tsp Red chili flakes
1/2 tsp Pepper powder
1 tbsp Olive oil
Salt to taste
Method:
  • Heat olive oil and add chopped garlic and onion and saute it nicely.
  • Add finely chopped bell peppers and saute them for a couple of minute.Keep them crunchy and do not let them become soft.
  • Add red chili flakes and herbs to it and saute for a minute.
  • Add 1 cup of water and let it come to a boil.
  • Add salt and pepper powder to it and mix well.
  • Meanwhile mix cornflour in 2-3 tbsp of water nicely and add this to the boiling mixture and mix it nicely so that no lumps would be formed.Let it boil for 3-4 mins until the sauce becomes thick.
  • Add tabasco sauce, soya sauce or vinegar to it and mix well and switch off the flame immediately.
Serve it with Cilantro lime rice.
cilantro lime rice
Notes:
  1. Adjust the seasonings,sauces according to your taste buds.
  2. I like the hint of soya sauce in the sauce,it is optional.You can add just vinegar or soya sauce or both.
spicy bell pepper sauce

Wednesday, April 17, 2013

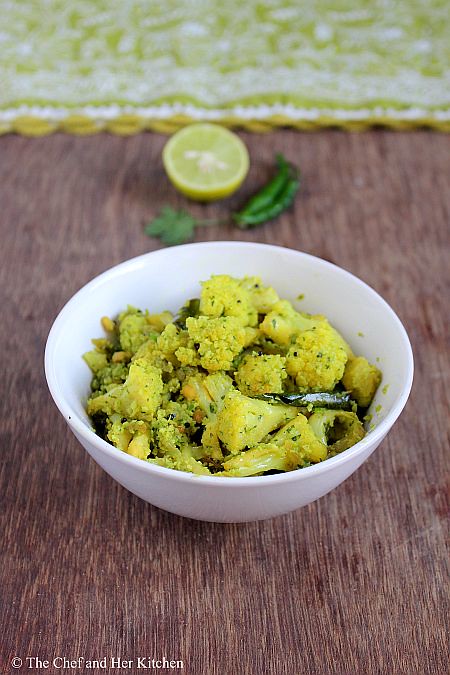
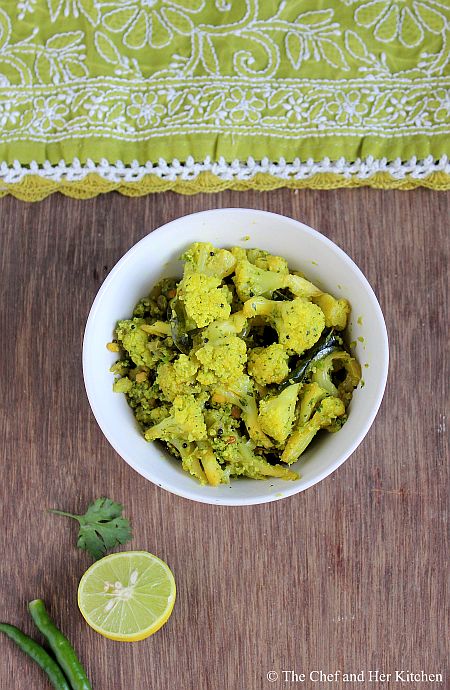
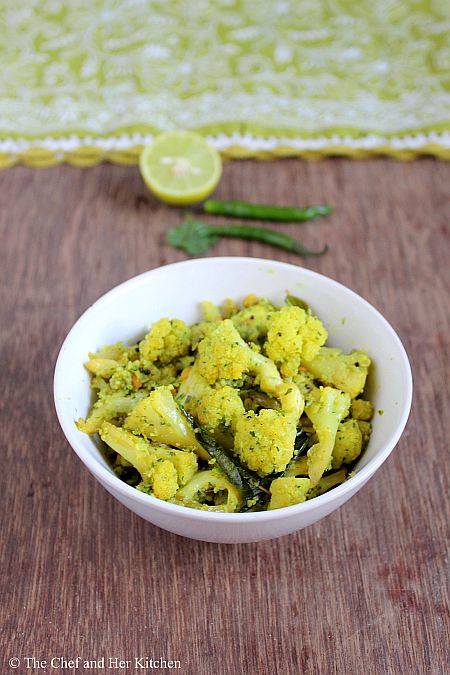
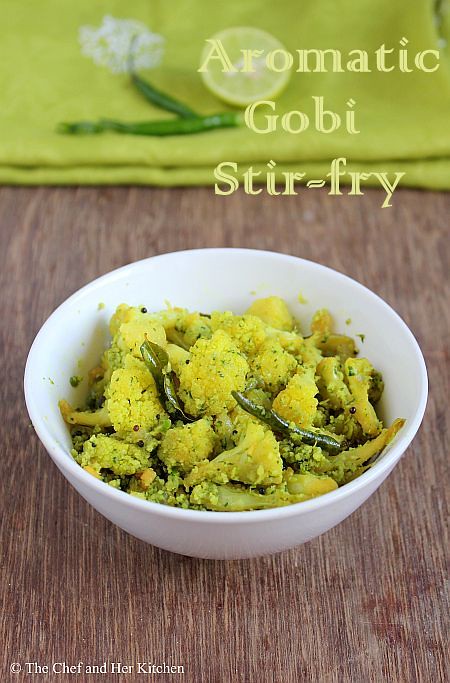
Cauliflower Stir fry | Aromatic Gobi Curry Recipe

Cauliflower is one of those veggies which features regularly in my kitchen and Ajwani Aloo Gobi with mustard flavor is one of my most favorite preparations with it. It serves as a nice combination with rotis. I usually prepare this Cauliflower curry or this simple aromatic Gobi stir fry which tastes well even with rice.
This recipe is quite simple to make and is very aromatic because of the addition of coriander and garlic while pounding the coconut masala.You can adapt this recipe to various vegetables like Potatoes, Ladies finger, Tindora, Clusterbeans, French beans, Long beans, Brinjal and Cabbage and follow the same process but adjust the cooking time accordingly. While a few vegetables like potatoes needs to be cooked first others such as cluster beans, french beans, long beans are to be steamed , the rest of the veggies listed above should be sauteed in oil until they are done.Now let's see how this simple and versatile recipe is prepared.
cauliflower stir fry

Cauliflower Stir Fry | Aromatic Gobi Curry Recipe:
(Serves 2)

Ingredients:
1 small Cauliflower,cut into small florets
1 Onion,finely chopped
juice of 1/2 Lemon
a sprig of Curry leaves
1/4 tsp Turmeric powder
1 tbsp Chana dal
1 tsp Urad dal
1/2 tsp Mustard seeds
2 tbsp Oil

to grind:
1/4 cup grated fresh Coconut
3-4 Green chillies
3-4 Garlic cloves
2-3 tbsp chopped Coriander leaves
Salt to taste

Method:
  • Clean and check the cauliflower florets and add them to the boiling water with salt and turmeric powder and switch off the flame and leave them aside for 2-3 mins.Drain and keep them aside.
  • Heat oil in a kadai/pan and crackle mustard seeds and add chana dal and urad dal and fry until they become golden in color.
  • Add curry leaves and finely chopped onion and fry well until they turn pink in color.
  • Now add drained cauliflower florets and fry for 2 mins.
  • Add 2-3 tbsp of water and cover it and cook it on low flame for 7-8 mins until the cauliflower is cooked.Take care that it should not become mushy,it should be cooked and firm to touch.
  • Meanwhile grind grated coconut with green chillies,garlic cloves,coriander leaves and salt to a coarse paste.Do not add water while grinding it.
  • Add the ground masala to the cooked cauliflower and fry it for some time and cover it and cook for 2 mins.
Serve it hot with Roti/Rice/Chapati.
Notes:
  1. You can skip onion and garlic in the recipe if you are preparing on festivals.
  2. Soaking the cauliflower florets in salted water will remove if there are any insects in cauliflower.I always do this even after checking the florets to make sure for myself.

Also check out other cauliflower recipes in my blog:

Friday, February 1, 2013

Green Chutney for Chaats | Mint Coriander Chutney

Green Chutney and Meetha Chutney plays a major role in preparing any chaat varieties and any chaat is incomplete with out these chutneys. I always prepare these chutneys in large portions and store these chutneys in my refrigerator. If the green chutney is stored in refrigerator it looses its color quickly,hence I always store it in freezer. This way it retains it freshness as well as color for long.As I store it in the freezer,in order to avoid the ice formation in the chutney I usually do not add water while grinding the chutney which makes it easy to scrape when needed.

Green Chutney Recipe:

Ingredients:
1 big bunch(4 cups loosely packed) Mint leaves
1 medium bunch(3 cups loosely packed) Coriander leaves
8-10 Green chillies
1 1/2" Ginger,peel the skin
1 tsp Chaat masala
1 tsp Kala namak(black salt)
1/2 tsp Salt(to taste)
1 tbsp Sugar
juice of 1 big Lemon

Method:
  • Wash and drain the mint leaves,coriander leaves in a colander for 1 hour.You do not need to dry them completely but make sure you drain all the excess water.
  • Wash and wipe the green chillies and ginger and cut the ginger into pieces.
  • Grind mint leaves,coriander leaves with green chillies,cut ginger, chaat masala, salt, kala namak, sugar and lemon juice to a fine paste.
  • It is always advised to taste the chutney once and adjust the seasonings according to your taste buds. 
  • I usually do not add water while grinding the chutney,I try to grind the chutney by adding the lemon juice in intervals.
  • Store it in a container in fridge or freezer safe container in the freezer.If it is stored in refrigerator it stays good for upto a week -10 days.If stored in freezer,it can be stored for long upto a month or two.You need to scrape a small portion with a spoon when needed and keep the remaining portion back in the freezer.
Notes:
  1. As I prepare it in a larger portion and freeze it I usually do not add water while grinding the chutney,I try to grind the chutney by adding the lemon juice in intervals.
  2. If the chutney is stored in refrigerator it stays good for upto a week -10 days.If it is stored in freezer,it can be stored for long upto a month or two.You need to scrape a small portion when needed and keep the remaining portion back in the freezer.
  3. If you are going to use the Green chutney instantly you can add a small onion or 1/2 cup Besan sev while grinding.It tastes nice with samosas or any other snack items.

Thursday, January 24, 2013

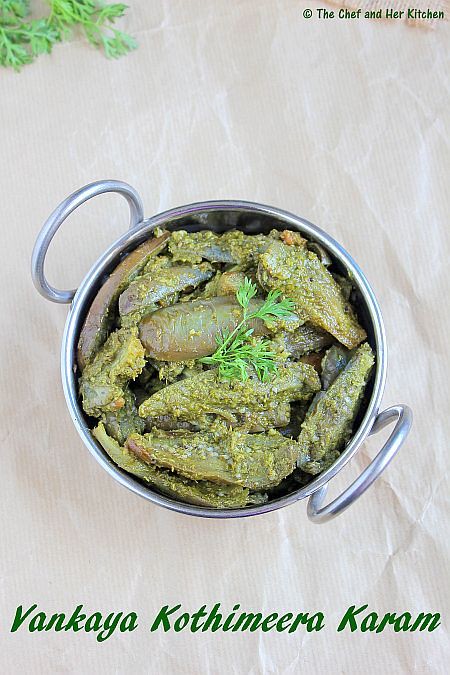
Vankaya Kothimeera Karam | Brinjal Recipes

I have posted various Stuffed Brinjal recipes in my blog and all were a huge hit among my readers. I just love Brinjals and I somehow can't stop myself buying those tiny purple brinjals when I see them.My first preference would be either Bagara Baingan or any stuffed variety of brinjal like Vankaya Kobbari Karam,Vanakaya Ullipaya Karam,Gutti Vankaya(will post it some time later) or Vankaya Kothimeera Karam.
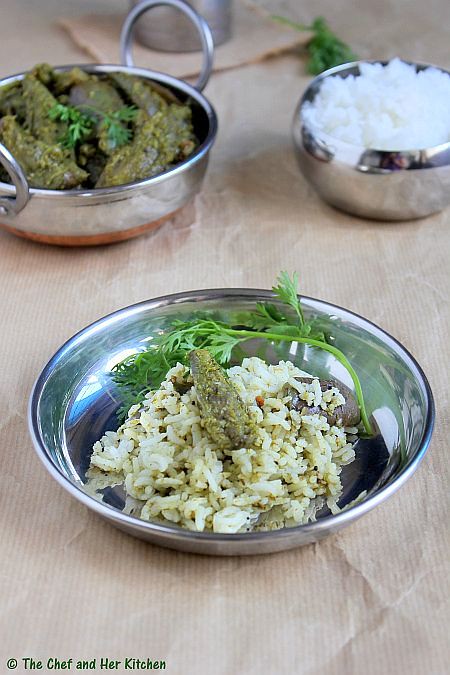
Today I am posting another famous Andhra recipe with Brinjals,one can either stuff them with the aromatic coriander stuffing or it can be prepared like a curry by cutting the brinjals into pieces.This is a very simple yet delicious and aromatic curry as it is loaded with lots of coriander.It pairs well with rice and even roti/chapati.If you have not tried this before do give a try,I am sure you will definitely like this.
 
Vankaya Kothimeera Karam | Aromatic Brinjal Coriander Curry Recipe:
(Serves 2)

Ingredients:
250 gms small Brinjals
2 cups loosely packed Coriander leaves
2 tbsp freshly grated Coconut
5-6 Green chillies
1/2" Ginger
1 tsp Cumin seeds
1 tsp Tamarind pulp
a sprig of Curry leaves
1/2 tsp Mustard seeds
2 tbsp Oil
Salt to taste

Method:
  • Cut each brinjal into 4 pieces and if you are using big brinjals cut them into 1" or 2" pieces.Drop them in a salted water for 10 mins,this way it will remove the bitterness if any in the brinjals.
  • Grind coriander leaves with grated coconut,cumin seeds,green chillies,salt and tamarind pulp to a smooth paste.
  • You can follow any of the two methods which I mention below to make these stuffed eggplants.
  • option-1: Heat oil in a small cooker and crackle mustard seeds and add curry leaves and add brinjal pieces and fry for 2 mins and add a generous pinch of salt on the eggplants.Add ground coriander paste and give a stir and fry for 2-3 mins and cover it with lid and pressure cook for 1 whistle on medium-high flame.Let the pressure drops off on its own.Open the cooker and check if any water is residing,if there is any water content switch on the stove and cook for 2 minutes on high flame with the lid open until water evaporates.
  • option-2:Heat oil in a wide kadai and crackle mustard seeds and add curry leaves and add brinjal pieces and fry for 2 minutes.Add a generous pinch of salt on the eggplants and give a stir  and add ground coriander paste and fry for 3-4 mins.Cover it with a deep lid and pour water and in the lid and let the eggplants cook with the steam produced in this manner over low flame.It takes roughly 12-15 mins.Keep checking in between and also stir once in a while.If the water evaporates in the lid add some more water to it,otherwise the eggplants will get burnt.
Serve them hot with hot rice,ghee and papad.You can serve it as a side dish for rasam,sambar and dal rice.It also pairs well with Roti/Chapati.

Notes:
  1. You can stuff the same mixture in baby eggplants and follow the same process.
  2. Adjust the spiciness according to your requirements. 
  3. You can even add a tbsp of fried gram while grinding the masala.
 

Monday, January 7, 2013

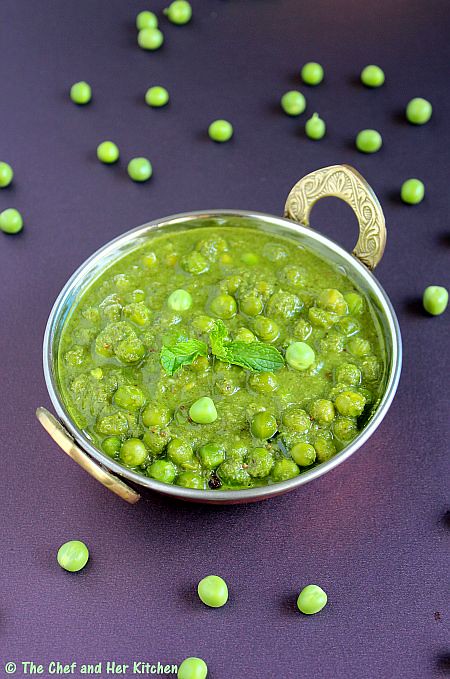
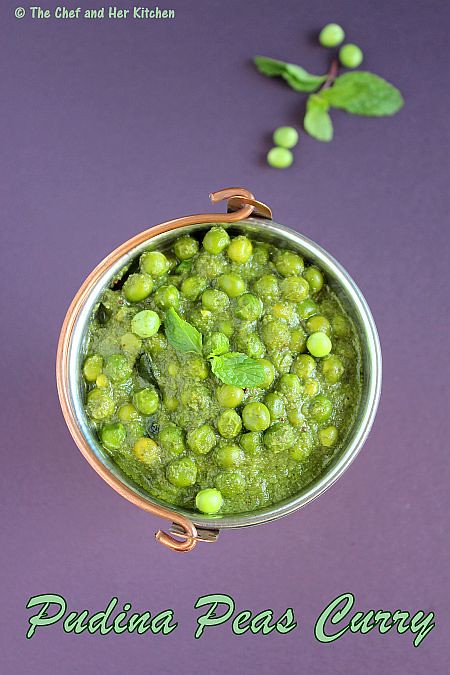
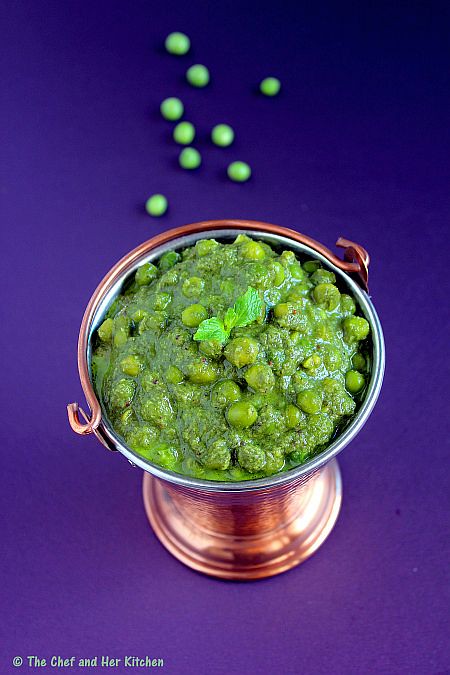
Pudina Peas Curry | Fresh Peas Masala Gravy

Fresh Peas are abundantly available in the markets these days and I am preparing lots of recipes using fresh peas like dry curries,tikkis,as a stuffing in parathas and various gravies.
I have tasted this Pudina Peas Gravy for the first time at my aunt's place long back during one of my visits to Bangalore and it was definitely a winner recipe for me.I still remember the taste of the curry which was really refreshing and a very delicious gravy.This is a typical south Indian gravy which is really delicious and is well balanced with the sweet fresh peas spiced up in the aromatic mint gravy.It is also a perfect recipe to make on any day as the recipe does not call for any onions and garlic.There are no masalas added in the recipe too,But I do add a few cloves and cinnamon in the tempering which is optional.In Kannada this Pudina Peas gravy  is called 'Hasi Batani Kaalu Gojju' where 'Hasi Batani Kaalu' stands for 'Fresh Peas' and 'Gojju' is typically a South Indian style 'Gravy'.
If you get hold of fresh peas,I would strongly recommend you to try this at least once as this is one of my favorite gravies and also use only fresh green peas for this,do not use frozen or dried variety for this.I would suggest you to try this Pudina Peas gravy with triangular folded chapatis like the south Indian way (where oil is applied in the inner layers and folded and rolled to a triangular chapati) instead of rotis as they pair up extremely well with the chapatis.
Pudina Peas Curry | Hasi Batani Kaalu Curry Recipe:
(Serves 2)

Ingredients:
2 cups fresh shelled Green Peas
1 cup loosely packed fresh Mint leaves
1/2 cup loosely packed  fresh Coriander leaves
1/4 cup grated fresh Coconut
7-8 Green chillies(adjust the quantity)
1 tbsp Fried gram
juice of 1/2 Lemon
1/2" Cinnamon(optional)
2-3 Cloves(optional)
a sprig of Curry leaves
1/2 tsp Mustard seeds
2 tbsp Oil
Salt to taste

Method:
  • Microwave the fresh green peas for 3-4 mins with a pinch of sugar.This will make sure the peas retain their green color through out the cooking process.Drain and keep them aside.
  • Heat a tsp of oil in a pan and add green chillies and saute until you see some blisters forming on them.
  • Grind mint leaves with coriander leaves,grated coconut,fried gram and fried green chillies to a smooth paste.Open the jar and keep otherwise you will loose the green color if it is closed for long.
  • Heat the remaining oil in the kadai and crackle mustard seeds and add cinnamon and cloves and let them splutter.
  • Add curry leaves and boiled and drained fresh green peas and fry for 2-3 minutes.
  • Add ground mint masala and fry the masala for 5-6 mins until the oil leaves the edges and the raw smell disappears.
  • Add 1 cup of water and salt to it and mix well and let it simmer for another 5 mins.You can cover it with lid slightly so that the gravy does not splutter outside.Do not cover the kadai/pan completely with the lid otherwise you will loose the lovely green color of the gravy.
  • Switch off the flame and add lemon juice to it and mix well.
Serve it hot with triangular Chapati/Parotta/Rotis or even Jeera rice.
 Notes:
  1. The addition of cinnamon and cloves is optional,in general we do not add it but its your wish to add it or not.
  2. You can add a small piece of ginger while grinding the mint paste.

Friday, June 10, 2011

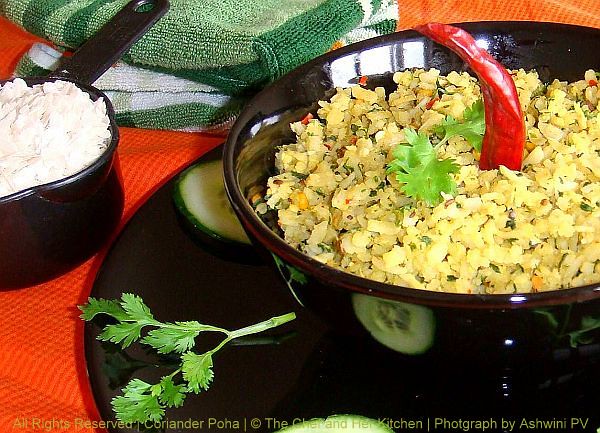
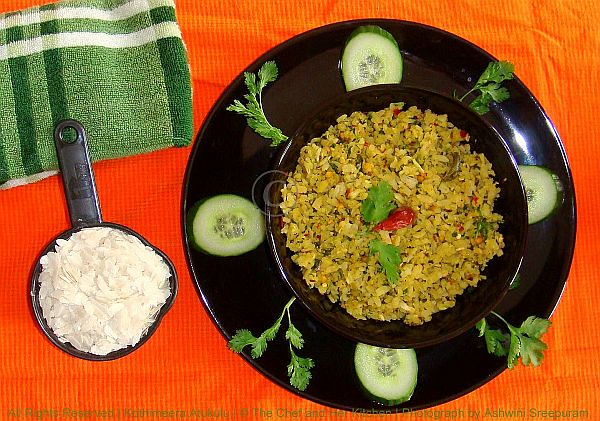
Kothimeera Atukulu/ Dhaniya Poha/Kothambari Avalakki.....FFF#7

This is the 7th successful week for my Family Food Friday series and I am all excited for the coming weeks as well as I am getting many more interesting entries for this series.If you have missed any of the previous posts in this series,check them here.
Today's entry is sent by my S-I-L 'Ashwini',who was the first one to send an entry for my series,check her earlier entry here.
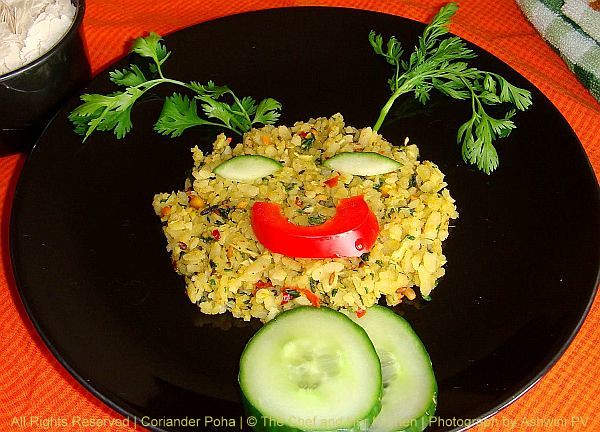
I have already posted three versions of poha-'Gojju avalakki','Lemon Poha' and 'Coconut poha' in my blog which are regularly prepared in our house.This is another variety of poha which is made at my SIL's place which is made in a different way and is apparently Mangalore style.This is really flavorful and aromatic because of the liberal usage of coriander and this recipe can be even adapted to make mint variety replacing coriander in the recipe This is a ideal snack or breakfast during festivals and ekadasi as it does not use onions or garlic in the recipe.
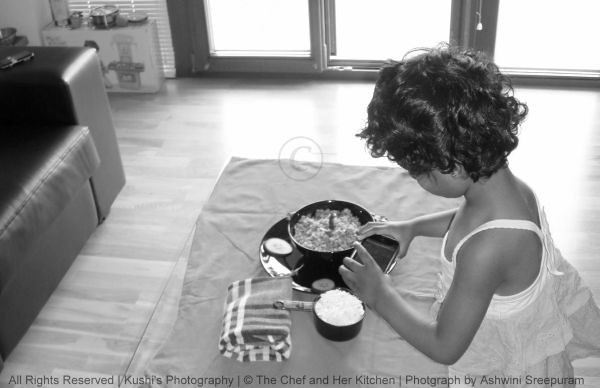
When my SIL was clicking the photographs my 2+ yr old niece herself picked my SIL's i-phone to capture photos of the set up,this tiny girl wants to do everything what my brother and SIL do.She has become very naughty now and look at this photo how she was trying to capture the photograph with those tiny hands.

Can you see whats there in the left hand side corner of the above photo?My niece 'Kushi' has her own kitchen and own vessels for cooking and you know what are her specialties? its our family favorite dosa and rotti.Every time we ask her what is being cooked in her kitchen she always says either dosa or rotti or fried rice.I am sure she will definitely take over my blog space one day.You know she can take decent photographs with i-phone and also can play her favorite rhymes,games,photo slide shows in i-phone and she can even operate skype(she knows just to call and end the call..he he).She always surprises me with her new talent everyday,Kudos to this generation kids!!

Ingredients:

2 cups flattened rice/poha/atukulu/avalakki
1/2 cup grated fresh coconut
1 1/2 cup fresh coriander,chopped
1/4 tsp tamarind paste
1/4 tsp turmeric powder
1 tsp grated jaggery (optional)
1 tbsp chana dal
2 tsp urad dal
8-10 curry leaves
2-3 tbsp oil
salt to taste

to roast and grind:
4 - 6 red chillies
3/4 + 1/2 tsp mustard seeds
1 tsp jeera/cumin seeds

Method:
  • Wash poha thoroughly and leave it aside. (I used the thin variety,if you are using the thicker variety one wash and soak poha in enough water just up to the level of poha for 15 mins and squeeze out the extra water)
  • Dry roast 3/4 tsp of mustard seeds, jeera and red chilles separately and let them cool.
  • Grind the roasted ingredients with turmeric powder, grated fresh coconut, fresh coriander, tamarind paste, jaggery and salt into a paste.Add 1 or 2 tsp of water for grinding if required.
  • Mix the ground mixture well with poha and keep it aside.
  • Heat oil and crackle mustard seeds add chana dal,urad dal and fry until they are golden in color.
  • Now add curry leaves and fry for a minute,add poha mixture and give it a stir until everything is mixed well.
Serve it hot or warm with cucumber salad/coconut chutney/simple raitha.

Variations:
Can replace Coriander with mint in the same recipe for a refreshing taste.

This is how my SIL has decorated the plate for my niece,how cute is that naa!!


Monday, December 6, 2010

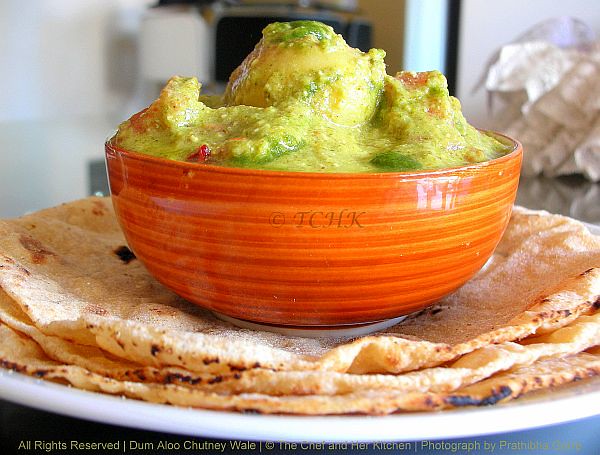
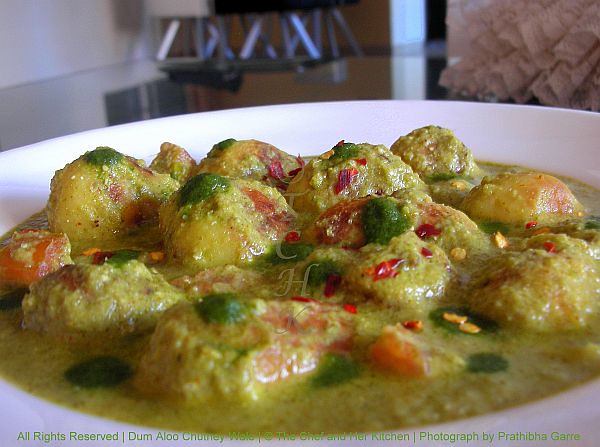
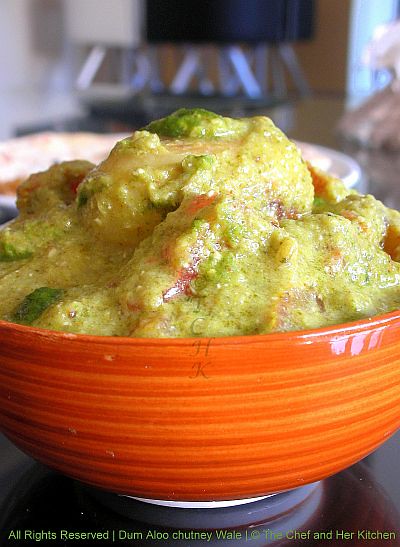
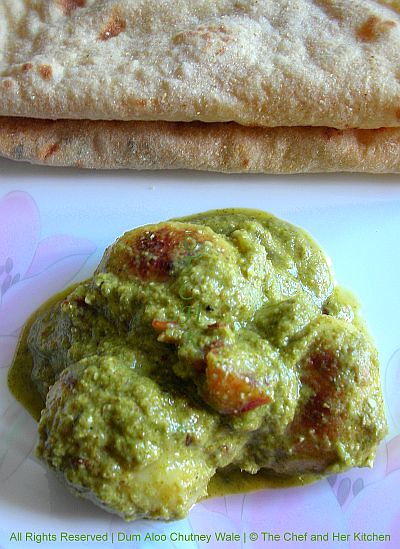
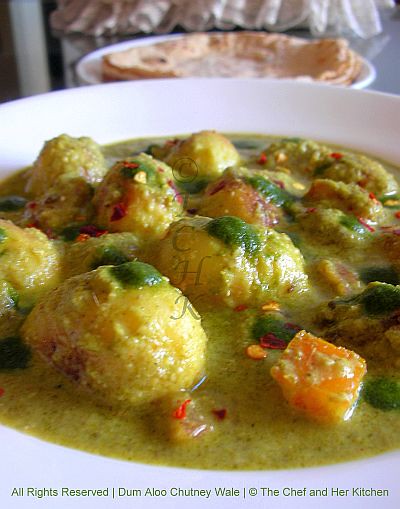
Dum Aloo Chutney Wale

I have already posted a recipe for Dum Aloo here,but this version is quite different from the regular Dum Aloo recipe.The addition of ground mixture of greens,sourness from the beaten yogurt,richness from magaz paste,dum cooking takes the taste of this curry to a different level and is really a great party recipe.One should follow some critical tips while cooking the gravies based with curds or milk,if we do not follow them we will end up having curdle mixture.The entire process of cooking this gravy is done without closing the lid and cooked over a low flame in order to retain the green color of the gravy.Try it once and I am sure you will definitely love it.

(Recipe Source : Nita Mehta)
Ingredients:


10-12 baby potatoes or 3 big potatoes,cut into 4 pieces

for chutney:
1 cup fresh coriander
1/2 small raw mango or 1/2 tsp amchur powder
1/2 cup mint
4 green chillies
1/2 tsp salt
1/2 tsp sugar

for gravy:
4 tbsp oil(I used just 1 tbsp oil)
2 onions,ground to paste
1 tbsp Ginger-Garlic paste1 tsp cumin seeds
1/2 tsp red chili powder
1 cup yogurt beaten,mix with 1 1/2 cups of water
2 tbsp cashewnuts or 1/4 cup magaz seeds(watermelon seeds)
1 tomato,finely chopped
1/2 tsp Garam masala
salt to taste


Method:
  • Wash potatoes and pressure cook for 1 whistle and peel them.The original recipe asked for deep frying the peeled potatoes with out cooking them.But I shallow fried them in a spoon of oil until brown by turning them over in between.
  • Grind the ingredients mentioned under the section chutney to a smooth paste.
  • As I used magaz(watermelon) seeds,I ground them with 4 cashew nuts to a smooth paste using little water.The original recipe called for only cashew nuts but I like the special taste of magaz seeds in the gravy.
  • Beat yogurt properly and mix with the ground magaz/cashew nut paste and keep it aside.
  • Heat oil in a kadai,add onion paste and fry until the oil leaves the masala.
  • Add jeera and stir fry for a minute.
  • Add ground chutney and red chili powder and stir for a minute.
  • Remove the kadai from fire and keep it aside for a minute.Add yogurt-cashew nut/magaz mixture and stir it and keep it back on the flame.Stir continuously and cook over a low flame till it comes to boil.This step is critical,if you do not do it carefully you will end up having curdle mixture.Do not cover kadai while cooking this.
  • Now add the fried potatoes and salt.Simmer uncovered for 5 mins until oil leaves the masala and gravy thickens.
  • Add finely chopped tomatoes and garam masala and stir well and bring to a boil.
Serve it hot with Roti/Naan/Kulcha/Jeera rice/Biriyani.

Note:
Do not cover the kadai with lid while cooking the gravy as it changes the lovely green color of the gravy.


This is again going to participate in Sara's "Only Greens" event started by Pari of Foodelicious.
clip_image003[8]
I am going on a vacation and would be away for two weeks from blogging.I will try peeping into your blogs whenever I get a chance,but I apologize as I would not be commenting to your wonderful posts.I will see you guys only after christmas.
 
back to top