Showing posts with label Karnataka. Show all posts

Monday, February 19, 2018

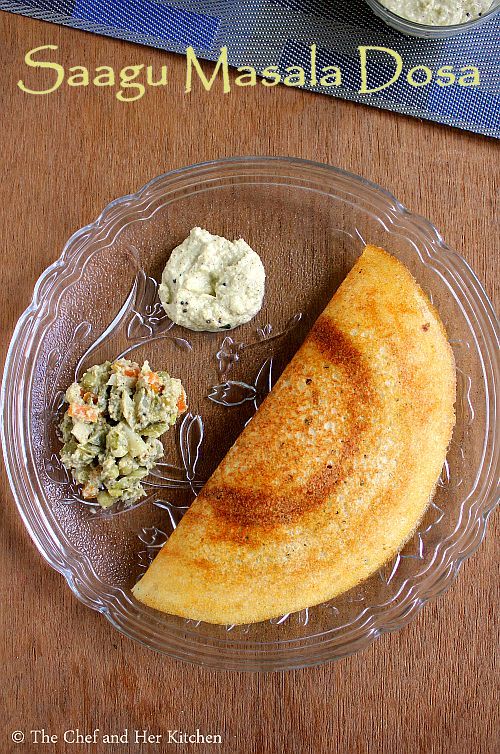
Sagu Masala Dosa Recipe

sagu masala dosa
Sagu Masala dosa recipe with step by step photos.Sagu is a typical karnataka style mixed vegetable curry made out of coconut paste with few spices which makes it unique in taste.Usually Sagu is eaten with set dosa or poori and you can even pair it with simple pulav or can be eaten with chapati/roti too.
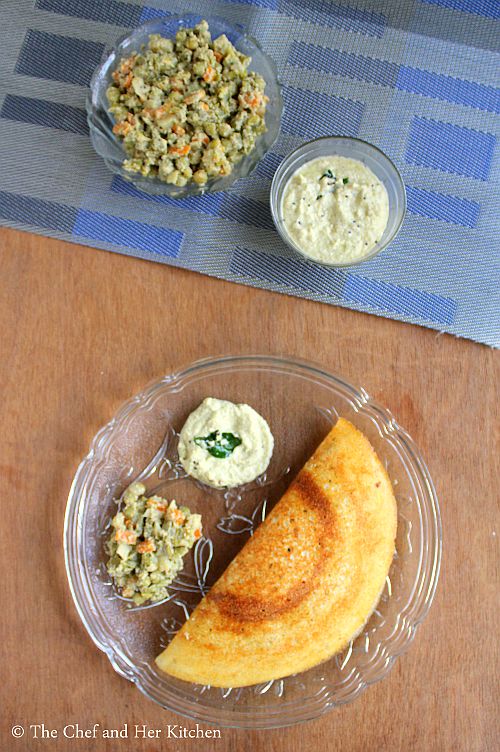
sagu masala dosa
I love to eat masala dosa any day and I try to cover many of my favorite dosa joints during my trip to Bangalore.You get the best masala dosa in Bangalore and I have mentioned in many of my earlier posts how the masala dosa available in bangalore is different from the other parts of the country.There is another version of masala dosa called Sagu masala dosa which is available only in few hotels.If I see Sagu masala dosa in the menu that would be my obvious choice than the masala dosa as I love the sagu masala dosa very much.A generous serving of thick sagu is smeared inside the dosa instead of the regular potato masala which makes it quite unique in taste.
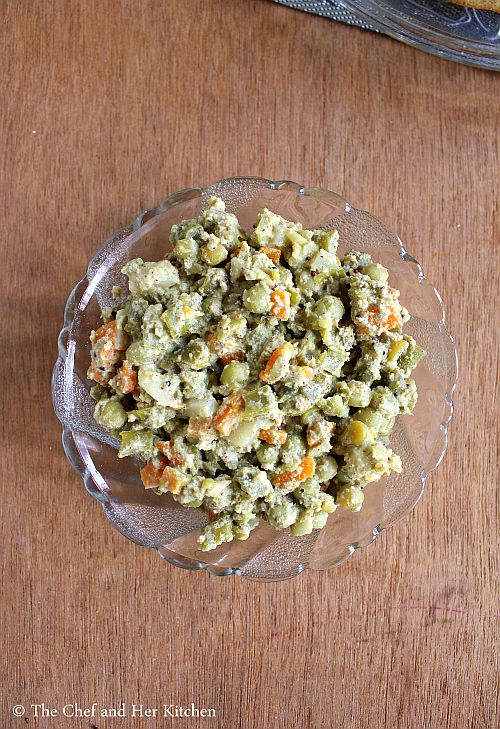
vegetable sagu
We are lucky to have MTR in Singapore to satisfy a good masala dosa craving for a Bangalorean.Most of my trips to MTR would be having this sagu masala dosa as a constant order apart from Set dosa,Bisebele bath etc.I have not clicked step wise pics for this post but will update the space when I do next.
Check out other stuffed dosa varieties in my blog:
sagu masala dosa
Here is how to make sagu masala dosa with step by step photos:
Sagu Masala Dosa Recipe:
Serves 3-4 | Author: Prathibha
Prep time: 20 mins | Cooking time: 20 mins | Total time: 40 mins + fermentation time
Cuisine: Karnataka | Category: Breakfast

Ingredients:
for Dosa batter:
2 cups Raw Rice
1 cup Idli Rice/Par boiled Rice
3/4 cup Poha/flattened Rice
3-4 tbsp Urad dal
1 tsp Methi(Fenugreek) seeds
Salt,to taste
1/8 tsp Cooking soda

for Vegetable Sagu:
2 cups of finely diced Mixed Vegetables(Carrot,Potato,Beans,Green Peas,Cauliflower)
1 Onion,roughly chopped
1/2 tsp Mustard seeds
2 tbsp Oil/Ghee
Salt to taste


ingredients to grind for Sagu:
1" Cinnamon stick
4-5 Cloves
1-2 Marathi Moggu
1/2 cup fresh grated Coconut
1 tbsp Khus khus
1 tbsp Fried gram
5-6 Green chillies
a handful of chopped Coriander leaves,optional
1 tsp Oil

Method:
to prepare dosa batter:
  • Soak both the rice together with methi seeds for 5-6 hours and soak urad dal with poha in another vessel for 3-4 hours.
  • Wash the rice and urad dal+poha separately.
  • Grind urad dal with poha to a smooth batter in the wet grinder and add rice to it and grind until smooth by adding enough water.
  • Remove the batter to a vessel and add enough salt and little rinsed water(from the grinder bowl) and mix it nicely with the hand and cover it and let it ferment for 9-10 hours.
to prepare Vegetable Sagu:
  • Heat a tsp of oil in a kadai/pan and add green chillies and fry them, but be careful as the whole green chillies might burst.You can make a small slit if you want to avoid bursting.Add cinnamon,marathi moggu and cloves to it and fry for sometime.
  • Grind the fried ingredients with grated fresh coconut,khus khus, fried gram, coriander leaves and make it into a smooth puree.
  • In a cooker,heat oil crackle mustard seeds and fry chopped onions until pink.Now add vegetables and fry until they are slightly crisp.
  • Add the ground masala and fry until the mixture leaves the oil and then add enough salt and 1/3 cup of water and pressure cook for 1-2 whistles(do not over cook).Once the pressure is released add lemon juice to it and give a good stir.
to prepare Sagu Dosa:
  • Take required amount of fermented batter in a bowl and add little water to get the pouring consistency and add cooking soda and mix it nicely.
  • Heat a thick dosa tawa and sprinkle some water to make sure that the tawa is hot.
  • Pour a big ladle of batter onto a medium hot pan and spread it in the circular motion towards the outer edge to form a uniform round shaped dosa.Do not make this dosa either very thin nor very thick.
  • Pour 1 tbsp oil/ghee approx over it and around the edges and cover it with a lid.
  • Let it roast on medium-high flame for 1-2 mins,remove the lid and spread 3-4 tbsp of vegetable sagu on the dosa and increase the flame and roast for another 1 minute.Fold it and serve.You can even spread coconut chutney on the dosa and place the sagu one side and then fold it.
  • Reduce the flame for one minute and hten start preparing the next dosa.Do not pour the batter on high flame,the batter will stick to the tawa.If you feel the tawa is over heated sprinkle some water over it before making next dosa.
Serve the sagu dosa hot with coconut chutney and sagu on the side.

Notes:
  1. As the quantity of urad dal is less this batter needs more fermentation time.If your dosa is porous you can avoid adding cooking soda else you can add little bit and then make dosas.
  2. Sagu needs to be thick as we are placing it inside the dosa and hence if you feel the sagu is slightly thin,put it on high flame until the water evaporates a bit and become a thick gravy.
  3. You can prepare masala dosa using the same batter, it comes out super crispy outside and spongy inside.
              sagu masala dosa

Wednesday, January 3, 2018

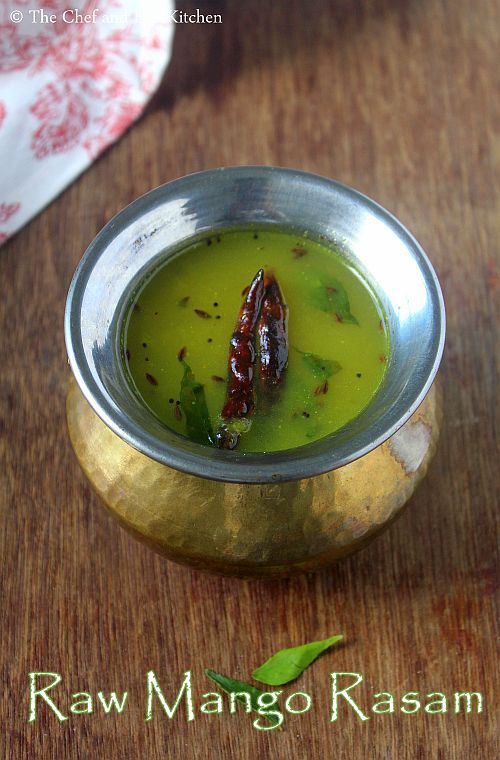
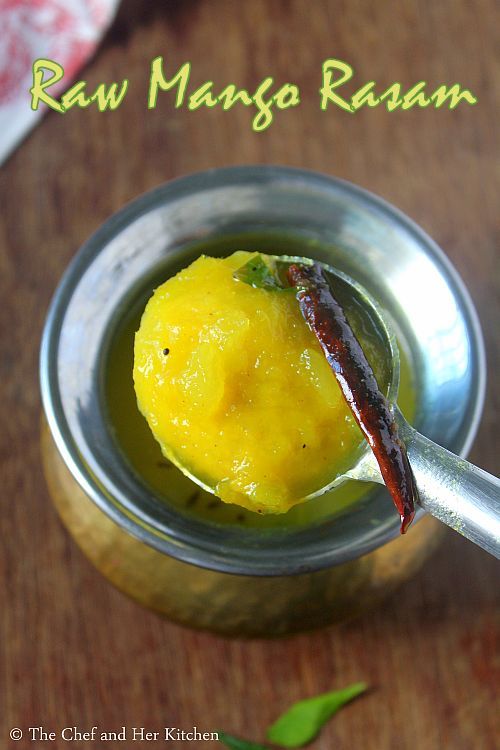
Raw Mango Rasam | Maavinkay Saaru

raw mango rasam
Raw mango rasam with step by step photos.A typical south Indian meal always comprises of a rasam variety and it is my comfort food too. I am always happy to eat a simple meal of rice with a vegetable fry and rasam and would not complain about the other missing varietes as in a typical south Indian thali.My most favorite rasam varieties are Karnataka style Bele Saaru, Holige Saaru and Tomato Rasam but there are few other varieties like mint rasam,pacchi pulusu, pepper rasam, mango rasam, tomato dal rasam which I thoroughly enjoy too.
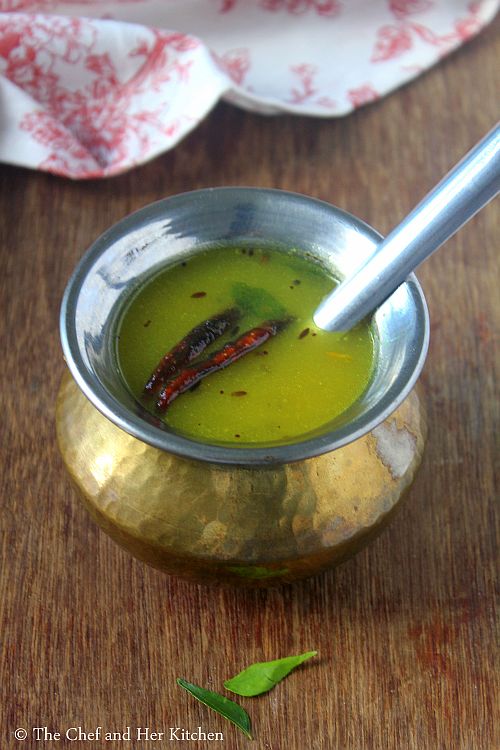
raw mango rasam
Preparing a good rasam is again an art, not everyone can prepare a well balanced rasam which makes a lip smacking meal when mixed with hot rice and paired with fryums.I do not like very thin rasam which is flavorless, the rasam should be of right consistency and even though it is thin it should not lack the flavors and should be perfectly balanced in taste.My FIL is a big fan of my rasam varieties, he always get excited the moment he sees a rasam on our lunch table.A simple rasam rice is always a comfort meal for south Indians like how a dal chawal is a comfort food for north Indians.
Check out other rasam varieties in my blog - 
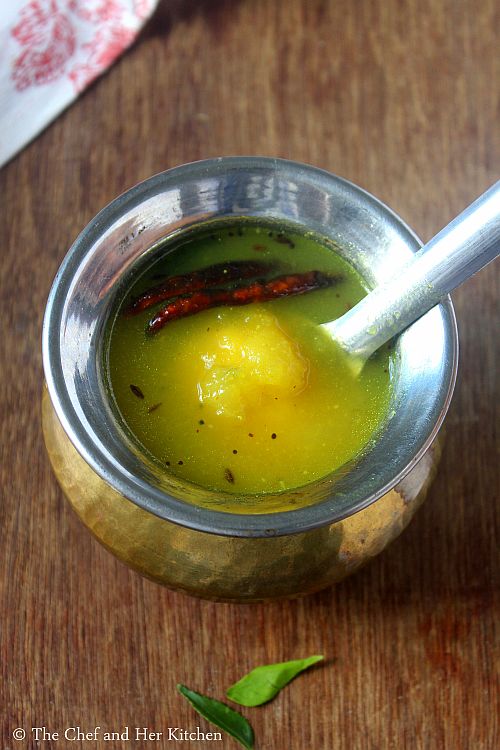
raw mango rasam
Here is how to make raw mango rasam recipe with step by step photos.
Raw Mango Rasam Recipe:

Serves 2 | Author: Prathibha
Prep time: 5 mins | Cooking time: 25 mins | Total time: 30 mins
Cuisine: South Indian | Category: Main Course - Side dish

Ingredients:
1 raw Mango
2 Green chilies
1/2 tsp Turmeric powder
2 tsp Jaggery
Salt,to taste

to temper:
2 tsp Oil/Ghee
1/2 tsp Mustard seeds
2-3 Red chilies,broken
8-10 Curry leaves
1/4 tsp Asafoetida

Method:
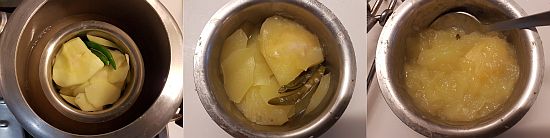
  • Wash and peel the skin of raw mango and cut into slices and reserve the mango seed.In a bowl add cut mango slices,mango seed and green chilies and close it with lid(no need to add water) and pressure cook for 3 whistles.
  • Once it cools down mash it nicely with the back of a spoon or puree it in the mixer.Reserve the mango seed aside.
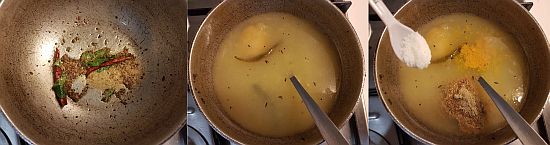
  • In a small pan heat oil/ghee and crackle mustard seeds,add broken red chilies, curry leaves and asafoetida and fry until the red chilies turn slight brown in color.
  • Add mashed mango puree along with the cooked mango seed and 1.25-1.5 cups of water and add turmeric powder, rasam powder,salt and jaggery and bring the rasam to a boil.Check the seasoning and adjust it.Boil it well.
Serve it hot with hot steamed rice,fry and papads.

Notes:
  1. You can add 1/3 cup of cooked and mashed toor dal or moong dal to the rasam while boiling for a different taste.
  2. You can serve it as a soup or hot beverage.
raw mango rasam

Monday, May 29, 2017

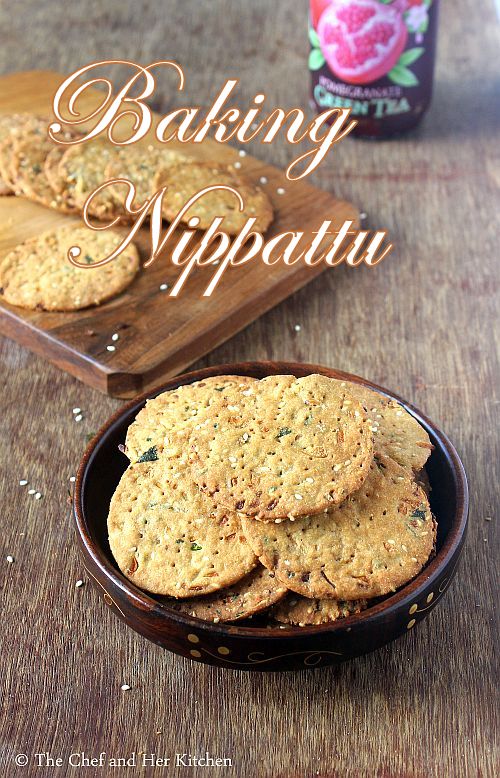
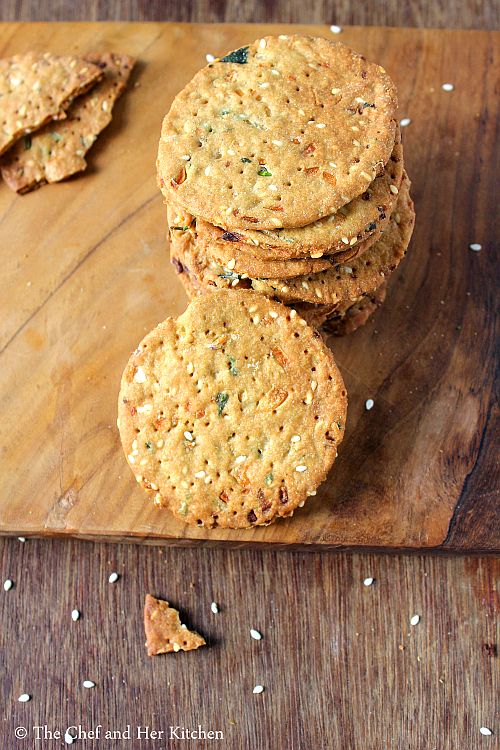
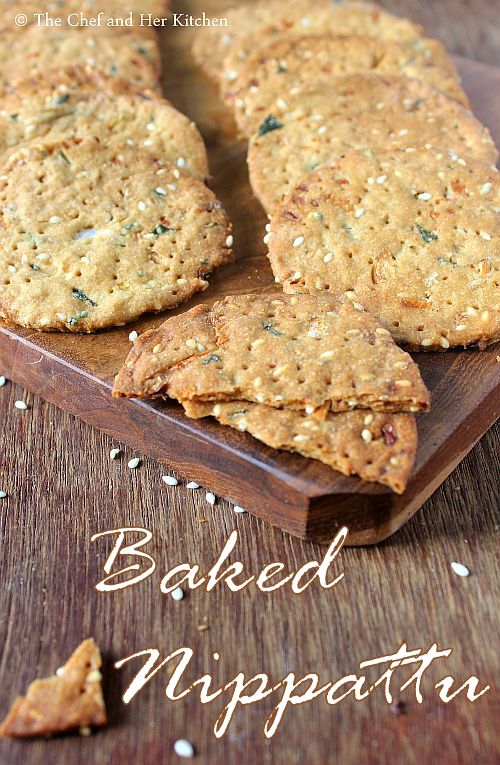
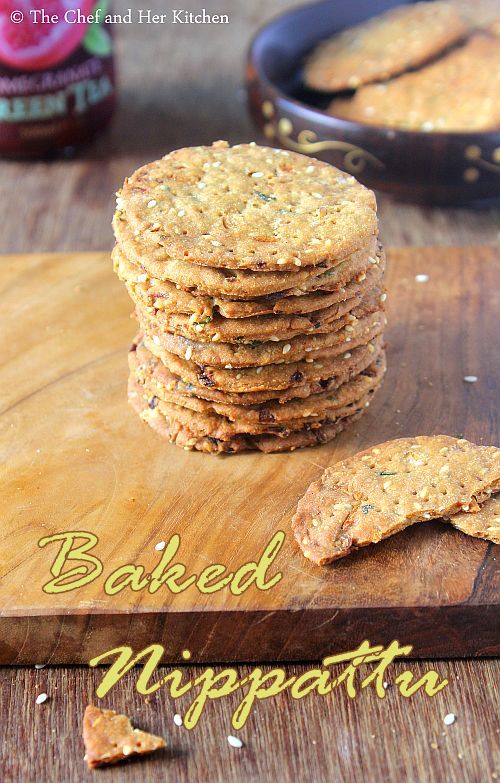
Baked Nippattu Recipe | Iyengar Bakery style Baking Nippattu

baking nippattu
Baked Nippattu recipe with step by step photos. If you have ever visited an Iyengar bakery in Bangalore you would have been familiar with these snacks - Benne Biscuit, Khara Biscuit,Kobbari Biscuit, Palya buns, Baked Nippattu,Honey cake,Plain cake,veg puffs,Khara buns, rusk,Vegetable toast, Khara bread etc to name a few and these are all my favorite goodies among all the available items in the bakery.When ever I visit Bengaluru it is must for me to eat these goodies and carry back few with me while coming back to my place.I usually get Khara buns, plain cake, Khara bread, rusk, mixed bicuits and baked nippattu along with me.Though the shelf life of Khara buns and Khara bread is less we enjoy it as our breakfast and dinner for two days and finish them off while the rest can be stored for a couple of weeks.
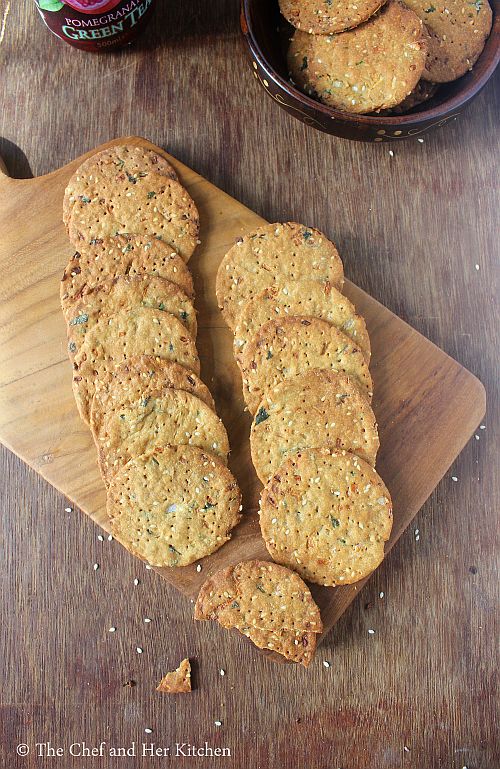
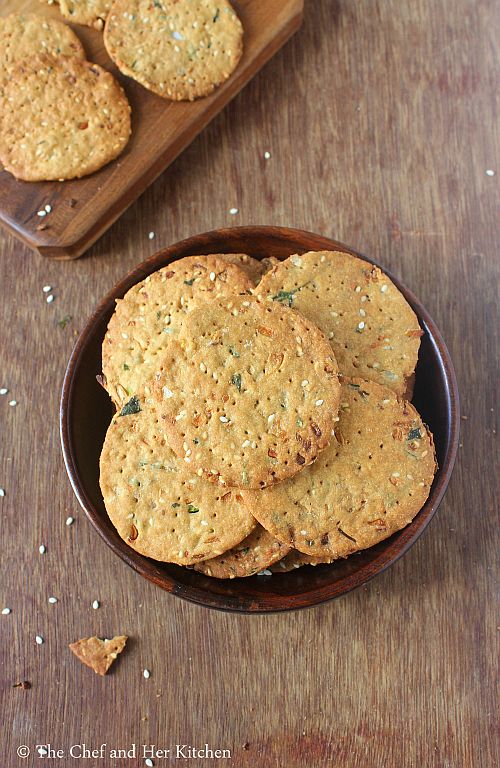
baked nippattu
Baked Nippattu is a baked version of the nippattu but the main ingredients used in the regular nippattu and baked nippattu are completely different.While the regular nippattu is made out of rice flour, baked nippattu is prepared using all purpose flour.Both the versions taste good on their own and I absolutely love both the versions. You can check out how to prepare traditional nippattu recipe here and today I am posting the Iyengar bakery style baked nippattu,which is also known as Baking nippattu.
baked nippattu
The recipe which I am posting today is adapted from Red chilies and it has been tried several times and I have replaced the flour with the wheat flour and have achieved good results.Though it tastes best with the regular flour the ones prepared with the wheat flour are no less in taste compared to the regular flour ones. The key taste factor in these baked nippattus is the onions which are baked to crisp and that gives a sweet hint of taste in every bite.Also, the more thin you roll the more it tastes better.Do try out this simple and delicious baking nippattu recipe and enjoy these homemade goodies with a cup of tea.
baked nippattu
Check out the other Iyengar bakery style snacks recipes in my blog: Khara Bread, Khara Buns, Coconut Biscuit, Vegetable toast.
baked nippattu
Here is how to prepare iyengar bakery style baked nippattu recipe with step by step photos.
Iyengar Bakery style Baked Nippattu Recipe:
Yields 25 crackers
Prep time: 30 mins | Baking time:20 mins | Total time: 50 mins+ resting time
Cuisine: Karnataka | Category: Snacks

Ingredients:
1 cup All purpose flour/Wheat flour
1/2 tsp Baking soda
1.5 tbsp Sesame seeds
1.5 tsp Sugar
3/4 tsp Salt
1 big Onion,finely chopped
2 Green chilies, finely chopped
2-3 tbsp finely chopped Coriander leaves
2 tbsp Butter,melted
3 tbsp Oil
2-3 tbsp Warm water

Method:
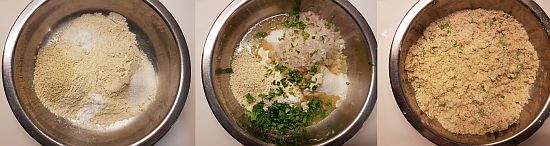
  • In a bowl add flour(or wheat flour) ,baking soda, sesame seeds,sugar and salt and mix nicely.
     
  • Add finely chopped onions, coriander leaves, green chilies, oil, melted butter to the flour mix and mix it nicely.
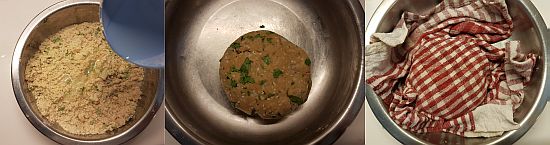
  • Now sprinkle warm water little by little and make it to a tight dough and knead it for a couple of minutes and cover it with a damp cloth and keep it aside for half an hour.
     
  • Preheat the oven at 180 deg C/350 deg F for 10-12 mins.
  • Knead the dough again for a minute and divide the dough into big lemon size balls.
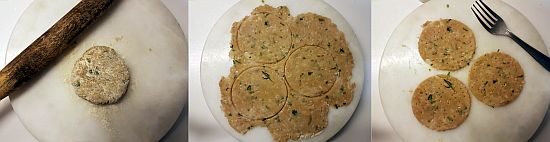
  • Take one ball and dip it in dry flour and roll like a thin chapati. If this does not work place the ball in between two plastic sheets and press it to a thin roti using a puri presser.
  • Use a 2.5" round cutter and cut the rolled roti into circular discs as shown in the picture.
  • Prick them with a fork at a couple of places to avoid them getting puffed up while baking.
     
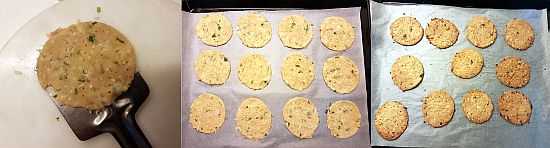
  • I used a flat spatula and lifted it carefully and place it on the parchment paper placed over a baking tray.
  • Now gather the scraps from the cut out circular discs and reroll to make the thin chapati and follow the same process with the left over dough too.Place the circular discs giving some space in between on the parchment paper.
     
  • Bake it in a preheated oven t 170 deg F for 15-18 mins until they are crisp. Keep an eye after 12 mins, do not bake it until dark brown as they get burnt and will not taste nice. 
  • I baked them in two batches and I got around 25 crackers.
  • Remove the tray and let the crackers down a bit on the parchment paper and then remove them and place on the wire rack and let them cool completely.
Store them in an air tight container and enjoy it with a cup of tea/coffee.

Notes:
  1. I have used both all purpose flour and wheat flour in the recipe and succeeded with the results.Hence I use wheat flour in the recipe instead of all purpose flour but I suggest to try with all purpose flour if you are attempting for the first time.
  2. Needless to say that Maida based ones taste better but the wheat flour one was equally good, you can take my words and try it.It was easier to roll the wheat flour one than the maida ones.
  3. I like the thin baked nippattus and hence I rolled the dough to a thin roti, if you like it thick you can keep it slightly thick. But the thinner ones turn out crispy and stay crisp even after a week when stored properly.
  4. Add little water and make it to a tight dough else you cannot roll it thin.
  5. Please do not compromise on the fat quantity used in the recipe, else it does not turn out nice.
  6. Cut the onions very finely else it will be difficult in rolling the dough.
  7. Do not forget to prick them nicely before baking.
baked nippattu

Monday, March 6, 2017

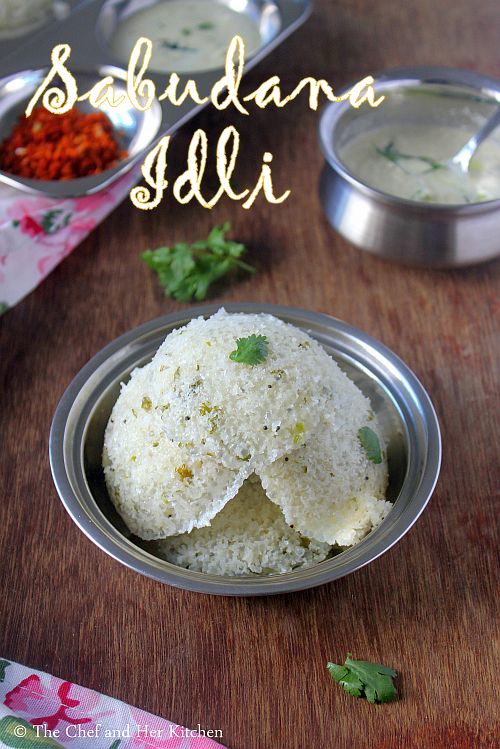
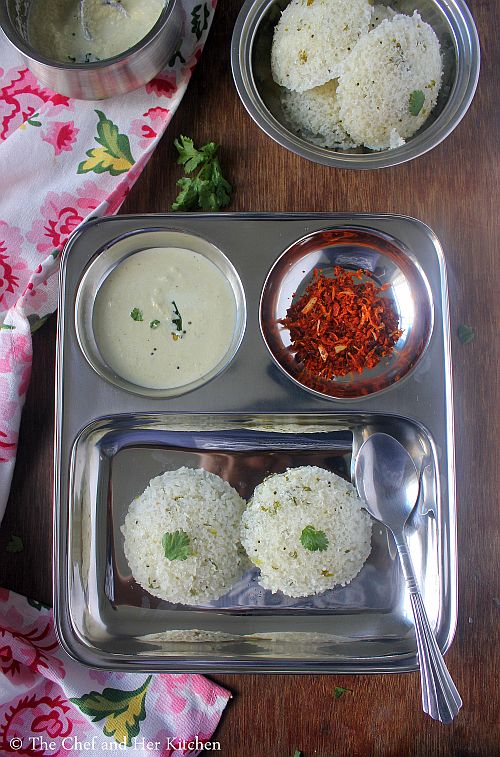
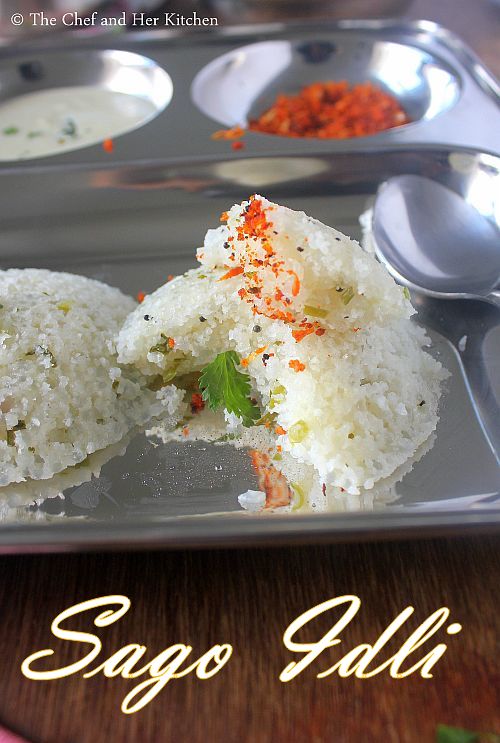
Sago Idli Recipe | Sabudana Idli | Sabbakki Idli | Javvarisi Idli

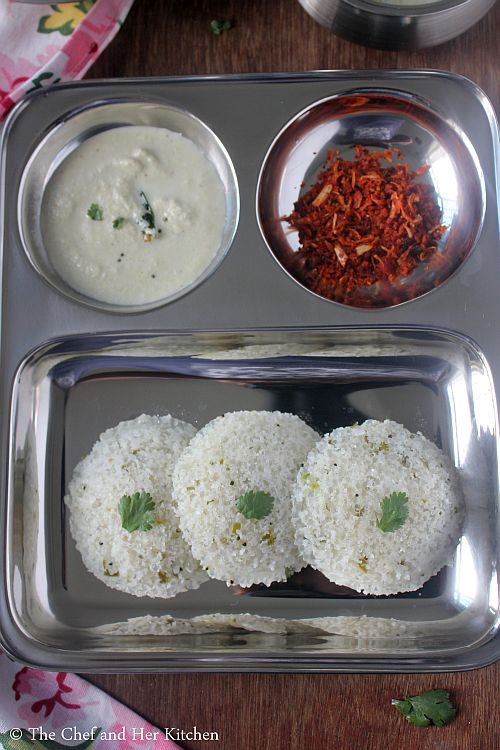
sabudana idli
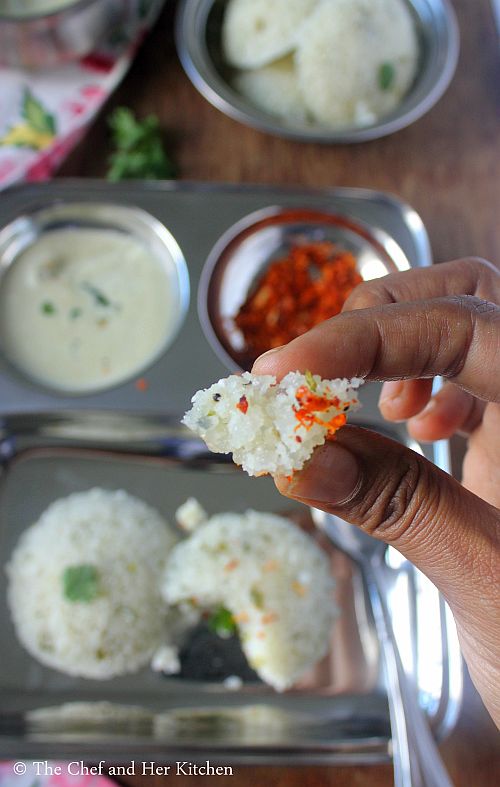
Sago Idli Recipe with step by step photos.This recipe was passed to me by a cousin long ago when she had tasted it for the first time at her relatives place. Though the original recipe she had shared is bit different from this recipe which I had modified over a period of time to suit our taste buds. Sago Idli is a nice and different Idli variety which you can make for your regular breakfast or when you have guests,it will impress them for sure. The Idlis turn out very soft because of the usage of sago in the recipe and also the sour curd adds a nice taste to the Idlis.I have mentioned various variations in the notes section in case if you want to give a try.
sabbakki idli
The preparation process of sago Idli is very similar to the Rawa Idli just that the sago is mixed with rice rawa and soaked in sour curd overnight and prepare in the same process as Rawa Idli.
sago idli
Check out other Idli varieties in my blog:
javvarisi idli
Here is how to prepare sago idli recipe with step by step photos:
Sago Idli | Saggubiyyam Idli Recipe:
Serves 3-4 | Author: Prathibha
Prep time: 10 mins | Cooking time: 20 mins | Total time: 30 mins +soaking time
Cuisine: South Indian | Category: Breakfast

Ingredients:
1 cup Nylon Sago(or small sago variety)
1 cup Rice Rava*
1.5 cups sour Curd
1- 1.5 cups Water
1/3 cup grated fresh Coconut
1 small onion, finely chopped(optional)
2-3 tbsp chopped Coriander leaves
2-3 Green Chilies,finely chopped
5-7 Curry leaves, finely chopped
1/4 tsp Cooking soda
1/2 tsp Mustard seeds
1.5 tbsp Oil
Salt, to taste

Method:
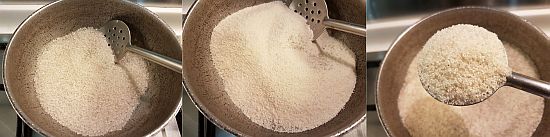
  • Check for stones and dirt in the nylon sago and rice rava. Dry roast the nylon sago slightly until it is warm and then add rice rava and dry roast for another couple of minute until the mixture is warm. Do not roast it for long to change color, just roast until it is warm.
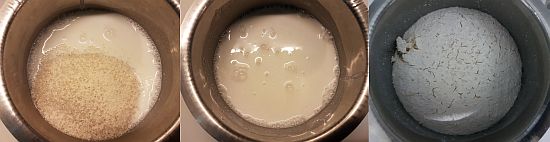
  • Mix curd and water with a whisk and then soak sago-rice rava mixture in it over night or for 4-5 hours.
  • Sago-rava mixture would have swollen up and the batter would have become very dry. Add 1/3-1/2 cup of water until you get the idli batter consistency.
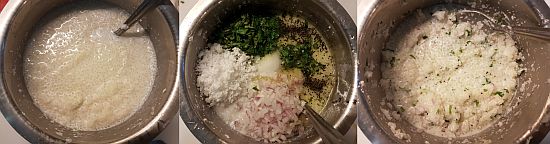
  • Heat 1.5 tbsp of oil in a small kadai and crackle mustard seeds and then add chopped green chilies and curry leaves and fry until they wilt.
  • Add grated coconut, salt, chopped onion and coriander leaves and the tempering along with the oil and mix it nicely.
  • Grease the Idli plates and keep the steamer(or cooker) ready for steaming. Fill the steamer(or cooker) with 1-1.5 inch depth of water and switch on the flame and keep it ready.
  • Now add the cooking soda to the prepared batter and mix it nicely and pour the batter in the prepared idli plates.Do not bother if you see few drops of liquid(water) falling from the holes of idli plates, it would be alright after it is cooked.
  • Steam the idlis for 15 mins or until the tooth pick comes out clean.
  • Remove the Idlis with a Idli spoon and put them in hot box.

Notes:
  1. To prepare Rice rawa*: Clean and Soak the rice for some time and drain it completely and spread over a cloth so that it will drain off excess water.Coarsely grind the pound mixture in a mixer and then sieve it(do it in whipper mode).Use the rawa which is in sieve and the flour that it is sieved can be used for dosa's or regular rice flour.
  2. You can increase the Rice rava quantity upto 2-2.5 cups if you are making it for a large crowd.
  3. Instead of green chili you can add torn dry red chili in tempering.I add green chili for a green look of the Idlis.
  4. The addition of onion is optional but gives a nice crunch, you can avoid it totally.
  5. You can add vegetables like grated carrots and frozen peas to the batter before steaming.
  6. Make sure you use sour curd for the recipe and also let the mixture sit overnight ,else the idlis will taste bland.
  7. You can even add broken cashewnuts in the tempering ,it adds nice taste to the Idlis.
  8. Nylon sago works best for the recipe,in case if you do not have use the smaller variety of sago and increase the rice rava quantity to 1.5 cups.
  9. If you do not have Rice rava you can use Idli Rava but Rice rava is good for the recipe.Otherwise you can use even the regular sooji for the recipe.
sago idli
Technorati Tags:

Friday, January 13, 2017

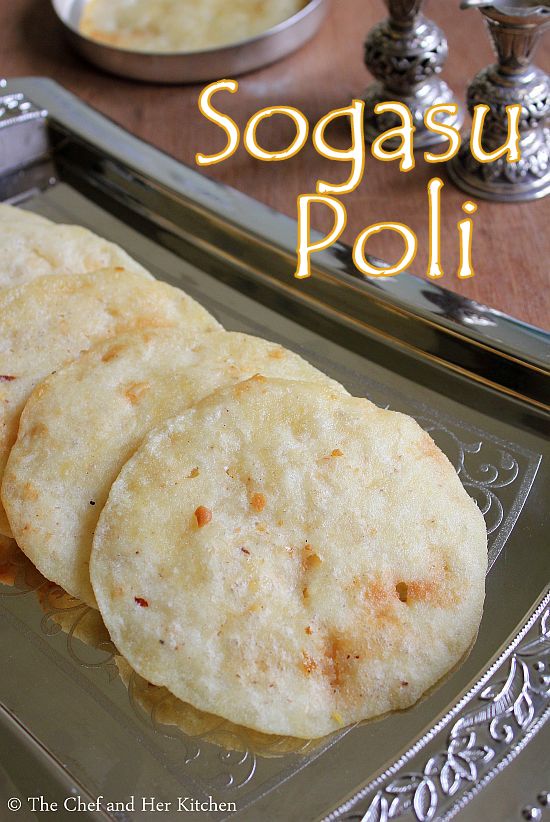
Sogasu Poli | Sogasu Obbattu | Holige Recipes

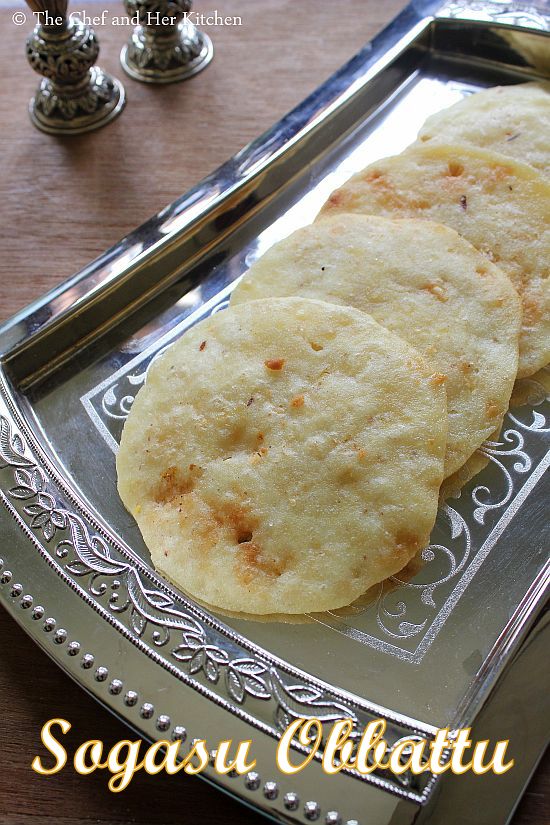
sogasu poli
At my mom's place,any major festival is incomplete without a holige and hence we prepare various holige varieties at home.While the most popular one are  Hoornada holige(Pappu Obattu) and Coconut Holige,my mom prepares various other holige varieties like Til Poli(Nuvvula Obbattu), Shenga Holige(Groundnut holige), Dates Holige etc. While these holiges are fried on the tawa there are few holiges which are deep fried like Paala Obattu(Haalu Holige), Sajjige Obattu(Sajjappa),Garugu Obattu, Sogasu Obbattu and every holige tastes best on its own and has its own importance for the festivals.
sogasu poli
Today I am posting Sogasu Poli recipe which is very similar to Garugu Obattu and Sajjappa.They all look similar and all are deep fried but the filling,taste and texture of each holige is different from each other. Sogasu Poli and Sajjappa uses rawa filling which is made differently for each holige and where as Garugu Obattu uses rice flour filling.I know that it is very confusing if you are hearing all these names for the first time but once you go through all the recipes you can easily differentiate them.The best part about these holiges is that they can be stored easily up to a week, if they last that long!! These can be made ahead and serve as prashad for Navaratri Golu prasadam too, also tastes best when eaten hot as they are super crisp.This is apparently one of my favorite holiges and would gulp a couple of them at one go.As it is Sankranti tommorow, try this different traditional holige recipe to impress your family.
Check out other Holige recipes in my blog:
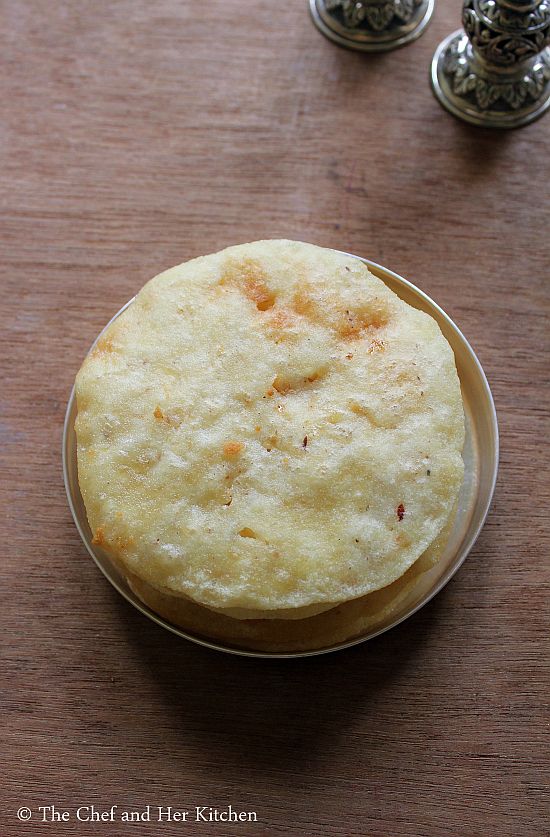
sogasu poli
Sogasu Poli | Sogasu Obbattu :
Shelf life: 2 days | Yields: 10-12 polis
Prep time:20 mins | Cooking time:40 mins | Total time:60 mins
Cuisine: South Indian | Category: Sweets

Ingredients:
for Stuffing: 1 cup fine Chiroti(Holige) Rava
1 cup fresh grated Coconut
1 cup Sugar,preferably slghtly fine
1/4 cup finely chopped Cashewnuts
1 tsp Ghee

for kanaka(outer cover):
1 cup Chiroti/Holige rawa(baarik rava)
a fat pinch of Salt
1/2 cup Oil(to soak the kanaka)
Oil for deep frying

Method:

for filling:
  • Mix chiroti rava, fresh grated coconut, chopped cashewnuts and sugar in a large bowl nicely until everything is nicely mixed and keep it aside for 2-3 hours.
  • Now the mixture would have become wet and soft.Mix it nicely again.
  • Grease your palms with ghee and make big lemon size balls out of the filling and keep them aside.
 for Kanaka:
  • Mix chiroti rawa with a pinch of salt to it and add water to it and knead in to a very smooth dough.The consistency of the dough should be very loose than the regular roti dough.
  • Now using your fist hit the dough for few mins to get the softer dough.
      
  • Now place this dough in a deep vessel and pour oil over it until the dough is completely soaked in oil.Let the dough rest for a minimum of 1 hr and up to 2 hrs.Drain the excess oil and use it for other purpose.
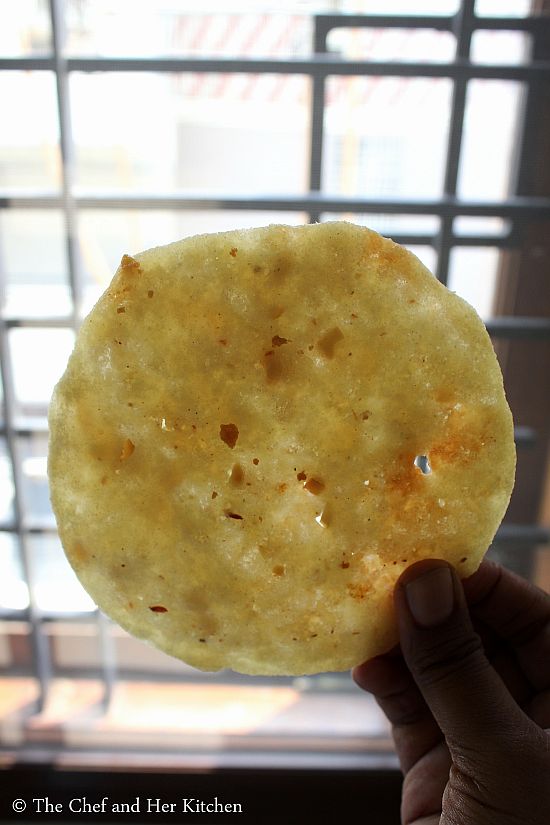
  • See the pics to get to know the consistency of the kanaka.
for making Sogasu Poli:
  • Cut the holige paper into a round and place it on the rolling stone which we use to roll rotis.Grease holige paper or banana leaf or a plastic cover with oil.
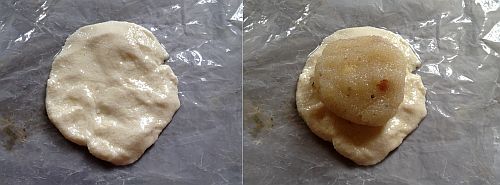
  • Pinch a small amla sized dough and flatten it a bit using your hands as shown in the pics and place one round of filling and seal it properly from all the edges like how we do for parathas.
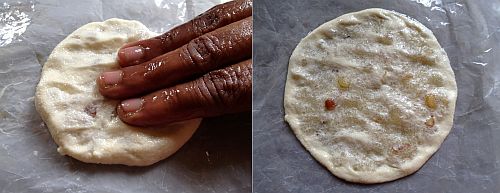
  • Now flatten it slowly with hands to get 3" diameter circle to the size of big pooris.It should not be very thick like paratha nor thin like rotis.See the pictures for clear idea.
  • Meanwhile heat oil for deep frying in a kadai and gently slide the patted holige from the sides into the oil taking care that oil would not splutter.
  • Deep fry them until they are slightly brown on both side.
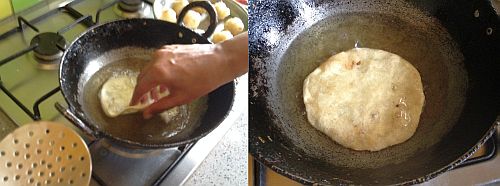
  • Drain them on kitchen towels to remove the extra oil.
  • Repeat the process for making holiges,smear the holige paper liberally with oil and follow the same procedure.
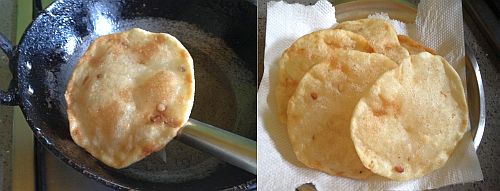
Serve them hot/warm or at room temperature.You can store them at room temperature for upto a week.
Notes:
  1. Always make kanaka before proceeding to make filling which helps in saving time.
  2. As these can be stored for a week you can make them ahead if you want.But the fresh ones are more crispier and tastier.
  3. The addition of nuts is entirely optional but it adds a nice taste to every bite of holige.
  4. If you are a health freak instead of deep frying you can even fry it on tawa like how we do for parathas,they taste still good but the deep fried ones taste anytime better.
sogasu obbattu

Monday, January 9, 2017

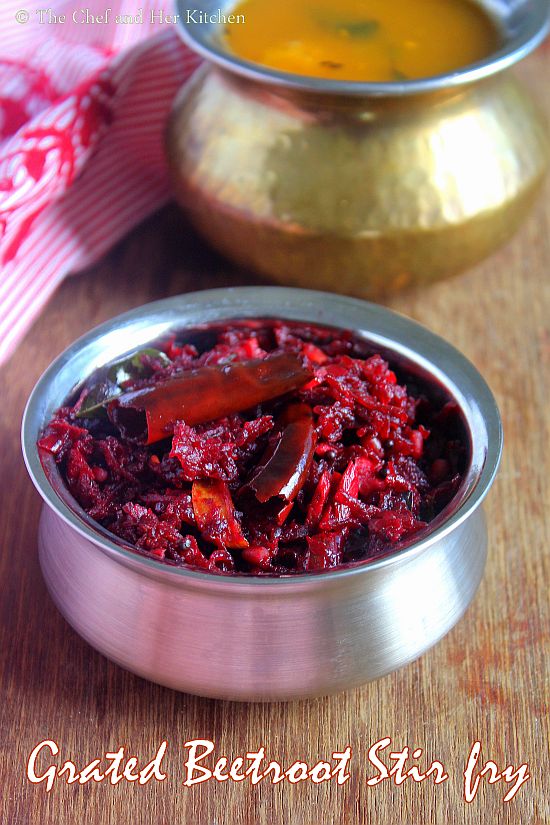
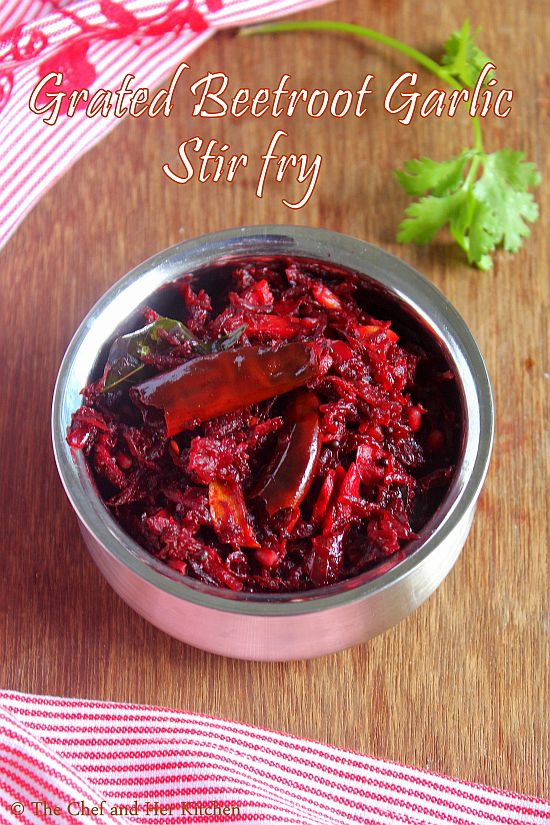
Grated Beetroot Stir fry with Garlic | Easy Beetroot Stir fry Recipe

grated beetroot stir fry
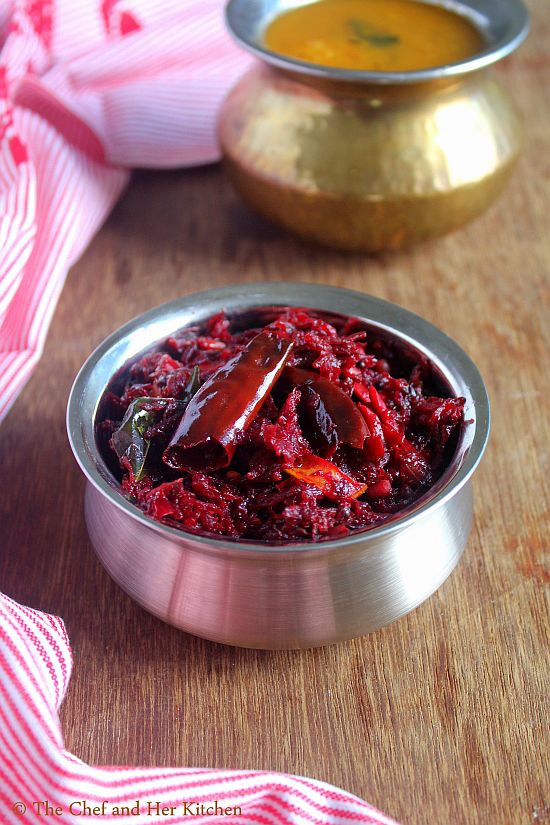
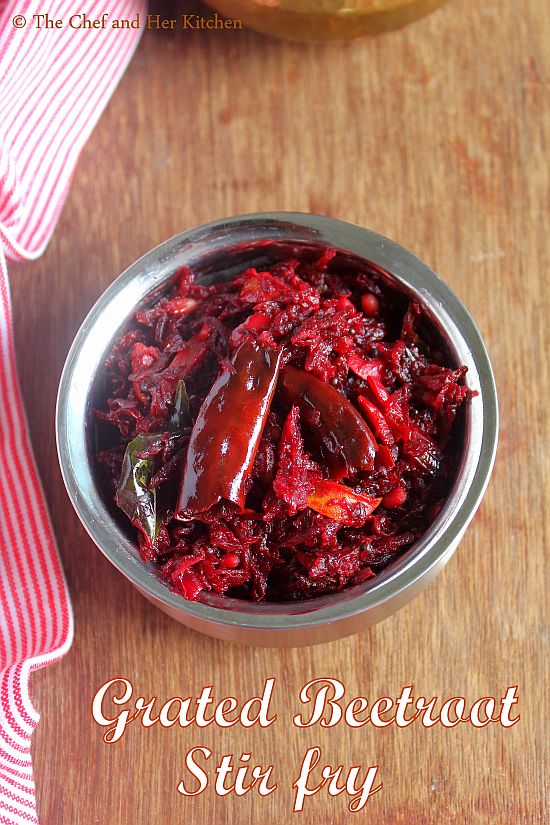
I have already posted two versions of the beetroot stir fry - Beetroot Stir fry using Coconut and the other version - Spicy Beetroot Curry using Vangibath masala powder. You must be wondering why again this new version and what is it about. I had tasted this simple version of garlic flavored Grated Beetroot stir fry in a meal cooked by a cook during my pregnancy and instantly liked it and from then it has been added to our regular menu. I make it quite often that I prepare this version more than the regular coconut version. I love garlic and the roasted crushed garlic imparts a nice taste to the curry. Also as the beetroot has been grated this cooks very fast compared to the chopped beetroot curry.I also prepare the same version with carrot and even that tastes very nice.
grated beetroot stir fry with garlic
In Kerala, they make Beetroot thoran with grated beetroot and coconut, I would post that version some time later.This is a very basic recipe that even a beginner can prepare it in the kitchen. You can pair it with hot steaming rice or roti, it tastes nice and makes a simple meal.If you like Beetroot then you must check out Bengali Vegetable Chops with beetroot stuffing and also Carrot-Beet Halwa. recipes.
You can check out various vegetables and greens stir fry recipes here to pair with everyday dal/sambar and rice.

grated beetroot stir fry

Grated Beetroot Stir fry Recipe:
Serves 2 | Author: Prathibha
Prep time: 5 mins | Cooking time: 15 mins |  Total time: 20 mins
Cuisine: South Indian | Category: Stir-fry/Palya

Ingredients:
1 large Beetroot, peeled and grated
1 medium Onion, finely chopped
3-4 pods of Garlic, peeled and crushed
1/2 tsp Red chili powder or Garlic Chili powder
1 Red chili, broken
1 tsp Urad dal
1/2 tsp Mustard seeds
7-8 Curry leaves
1.5-2 tbsp Oil
Salt, to taste

Method:
  • Wash,Peel and grate Beetroot and keep it ready.
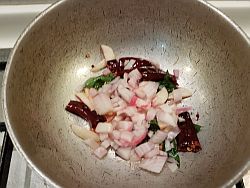
  • In a kadai heat oil and crackle mustard seeds and then add urad dal, broken red chili,garlic pods and curry leaves and fry until the dal turns a bit red in color.
  • Add finely chopped onion and fry until the onions turn slight brown in color.

  • Now add grated beetroot and salt and mix nicely and cover it and cook for 5-6 mins.Add a tbsp of water if needed.
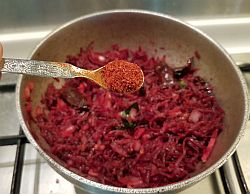
  • Open the lid and add the chili powder (Garlic chili powder) and mix nicely and cook for another 2-3 mins.
  • Switch off the flame.
Serve it hot with rice/roti/chapati.

Notes:
  1. You can replace beetroot with carrot in the recipe and follow the same method by grating the carrot or you can even mix both grated carrot and beetroot and follow the same recipe.
  2. Crushed garlic pod is the star ingredient in this simple recipe, do not skip it.
  3. Also I have mentioned more oil quantity as it depends on the size of the beetroot and also somehow this simple stir fry tastes best when made with more oil.You can reduce it if you want.
  4. Do not cook the curry for very long period.It cooks very fast and tastes best when a slight crunch is maintained in the beetroot.
grated beetroot stir fry with garlic

 
back to top