Showing posts with label Maharashtra. Show all posts

Thursday, June 22, 2017

Mango Mastani Recipe | Mango Recipes

mango mastani
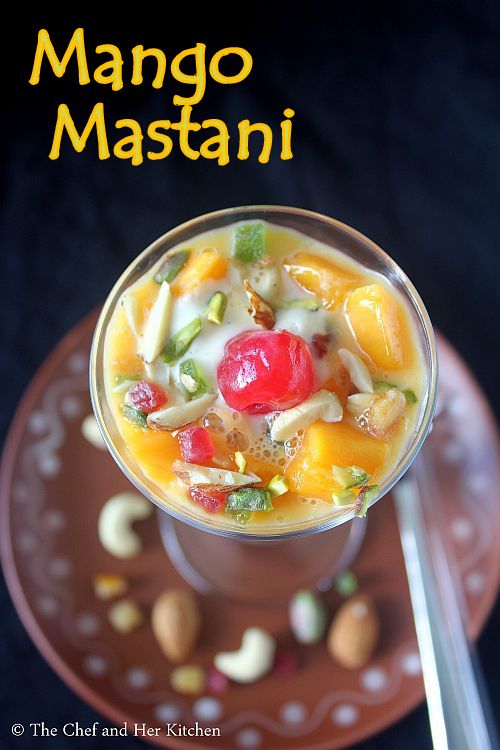
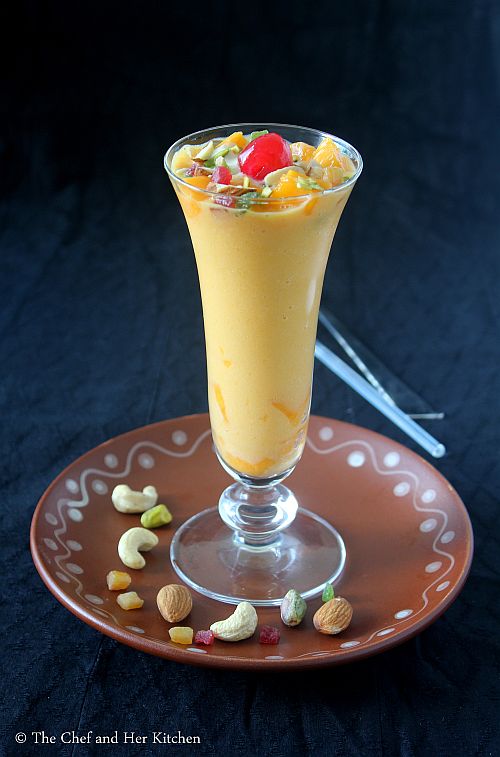
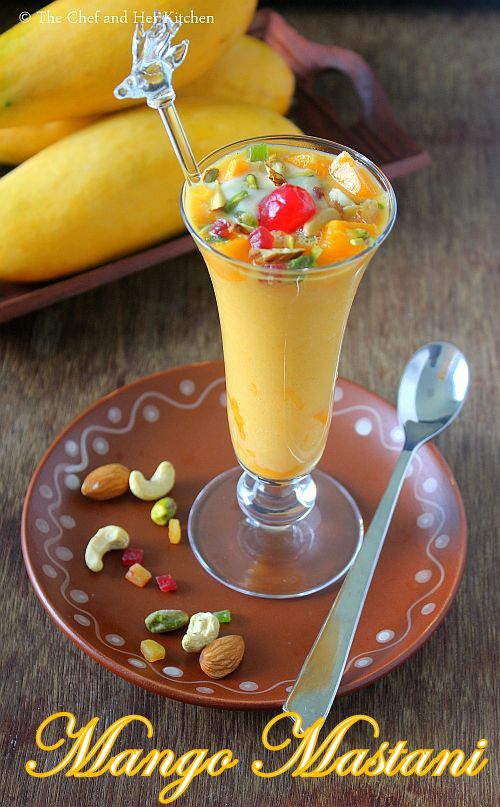
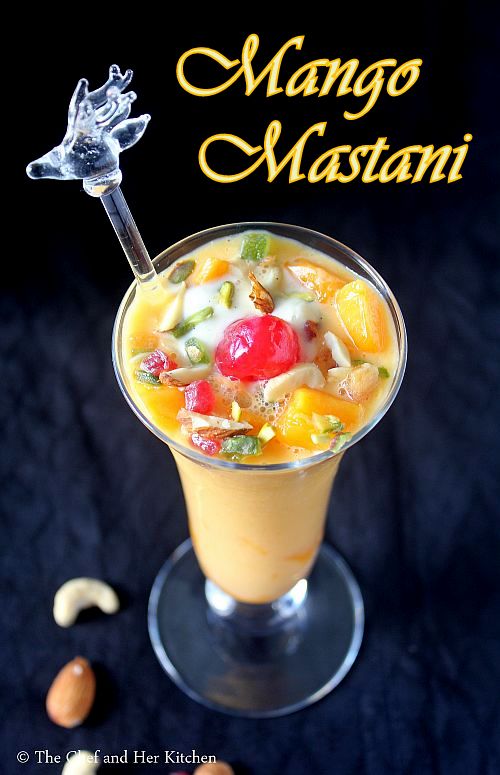
Mango Mastani Recipe with step by step photos.Mango mastani is a famous Pune's drink which is nothing but a thick mango milkshake topped with vanilla ice cream,nuts,chopped mango pieces,tutti frutti and glaced cherries.Few days back I had happened to see this mango mastani recipe in Sanjeev Kapoor's site and wanted to give a try and coincidentally this recipe was flodded in the blogosphere and the urge to try it became quite strong that I tried it immediately but took my time to post it on the blog.
mango mastani
Mango mastani is definitely a delicious glass of mango drink and it has all my favorite things - mango milkshake, ice cream, nuts and cherries, so how can it go wrong in taste.Each sip and bite is so delectable that I can understand why it got its name. According to my internet search this drink was named after the beautiful queen mastani who was wife of bajirao mastani and I have not explored more into it's depth so I cannot tell more than this.
mango mastani
Check out other mango desserts recipes in my blog - AamrasMango FudgeMango Ice-creamMango KulfiMango PannacottaMango PhirniMango SheeraMango ShrikandNo Churn Eggless Mango Ice-Cream
mango mastani
Here is how to make mango mastani recipe with step by step photos.
Mango Mastani Recipe:

Serves 2
Prep time: 10 mins | Cooking time: NIL | Total time: 10 mins
Cuisine: Indian | Category: Beverages

Ingredients:
2 large ripen Mangoes(Alphonsos or Kesar)
1.5 cup full cream Milk,boiled cooled and chilled
2-3 tbsp Sugar
2-4 scoops of Mango Ice cream/Vanilla ice cream
2 tbsp sliced dry fruits(pistachios,almonds and cashewnuts
2 tsp mixed color tutti frutti
2-4 glaced Cherries

Method:
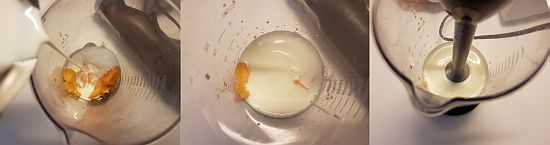
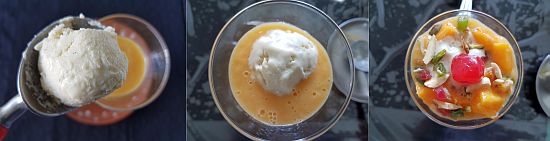
  • Wash and peel the skin of the mangoes and cut into cubes and reserve few chopped mango pieces and add the remaining to the blender.
  • Add boiled,cooled and chilled milk to the blender along with chopped mangoes and sugar and blend into a thick puree.
  • Add few mango pieces in to 2 serving glasses and pour the thick milkshake on top of it until little more than 3/4th of glass giving enough space for the ice cream and the other ingredients.
  • Now add 1-2 scoops of either vanilla or mango ice cream in both the glasses.
  • Now top it with few chopped mango pieces, dry fruits, tutti frutti and place a cherry on top of the ice cream.
Serve it immediately with a spoon and straw.

Notes:
  • There are no hard and fast rules for making this milkshake ,use the quantities according to your personal preference.
mango mastani
Technorati Tags: ,,,,,

Saturday, September 3, 2016

Varan Bhaat | Maharasthrian Varan Recipe | Dal Chawal | Ganesh Chaturthi Recipes
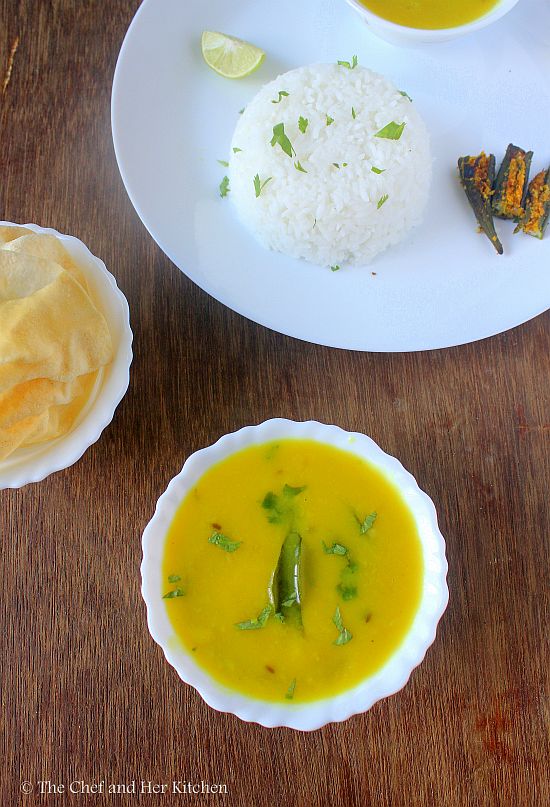
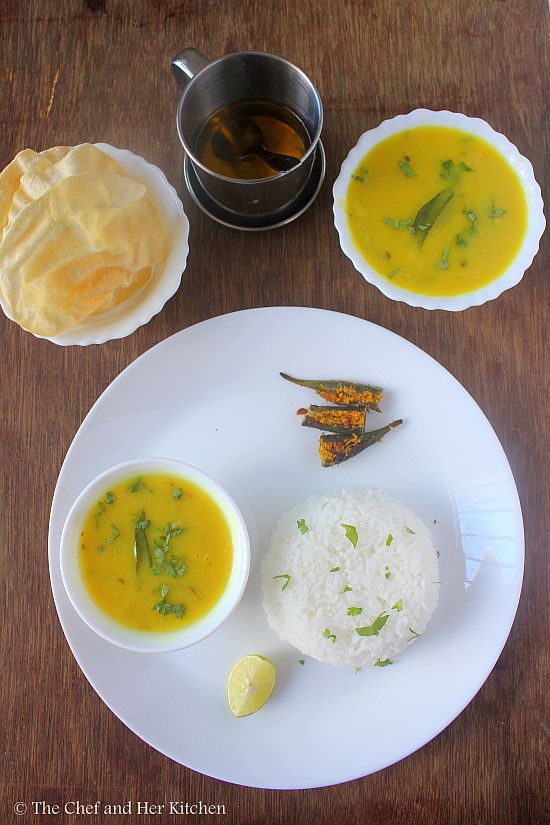
varan bhaat
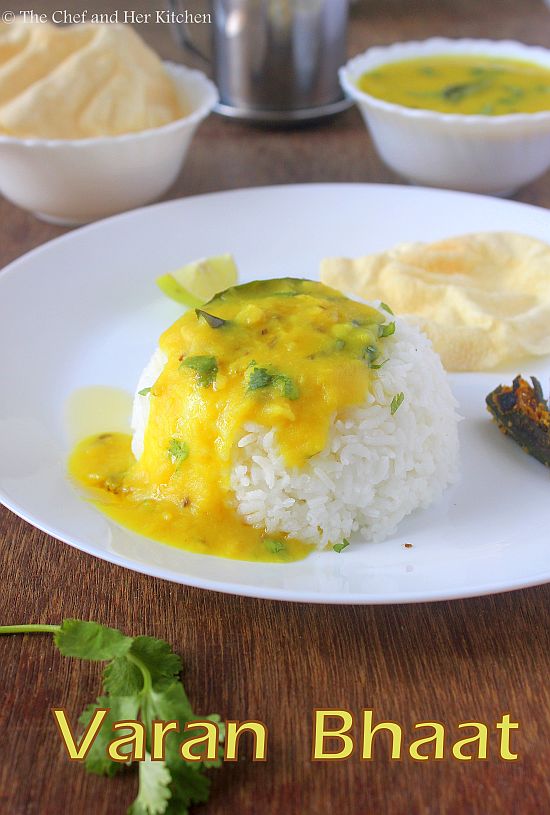
'Varan Bhaat' is a simple recipe that gets featured  everyday in most of our houses with few variations. 'Varan' means dal (lentil curry) where as 'Bhaat' stands for Rice. Varan Bhaat is most commonly offered to Lord Ganesha along with Modaks during Ganesh Chaturthi in most of the Maharasthrian homes.It is a tradition even at my place to offer a simple tempered toor dal to Lord Ganesha and it is also served as one of the side dishes during festivals and functions.
varan bhaat

varan bhaat
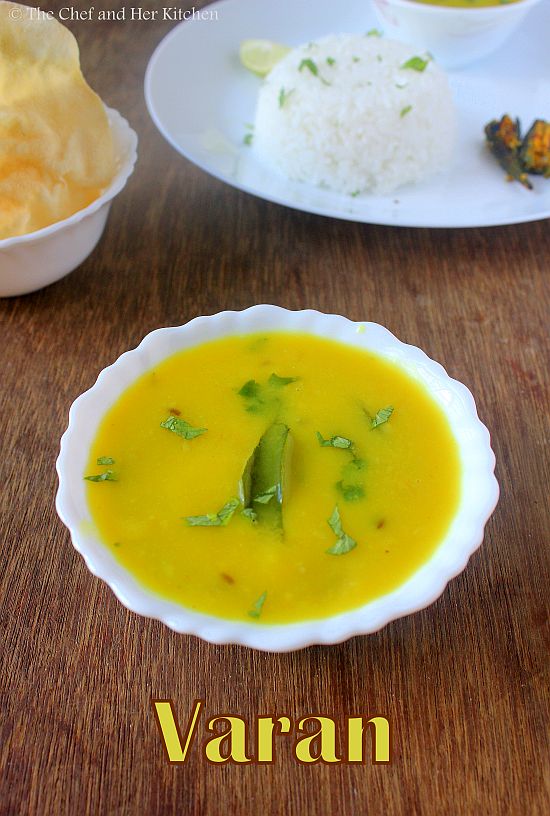
There are so many variations to this simple Varan like the addition of tomatoes, garlic , red chili powder etc. I am posting a simple Varan recipe which one can alter according to their taste buds. We do not add garlic to the dal if we are preparing it on a festival day , otherwise we do add garlic in tempering which gives a nice taste to the dal. Varan Bhaat is the most comfort food for many of us,a big ladle of Varan served on a bed of piping hot steamed with a dollop of ghee and a vegetable fry(or fryums/papads) is what I crave at times especially after coming back from a vacation or if I am lazy cooking anything elaborate.
varan bhaat

varan bhaat
Varan Bhaat reminds me an incident which happened many years ago when  I was new to Mumbai. We had gone to a famous Maharasthrian joint for lunch and I wanted to try something new as I was new to Mumbai then and also new to the cuisine. My TH  had ordered poori with a side dish which was safer bet where as an adventurous foodie ie., me wanted to try something new and was fancied by the name ' Varan Bhaat ' and chose the same to order. I knew that it would be a kind of rice variety as we are familiar with various bhaat varieties like Vangi bhat, Bisibelebath, Kharabath. But it was a total surprise for me when the waiter got me a plate of Varan Bhaat which consisted of simple Toor dal with a bowl of white rice and a dollop of ghee. TH could not stop laughing at me that day and had ordered another plate of puri for me too. The idea of trying something different had ended up making me tasting a humble dal chawal in the restaurant.
varan
Varan Bhaat | Maharasthrian Varan Recipe:
Serves 3-4 | Author: Prathibha
Prep time: 5 mins | Cooking time: 25 mins | Total time: 30 mins
Cuisine : Maharasthra | Category: Side dish for Rice

Ingredients:
1 cup Toor dal/ Arhar dal
1/2 tsp Turmeric powder
1.5-2 cups of water
Salt, to taste
few Coriander leaves, to garnish
Lemon wedge,to serve
ghee,to serve

to temper:
1 tbsp Ghee/Oil
1 tsp Cumin seeds
2-3 Green chillies,slit
6-7 Curry leaves
1/4 tsp Asafoetida/Hing

for bhaat:
2 cups Rice(raw ponni or Sona masuri Rice)
4- 4.5 cups Water

Method:
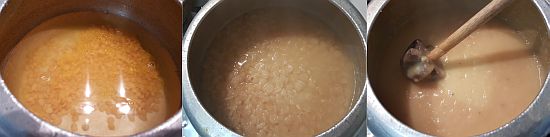
  • Wash and soak the toor dal in enough water for 15 mins. Add turmeric powder and pressure cook it for 3-4 whistles.
  • Once the pressure drops remove the extra water(if any) and mash it nicely using a wooden ladle.
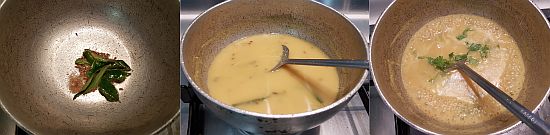
  • In a small pan heat ghee/oil and crackle cumin seeds and add slit green chillies, curry leaves ad hing and fry until done and add dal to it and let it boil for 3-4 mins.
  • Add coriander leaves to the dal.
to make bhaat:

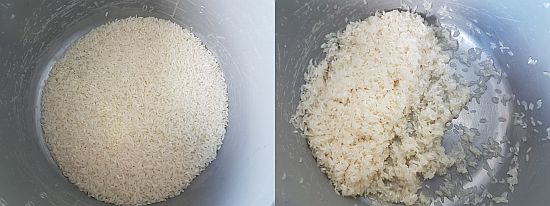
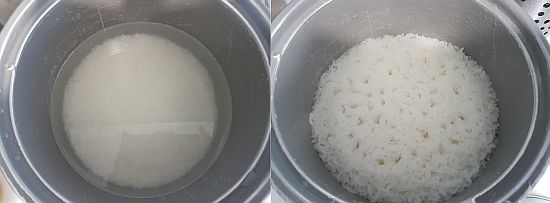
  • Wash the rice a couple of  times and soak it in water for half an hour. Drain the water and add 4-4.5 cups of water.Pressure cook it for 3 whistles. 
  • I usually do it in rice cooker then I add 2.5 cups of water for 1 glass of rice. If you are doing it in pressure cooker you can add 4 cups of water (for 2 cups rice) if you want separate grains of the rice.If you want it soft add 4.5 cups for 2 cups of rice.
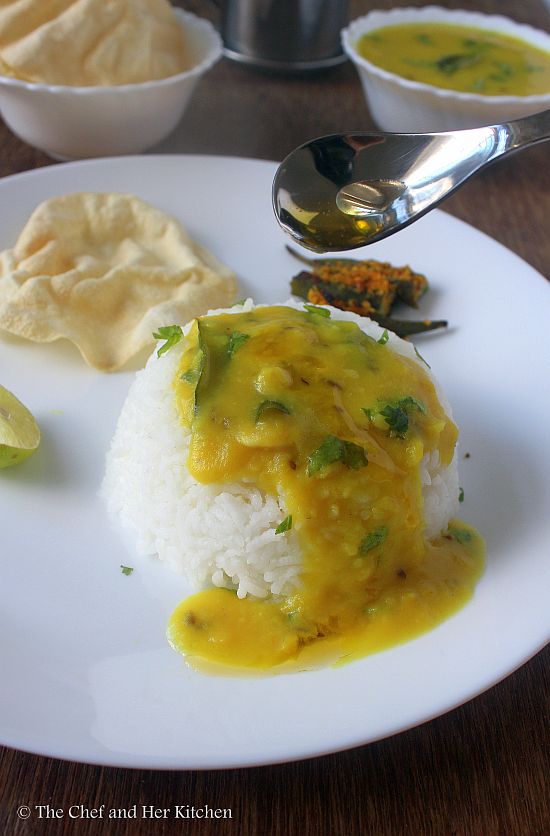
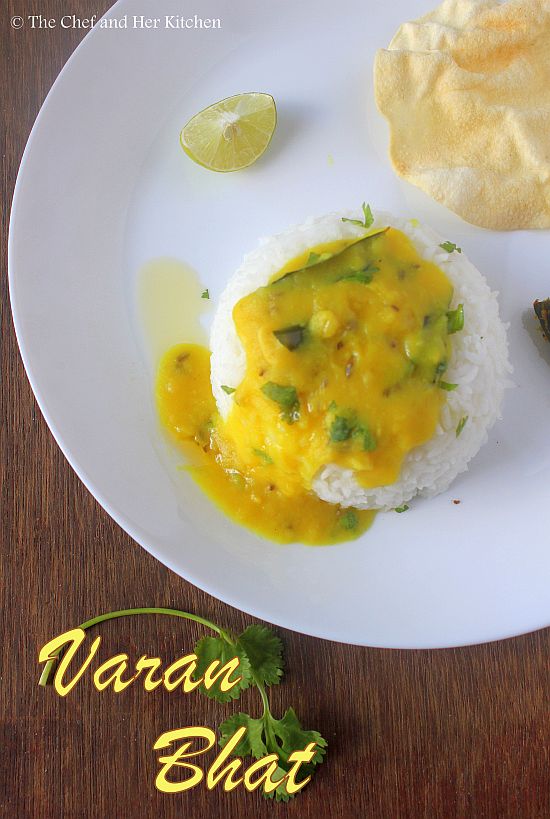
Serve the varan with piping hot steamed rice with a dollop of ghee and a lemon wedge.You can serve a simple vegetable fry or pickle and papad along with it.

Notes:
  1. If you want you can add tomatoes while cooking the toor dal.
  2. You can add garlic in the tempering if you want. But if you are preparing for naivedyam skip garlic in it.
  3. Instead of green chilli you can add red chili or red chili powder in tempering.
  4. You can add mustard seeds in the tempering.
  5. Few versions of varan has coconut in it.You can add either ground coconut paste while simmering the dal or add grated coconut at the end.
  6. You can even use basmati rice for bhaat, in that case add 2 cups of water for 1 cup of rice.
varan bhat

Monday, January 4, 2016

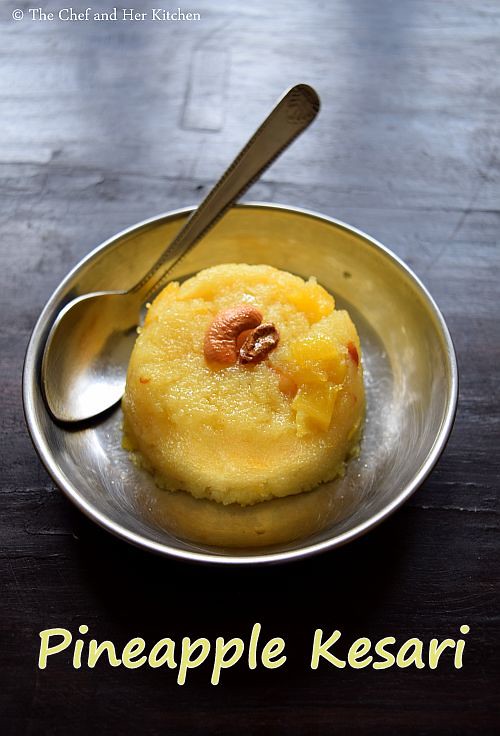
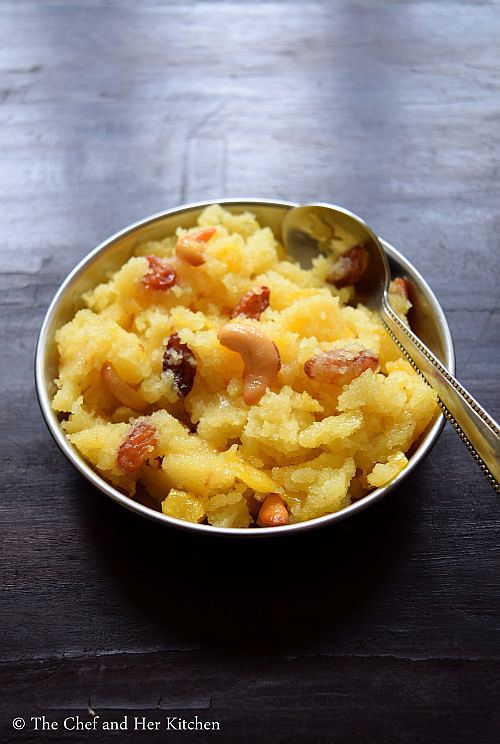
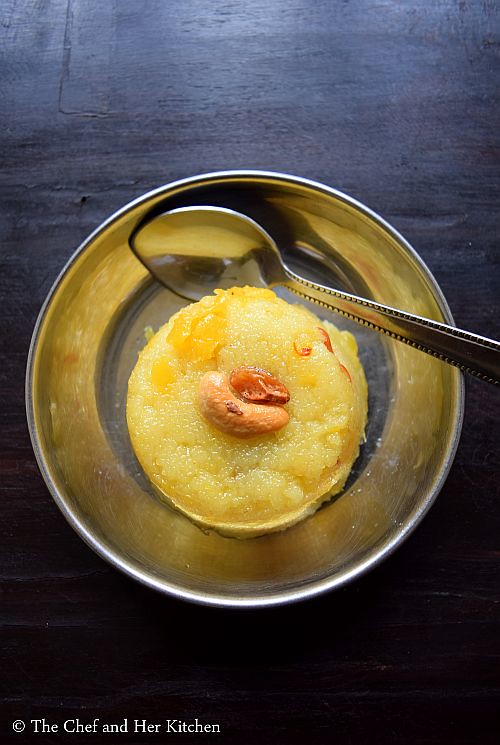
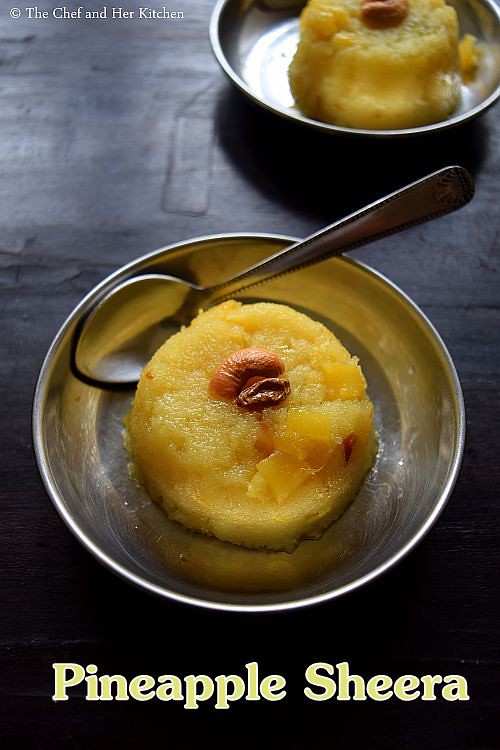
Pineapple Kesari | Pineapple Sheera Recipe | Pineapple Kesaribath Recipe

pineapple kesari
Happy New Year to all my friends, family and the readers of my blog!!
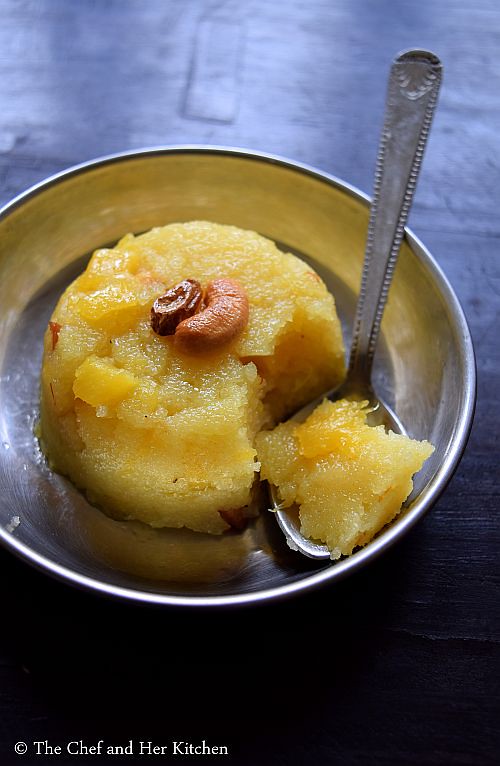
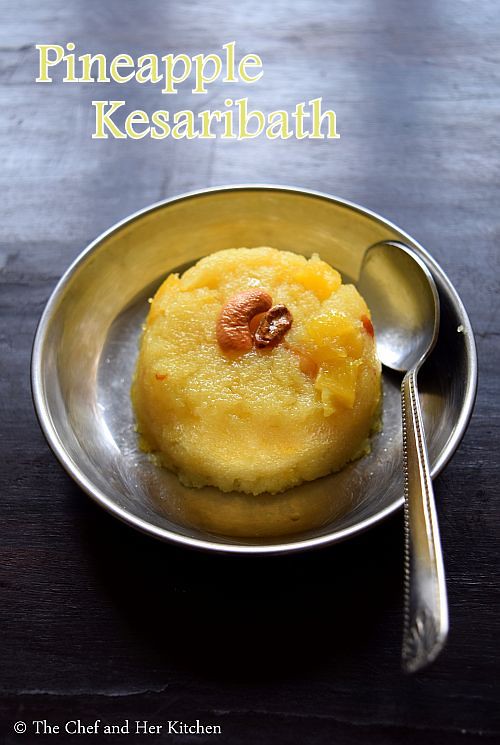
I would like to start the new year with a sweet post in my blog and hence sharing a simple and delicious Pineapple Kesari recipe to start the new year on a sweet note.
In south India,Pineapple Kesaribath is one of the most commonly served sweet for breakfast in many of the occasions like marriage of family functions.Apart from Pineapple Kesaribath , Kasi halwa is again a popular sweet which is served during breakfast. Also the liberal usage of ghee and vanaspati gives the kesari a melt in mouth texture but one can alter the amount when prepared at home for a healthy variation.
pineapple kesaribath
I am not a fan of Kesaribath but I love the taste of Pineapple Kesari as the fruit adds a nice and unique flavor to the kesari.  If you like to experiment more fruit flavours for Sheera you can try Mango Sheera, Chikoo Sheera, Apple Sheera or mixed fruit(apple, pineapple,grapes).All of the above varieties tastes great in its own way but for me I would say that the Pineapple sheera is best among all.Next time if you have guests over do give this halwa a try.I am sure your guests would love it.
pineapple kesari

Check out few easy halwa/kesari recipes here.
pineapple sheera

Pineapple Kesaribath | Pineapple Sheera Recipe:
Serves 2-3
Prep time: 5 mins | Cooking time: 25 mins | Total time: 30 mins
Cuisine: Indian | Category: Sweets/Desserts

Ingredients:
1/2 cup Sooji/Rawa
1/2 cup + 2tbsp Sugar
1/2 cup fresh Pineapple pieces,chopped
1/4 cup Ghee
1 1/2 cups + 1/2 cup Water 
2 tbsp Raisins
8-10 Cashew nut, halves
12-15 Saffron strands
1 tbsp Milk
1/4 tsp Cardamom powder, optional

Method:
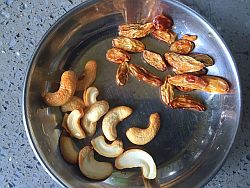
  • Heat 3 tbsp ghee in a kadai and fry cashewnut halves until slight brown in color and remove with a slotted soon.Add raisins and fry until they become plumpy and remove them to the plate.
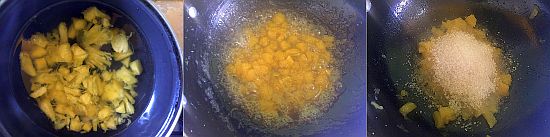
  • Meanwhile boil Pineapple pieces in 1/2 cup of water until it is completely cooked and the water is almost evaporated.It takes 8-10 mins.Add sugar to it and cook until the sugar melts.Do not cook for long.
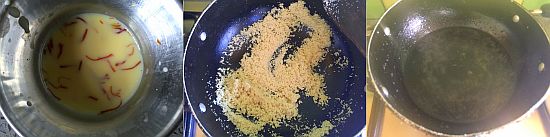
  • Soak saffron in a tbsp of warm milk.Rub saffron through your fingers before adding which enhances the color of saffron.
  • In the same ghee as the dry fruits roasted add sooji and roast on medium flame until you get nice fragrance by stirring it constantly.
  • Boil 1 1/2 cups of water in a vessel and keep it ready.
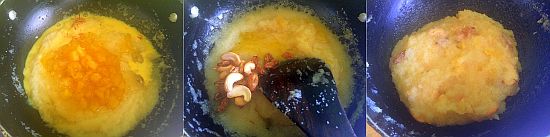
  • Add boiling water to the roasted sooji mixture and keep stirring continuously while adding the water and cook it for 4-5 mins until the sooji is cooked.
  • Add cooked pineapple and soaked saffron to the cooked sooji mixture and stir it nicely and cook it for 5 mins.
  • Add fried cashewnuts, raisins, cardamom powder and 1 tbsp of ghee and mix it nicely.
Serve it hot/warm or at room temperature
pineapple sooji halwa
Notes:
  1. You can reduce ghee to 2 tbsp but the texture of halwa is soft if the mentioned quantity is added.
  2. I usually cook pineapple first along with sugar which makes the pineapple pieces sweet and enhances the taste of the halwa.
  3. You can add pineapple essence if you are preparing it in large quantity.For small quantity it is not needed.
  4. You can use even the tinned pineapple pieces, in that case you don't need to boil the pineapple.Add pineapple pieces and sugar after sooji is being cooked.You can even use the syrup of the pineapple and needs to adjust the sugar quantity based on that.
  5. I do not use food colors and hence added good quality saffron which gives a nice natural yellow color to the halwa. If you want you can add a pinch of yellow color.
  6. You can use other variety of mixed fruits like apple,pineapple and grapes and follow the same process for Fruit Halwa.
  7. Halwa tends to become thick once it cools down.Microwave it before serving for softer version. If you want a loose textured halwa for longer time you can add 2 tbsp odourless oil or vanaspati along with ghee in the recipe which helps in retaining the soft texture of the halwa.
  8. If you want the kesari more sweeter increase the amount of sugar to 3/4 cup, but for us it is rightly sweetened with this measurement.
pineapple kesaribath

Friday, October 30, 2015

Rava Ladoo | Sooji Ladoo | Rava Laddu Recipe | Easy Diwali Sweets Recipes

rava laddu
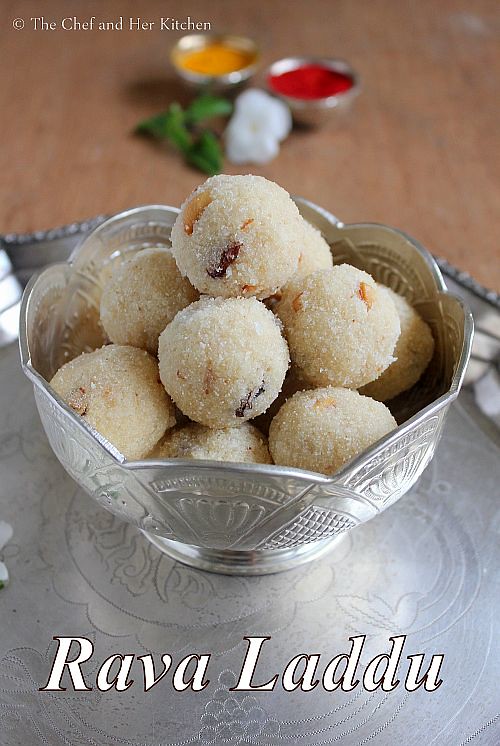
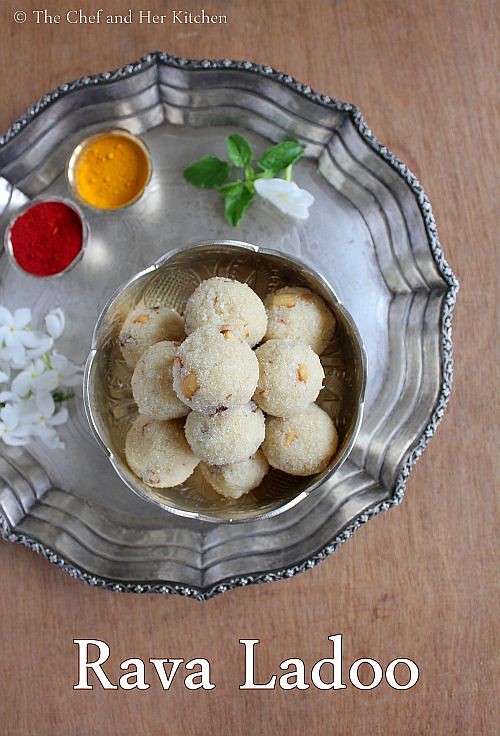
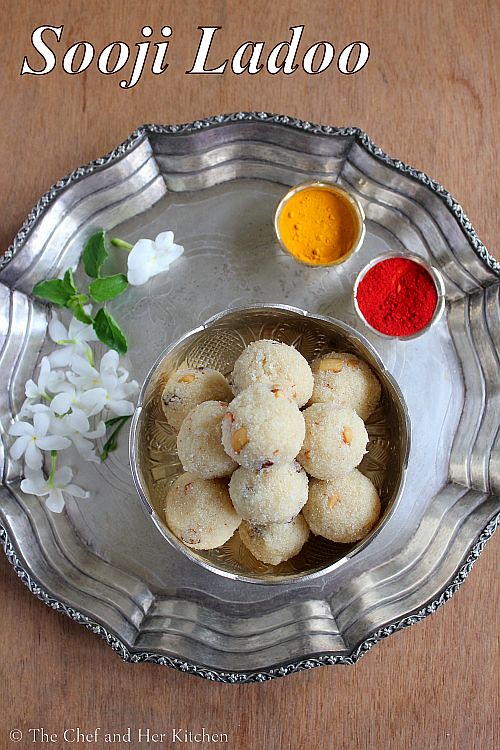
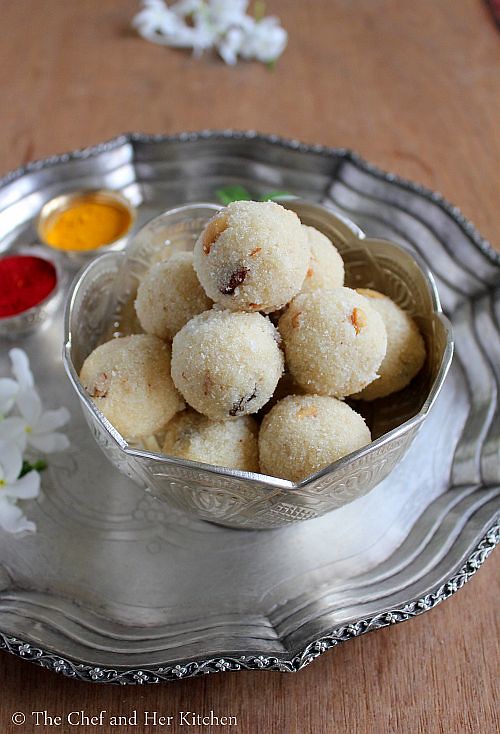
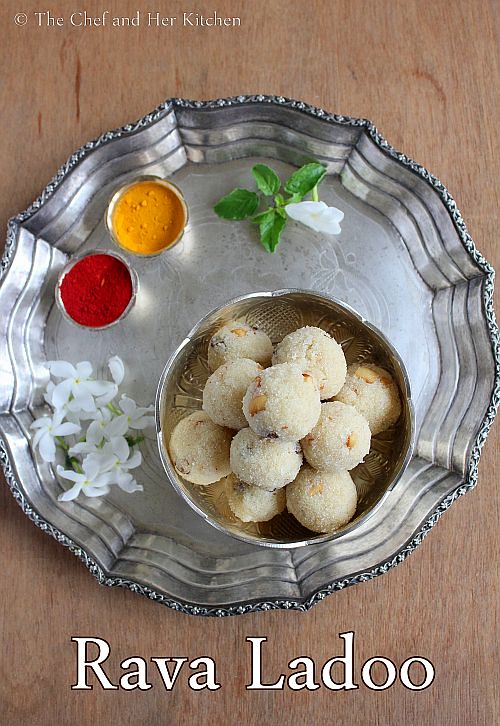
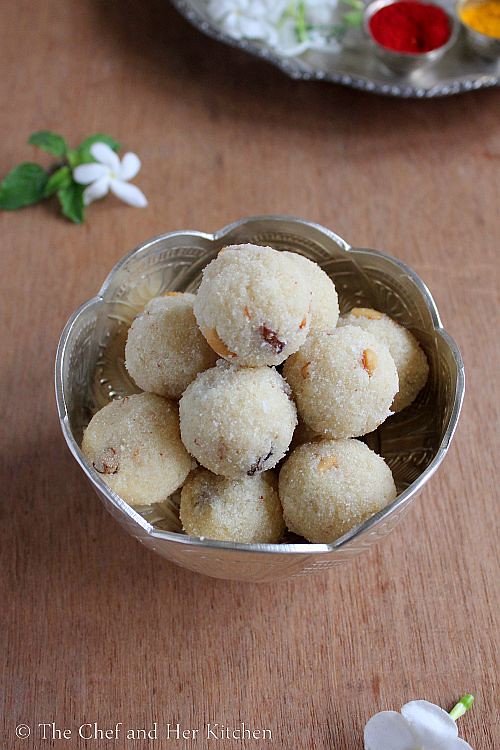
Rava ladoo is one of the easiest ladoo recipes which even a beginner can attempt with out any fear,it is not only easy but also is very tasty. There are few variations in the preparation process of these ladoos. In south India few house holds use freshly grated coconut and few do not use it,but the addition of coconut reduces the shelf life of these ladoos.Also some prefer to use milk as binding agent and use little ghee to prepare the ladoos while few prepare the ladoos with lots of ghee and again the addition of milk reduces the shelf life of these ladoos.While in North few use dessicated coconut instead of fresh coconut to make these ladoos.Whatever might be the variation these ladoos still taste equally delicious.
rava ladoo

If you are looking for a easy sweet recipe to prepare for this Diwali this sooji ladoo is the best option to prepare.

sooji ladoo

Also check out other Ladoo recipes in my blog here:
rava ladoo

Rava Laddu | Sooji Ladoo Recipe:
yields 18-20 ladoos
Prep time: 15 mins | Cooking time: 15 mins | Total time: 30 mins
Cuisine: South Indian | Category: Sweets

Ingredients:
2 heaped cups Sooji or Chiroti Rava
2 levelled cups Sugar
1 cup grated Coconut
10-12 Cashewnuts,finely chopped
3-4 tbsp Raisins
1/3 - 1/2 cup Ghee,enough to form ladoos
1/2 tsp Cardamom powder

Method:
  • Heat 1 tbsp ghee in a kadai and fry chopped cashew nuts and raisins and fry them until the cashew nuts turn golden brown in color and the raisins become plump.Remove them and keep aside.
  • In the same kadai add rava and fry until you get a nice aroma and roast with out discoloring the rava and remove it to plate.
  • In the same kadai add fresh grated coconut and fry slightly for a short time.
  • Powder sugar in a mixie and remove it to a big bowl.
  • Powder the roasted rava to a coarse powder,you can avoid this step if you are using baarik rava(chiroti rava).
  • Add roasted and ground rava and grated coconut to the powdered sugar in a bowl and mix everything well and leave it aside for half  an hour.
  • Add fried cashew nuts and raisins and cardamom powder to the above mixture.
  • Melt the ghee and add it to the mixture and mix nicely.
  • Make small balls(ladoos) out of this mixture using hands.Roll the ladoos tightly so that they would not break down when arrange in the box later. If the mixture is too dry to roll into ladoos,you can add either more warm melted ghee or some milk and mix well and start making ladoos again.
Arrange them in a wide airtight container and store it upto a week.You can even refrigerate them.

rava laddu
Notes:
  1. The shelf life of these ladoos is not much as we use fresh grated coconut in it.I would recommend to keep it in fridge after 1-2 days.
  2. If you want to increase the shelf life avoid fresh coconut and can prepare the ladoos following the same process.
  3. You can reduce the quantity of ghee and sprinkle approximately 1/4 cup of milk to all the ingredients while mixing in a bowl and leave it for half an hour.
  4. The ladoos would be slightly soft while rolling and get set when rested for a couple of hours.
sooji ladoo

Technorati Tags:

Monday, August 24, 2015

Matki Usal | Moth Beans Curry | Matki Chi Usal Recipe

matki chi usal
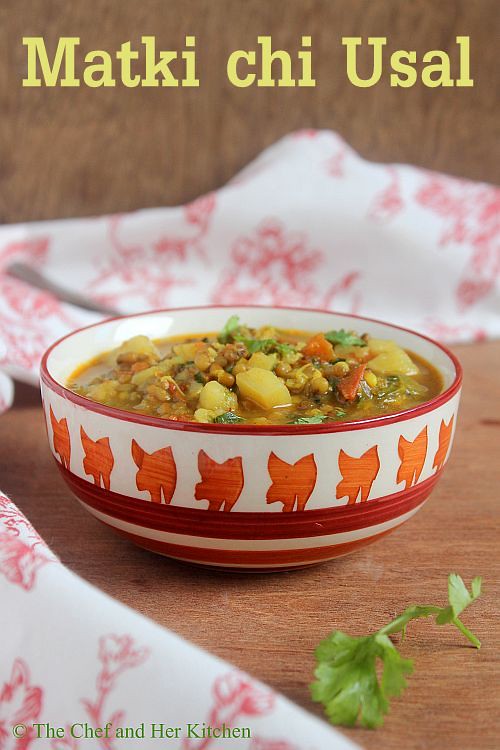
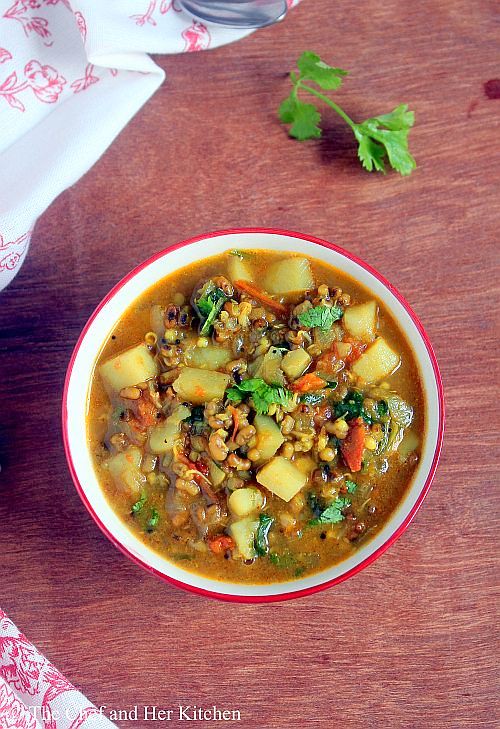
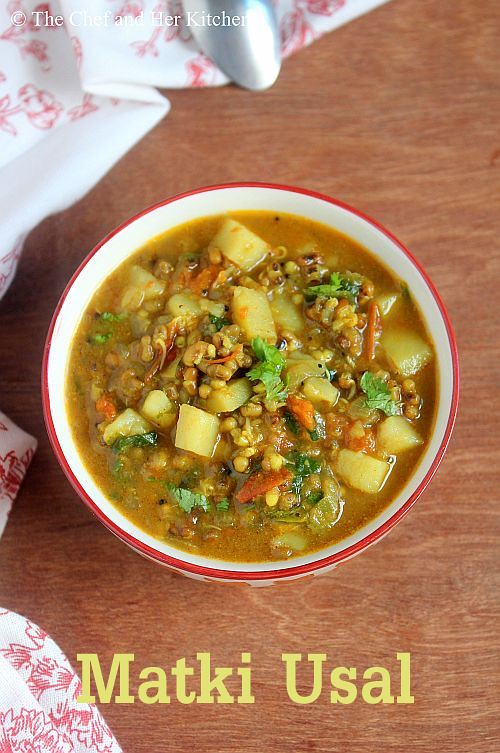
Usal and Misal are popular gravies which are usually served with Pav or Bhakri.While Usal is a thick gravy made up of sprouts, Misal is a thinner version of usal with the addition of farsaan(namkeen) on top and is served with pav,this combination is popularly known as Misal Pav. I usually prepare it as misal and serve it with pav but sometimes I serve usal with bhakris along with a dry sabzi. You can use various kind of sprouts like moong sprouts, yellow peas, mixed sprouts of moong,matki,kala chana and peas to prepare usal. I end up preparing either Matki Usal or Yellow peas usal most of the times.Usal is usually made spicy and slightly oily.There are various variations to the usal like Kolhapuri usal where kolhapuri masala is used which is a very spicy version and tastes slightly different from the regular version.
matki chi usal

Check out other Maharasthrian recipes in my blog.
moth beans curry

Matki Chi Usal | Moth Beans Curry Recipe:
Serves:2-3
Prep time:10 mins | Cooking time:10 mins | Total time:20 mins
Cuisine: Maharasthra-India | Category: Side dish

Ingredients:
1 1/2 cups Matki(Moth beans) Sprouts,steamed
1 large Potato,boiled and cubed
1 Onion,finely chopped
1 Tomato,chopped(optional)
1 tsp Kala Masala or Goda Masala or 1/4 tsp Garam masala
1/4 tsp Turmeric powder
1/2 tsp Red chili powder
5-6 Curry leaves
1/2 tsp Mustard seeds
a pinch of Asafoetida
Salt to taste
1.5 tbsp Oil

Method:
  • To sprout Matki - Wash and soak matki(moth beans) for 6-7 hrs in water and wash it once with fresh water and drain the excess water and tie in a muslin cloth or use a sprout maker to make sprouts.It will take 12-15 hrs.
  • Steam the matki sprouts in cooker with a pinch of salt for 8-10 mins.
  • Boil the potato and remove the skin and cut into cubes.
  • Heat oil in a kadai/pan and crackle mustard seeds and add asafoetida and curry leaves and fry for half a minute.
  • Add chopped onions and fry until they turn translucent.Add ginger garlic paste and tomato and fry until the raw smell goes away.
  • Add steamed moth beans and boiled and cubed potatoes and fry for 2 mins.
  • Add turmeric powder, red chili powder, goda(or kala) masala and salt and fry it for another couple of mins.
  • Add 1/4 cup water and cover it and cook for 7-8 mins.The Usal would be thick but if you want it like a gravy add some more water and boil it.
Serve it hot with Roti/Bhakri/Pav.

Notes:
  1. Usal can also be prepared with mixed sprouts or moong sprouts or sprouted Yellow peas.You need to cook them according to their cooking time.
  2. Usal is usually a thick gravy but if you want it you can slightly thin it down with the addition of water and boil it again,while serving add finely chopped onions and farsaan(namkeen) on top of it which is known as misal.
  3. I usually do not add tomato to usal but as I was preparing a thinner version I added a tomato,but the addition of tomato is optional.
  4. The addition of Goda masala or Kala Masala adds a unique flavor to the recipe.But if you do not have it in hand you can use garam masala instead.
matki usal

Thursday, July 16, 2015

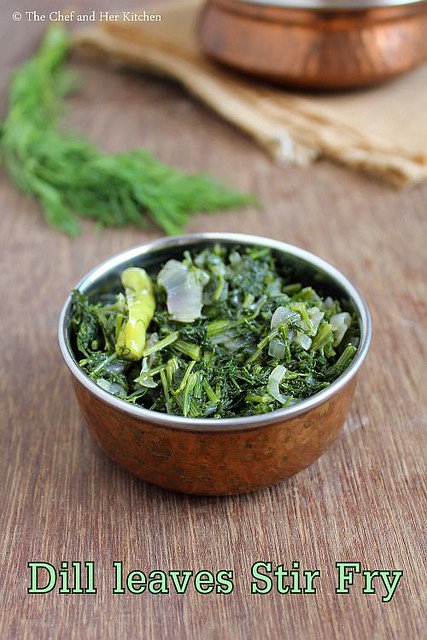
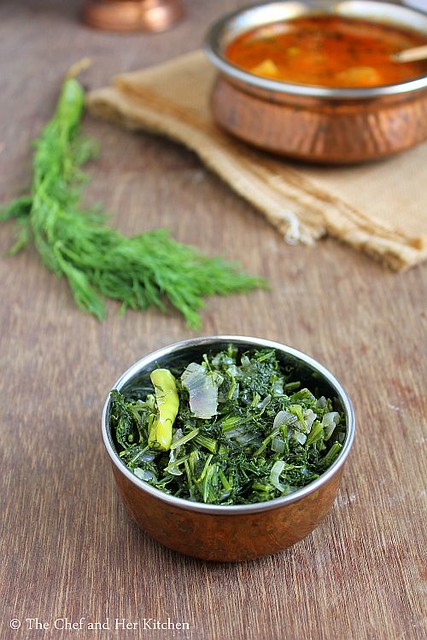
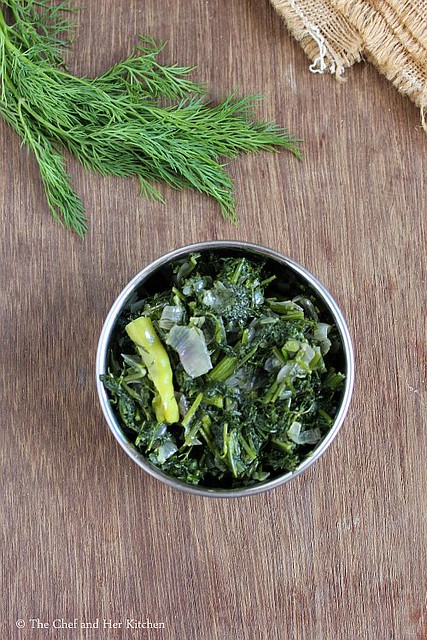
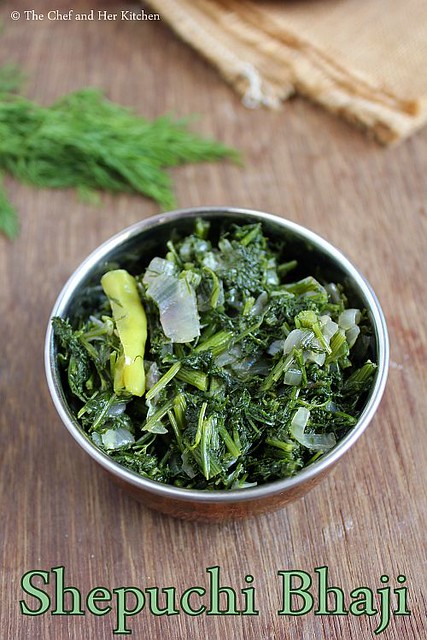
Dill Leaves Stir Fry | Shepuchi Bhaji | Sabsige Soppu Palya

dill leaves stir fry
I use various varieties of greens- green/red amaranth, methi, palak and dill leaves regularly in my cooking and I make it a point to use them at least 3-4 times a week to pair with my Jowar bhakris.I prepare either stir fry or dal with red and green amaranth but methi and palak are very versatile greens and can be used for various preparations-snacks,dal,stir fry,curries,gravies,rotis,parathas etc. However, if I want to serve the greens with bhakris,I prefer it in the form of either a simple stir fry or Saag.
sabsige soppu palya
This is a typical Maharasthrian style preparation of greens,you can adapt this recipe to prepare any greens stir fry.It is called as 'Shepuchi Bhaji' in Marathi.Usually Maharashtrians do not add any tempering in the greens and keep the garlic to dominate the flavor in the stir fry.I just love this simple stir fry to pair with bhakris or hot phulkas.Dill leaves are good for new mothers as it is known to aid lactation.
'Shepu' is basically Dill leaves,which is also known as 'Sabsige Soppu' and is widely available in Karnataka and Maharasthra regions.It has a distinct flavor,smell and taste, not many like the taste of it.Even I was not a fan of these greens during my childhood but now after marriage I started liking it.As it is available easily here in Mumbai I included it often in my menu and surprisingly hubby dear never complained about it and he too started liking these greens.Today I am posting a very simple stir fry recipe with these greens.If you are interested you can even check my Dill-Dal Stir fry which is how my mom used to prepare where the dill leaves are cooked with toor dal and is later prepared like a stir fry.

Check out few greens recipes in my blog:
shepu bhaji

Dill leaves Stir fry | Shepuchi Bhaji Recipe:
Serves 2-3
Preparation time: 15 mins | Cooking time: 20 mins | Total time: 35 mins
Cuisine: Maharasthra - Indian | Category: Side dish for Rice/Roti

Ingredients:
1 big bunch Dill leaves/Sabsige Soppu/Shepu
1 big Onion,roughly chopped
4-5 Green chillies,chopped
5-6 Garlic pods
2 tbsp Oil
Salt to taste

Method:
  • Clean the dill leaves and wash them properly and chop the leaves finely along with tender stalks.
  • Heat oil in a kadai and add chopped garlic and fry until they turn slight brown in color.
  • Add chopped onions and green chillies and fry for few mins until onions turn pink.
  • Now add the chopped dill leaves and fry for 10-12 mins until the greens are cooked.Take care that you would not over cook the greens,they taste best when they are cooked right.You can initially cover it slightly for 2-3 mins and then remove it later and fry it with out lid.
Serve it hot with Roti/Rice/Jowar Bhakri/Bajra Bhakri.

Notes:
  1. You can use green amaranth leaves or red amaranth leaves or spinach or methi leaves and follow the same process.
  2. I usually do not add any seasonings in the oil as I like the garlic flavor to dominate in the recipe.You can reduce the garlic if you are not a big fan of it.
  3. I like to keep this recipe simple as it tastes best as it is and I love to eat this with Jowar or Bajra Bhakris.
  4. Use only tender stems of the greens for this recipe.Chop them roughly.
  5. You can add soaked moong dal after you fry onions and cook it together with the dill leaves.Make sure the moong dal is cooked properly but it should hold its shape and not become mushy.
  6. You can even add grated coconut at the end.
shepuchi bhaji
Technorati Tags:  , ,

Tuesday, July 7, 2015

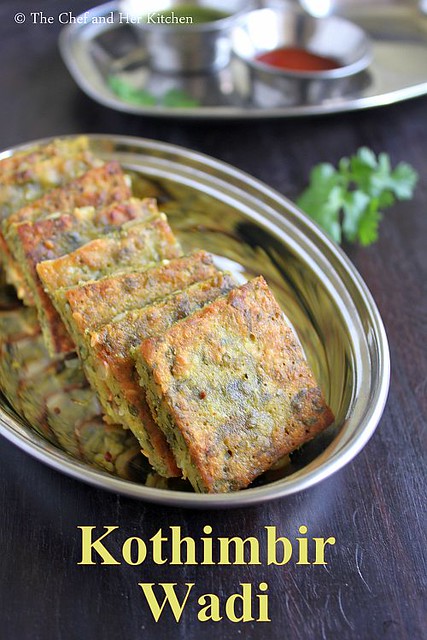
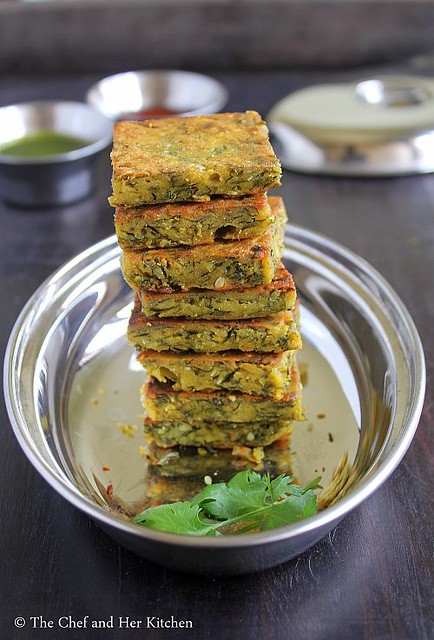
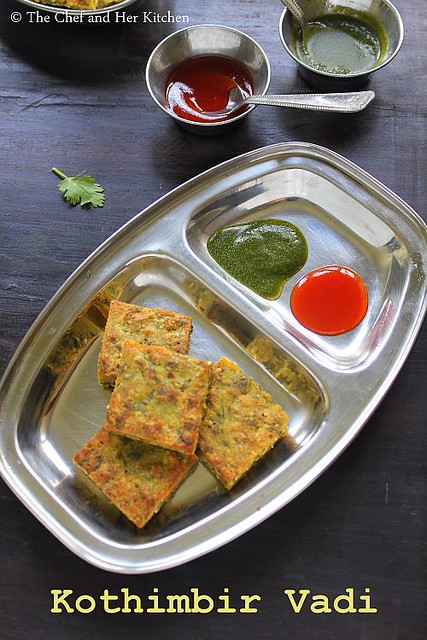
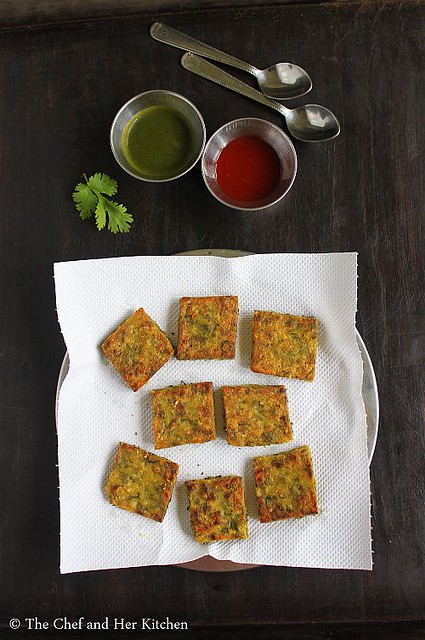
Kothimbir Vadi Recipe | Kothmir Wadi | Maharashtrian Snacks Recipes

kothimbir wadi
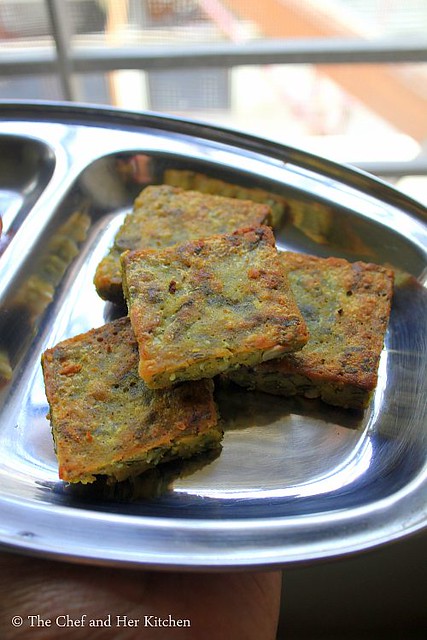
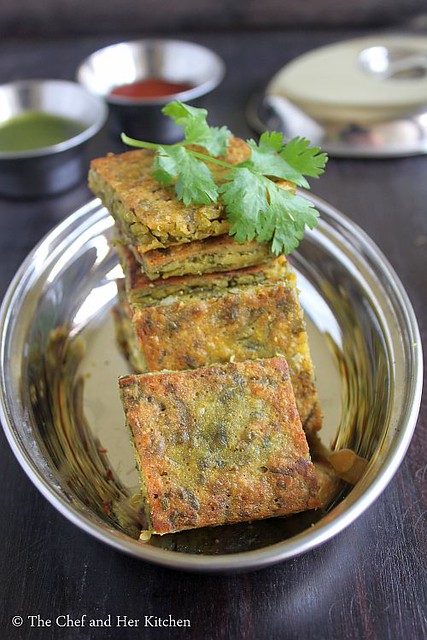
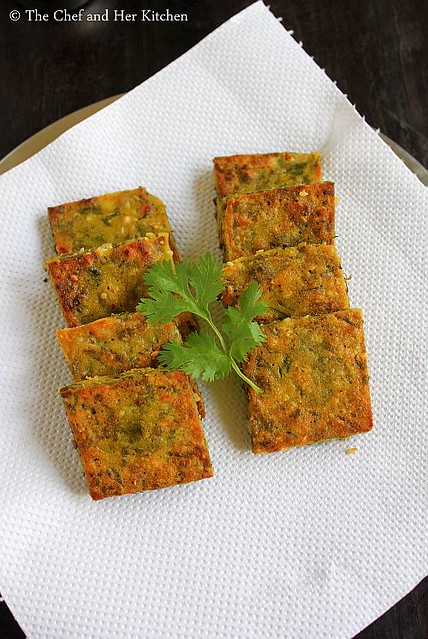
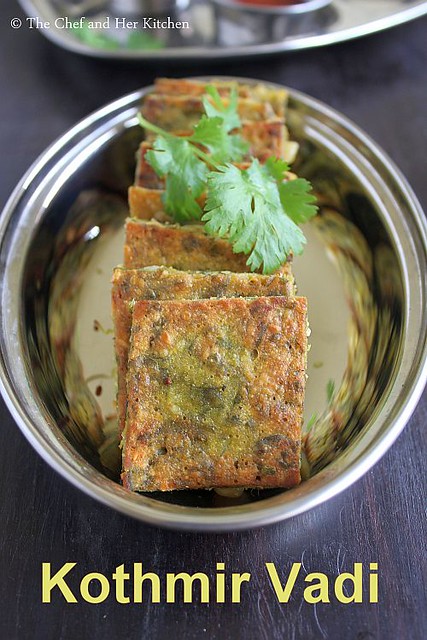
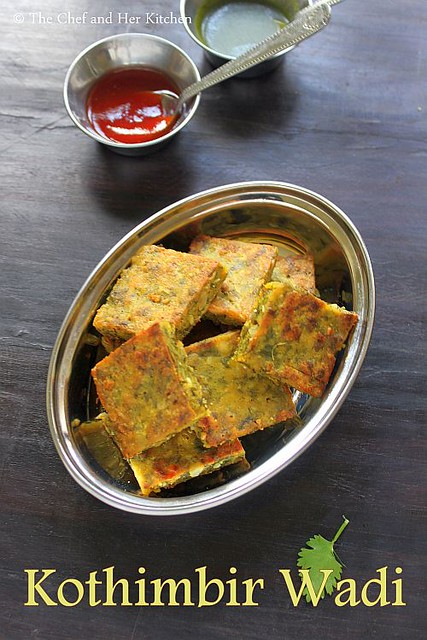
Kothimbir Vadi is basically fritters made up of Coriander leaves using besan(chickpea flour).You can basically call them as Coriander-Chickpea flour Squares.The preparation process of these fritters is quite different from the usual fritters like pakora etc.A batter is prepared using besan with lots of coriander leaves and few other spices and then it is steamed like dhokla, once it is cooled you can cut it into various shapes and deep fry or shallow fry the fritters.
kothimbir wadi

kothimbir vadi

We just love all the typical maharastrian snacks - vada pav, sabudana vada, kothimbir vadi, misal pav, thalipeeth, bhajiya etc and we often to go to Prakash, a famous Maharasthrian eatery in Dadar to indulge into all these snacks.In Mumbai I tasted two versions of Kothimbir vadi - the ones which we get in shops and restaurants are yellow in color and are usually cut into cubes or big squares and are deep fried,I feel this version uses less coriander where as the version typically prepared in Maharasthrian households is bit different - they use lots of coriander and it is mixed with besan to form a dough kind(not batter) and is made into long thick cylindrical shaped mass which is further steamed and cut into thin roundels and shallow fried. I personally like the version what we get in shops and restaurants, its crispy outside and very soft inside which makes this snack more tasty. Though the ingredients are same the taste,texture and color of both the versions are different and tastes good in its own way. Today I am posting a version which is a cross in between both the versions and it tastes good too.
kothimbir vadi

kothimbir vadi

Check out other Maharasthrian snacks recipes:

kothmir vadi

Kothimbir Vadi | Kothmir Wadi Recipe:
yields 12-16 pieces
Preparation time: 15 mins | Cooking time: 45 mins | Total time: 1 hr +  cooling time
Cuisine: Maharashtra | Category: Snacks/Breakfast

Ingredients:
1 cup Chickpea flour(Besan)
3 tbsp Rice flour
1 - 1.5 cups Coriander leaves,chopped
1/4 cup roasted and crushed Peanuts
1 tbsp Sesame seeds
2 Green Chillies
3/4" Ginger,chopped
1/4 tsp Turmeric powder
1/8 tsp Garam masala powder
1/2 tsp Cumin powder,optional
1/4 tsp Red chili powder
a pinch of Cooking Soda
1 tbsp Lemon juice
1 tsp Oil
Salt to taste
1.5-2 cups of water,approx

Method:
  • Grind green chillies and chopped ginger to a paste.

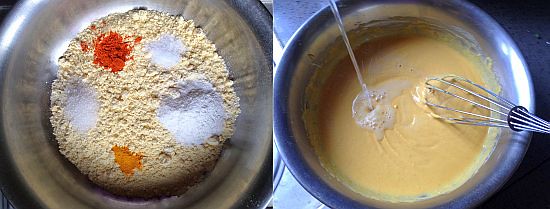
  • Mix all the dry ingredients like besan, rice flour, turmeric powder, red chili powder, salt and cooking soda in a big bowl.Add water(1.5 cups approx) to it and mix it to a nice thick batter like we do for dhokla.You can use a whisker for this purpose and also adjust water according to the required consistency.
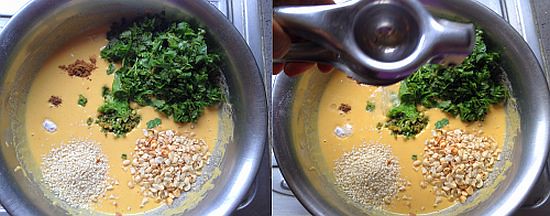
  • Add ground ginger-chili paste,cumin powder,garam masala powder,sesame seeds, crushed peanuts, chopped coriander leaves, oil and lemon juice to it and mix nicely.

  • Grease big steel plates (with side walls) with oil which fits into your steamer or pressure cooker.Pour the mixture upto 3/4th height of it and steam it in steamer or in pressure cooker without whistle for 15 mins.You can alternatively microwave the mixture in a microwave safe bowl for 3-4 mins until its done.Cool them completely.

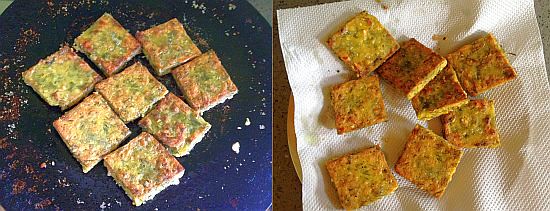
  • Cut into desired shapes like squares or diamonds and shallow fry them or deep fry in oil until its golden brown in color.
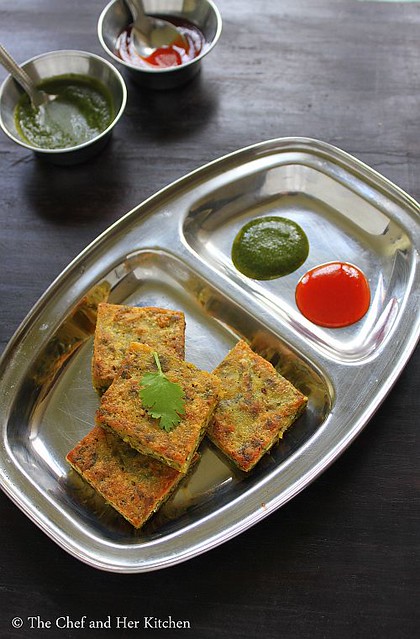
Serve them hot with Tomato sauce/Green chutney/coconut-peanut chutney/dry garlic chutney.
kothmbir vadi

kothmbir vadi

Notes:
  1. You can even skip the steaming part and keep stirring the prepared batter over low-medium flame until the mixture becomes and leaves the edges.This process easily takes 20-30 mins.Spread it on a greased plate(with wall) upto 1/2" height and let it cool completely and proceed further.
  2. The addition of peanuts is optional,as I said peanuts are added in the version we get in shops.But I recommend to use them in the recipe.
kothmbir vadi

 
back to top