Showing posts with label Diwali Recipes. Show all posts

Friday, October 13, 2017

Mathri Recipe | How to make Mathri | Diwali Snacks

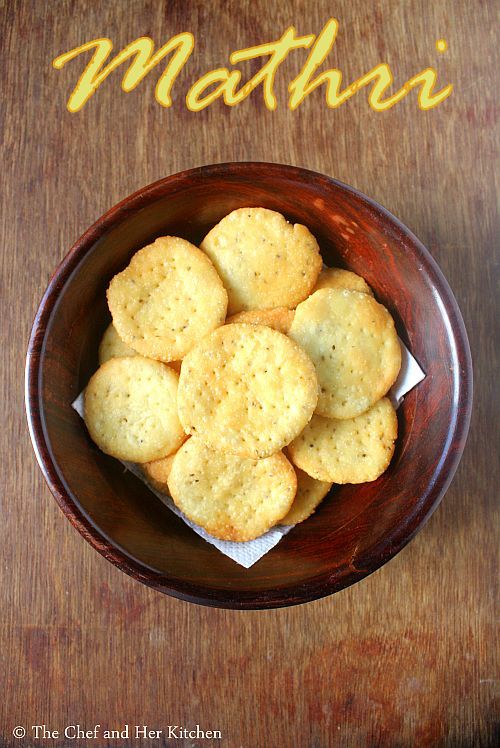
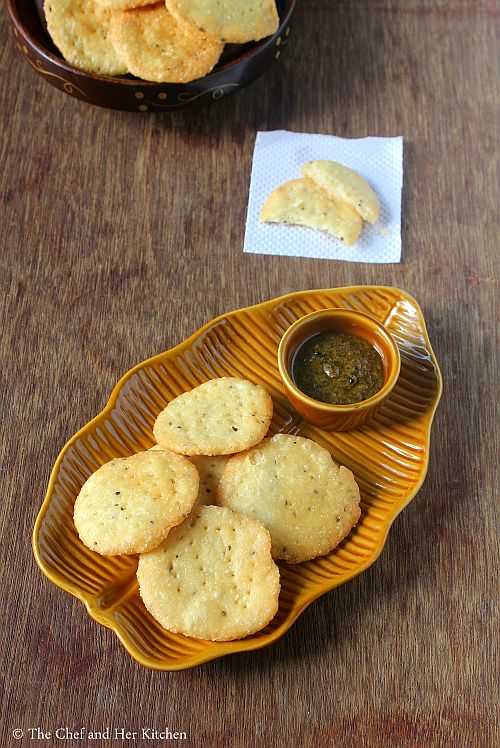
mathri
Mathri recipe with step by step photos.Mathri is a crispy cracker which is one of the most common snacks in North India.Mathris are thick,crisp,flaky and yet soft to bite kind of crackers which pairs perfectly with tea or coffee.It is usually served with spicy pickles/achar as the mathris are usually not spicy.
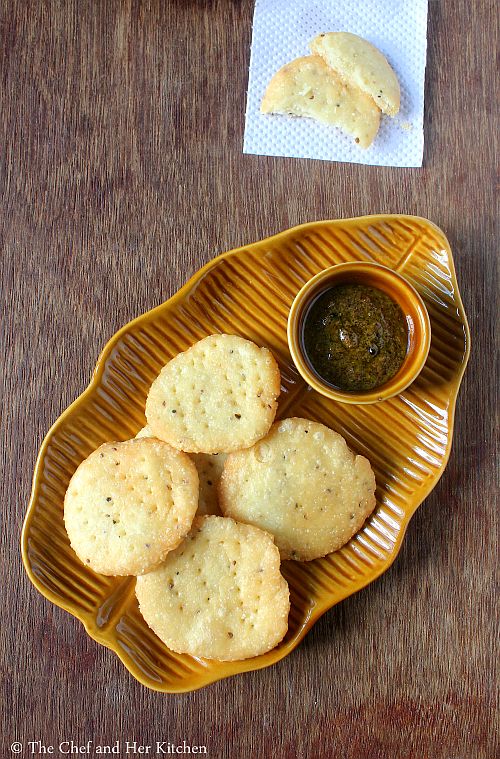
mathri
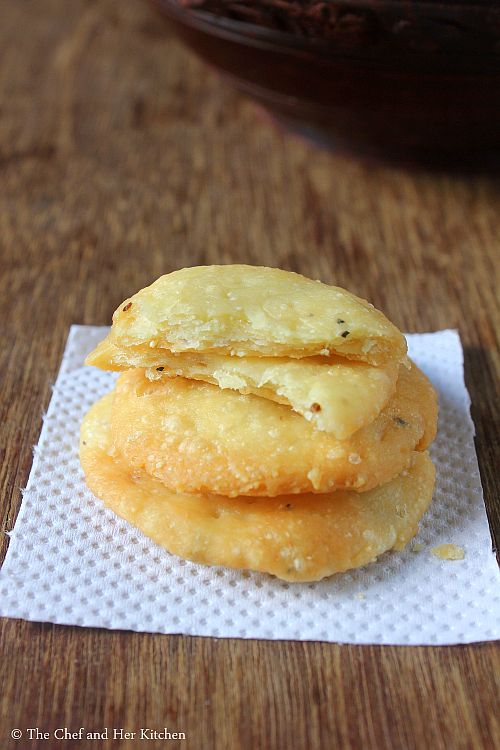
Mathris are simple to make but if you do not prepare it carefully you will end up with a soft mathri.The consistency of the dough and the frying process are the key things to follow while making mathri.I have highlighted few pointers in the recipe to get perfect mathri.Always fry the mathri on low-medium flame until they turn light golden brown, though it takes time you need to follow these steps else you will end up having soft mathri.
mathri
As Diwali is nearing by try out this simple mathri recipe for your friends and family members.If you are scared to prepare any murukku/sev recipe then this mathri recipe is perfect as it is very simple and similar to puri preparation process.
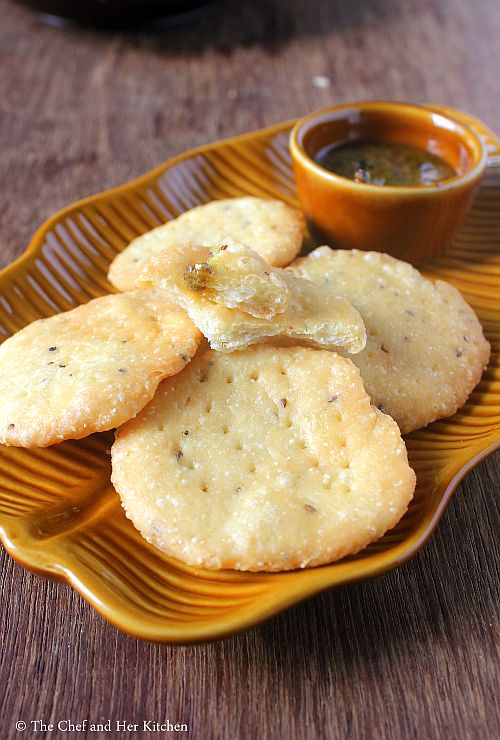
mathri
Check out other Diwali savouries in my blog here:
Mathri Recipe:
yields 15 crackers
Prep time: 20 mins | Cooking time: 20 mins | Total time: 40 mins
Cuisine: North Indian | Category: Snacks

Ingredients:
1 cup All purpose flour
2 tbsp Sooji
2 tbsp Oil
1/2 tsp Carom seeds(ajwain) or cumin seeds
1/2 tsp Black pepper,coarsely ground
Salt,to taste
1/3 cup warm Water,as needed
Oil,to deep fry

Method:

  • In a bowl mix flour,sooji,carom seeds,crushed black pepper,oil and salt and mix nicely.
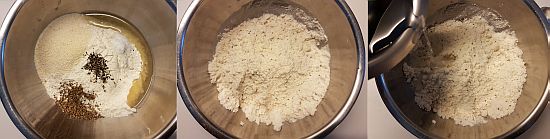
  • Add warm water to it and mix it to a tight dough and keep it aside covered for 15-20 mins.
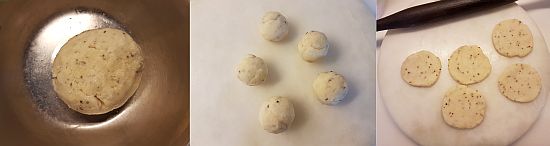
  • Pinch small gooseberry sized balls out of it and flatten them with a rolling pin to a 2 inch circular disc of 1/2 cm thickness.Prick them with a fork to avoid them puffing up in the oil.
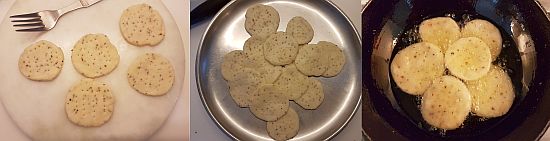
  • Heat oil in a thick kadai for deep frying.
  • Once the oil is hot check the heat by adding a small ball in it,if it comes up immediately then the oil is hot enough.Add few 5-6 mathris and deep fry them on low-medium flame until they turn crisp and light golden brown on both the sides.Always make sure that the mathris are covered with enough oil.
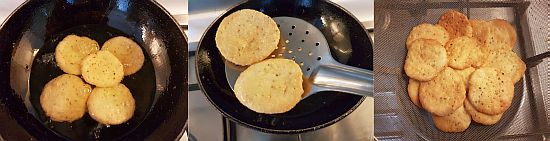
  • Remove with a slotted spoon and drain in the colander or kitchen napkin.
  • Once it is cooled completely store them in an air tight container.
Serve them with a spicy pickle for a tea time snack.

Notes:
  1. You can add cumin seeds instead of carom seeds in the recipe,it gives a different flavor.
  2. Use warm water and knead it into a tight dough.
  3. Always fry them on low-medium flame until they turn light golden brown else if you fry them in hot oil they will be soft inside.
  4. They can be stored until 3-4 weeks if stored in an airtight container.
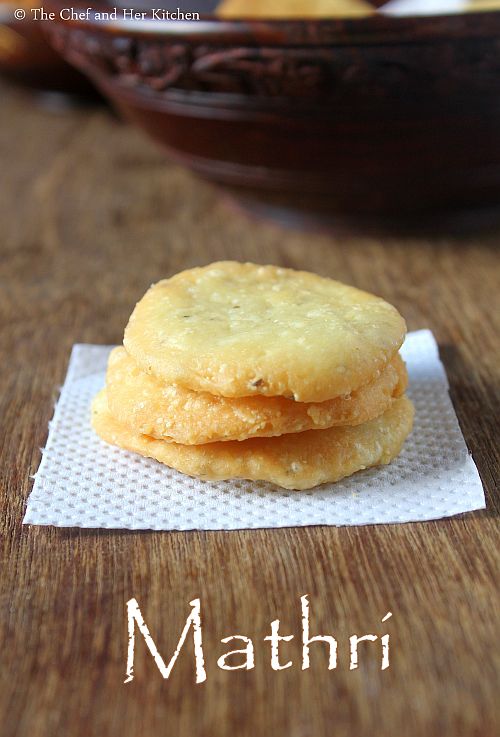
mathri

Monday, October 9, 2017

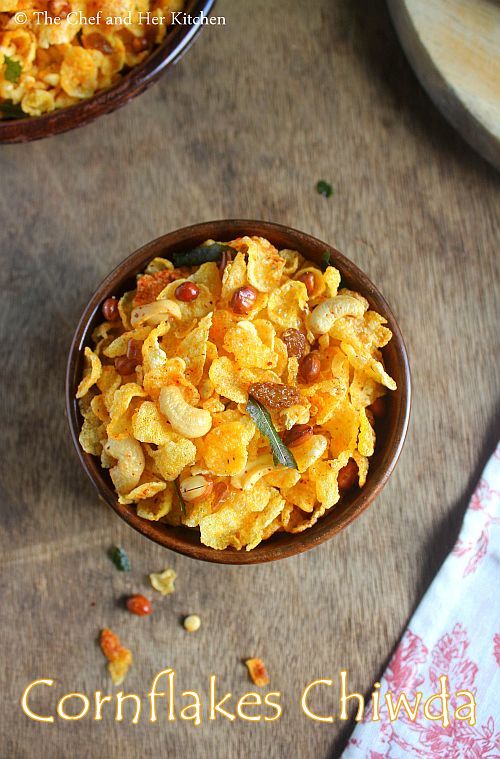
Cornflakes Mixture Recipe | Cornflakes Chivda | Easy Diwali Snacks

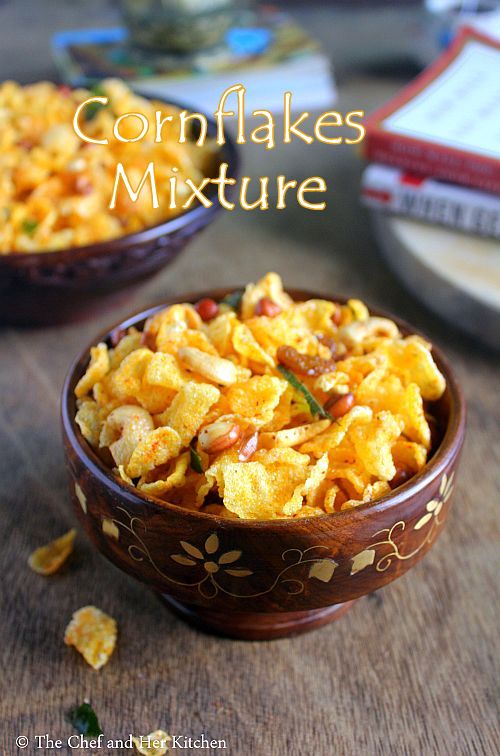
cornflakes mixture
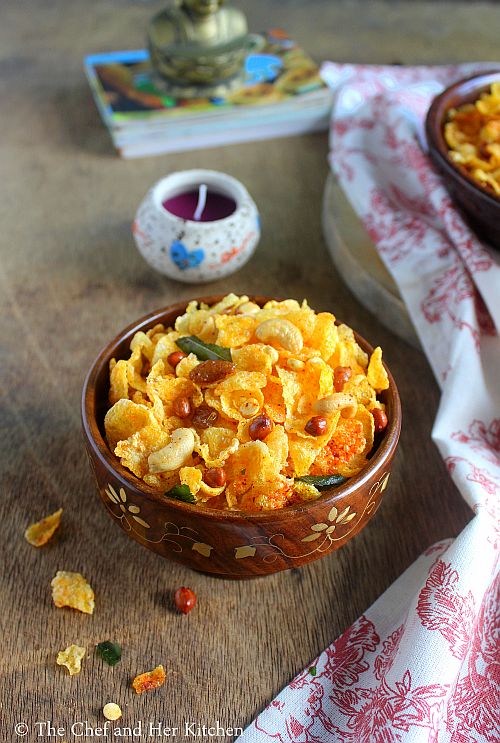
Cornflakes mixture recipe with step by step photos.Diwali is just around the corner and many would have started the preparation process and cleaning the house for the festival.We have a tradition to give sweets or dry fruits along with diyas/gifts to friends and family.Every year I try to make few sweets and savories as I like to share the homemade sweets and snacks rather than the store bought and there are few exceptions at time when I am pressed for time I buy the ready stuff to share with friends.
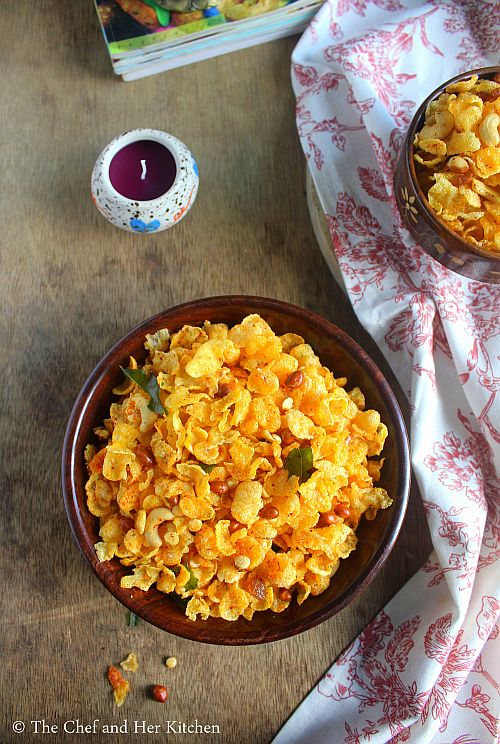
cornflakes mixture
Cornflakes mixture is very light and crunchy snack to eat along with a cup of tea.It is a very simple mixture recipe which can be prepared with minimal ingredients available in the pantry.It is a very simple recipe compared to other mixtures or savories as we just need to deep fry all the ingredients separately and mix it with minimal spices at the end.I am posting a simple cornflakes chiwda recipe but one can add various ingredients like poha or sev to make it a bit heavy kind of mixture.Cornflakes consume less oil compared to other mixtures or sev varieties but make sure you use the fresh stock of raw cornflakes(not the cereal variety).
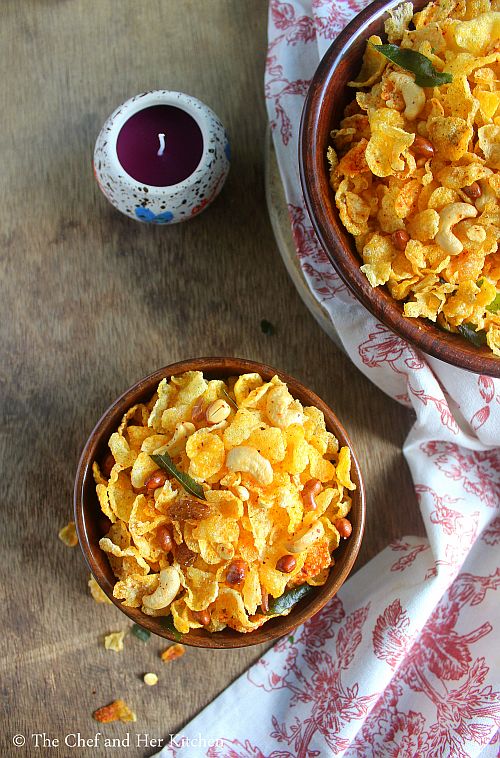
cornflakes mixture
Check out other Diwali savouries in my blog here:
cornflakes chiwda
Here is how to make cornflakes mixture recipe with step by step photos.
Cornflakes Mixture | Cornflakes Chiwda Recipe:

Yields 1 medium box
Prep time:5 mins | Cooking time: 20 mins | Total time: 30 mins
Cuisine: Indian | Category: Snacks

Ingredients:
2 cups raw Cornflakes
1/3 cup raw Peanuts
1/4 cup Cashew nuts,halved
1/4 cup Fried gram
1/4 cup Raisins
1/4 cup Curry leaves,washed and pat dried
1.5 tsp Red chili powder
3/4 tsp roasted Cumin powder
1/8 tsp Citric acid/Lemon salt
Salt,to taste or Kala namak(black salt)
Oil,to deep fry

Method:


  • Keep all the ingredients ready and heat oil in a thick kadai.
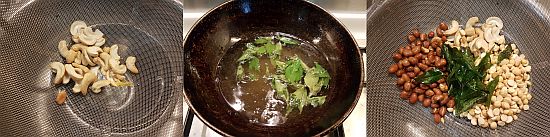
  • Once the oil is hot add peanuts and deep fry them until they turn slight red in color and remove them with a slotted spoon and put it in a steel bowl or steel strainer.
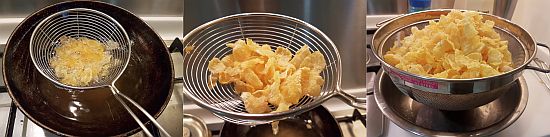
  • Repeat the process and fry all the ingredients like cashew nuts,fried gram,curry leaves and corn flakes separately.Every ingredient takes different time to get fried,so make sure you fry each ingredient separately and cornflakes need to be fried in several batches.
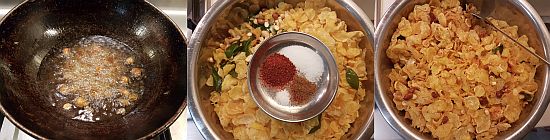
  • Finally add raisins and fry until they are plumped up and drain them immediately,do not fry them for long as they will harden or burn.
  • Once all the ingredients are fried put them in a large bowl and add salt,red chili powder, roasted cumin powder and citric acid and mix quickly while the fried ingredients are still hot/warm so that they get blended and coated well with the masalas.
Once it is cooled down store it in an air tight container.
Notes:
  1. This stays good for 2-3 weeks when stored properly in an air tight container.
  2. You can add the ingredients more or less according to your wish.
  3. You can even add sliced or whole fried almonds or fried poha or sev or bhujia or kara sev to the cornflakes mixture.
  4. You can even add little powdered sugar while mixing the mixture but I do not prefer to add it.
  5. The addition of citric acid is optional but one can even add kala namak(black salt) or chaat masala for different flavor.
  6. If you want to keep the spices simple avoid cumin powder too in the recipe.
  7. Make sure that you always deep fry the cornflakes on medium flame, if it is fried on low flame(or oil is not hot enough) it will consume lot of oil.
cornflakes chiwda

Tuesday, September 19, 2017

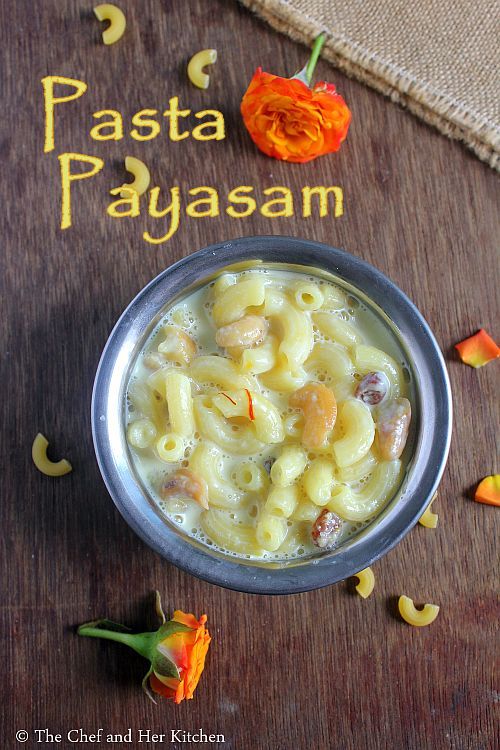
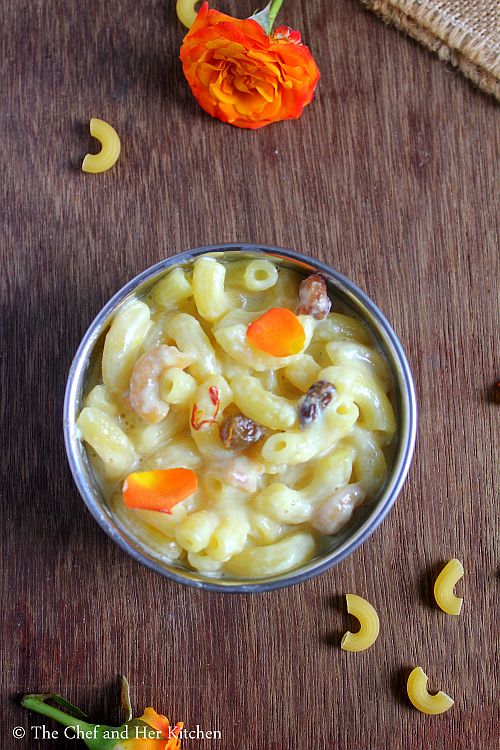
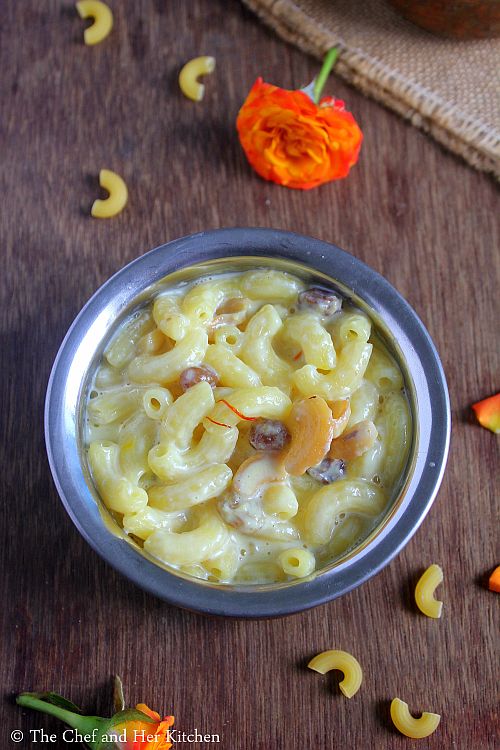
Pasta Payasam | Macaroni Kheer Recipe | Kheer Varieties

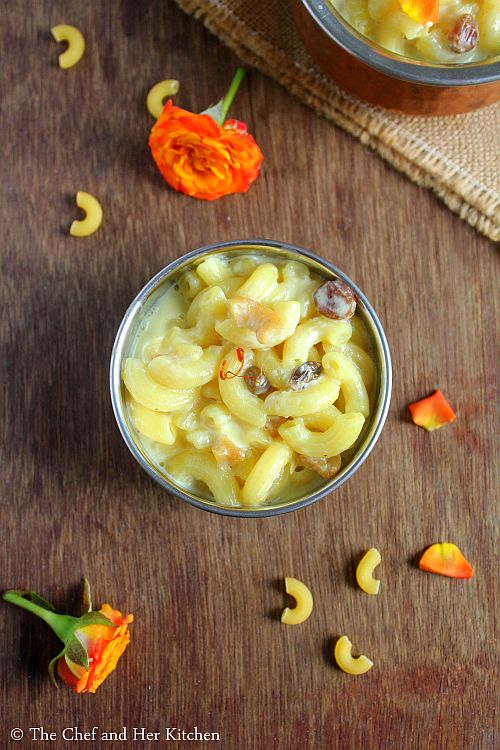
pasta payasam
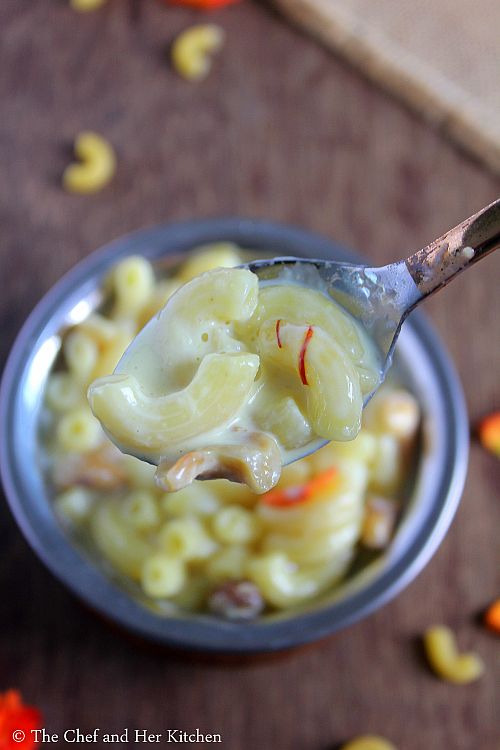
Pasta kheer recipe with step by step photos.Navaratri is around the corner and it is a norm to prepare a different sweet and sundal variety for naivedyam on those nine days.I have been planning to post the pasta kheer recipe from so long and finally I am able to post it for this navaratri.The preparation process of pasta payasam is very similar to any other payasam variety just that we need to boil the pasta and then add to the milk unlike other kheer varieties where vermicelli or sooji or rice is cooked in the milk.
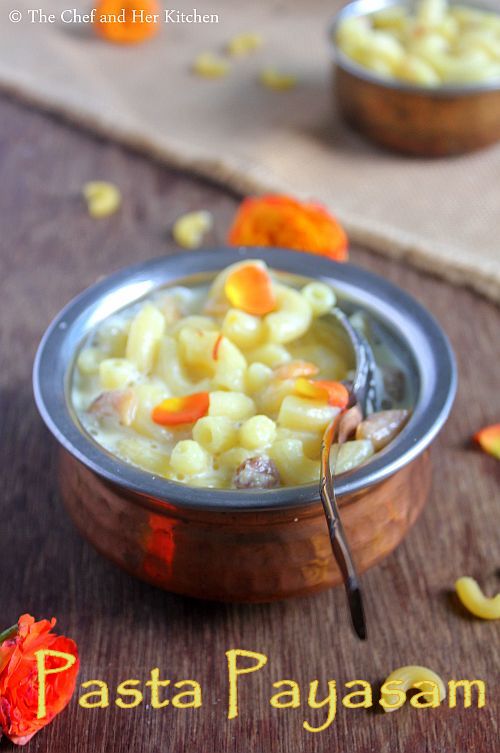
pasta payasam
I usually get various pasta varieties which includes penne, shell, spiral, fettucine, macaroni, linguini, fusili, sphagetti etc but penne pasta is the favorite at my place as it absorbs the sauce well compared to the other ones.I have used macaroni for this payasam but one can either use shell or penne pasta varieties to prepare this kheer and I will not recommend other pasta varieties as they will not absorb the fluids well. The kheer absorbs the milk and thickens as it sit and hence while making the kheer add enough milk and adjust the sweetness as for your preference.
pasta payasam
pasta payasam
Check out other Kheer recipes in my blog here.
pasta payasam
Here is how to make pasta payasam recipe with step by step photos.
Pasta Payasam Recipe:
Serves 3-4
Prep time: 2 mins | Cooking time: 25 mins | Total time: 30 mins
Cuisine: Fusion | Category: Sweets/Desserts

Ingredients:
1 cup Macaroni or any other small Pasta variety
1/4 cup Sugar
1/2 cup Condensed milk
3/4 liter full cream Milk
10-12 Cashew nuts
2 tbsp Raisins
15-20 Saffron strands
2 tsp Ghee

Method:
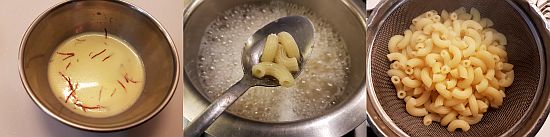
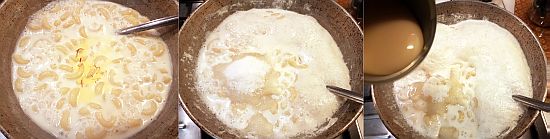
  • Soak saffron in 2 tbsp warm milk for 10-15 mins.
  • Boil macaroni in a big pot of hot water,add little ghee and let it cook for 12-15 mins until done or follow the instructions given on the pack.
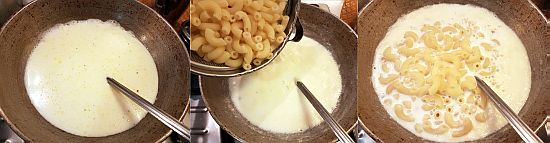
  • Boil milk and simmer it for 12-15 mins until it reduced to 3/4th of the quantity.
  • Add cooked pasta to the simmering milk and reduce the flame and cook for another 5-7 mins.
  • Add saffron soaked milk,sugar and condensed milk and mix gently till it dissolves and let it continue cooking over low flame.Always cook over low flame otherwise the milk might curdle.
  • Meanwhile heat ghee in a kadai and fry cashew nuts and fry them until golden in color and remove them and keep aside.
  • In the same kadai add raisins and fry them until they fluff up and remove and keep them aside too.
  • Add ghee roasted cashew nuts and raisins and cardamom powder to the kheer and mix and switch off the flame.
Serve it hot/warm/cold or at room temperature.

Notes:
  1. You can add 1/2 tsp Cardamom powder to the kheer while it is boiling.
  2. You can make any kheer varieties like sago,vermicelli,millets etc.Sago and vermicelli needs to be roasted in ghee before adding to the milk mixture.
  3. The kheer tends to thickens as it sits and hence make sure it has enough liquid when you finish making kheer.If it is thickened at the time of serving you can add boiled and cooled milk to the kheer.
pasta payasam

Friday, October 28, 2016

Perugu Jantikalu | Pulla Murukku | Sour Curd Murukku | Easy Diwali Snacks

Pulla Murukku
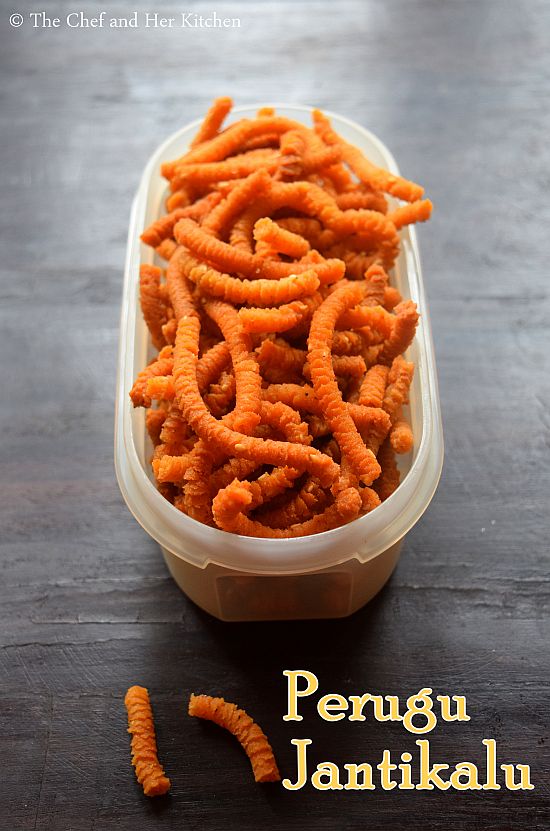
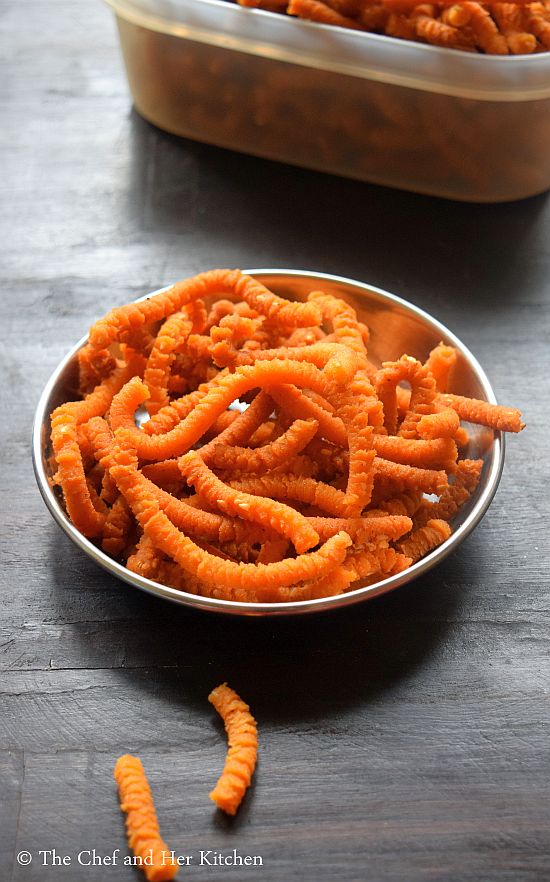
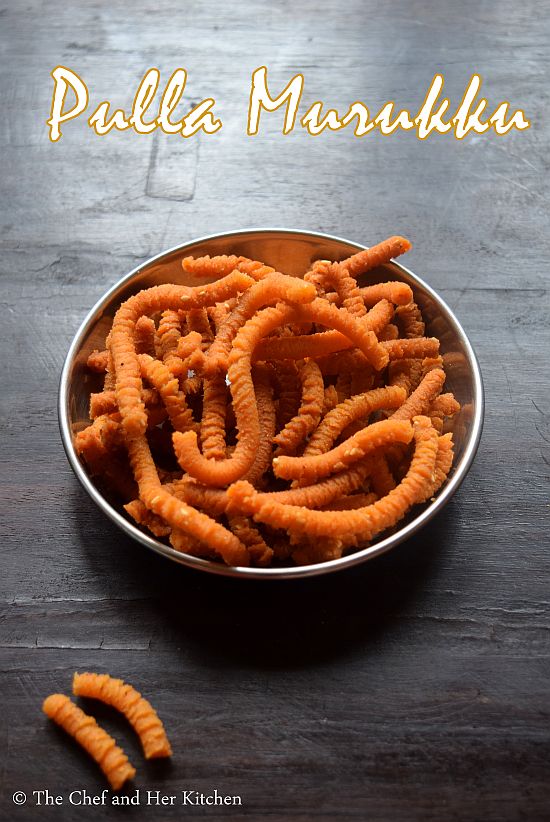
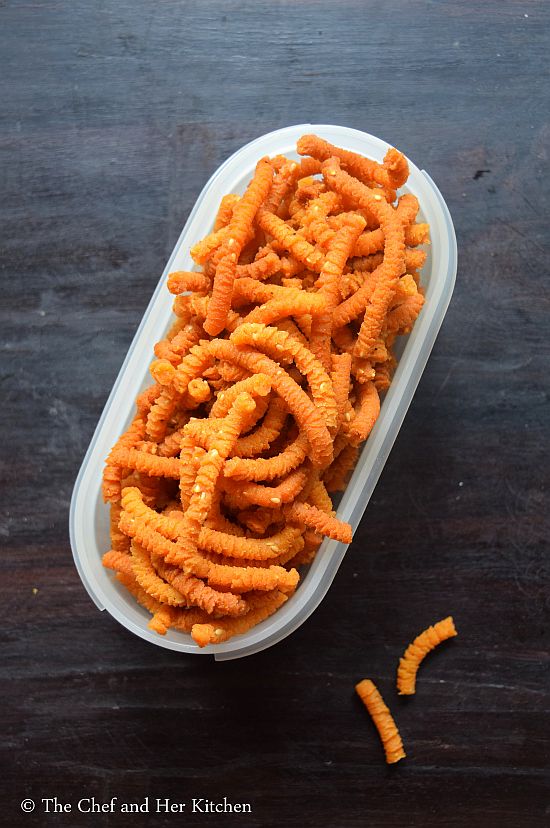
Pulla Murukku or Perugu Jantikalu is prepared similar to Sago murukku without the addition of sago in the recipe. We love this murukku as well as Sago murukku very much because of its sour taste from the sour buttermilk used in the recipe.One can make it plain or spicy by adding red chili powder but we love the spicy version only.
perugu jantikalu
This recipe is very simple to make and even a beginner can attempt it by keeping few pointers in mind to get good murukkus which are neither hard nor soggy. This recipe yields crisp yet soft to bite murukkus which are perfect to munch along with a cup of chai/coffee.
perugu jantikalu
Check out other Diwali savouries in my blog here:
perugu jantikalu
Perugu Jantikalu | Pulla Murukku Recipe:

Shelf life: 2-3 weeks | Author: Prathibha
Prep time: 10 mins | Cooking time: 40 mins | Total time: 50 mins
Cuisine: South Indian | Category: Snacks

Ingredients:
1/2 - 3/4 cup sour thick Curds
thick Sour butter milk,to mix the dough
1.5 tbsp white Sesame seeds
1.5 tsp Chili powder
Salt to taste( approx 1 heaped tsp)
2 tbsp hot Oil
Oil,to deep fry

Method:
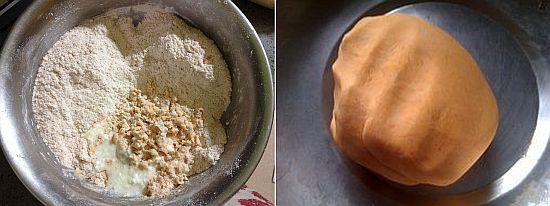
  • In a bowl add rice flour,salt,chili powder and sesame seeds to it and mix it nicely.
  • Pour hot oil on top of the flour and carefully mix with the ladle,do not use your hands to mix it immediately.Leave it aside for 2-3 mins.
  • Now add the sour thick curd and mix the flour well with hands until the oil and curd is incorporated in to the flour nicely.
  • Divide the flour equally into 2-3 parts if you are making in large batch or else knead into one portion.
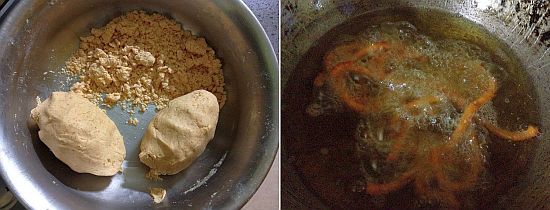
  • Sprinkle the buttermilk to one portion and prepare a thick dough.
  • Meanwhile heat oil in the kadai. 
                                              
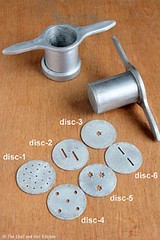
  • Use a 5 eyed disc-thick round sev (disc-4 in the above pic) in the murukku maker and fill the dough in it.
  • Carefully press the dough in to the hot oil directly in a circular motion.Do this process carefully otherwise the oil might spill.
  • If your murukku looks smooth and slight serrated edges then it is the correct consistency it will give nice hollow and crisp but soft to bite kind of murukku.If the surface is very hard and becomes very thin it will yield hard to munch kind of murukku.In that case slightly sprinkle some water to make the dough bit smooth and then proceed.
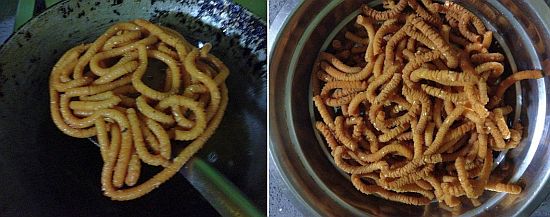
  • Deep fry over the medium-high flame until the murukku turn golden brown in color and the bubbles subsides in the oil.
  • Drain excess oil on to kitchen napkin.
  • While it is frying add buttermilk to the 2nd portion and repeat the same process of preparing dough and frying and repeat until all the flour is over.It is always better to make dough in small portions than preparing the dough at once.
Let all the murukkus come down to room temperature.Store it in air tight container.
Notes:
  1. You can add 1/2 cup soaked sago to make it into sago murukku.Choose small sized sago for it,if the sago is big it might break into pieces when it is pressed it into oil.
  2. Always mix the dough in small portions,this way it will not make the dough very soft and in turn reduces the oil consumption.
  3. If your murukku looks smooth then it is the correct consistency it will give nice hollow and crisp but soft to bite kind of murukku.If the surface is very hard it will yield hard to munch kind of murukku.In that case slightly sprinkle some water to make the dough bit smooth and then proceed. 
  4. If the murukku turns very hard to bite,it means the amount of hot oil you added to the dough is not enough.Add 1-2 tbsp more and make the next batch. 
perugu jantikalu

Thursday, October 27, 2016

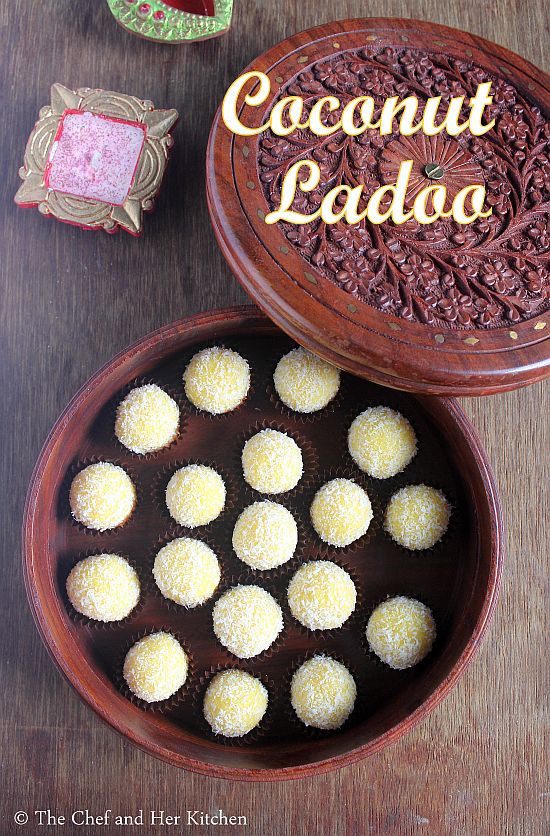
Coconut Ladoo with Condensed Milk | Desiccated Coconut Ladoo | Easy Ladoo Recipes

coconut ladoo
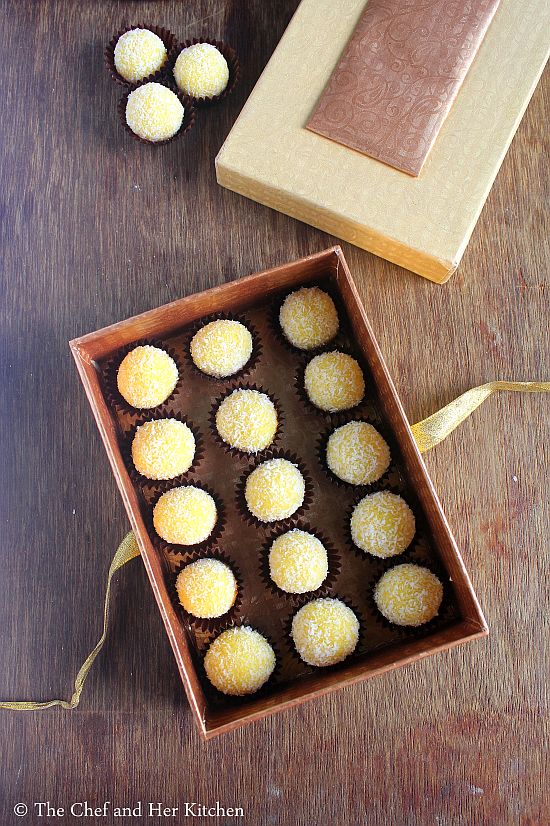
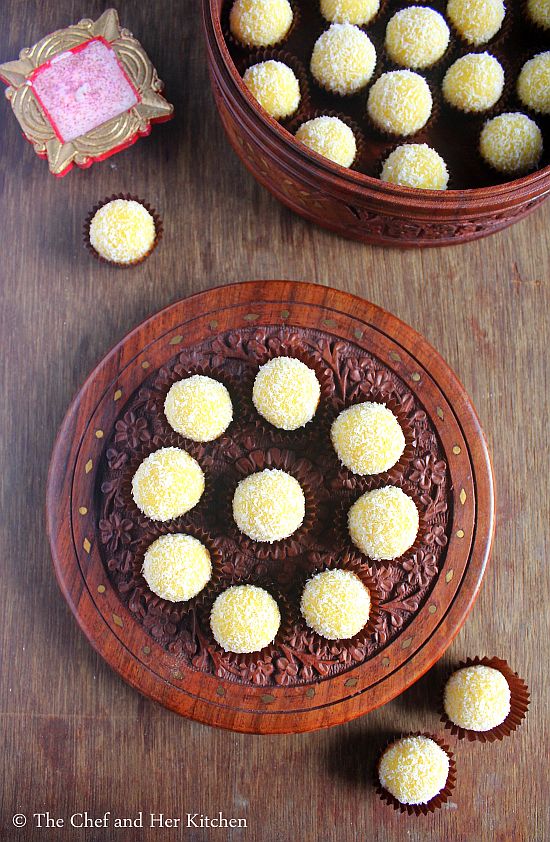
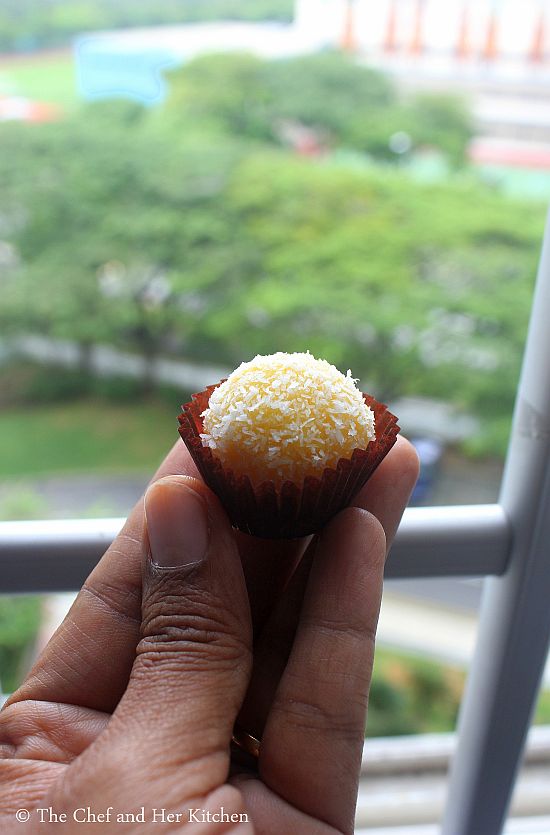
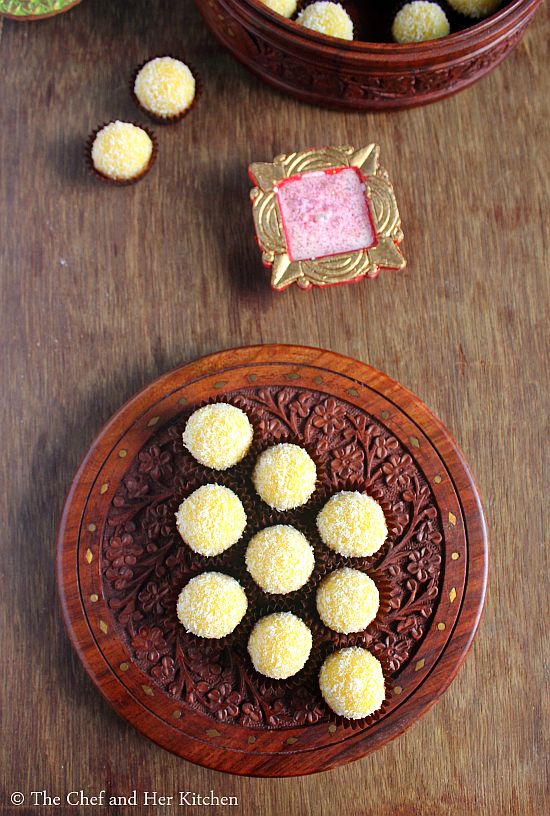
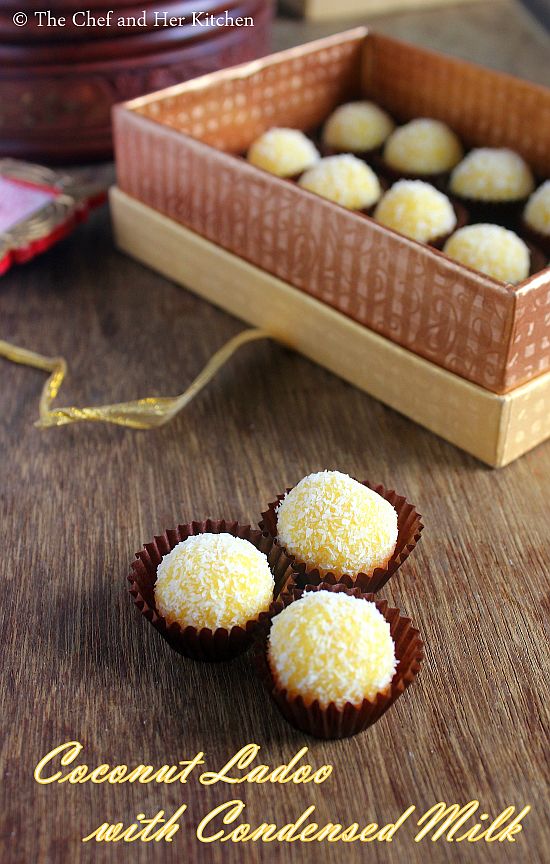
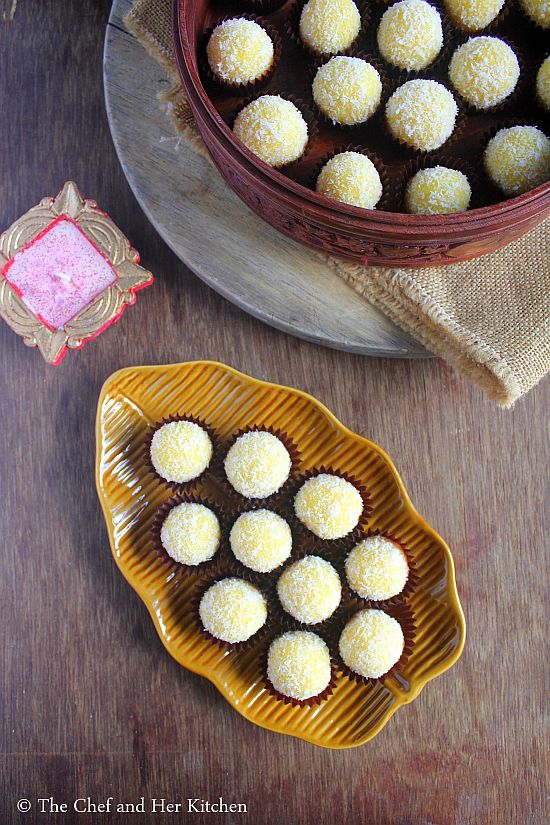
Diwali Sweet series is incomplete with out a ladoo recipe. I am yet to post several ladoo recipes in my blog and this quick Coconut ladoo using Condensed milk was long time due to post in my blog. As I mentioned in my previous post I have even taken these delicious Coconut ladoos along with Maida Burfi for my kiddo's school Diwali party.Needless to say both the sweets were a hit with the kiddos, the tutti frutti in the maida burfi and the soft and juicy mango flavored Coconut ladoos were the highlights of both the sweets.Yes, you read it right the Coconut ladoos were flavored with mango.It is not that I added any pulp or flavor to the ladoos, it is just that I could locate Mango flavored Condensed milk during one of my shopping visits and the very moment I knew what I wanted to do with it and had picked the desiccated coconut too to prepare these tiny beauties.
coconut ladoo using condensed milk

desiccated coconut ladoo
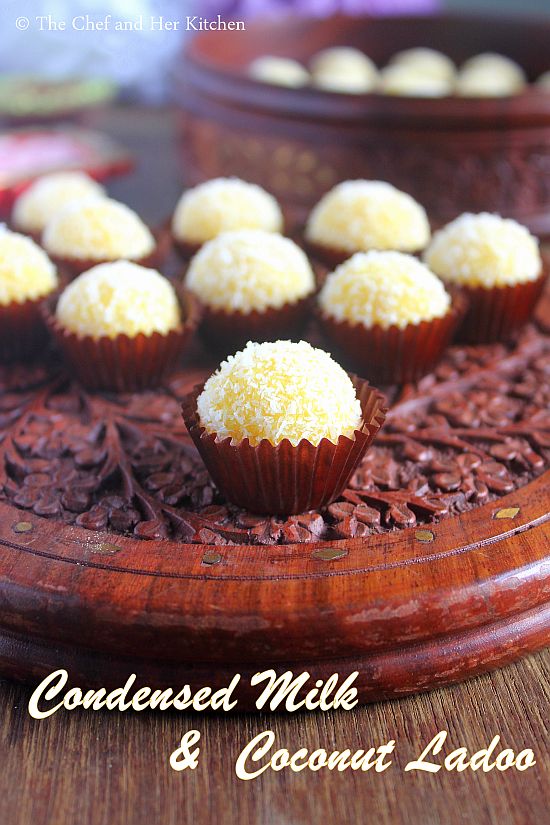
This coconut ladoo is the most easiest lado/sweet recipe that one can prepare for any festival or Diwali. It is simple and straight forward with just two ingredients - desiccated coconut and condensed milk .You just need to mix it and cook for sometime and then start rolling, thats it.How cool is it? If you are thinking about the taste let me tell you these were soft to bite with juicy interiors and just melts in mouth. I hope this description itself is enough for you to try them asap for this Dwali.
coconut ladoo using condensed milk

desiccated coconut condensed milk ladoo
Check out other Diwali sweets recipes on my blog:
condensed milk and coconut ladoo

condensed milk and coconut ladoo
Coconut Ladoo with Condensed Milk Recipe:
Yields: 45 Ladoos | Author: Prathibha
Prep time: 25 mins | Cooking time: 5 mins | Total time: 30 mins
Cuisine: Indian | Category: Sweets

Ingredients:
3 - 3 1/4 cups Desiccated Coconut
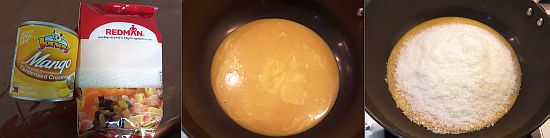
1 tin(392 gms) Condensed Milk(I used Mango flavored Condensed Milk)
1/2-3/4 cup Desiccated Coconut,for rolling

Method:
  • In a thick kadai empty the condensed milk tin and add initially 2.5 cups desiccated coconut and mix nicely.The coconut should be well mixed with the condensed milk and the mixture should not be very dry or very loose.It should be of thick consistency that one can make ladoo out of it, so add the remaining desiccated coconut until you get that consistency and also do check the sweetness of it and add the coconut accordingly.I used 3 cups in total.It all depends on the quality of coconut and how much it can seep in the condensed milk.
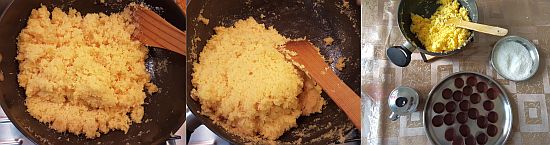
  • Now switch on the stove and heat the mixture until it is hot and reduce the flame and cook for 4-5 mins. This will make the coconut cooked in the condensed milk and gives a soft ladoo.
  • Now switch off the flame and let the mixture become warm.
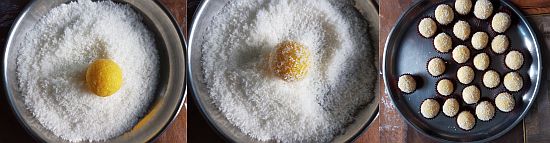
  • Spread the remaining desiccated coconut in a plate.
  • With the clean and dry hands take a small portion of the mixture and make a ping pong sized ball out of it and roll it in the desiccated coconut and place it in a plate.Repeat it and prepare all the ladoos out of it.The fat from the mixture itself is enough to roll the ladoos, if it is sticky you can grease your hands with ghee and start rolling, it was not necessary for me.
  • Now carefully place the rolled ladoos in a small cup cake liners like how I did or arrange them in a box.
Store them in airtight containers or gift them in a gift box.They can be stored for 3-4 days under room temperature and upto a week when refrigerated.

Notes:
  1. There are no hard and fast rules regarding the amount of coconut as the sweetness preference by each individual is different.The only thing you need to keep in mind is the mixture should not be neither very dry nor very loose to get soft and juicy coconut ladoos.
  2. I have used Mango flavored Condensed milk for this recipe but one can easily use normal condensed milk.But we just loved the mango flavor that got infused in the ladoos.
  3. If you are using normal condensed milk you can flavor the ladoos with rose essence too.
  4. You can easily half the recipe.
  5. If you want to use frozen coconut in the recipe you can still use.You need to roast the coconut until the moisture evaporates and also taking care that the coconut does not change the color too.
coconut ladoo with condensed milk

 
back to top