Showing posts with label Lunch Box Recipes. Show all posts

Monday, June 12, 2017

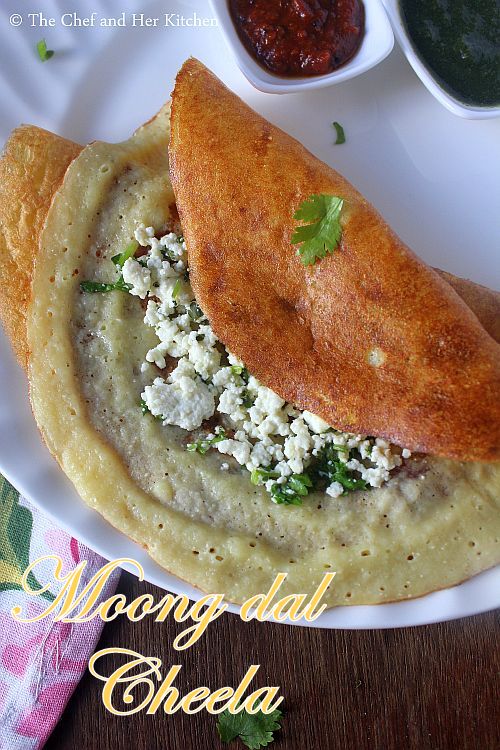
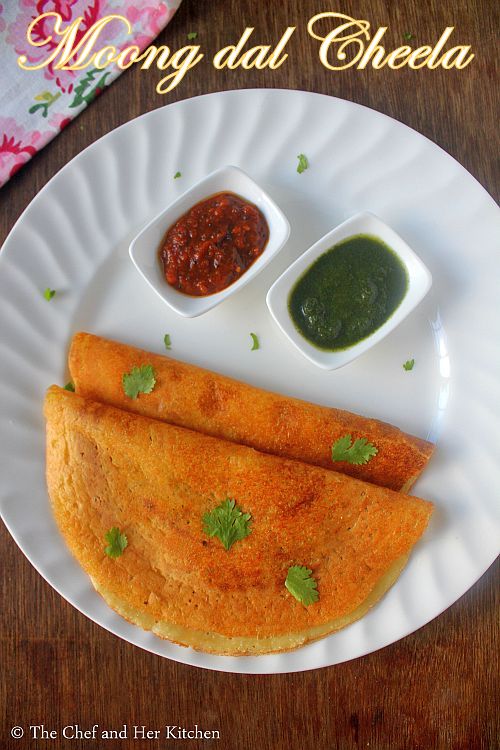
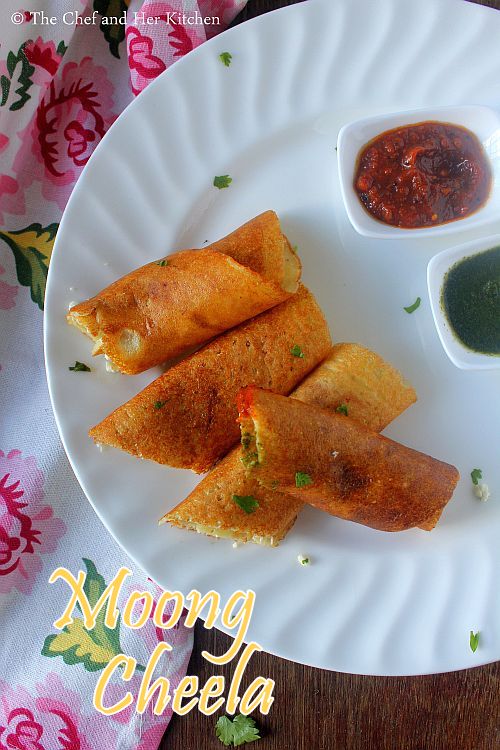
Moong dal Chilla Recipe | Moong dal Cheela

moong dal cheela
Moong dal Chilla recipe with step by step photos. Moong dal Cheela is similar to Andhra Pesarattu, yellow moong dal is used in cheela where as whole moong is used in Pesarattu but there is a lot of change in taste and texture of both the dosa varieties. Pesarattu is either stuffed with upma or onion-chili-ginger mixture and is served with Ginger Chutney where as Cheela can be prepared with or without cottage cheese mixture and is served with Chaat chutneys or Tomato sauce. Pesarattu is bit heavy where as cheela is bit light on tummy but I absolutely love both the variations.
moong dal cheela
Cheelas are prepared in the North India like how dosa is prepared in south India. Besan Cheela,Sooji Cheela and Moong dal Cheela are the most prepared ones. Cheela is also known as Puda or Pudla in some parts of  India.
moong dal chilla
moong dal chilla
Moong dal Cheela is protein rich and nutritious too,hence can be served for a filling breakfast or snacks, it can be even packed as rolls for lunch box and it stays good too.I have added green chilies and ginger while grinding the batter but you can avoid it if you want to prepare it for young kids.Also the batter can be prepared ahead and prepare cheelas or you can grind the batter and start preparing cheelas as it does not require any fermentation.
moong dal cheela
Here is how to prepare Moong dal Cheela recipe with step by step photos.
Moong dal Cheela Recipe:

Yields: 8-10 | Author: Prathibha
Prep time: 20 mins | Cooking time: 10 mins | Total time: 30 mins
Cuisine: Indian  | Category: Breakfast/Snacks

Ingredients:
1 1/4 cups Green Gram(yellow Moong dal),de-husked,split
2 tbsp Bengal gram(Chana dal)
2 Green chilies,chopped
3/4: Ginger,chopped
a pinch of Asafoetida
Salt, to taste
Oil,to roast cheelas

for the filling:
1/2 cup fresh Cottage Cheese(Paneer),finely chopped
2 tbsp Coriander leaves
a pinch of  Salt

Method:

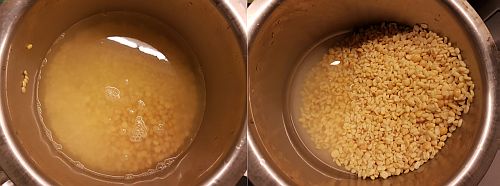
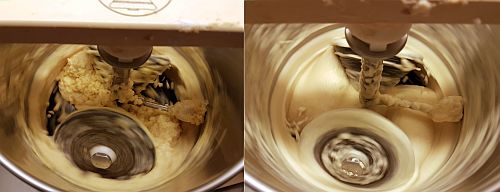
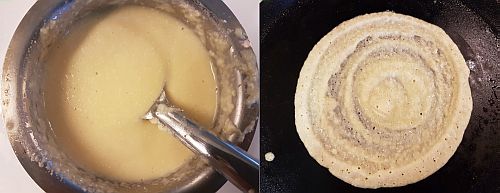
  • Soak moong dal and chana dal together for 2-3 hours and wash them and drain the water and grind the lentils with chopped green chilies and ginger to a fine paste,add required amount of water while grinding the batter. Add salt and asafoetida and mix well.The consistency of the batter should be similar to the regular dosa batter.
  • Mix the finely chopped paneer pieces with coriander leaves and salt nicely and keep it ready.
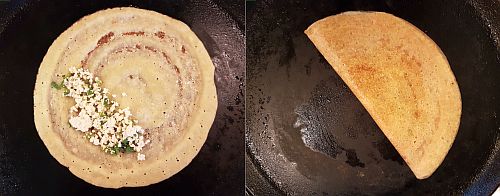
  • Heat the dosa tawa nicely and pour a ladle of batter and spread it in a circular motion to form a dosa, you can spread the cheela according to your desired thickness.
  • Pour a tsp of oil around the edges and on the cheela and cover it and cook on medium flame for a minute until the dosa starts turning brown.
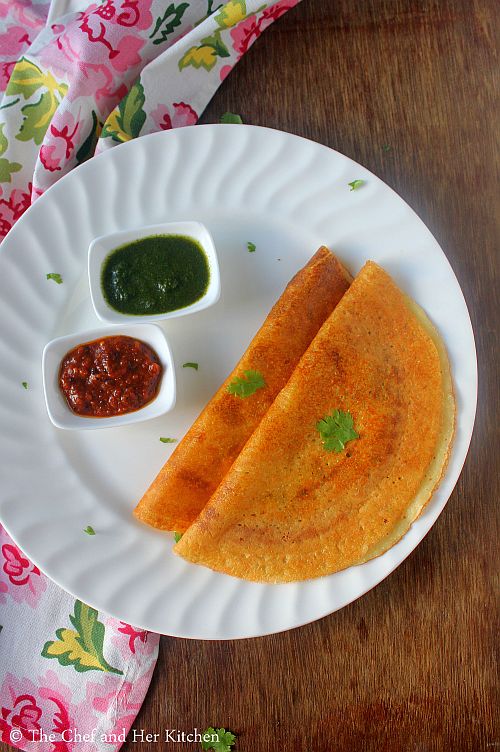
  • Place a tbsp of cottage cheese mixture on one side of the cheela and fold it into half.
Serve it hot with Green chutney and Meetha chutney or Tomato sauce.

Notes:
  1. You can avoid chana dal in the recipe and prepare only with moong dal.
  2. If you want crispy moong dal cheelas you can add a tbsp of rice flour or sooji to the prepared batter and mix it nicely before making the cheelas.
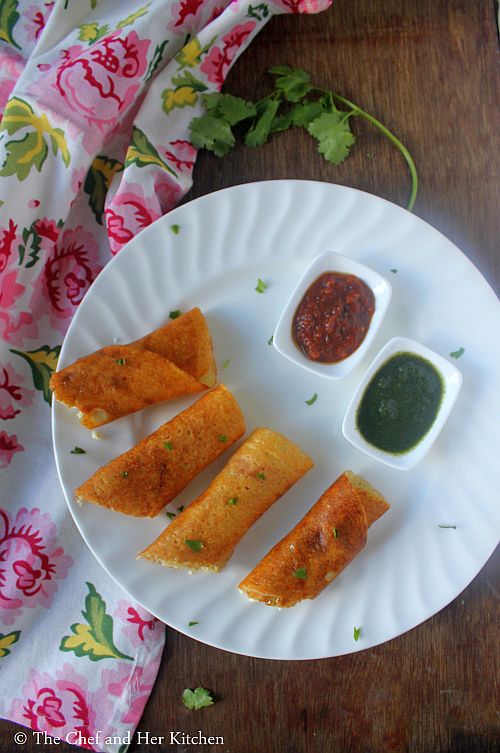
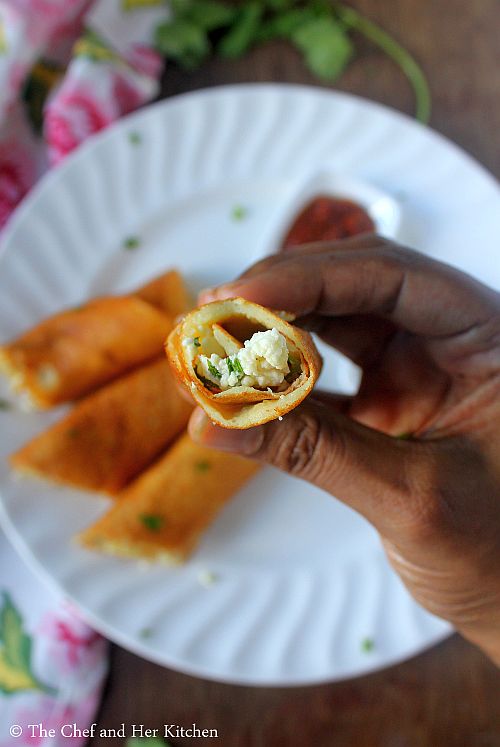
  3. You can even place the paneer mixture in one corner of the cheela and roll it to form a roll and can be cut into two and can be packed for lunch box or for chaat parties.
moong dal cheela

Monday, March 16, 2015

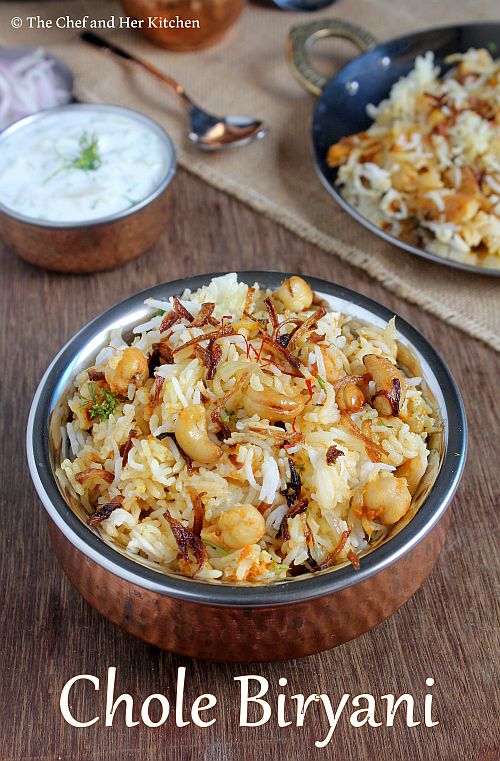
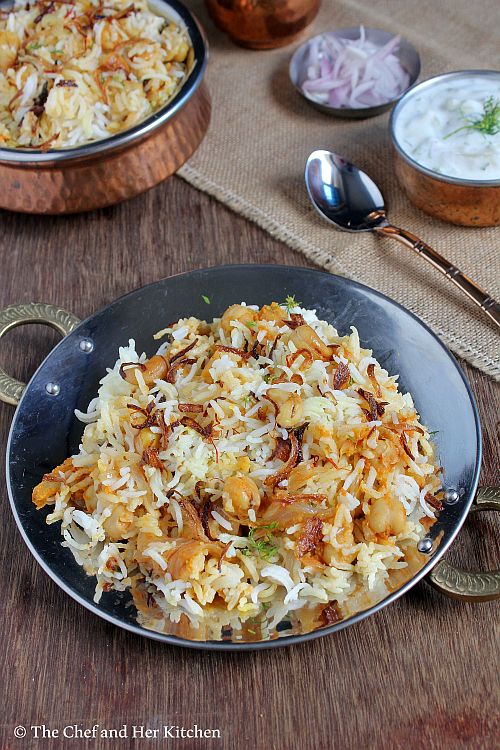
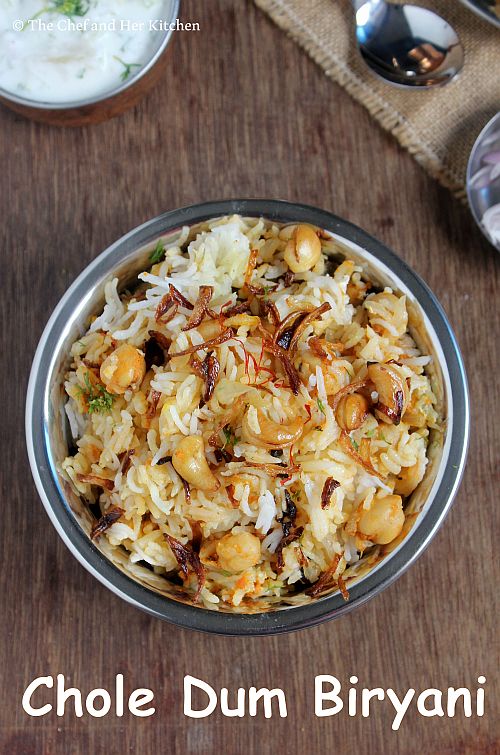
Chole Biryani | Chickpeas Biryani | Chole Dum Biryani Recipe

chole biryani
Biryani or Pulav appears mostly on sundays for lunch at our place as hubby dear prefers a one pot meal for lunch .Both of us are big fans of a good dum style Biryani but the preparation process for dum Biryani is quite elaborate,hence I do it occasionally or when both of us crave for it.So most of the times I end up preparing a simple one pot kind of Biryani than the dum biryani as it is time consuming.
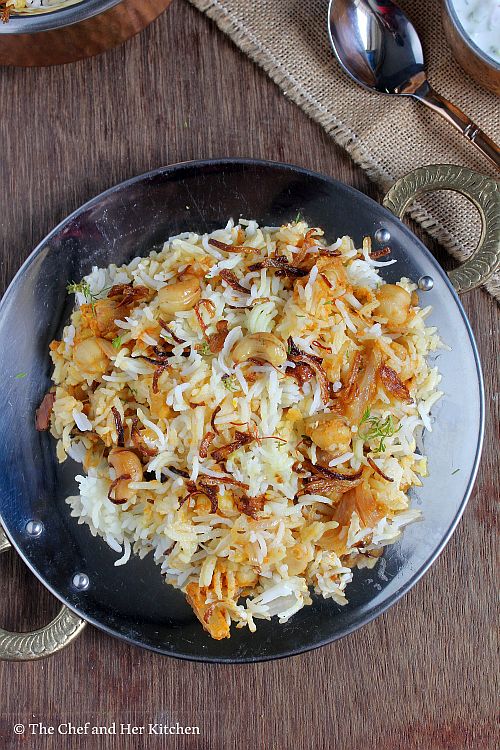
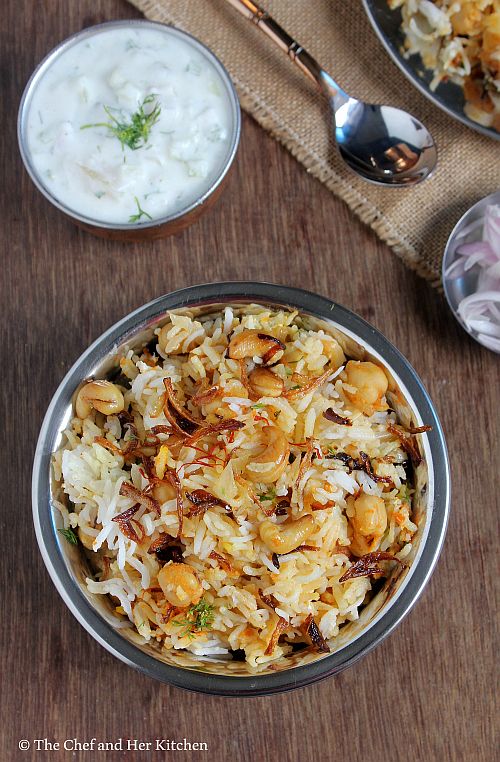
chickpeas biryani
There are various styles of cooking Biryani like Lucknowi Biryani, Awadhi Biryani ,Calcutta style Biryani, Hyderabdi Dum Biryani,Mughlai Biryani,Kashmiri Biryani etc.I myself have never experimented much on cooking various styles of Biryani.I think its high time for me to understand the differences in their preparation process and start cooking all these delicious Biryanis to treat my family.Today I am sharing Chole Biryani which is definitely a change from the regular Vegetable Biryani, the process of cooking the Chole Biryani I adapted is very similar to the Vegetable Biryani.I usually prepare fresh Biryani masala when I prepare Dum Biryani as the aroma of freshly prepared masala takes the biryani to another level.But if you are short of time you can use either store bought Biryani masala or the home made Garam masala instead.One can follow the same procedure to prepare mixed vegetable biryani by using all mixed vegetables instead of chickpeas in the recipe.
chickpeas biryani

chana biryani

If you are a Biryani lover,check out various Biryani Recipes in my blog:
Also,you can check out various Rice varieties and Pulav recipes in my blog here.
chana biryani

Chole Dum Biryani Recipe:
Serves 3-4
Prep time:30 mins | Cooking time: 1 hr | Total time: 1 hr 30 mins
Cuisine:North Indian | Category: Main Course-Biryani

Ingredients:
for Rice:
2 cups Basmati Rice
6-7 cups Water
1 Bay Leaf
1" Cinnamon
3-4 Cloves
2 tbsp Ghee
1 tsp Salt

for Chole gravy:
2 cups cooked white Chickpeas
2 medium Onions,chopped
3 Tomatoes,finely chopped
1 tsp ground Biryani Masala( or Garam masala)
2 tbsp chopped Coriander leaves
Salt to taste
3-4 tbsp oil

to roast and grind to a powder- Biryani Masala:
2" Cinnamon
4-5 Cloves
1 tsp Coriander seeds
1/2 tsp Cumin seeds
1 Cardamom
1 tsp grated Nutmeg

to grind to a paste:
5-6 Red Chillies
2 tsp Fennel seeds
6-8 Garlic cloves
1 1/2" Ginger

other Ingredients:
1/2 cup beaten Curd
1/4 cup chopped Coriander leaves
1/4 cup chopped Mint leaves
10-12 Cashew nuts
2 tbsp warm Milk
12-15 Saffron strands
2 large Onions,thinly sliced
Oil,to deep fry
2 tbsp Ghee

Method:
prior preparations:
  • for Saffron milk: In 2 tbsp warm milk add slightly mashed 12-15 saffron strands and set it aside for 10 mins.
  • for Caramelized Onions: Deep fry finely sliced onions in oil until they turn crispy and slightly brownish in color. Drain them onto a paper towel.
  • to prepare spice powder: Dry roast all the ingredients mentioned under to roast and grind for biryani masala and grind to a fine powder.
  • to prepare the spice paste: Soak red chillies and fennel seeds in hot water for  half an hour and grind them with ginger and garlic to a fine paste.
  • to fry Cashewnuts: Heat 2 tsp ghee in a pan and add whole cashew nuts and fry them until they turn light brown in color and remove them and keep aside.
to prepare rice:
  • Wash and soak basmati rice for 15 mins.
  • In a large pot bring water to a boil add bay leaf,cinnamon and cloves,ghee,salt and soaked rice and cook until the rice is 3/4th cooked. Drain all the water and run cold water through the rice to stop any further cooking.
to prepare Chole gravy:
  • Heat oil in a pan and fry onions until they turn transparent. 
  • Add the ground chili-spice paste and fry until the raw smell is gone. 
  • Now add finely chopped tomato and fry until it is pulpy.
  • Add the cooked chickpeas,a tsp of freshly ground biryani masala and salt and 1/2 cup of water and let it simmer nicely for 8-10 mins until the chickpeas absorbs all the flavors and the mixture becomes slightly dry.
  • Lastly add coriander leaves and mix well.
Putting the chole biryani together:
  • Divide the cooked rice into 3 equal parts and the Chole gravy into 2 equal parts.
  • Take a heavy bottom pan (I used heavy steel here) and apply generous amount of oil/ghee at the bottom of the pan and start the layering process in the following way.
  1. a layer of thinly sliced onions(optional,I added it as I did not deep fry many onions for the other layers)
  2. Spread one layer of chole gravy on the onions(if using) or at the bottom.
  3. Spread one layer of Rice.
  4. Spread 1/2 cup beaten curd,one half of the caramelized onions,1/2 tsp of freshly ground Biryani Masala, half of Saffron Milk, 2 tbsp of Coriander leaves and 2 tbsp of Mint leaves.
  5. Spread one more layer of Rice.
  6. Spread the rest of the chole Gravy.
  7. Spread the last layer of Rice.
  8. Top it with the left over caramelized onions, fried cashewnuts, 1/2 tsp ground biryani masala, saffron Milk and the remaining coriander leaves and mint leaves.
  • Then add 2-3 tbsp milk and  2 tbsp of ghee from the top and cover the vessel with aluminium foil and cover it with lid and fold the foil carefully and try to seal the gap in between the vessel and the lid. Place this vessel/pot on a thick tawa and cook on medium flame for 15-20 mins or till it is completely cooked.You can alternatively bake this in oven at 170 deg C for 15-20 mins.
Serve it with Onion-tomato raita or Boondi raita with chips/papad/salad.
chole biryani
Notes:
  1. You can follow the same procedure to prepare mixed vegetable biryani by using all mixed vegetables, you can even deep fry the vegetables if you want it more rich.
  2. You can add potatoes to the chole gravy if you like it.
  3. Use good quality basmati rice for more finer rice.
  4. I used minimal spices while boiling the rice, you can use more spices like mace, peppercorns,star anise along with the spices I used.
  5. I highly recommend to use deep fried onions as it lends a nice taste to biryani. Here I used deep fried onions just for the top layer and hence I used sauteed onions as the first layer.
  6. You can use Garam masala instead of the freshly ground masala mentioned in the recipe.

Tuesday, January 20, 2015

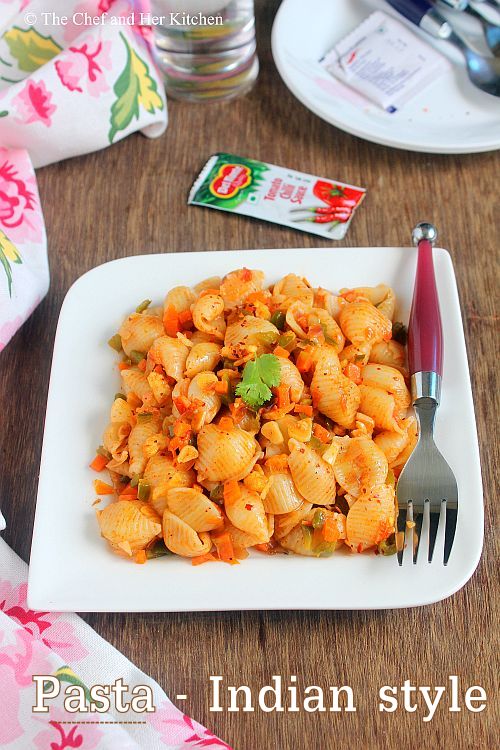
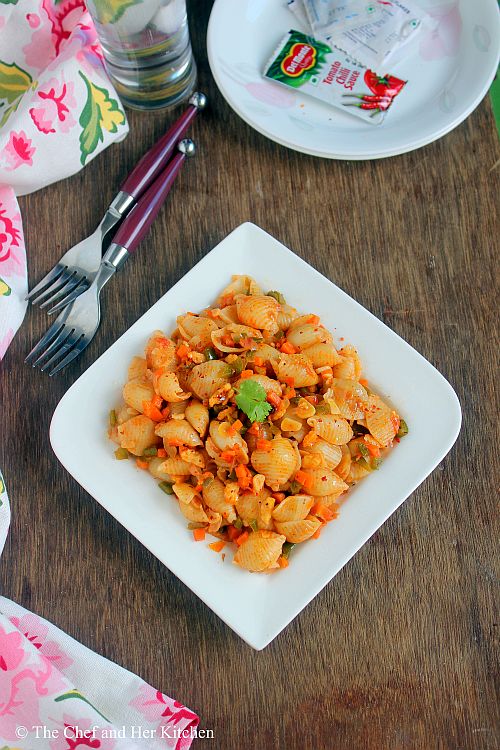
Indian Style Pasta Recipe | Masala Pasta Recipe

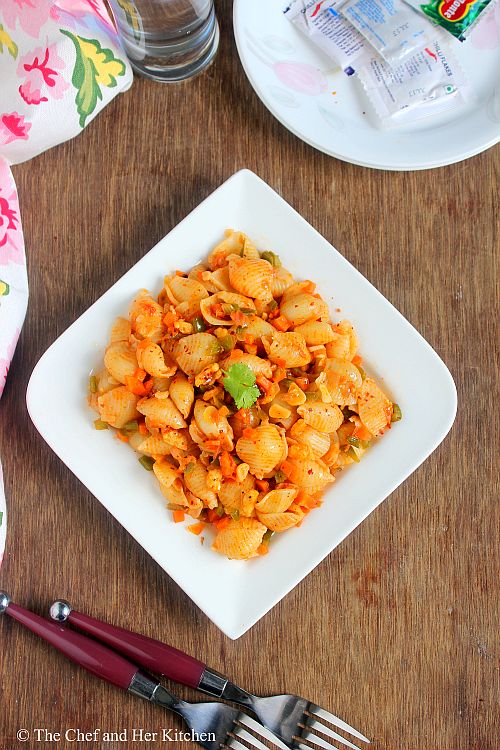
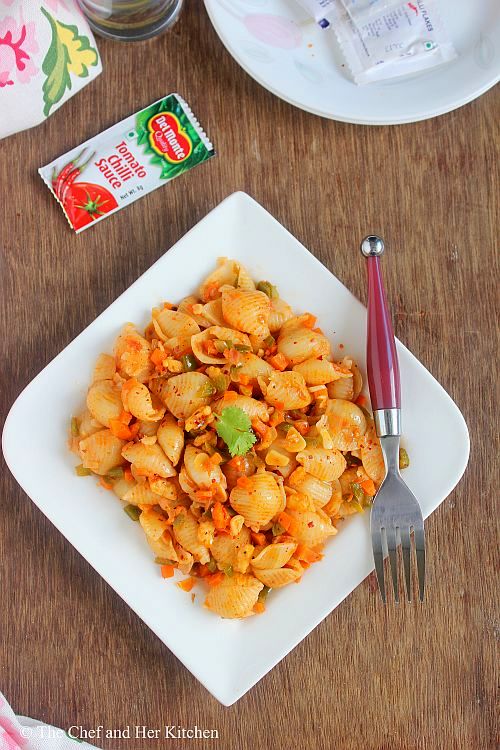
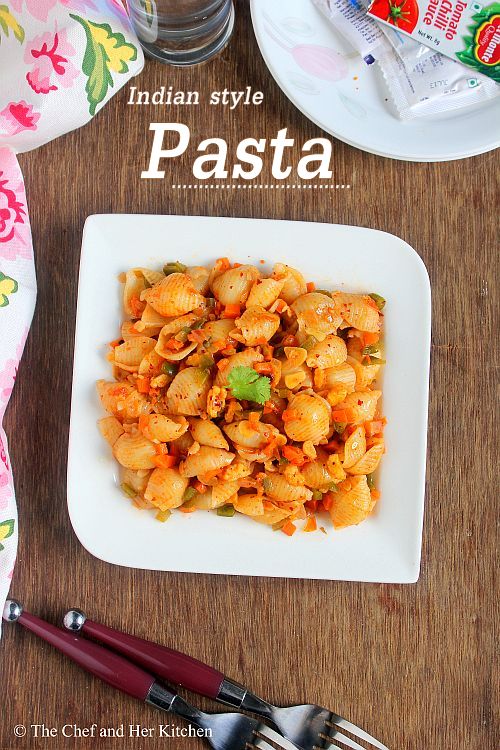
indian style pasta
When it comes to pasta I usually do not prefer ordering pasta if we go to any Italian restaurant, the reasons simply are that I find the pasta is too bland for y taste buds and also it is loaded with lots of cheese.Instead I would happily go for paper thin Pizzas though they are loaded with cheese. 
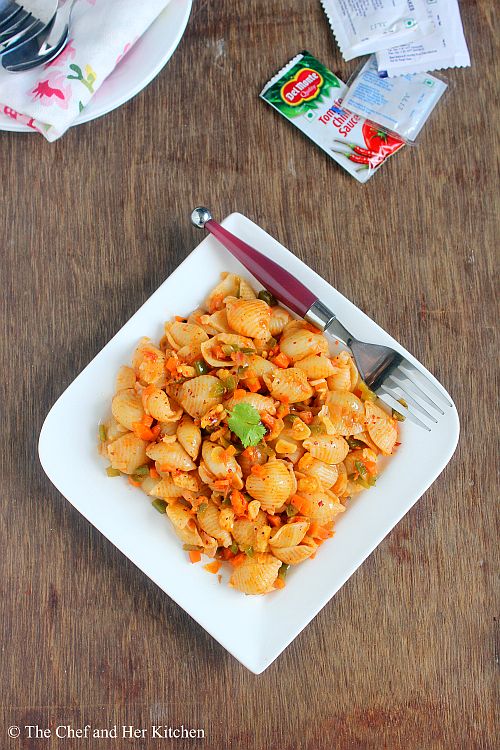
indian style masala pasta
Pastas are perfect for weekend lunch or dinner and I usually make it for dinner as I find it easy to cook.As TH prefers mostly Pesto sauces with pasta or a simple one rather than the tomato or the white sauce, I usually end up preparing either Basil Pesto Pasta or Spinach Pesto Pasta or simple Aglio Olio or Sundried Tomato Pesto Pasta or  Red Bell Pepper Sauce Pasta.But when parents or in-laws come to visit us and if we plan for pasta for dinner, I usually end up preparing this Indian style pasta for them to suit their taste buds as I am sure that they would not prefer other kind of pastas which I usually prepare.I must say that this is a fusion recipe and definitely would suit any Indian taste buds.
indian style masala pasta
Check out other Pasta Recipes in my blog:
indian style masala pasta

Indian style Pasta Recipe | Masala Pasta Recipe:
Serves 2
Prep time:25 mins | Cooking time:20 mins | Total time:45 mins
Cuisine:Indo-Italian | Category: Pasta - Main Course

Ingredients:
2 cups Penne Pasta(or any other shape like fusili,sphagetti)
1 Onion,finely chopped
1 large Tomato,blanched and pureed
1 Carrot,finely chopped
1 Capsicum,finely chopped
3-4 Babycorns,finely chopped(optional)
3-4 Garlic pods,finely chopped
2 tsp Tomato Sauce
1/4 tsp Garam masala
1 tsp Red chili powder
1/4 tsp Black Pepper powder
1 tsp Mixed Herbs or Oregano
2 tbsp chopped Coriander
2-3 tbsp Olive Oil
Salt to taste

Method:
to cook pasta:
Cook according to the instruction of your package or follow this procedure:
  • Bring water to boil in a big pot (filled to its half) and add salt,1 tsp olive oil and pasta and cook over medium flame for 10-12 mins until al dente(cooked and tender to teeth).You can cook it further for 2-3 mins more to get soft pasta,but definitely do not make it soggy.

  • Drain and reserve 1/2 cup of water for later usage.you can even give a cold bath to the pasta by running it under fresh tap water which helps in keeping the pasta separate.
to prepare Masala Pasta:
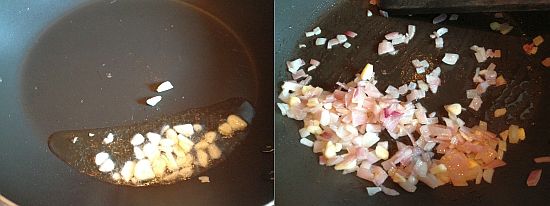
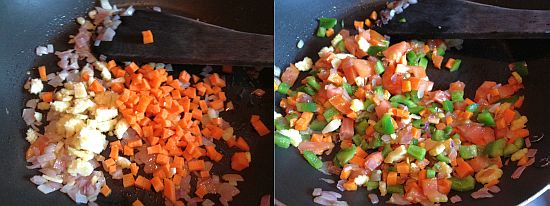
  • Heat olive oil in a wide bottomed pan and fry sliced garlic until slight brown and then add chopped onions and fry until they are pink and soft.
  • Add finely chopped carrots and baby corns and fry well for 5-6 mins and then add finely chopped capsicum and fry for a minute.
  • Now add pureed tomato,tomato sauce,garam masala powder,red chili powder and mix well and fry until the oil separates.I have not added tomato puree as I was not having tomatoes at home at that moment.
  • Add 4-5 tbsp of reserved pasta liquid if required add more to get a medium sauce consistency.
  • Add cooked pasta and mix well until all the pasta is covered with the sauce and is warm.Now add black pepper powder,Italian herbs,chopped coriander,salt(remember we added salt while making pasta as well,so add accordingly)and mix well.
  • Dish it out to the serving platter and garnish with coriander.
Serve it hot or warm with Tomato sauce and Lime Soda or drink of your choice.

masala pasta

Notes:
  1. You can replace penne pasta with any of the pasta like spiral, fusili, spaghetti, macaroni , farfelle or any other pasta of your choice.
  2. If you want it more spicy add chopped green chilli while adding onions.
  3. If you are preparing it for kids adjust the spicyness accordingly.
  4. If you want to skip tomato sauce ,add 1/2 tsp of sugar to the tomato puree to balance the flavors in pasta.
  5. You can add colored bell peppers, blanched broccoli, thinly sliced mushrooms to the pasta.
  6. You can make it a bit more Desi version by adding cumin seeds and curry leaves in the tempering and also turmeric powder along with the other masala but somehow I don't like the idea of making the pasta very south Indian way.
indian style pasta

Monday, September 15, 2014

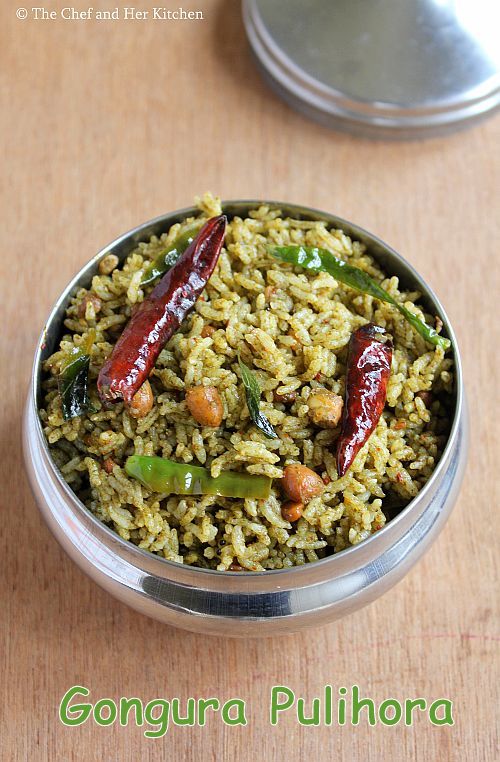
Gongura Pulihora | Gongura Rice | Red Sorrel Leaves Rice

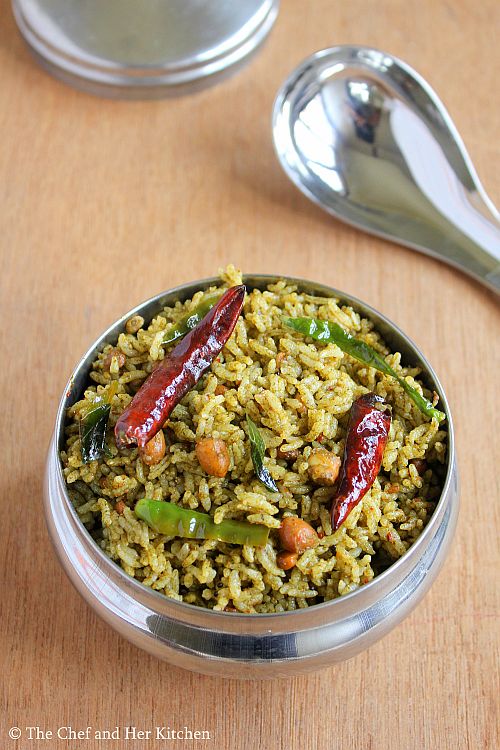
gongura pulihora
Gongura(Red Sorrel leaves) is very famous in Andhra Pradesh especially for its various varieties like Gongura Pacchadi(Gongura chutney),Niluva Gongura Pacchadi(Gongura pickle) and Gongura pappu(Gongura Dal), Rice and also some fusion side dishes to pair with rice or rotis.Whenever I find these greens I never miss a chance to prepare Gongura Pacchadi as it is my DH's favorite.I have not posted any of these famous varieties although I make them quite often. I had earlier posted a recipe of Gongura Pulusu Kura which is a stewed version of Gongura and chana dal which is quite tangy and goes well with rice and Noone Gongura,which is a tempered version of Gongura and can be stored for up to two weeks .
gongura leaves
Gongura Pulihora is slightly a modified version of  Chintapandu Pulihora and is a treat to those Gongura lovers.We get two varieties of Gongura - Red Sorrel leaves (Erra Gongura) and White Sorrel leaves (Tella Gongura which is actually green in color) where the red variety is tangier than the other one. Gongura imparts a nice tart taste to pulihora and makes it taste little different from the regular Chintapandu Pulihora. Try this Gongura Pulihora next time you find these greens, I am sure you will love it.
gongura pulihora

Also check out other Pulihora Recipes in my blog:
gongura pulihora

Gongura Pulihora | Red Sorrel Leaves Rice:
Serves 2
Prep time:10 mins | Cooking time:40 mins | Total time: 50 mins
Cuisine: South Indian | Category: Lunch-Rice Varieties

Ingredients:
1 cup Sona Masuri rice or equivalent
1 large bunch Red Sorrel leaves/Gongura
1 tbsp Tamarind Pulp
Salt to taste
1 tbsp Sesame Oil
1 tbsp Oil

to roast and grind:
1 tbsp Sesame seeds
1 tsp Mustard seeds
1/2 tsp Fenugreek seeds
3 Red chillies

to temper:
2 tbsp Oil
1 tsp Mustard seeds
1 tbsp Urad dal
1 tbsp Chana dal
1/4 cup Groundnuts
3-4 light colored long Green chillies,slit
1/2 tsp Turmeric powder 
2 Red chillies
a sprig of Curry leaves
a pinch of strong Asafoetida
Method:
to prepare Gongura Rice:
  • Dry roast fenugreek seeds,mustard seeds,red chillies and sesame seeds separately until they are well roasted and remove it and let it cool.

  • Remove the leaves from the stems carefully and wash them properly for 3-4 times.Drain them in the colander until all the water drains away.
  • In the same pan heat 1 tbsp oil and add stemmed and sorrel leaves and fry until they wilt and become slightly mushy,cool the mixture.Add tamarind pulp at the end.

  • Grind the roasted seeds to a fine powder and add sauteed sorrel leaves and grind to a smooth paste.
  • Wash and soak rice for 10-15 mins and cook it in rice cooker or pressure cooker with 2 cups of water until it is done. Let the rice sit for some time and spread it on a wide plate by smearing a tbsp. of sesame oil which helps in keeping the grains separate.
  • Heat 2 tbsp oil in a deep bottomed kadai/pan and crackle mustard seeds. 

  • Add ground nuts and fry them until they turn slight red in color and the skin begins to split.
  • Add chana dal, urad dal, red chillies and slit green chillies and fry until the chillies wilt and the dals turn light golden brown in color.Add curry leaves, asafoetida, turmeric powder and fry half a minute.Add ground gongura mixture and let it cook until it thickens and the oil separates from the edges. It takes 7-8 mins. Switch off the flame and let it cool completely.
  • Reserve some portion(2-3 tbsp) of the gongura mixture we prepared now and add cooled and spread rice along with salt and mix it nicely until everything is neatly incorporated. Now taste the rice and add more gongura mixture or salt as needed and adjust the rice according to your taste buds. Prepare it slightly sour so that it tastes delicious once it is rested for some time. Rest it for an hour at least.
Serve it as a variety rice in your meal or as a meal by itself with Curd Rice/Daddojanam.
Notes:
  1. Use rice varieties like sona masuri, ponni, jeeraga samba for these kind of rice varieties, I do not suggest basmati rice.
  2. Red Sorrel leaves are slightly tangy hence I added just little bit of tamarind,if you are using green sorrel leaves variety add more tamarind to it.Always make the rice bit tangy so that it will taste nice once it settles down.
  3. You can add roasted and peeled groundnuts at the end to keep them crunchy,but I prefer to add it while frying as I like the taste of groundnuts cooked in tart gongura mixture.
  4. This rice is ideal to pack for travel as well as for lunch box.

    gongura pulihora

Tuesday, August 19, 2014

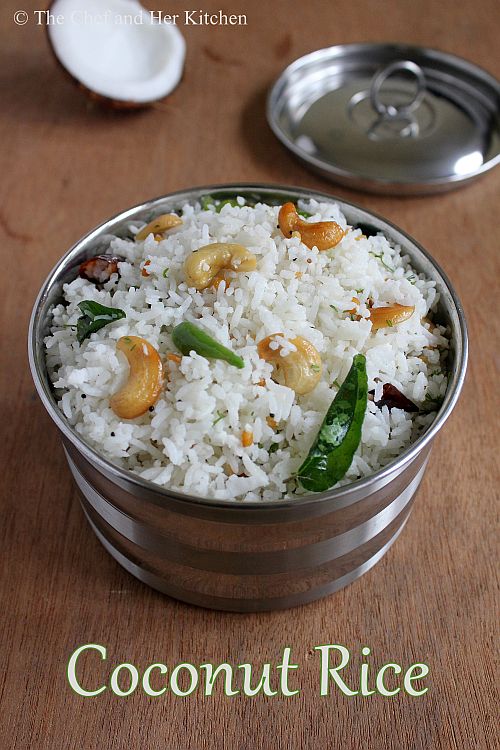
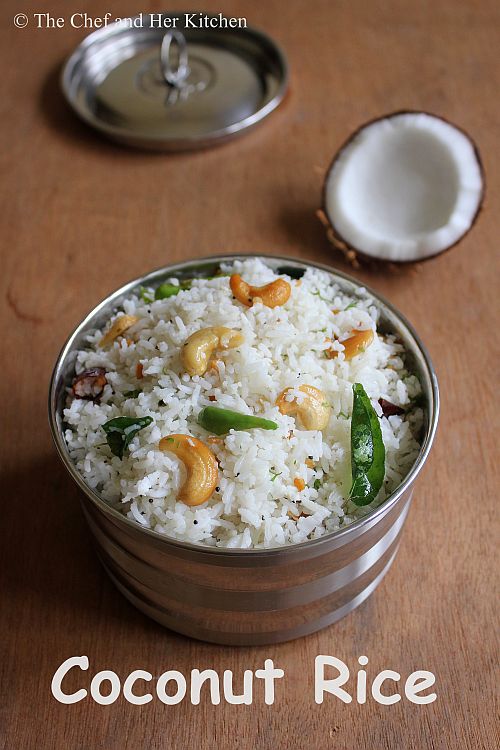
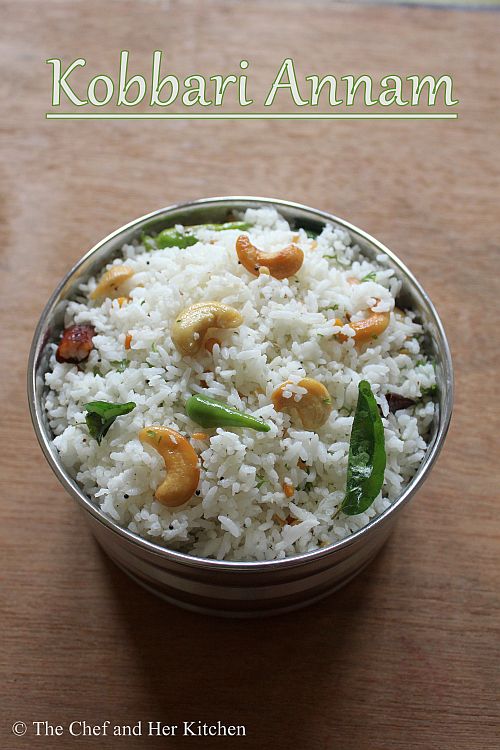
Coconut Rice | Kobbari Annam | Festival Rice Recipes


                    coconut rice
As the festival season is here we are ending up preparing more variety of rice and sweet varieties at our place,I would try to post few sweet varieties too as it would be helpful to many this festival season.
Apart from the usual festival rice varieties like Lemon rice, Puliyogre we also prepare coconut rice very often.This is a very simple rice variety to prepare, if you have grated coconut in hand it hardly takes any time to prepare this rice variety.It is also a, easy lunch box option which needs minimal effort on those busy mornings.
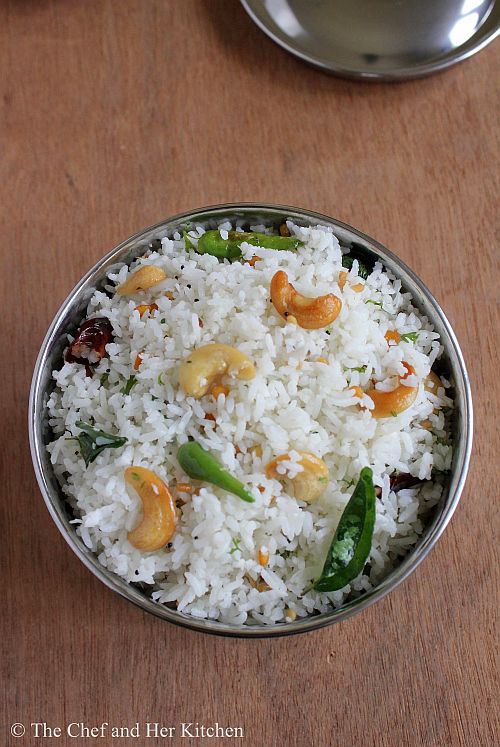
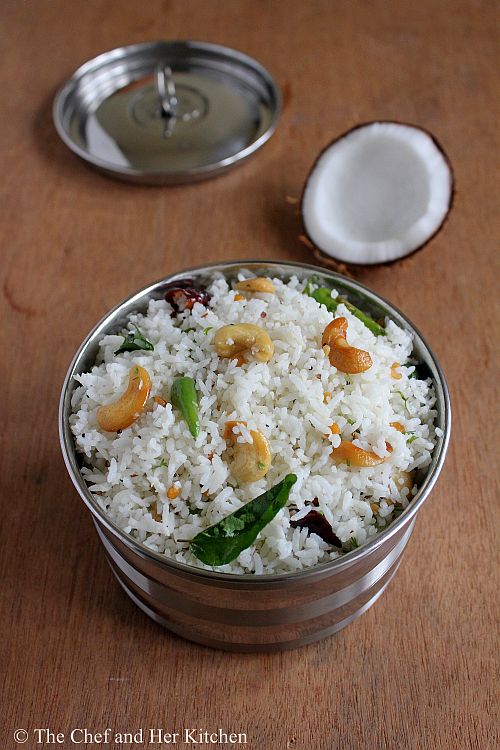
kobbari annam
Typically for South Indian rice varieties, we use either Sona masuri rice or equivalent varieties like Ponni or Surti Kolam etc based on the availability in that area.However I do not suggest Basmati rice for few south Indian recipes as it does not bring out the exact taste of rice.For south Indian rice varieties the rice needs to be soft and fluffy and should not have any fragrance and hence Basmati rice is not ideal for a few Rice based preparations.
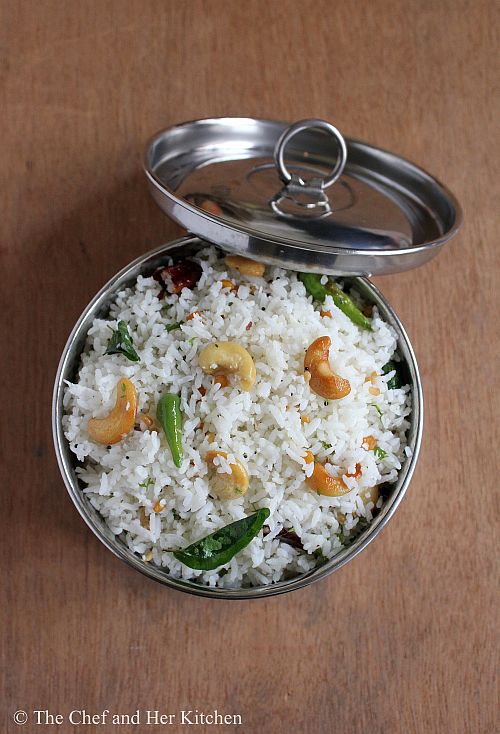
coconut rice

Check out other Festive Rice Varieties in my blog here:
                coconut rice

Coconut Rice | Kobbari Annam Recipe:

Serves 2
Prep time:10 mins | Cooking time:20 mins | Total time:30 mins
Cuisine: South Indian | Category: Rice Varieties - Main Course

Ingredients:
1 cup Raw Rice (Sona masuri or equivalent)
1 1/2 cups grated fresh Coconut
2 tbsp chopped Coriander
8-10 Cashew nuts,slit into halves
2-3 Red chillies,broken
3-4 Green chillies,slit
8-10 Black Pepper corns,coarsely ground
juice of 1/2 Lemon(optional)
a sprig of Curry leaves
1 tbsp Chana dal
1 tsp Urad dal
1 tsp Cumin Seeds
1/2 tsp Mustard seeds
2 tbsp Oil
1 tbsp Ghee
Salt to taste

Method:
  • Cook Rice and spread it in a plate to let it cool down and make sure that the rice grains stay separate.You can use 2 1/4 cups of water for 1 cup of sona masuri and cook it in pressure cooker or rice cooker.
  • Heat oil and ghee in a deep kadai/pan and crackle mustard seeds and cumin seeds.
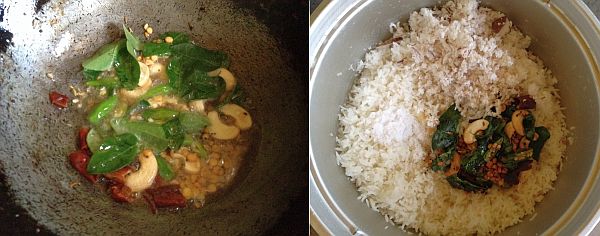
  • Add chana dal, urad dal and cashew nuts and fry until they turn slight golden in color.
  • Add green chillies,red chillies,curry leaves and freshly ground pepper powder and fry again for a minute.
  • Add grated fresh coconut and saute it lightly for half a minute or you can add directly to the rice. 

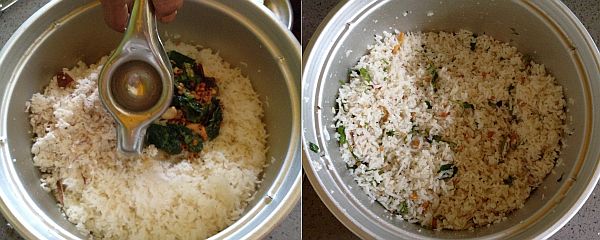
  • Switch off the flame and add the tempering to the spread cooled rice.Add salt,coriander and lemon juice(if adding) to it and mix it nicely.Now taste it and adjust the seasoning according to your wish.
Serve it with Chips/Fryums and sliced Cucumber.
                kobbari annam
Notes:
  1. Use spicy variety red chillies and green chillies to give more spicyness to this rice as the coconut nullifies the spicyness slightly.Also use freshly ground coarse pepper corns,it is added for the flavor.
  2. The amount of coconut added to this dish is left to your choice,more the coconut,more the rice tastes nice.
  3. This rice tastes nice if it is prepared spicy.But you can prepare it according to your spice levels.
  4. I mentioned lemon juice as optional but it balances the taste,so I recommend to use it.But add it accordingly to balance the flavors of rice.
  5. You can even use left over rice to prepare this.
  6. Do not use Basmati rice for this rice,use sona masuri or ponni or surti kolam or any equivalent variety to prepare this.
  7. You can add garlic pods int he tempering which turns this to garlic rice, you can reduce coconut if you wish.

Monday, May 26, 2014

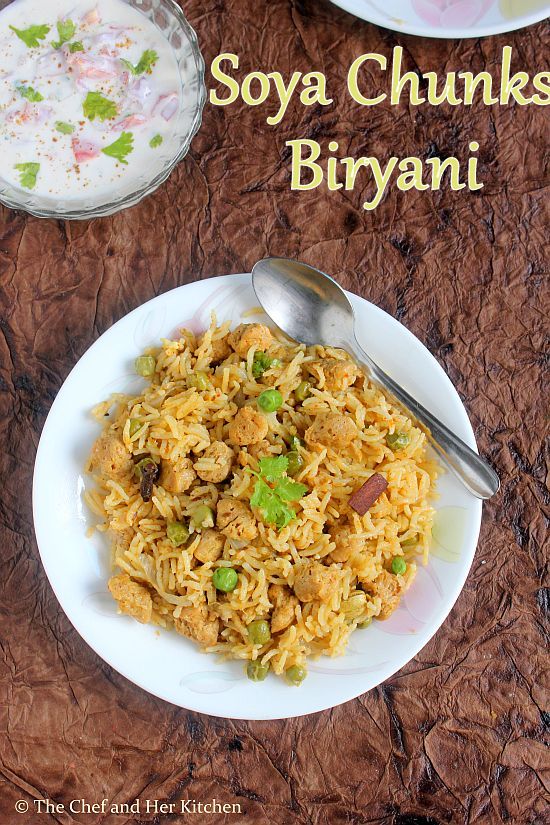
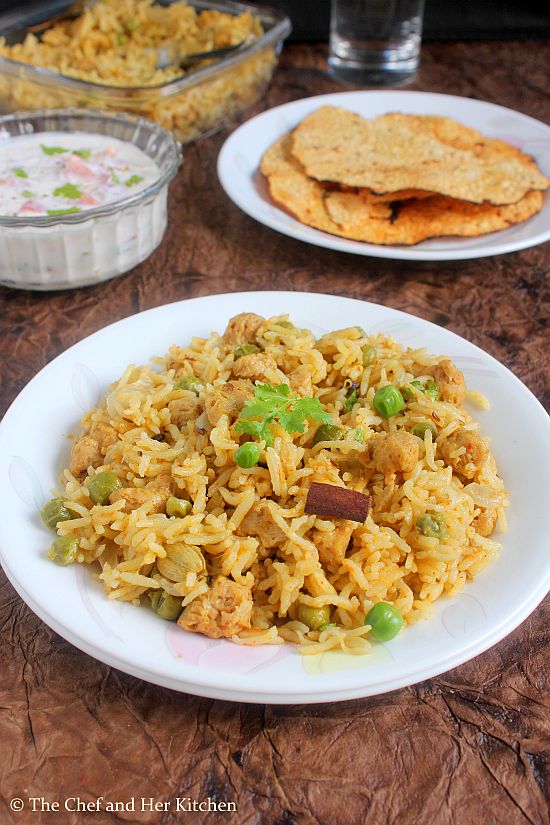
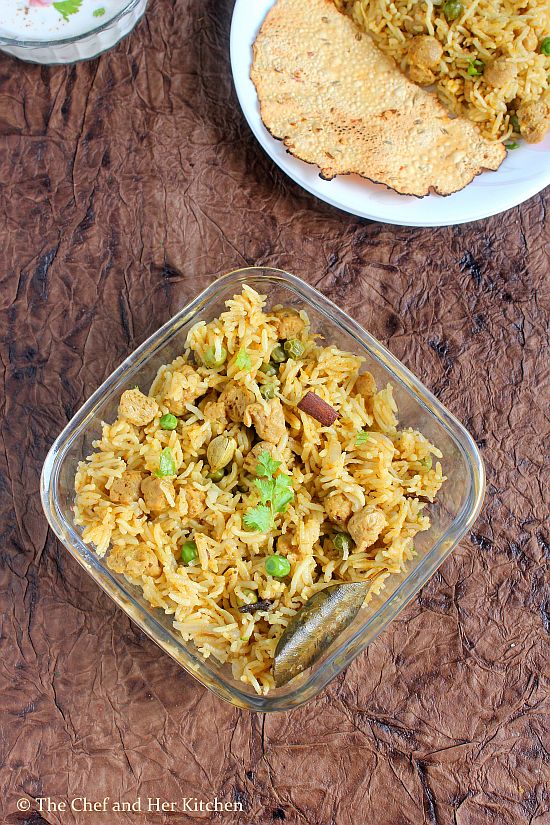
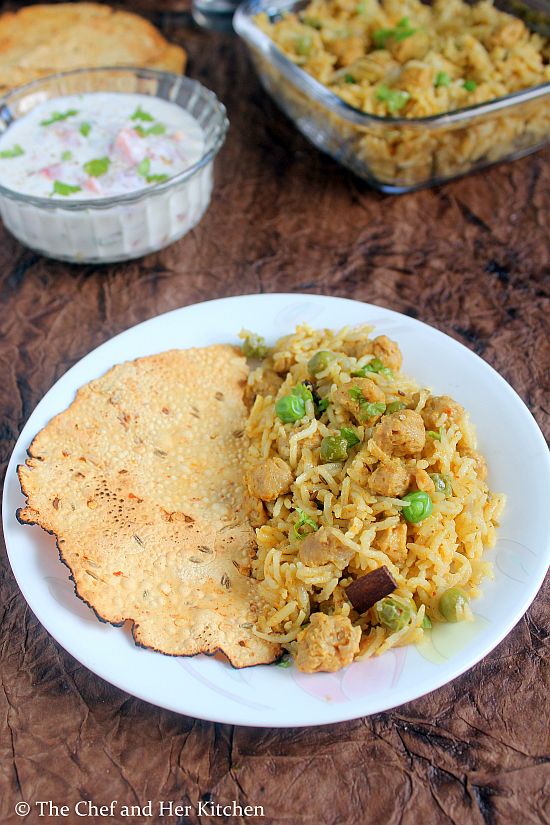
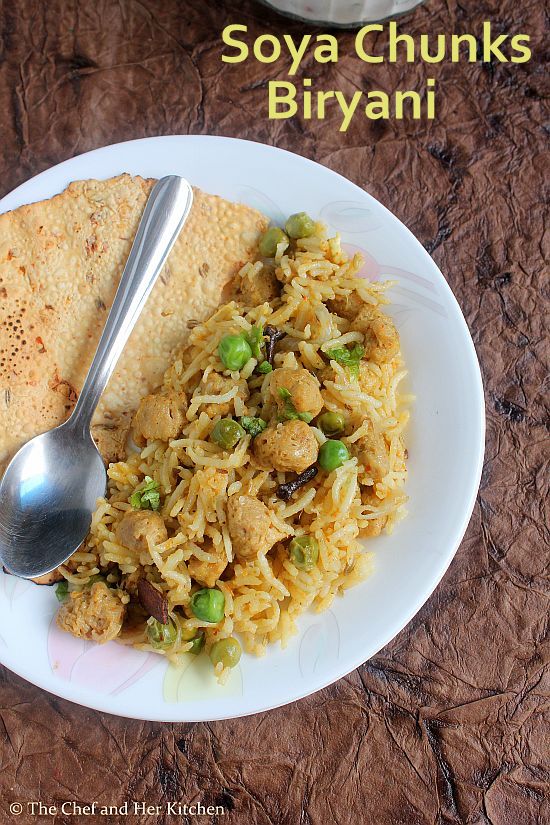
Soya Chunks Biryani Recipe | Soya Chunks Recipes

soya chunks biryani
I love Pulaos and Biryanis for the fact that they are one pot meal and can be prepared quickly,while few Biryani recipes are bit complicated and time consuming. I reserve the Dum Biryanis for occasions and always adopt a simple one pot pressure cooker method for daily basis. These kind of one pot dishes are ideal for lunch box or for a week end lunch.
nutrela biryani
 I usually add soya chunks even to my vegetable pulaos but in moderate amounts. Soya chunks is also known as 'Nutrela' or 'Meal Maker'.Soya chunks has meaty texture and is a very good source of proteins for vegetarians, hence I include it in many of the gravies and pulaos on daily basis. As Soya chunks are bland in taste you need to spice it up a bit but they observe the flavours beautifully and make the dish delicious. We get soya chunks in two sizes and I prefer to use the mini soya chunks over the bigger ones. I follow more or less a similar recipe for most of my one pot biryanis and love the flavourful outcome all the time. Pair it with Onion-Tomato raita and papad and enjoy the delicious meal with your family.
meal maker biryani
soya chunks biryani

Soya Chunks Biryani Recipe:
Serves 2
Prep time: 10 mins | Cooking time: 20 mins | Total time: 30 mins
Cuisine: Indian | Category: Pulao/Biryani - Main Course

Ingredients:
1 heaped cup Basmati rice
3/4 cup mini Soya Chunks
1/3 cup fresh/frozen Green peas
2 cups Coconut Milk(medium consistency,see notes)
1 large Onion,finely sliced
1 tsp Biryani Masala or 1/4 tsp Garam masala
1/2 tsp Red chili powder
1/4 tsp Turmeric powder
few mint leaves
1 Bayleaf
1/2" Cinnamon
2 Cloves
1 Cardamom, slightly crushed
1 tsp Shahjeera(black Cumin seeds)
Salt to taste
2 tbsp Oil
1 tbsp Ghee

to grind:
1 Tomato,chopped
2 Green chillies
1/4 cup Mint leaves
1/8 cup Coriander leaves
4-5 Garlic pods
3/4" Ginger,chopped
1/2" Cinnamon
2 Cloves
1 tsp Fennel seeds(saunf)

Method:
  • Grind all the ingredients mentioned under 'to grind' to a smooth paste and keep it aside. 
  • Wash and soak basmati rice in water for 10 mins.
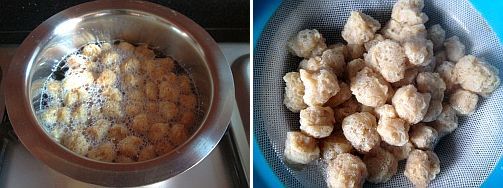
  • Boil 2-3 cups of water in a vessel and add soya chunks and boil for 2-3 minutes or immerse in hot water for 7-8 mins.Drain them and drop them again in cold water and squeeze them and repeat the cold bath once again and squeeze them and keep aside.This process ensures to remove the raw smell from soya chunks. 
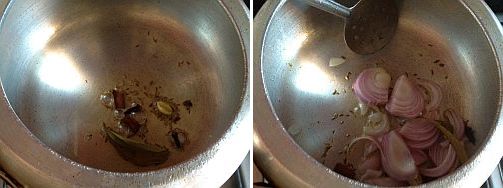
  • Heat oil and ghee in a cooker and add bayleaf followed by shahjeera, cloves, cardamom and cinnamon and fry for half a minute. 
  • Add sliced onions and fry well until they turn pink color.
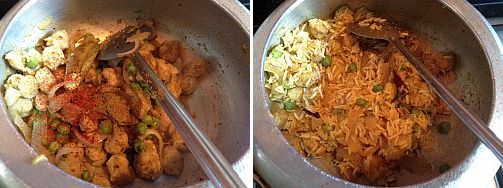
  • Add green peas and boiled and squeezed soya chunks and fry well for a minute. 
  • Now add ground masala and fry well for 2-3 minutes until the raw smell disappears.
  • Now add turmeric powder, red chili powder or Garam masala(or biryani masala) and fry for a minute again.
  • Add soaked and drained basmati rice and fry for a minute until the moisture in the rice dries.Do not roast for long as the rice would break.
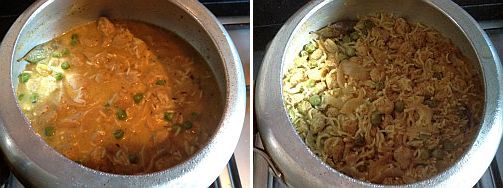
  • Add coconut milk to it, mint leaves and salt and bring it to a boil and cover it and pressure cook for 1 whistle and simmer it for 7-8 mins.Switch it off and let the pressure drops on its own.Fluff up the rice with a fork.
Serve it hot with Tomato-Onion raita and papad.
soya chunks biryani
Notes:
  • If you use tinned Coconut milk which is of thick consistency you can dilute 1 cup of coconut milk with 1 cup of water to get 2 cups of thin coconut milk.You can even mix coconut milk powder in hot water to get the desired consistency as mentioned on the pack.
  • You can use water instead of coconut milk in the recipe. In that case I recommend you to add 2 tbsp beaten curd before adding water and fry slightly.
  • Along with soya chunks,you can add vegetables like carrots, beans, potatoes, cauliflower, capsicum and reduce the quantity of soya chunks in the recipe.
soya chunks biryani
 
back to top