Showing posts with label Vegan Recipes. Show all posts

Thursday, June 29, 2017

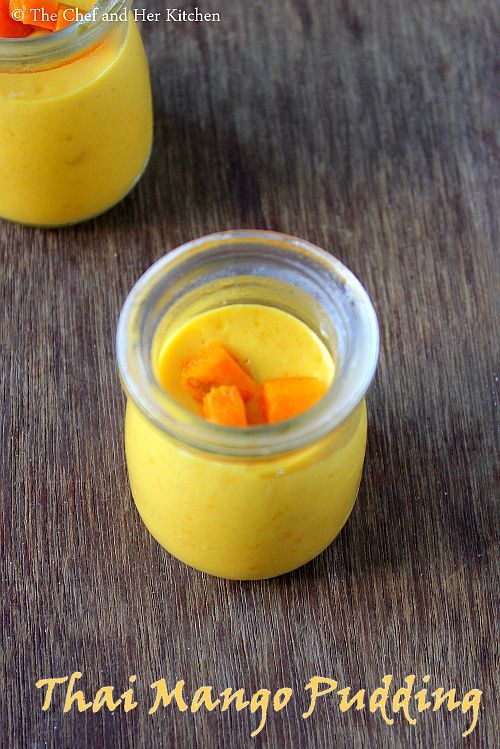
Vegan Thai Mango Pudding | Thai style Mango Pudding using Coconut Milk

thai mango pudding
Vegan Mango Pudding recipe with step by step photos.I never miss to make desserts using mangoes during the mango season.I love mangoes to the core and try to enjoy it to the fullest extent until the season lasts.Today I am posting a dessert which is known as Thai Mango Coconut Pudding which is prepared using a mixture of mango puree  and coconut milk and is set by using either agar agar or gelatine in the recipe.This version is bit different from Thai Mango Coconut Jelly which is a layered set jelly with two layers of mango and coconut and is set in a big mold and then cut into pieces,where as in today's version we are mixing both the mango pulp and coconut milk and is set in individual portions.
When I have guests or a party I prefer to make the desserts which can be made ahead and keep it ready to reduce the effort of cooking on the desired day.Hence I always prefer the desserts like Mousse, Pannacotta, pudding etc which can be made on the previous day and I love the layered and set desserts using agar agar, the desserts are easy to make and when set in glass molds they look even more tempting.
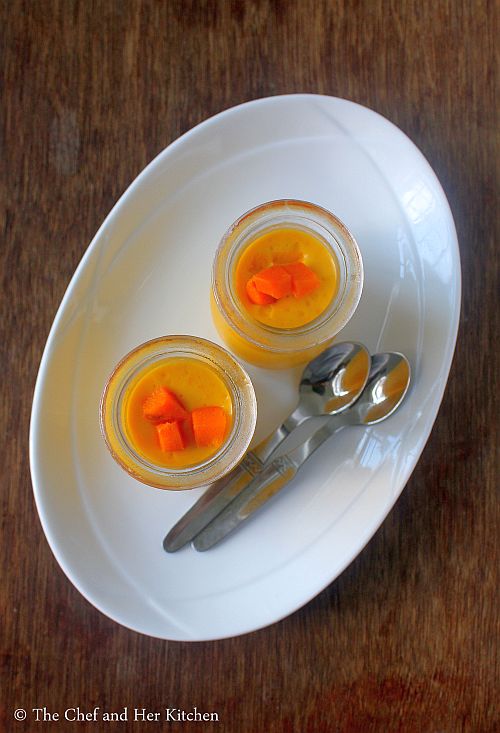
vegan mango pudding
Check out other quick desserts in my blog:
Here is how to make mango pudding using coconut milk recipe with step by step photos.

Vegan Mango Pudding Recipe:
Serves 5-6 | Author: Prathibha
Prep time: 15 mins | Cooking time: 15 mins | Total time: 30 mins+setting time
Cuisine: International | Category: Desserts

Ingredients:
1 cup(250 ml) Mango pulp,pureed from 2 ripen mangoes
1 cup(250 ml) Coconut milk,ready or homemade
1/2 cup(125 ml) Water
1/3 cup Sugar
1.5 tsp Agar Agar powder or 5gms China grass(read notes)
1.5 tsp Lemon juice

Method:
  • Cut mango into pieces and puree it into a smooth mixture and keep it ready.Reserve few mango pieces for garnishing.
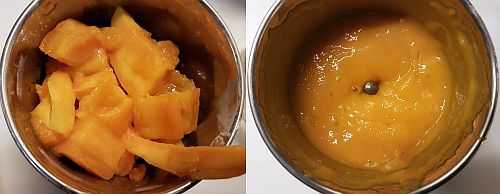
  • Dissolve agar agar powder in water and let it come to a boil.
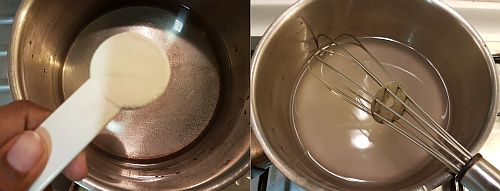
  • Add sugar to it and let it dissolve completely.Reduce the flame and add coconut milk and let it come to a boil, do not need to boil it.Switch off the flame.Remove it from the stove.
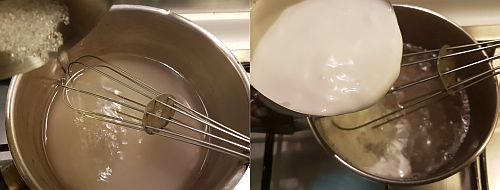
  • Add the mango puree and mix it nicely until it is blended and then add lemon juice and mix it again.
  • Pour it into individual moulds and let it cool for a while and then refrigerate it for a couple of hours or overnight until it is set.
Garnish with mango pieces and mint leaf and serve it.

Notes:
  1. If you are using china grass cut it into small strips and soak it in water for half an hour and then follow the recipe.If you are using gelatine let it bloom in warm water and then follow the recipe.
  2. You can even mix few mango pieces in the mango coconut mixture and then pour it into the molds.
  3. Do not skip the lemon juice in the recipe, it elevates the taste of mango flavor in the recipe.
  4. You can use regular cream instead of coconut milk and follow the same recipe.
  5. You can refrigerate the dessert and use it in 2 days.
  6. I like my dessert to be silky soft and hence I used 1.5 tsp agar agar powder, if you want it to set like a jelly use 2 tsp agar agar powder in the recipe.
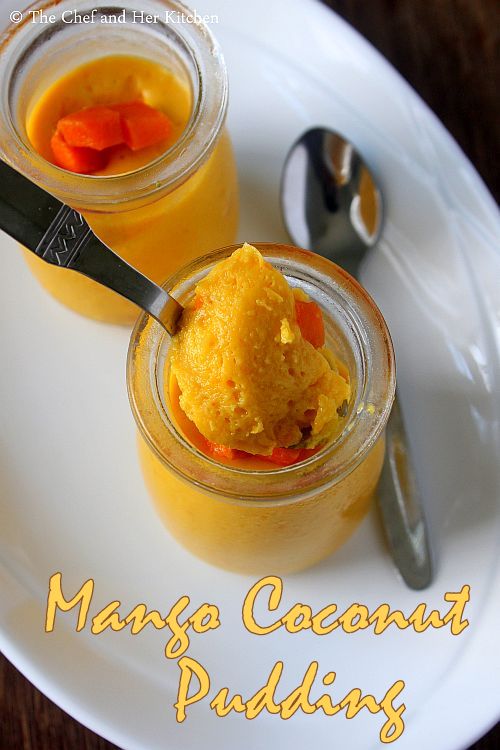
thai mango coconut pudding

Thursday, July 11, 2013

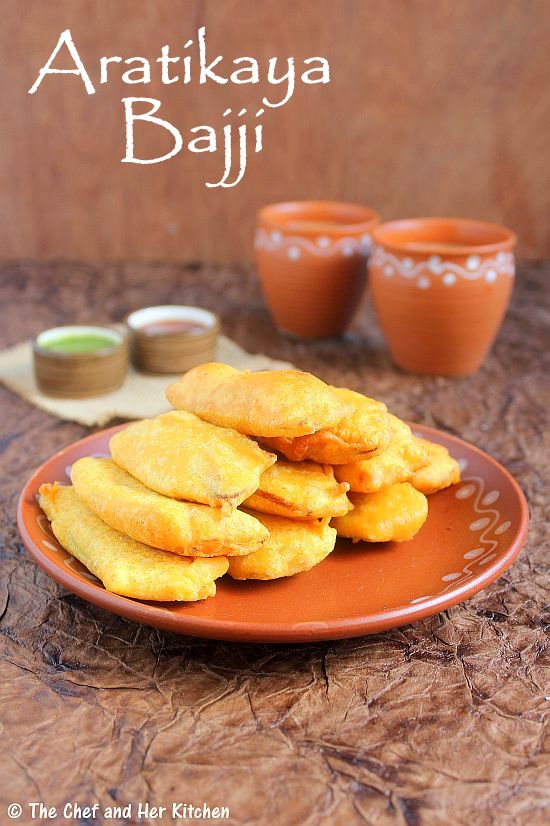
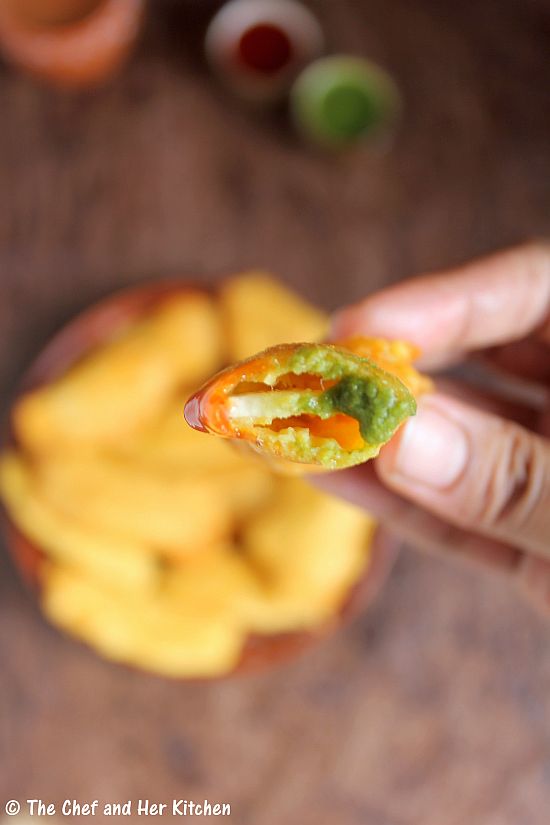
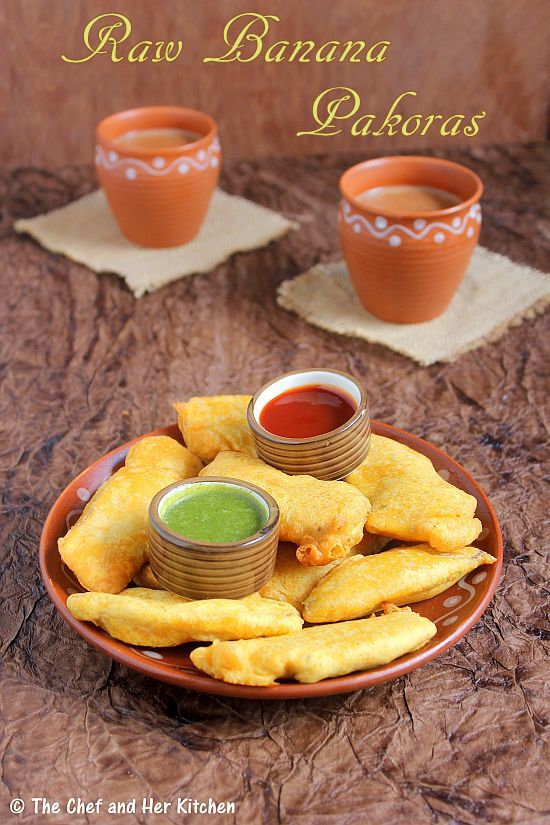
Aratikaya Bajji | Raw Banana Pakoras

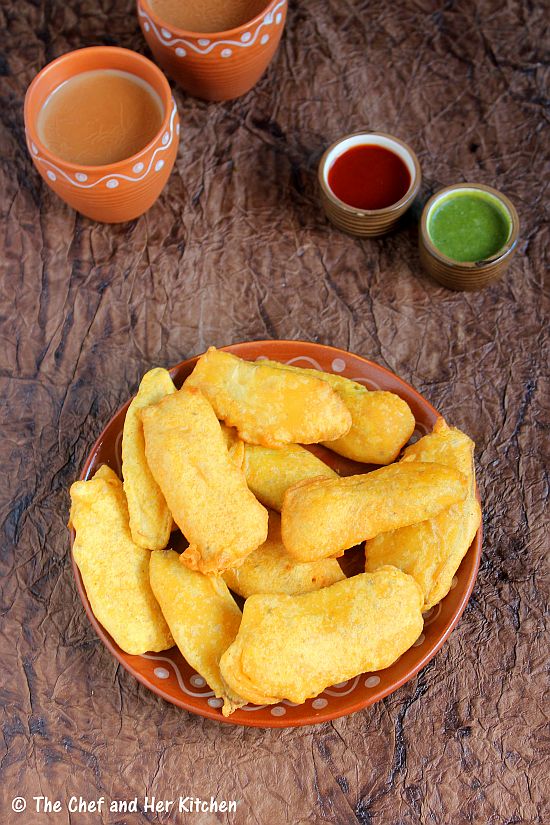
aratikaya bajji
Monsoons are tempting me to make fried pakoras (fritters) often these days. Well , am not sure if I should be blaming the weather or the temptation to make something interesting that I could post. This is more so becoming an excuse for me to indulge in such fatty deep fried goodies that I usually avoid preparing more than once in an month. TH is the one who initiates me to make some of his favorite deep fried goodies at times. These dishes include Puri, Batura or various kinds of fritters (Pakora).I must say that TH was elated at being served deep fried goodies on two consecutive weekends and that too without pushing me to prepare it.
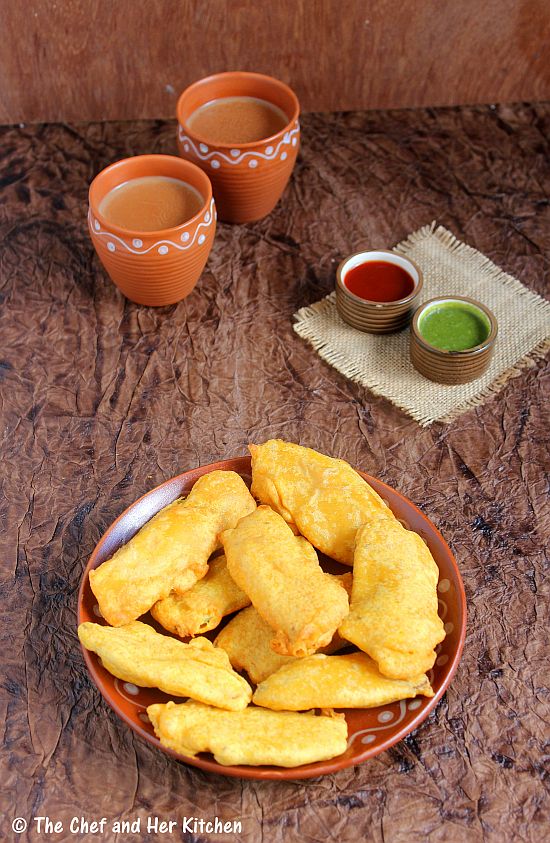
balekai bajji
In South India, there is a slight difference between Bajjis and Pakoras.If the vegetables are dipped in batter and deep fried then it is known as Bajjis and if its prepared with the mixture of cut vegetables like onions or cabbage and mixed with besan (chick pea flour) mixture and deep fried then it is called as Pakoras.In North India, any vegetable mixed with Besan mixture and deep fried in any form is called Pakora.One can prepare various Bajji varieties by using any vegetable but the most common one's are Onion Bajji, Potato Bajji, Capsicum Bajji, Mirch Bajji and Raw Banana Bajji.In South India, in few stalls they even cut these Bajjis in the centre and stuff it with a mixture of onions,coriander,salt and lemon juice. Try it once, you will like it a lot..
raw plantain pakora
In the monsoon season, apart from Pakoras even hot bondas and Vadas are equally relished. In fact at my mom's place, we prefer bonda and vada over Pakoras and Bajjis and of course there are few exceptions like Mirch Bajji.My mom mostly prepares bondas with either rice flour or sago or the left over dosa batter.
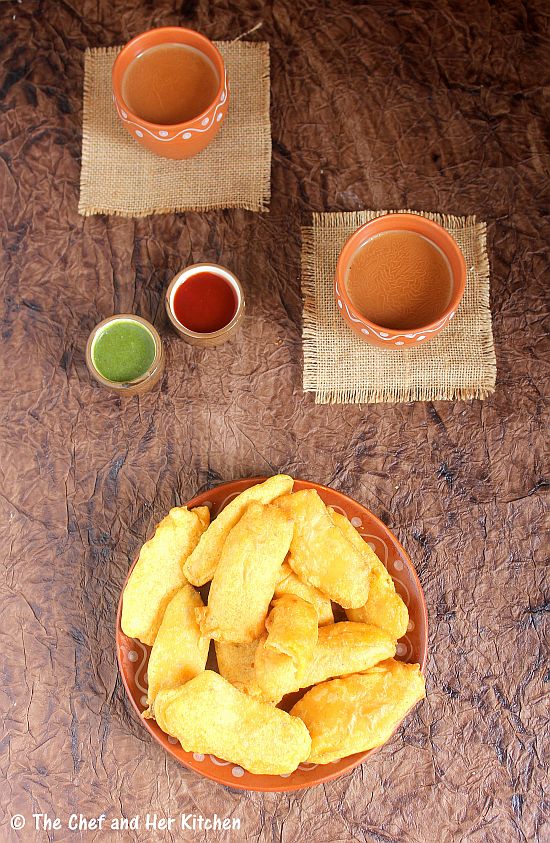
plantain fritters
While Pakoras, Bajjis, Bondas and Vadas are not healthy options as they are deep fried, I don't mind consuming them once in a while.In case you are a health freak and want to avoid these deep fried goodies and opt for something light and healthy, I would suggest that you check out a few Cutlet and Tikki recipes in my blog - Vegetable Chops , Zucchini Patties, Maggi Noodle Cutlet , Sago(Sabudana)Tikki, Broccoli Cutlets and Hara Bhara Kebabs.
raw banana pakoras

Aratikaya(Kela)Bajji | Raw Plantain Pakoras Recipe:
Serves 2-3
Prep time:10 mins | Cooking time:20 mins | Total time:30 mins
Cuisine: Indian | Category: Snacks

Ingredients:
2-3 Raw Bananas(Raw Plantains)
Oil,to deep fry

for Batter:
1 cup Besan/Chickpea flour
1/4 cup Rice flour
1 tsp Red chilli powder
a pinch of Turmeric powder
1/4 tsp Garam masala (optional)
1/2 tsp Carom seeds
a pinch of Cooking soda
2 tsp hot Oil
Salt to taste

Method:
  • Peel the skin of plantains and slice lengthwise into thin pieces or you can use a slicer to do this work.I have an adjustable slicer and hence I can make slightly thick pieces.Drop them in water until its usage so that they would not loose their color.Do not slice them very thin like we do for chips,slice them of medium thickness so that they will hold the batter when we dip in the pakora batter.
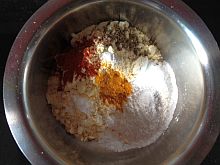
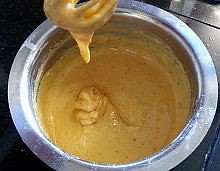
  • Mix all the items(mentioned under 'for Batter') well and make it into a smooth paste by adding enough water.Add the water slowly and use a wire whisk and whisk to the consistency of thick idly batter consistency and make sure you don't add too much water at once.The more you beat the mixture the better and fluffy the pakoras would be.You should ideally beat the batter for 3-4 mins.
pakora batter
  • Mean while heat oil for deep frying.
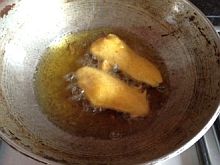
  • Hold the edges of plantain slices and dip each of them in batter and individually and drop them slowly into hot oil and deep fry them till it becomes golden brown in color on medium flame.
  • Drain them on to a kitchen towel to remove excess oil.
Serve them hot with Imli Chutney/Green Chutney/Tomato Sauce.
You can even top them with a mixture of finely chopped onions,coriander leaves,salt and lemon juice like they serve in Bajji stalls in South India.

raw banana pakora
Notes:
  1. You can use the same process for making pakoras like Cauliflower, Baby corns, Broccoli and Poblano peppers(remove the seeds) by blanching them in hot water initially and follow the same process.
  2. You can use the same batter as base for all pakora varieties like Potato(cut into thin slices), Brinjal(cut into thin slices), Onion(thin round slices as well as lengthwise) and Capsicum rings.
  3. The addition of garam masala is completely optional,as plantain is a bland vegetable I added it to spice up the batter.
  4. The addition of rice flour makes the pakoras crisp.
  5. I like to add hot oil to the batter mixture as it will make the pakoras crisp and also makes them consume less oil.Make sure you beat the batter which will makes the pakoras more fluffy.
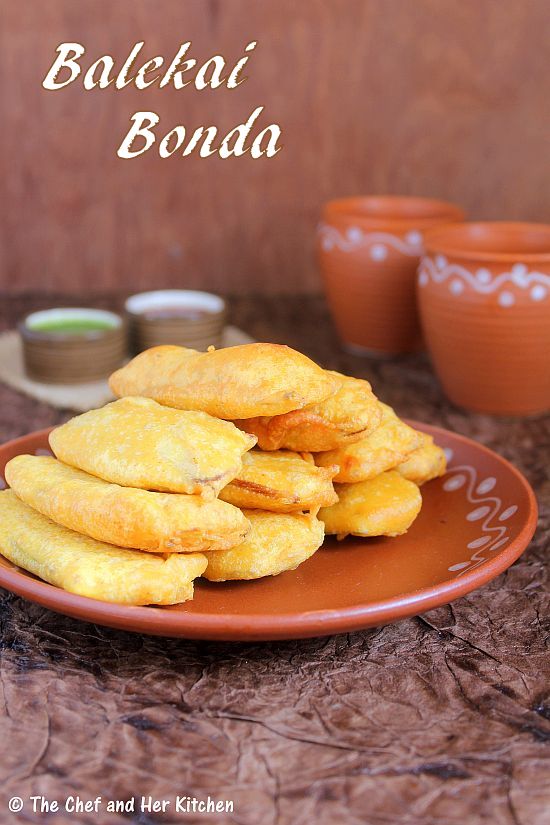
balekai bonda

Thursday, June 27, 2013

Idli Dosa Batter | Idli Recipe using Idli Rice

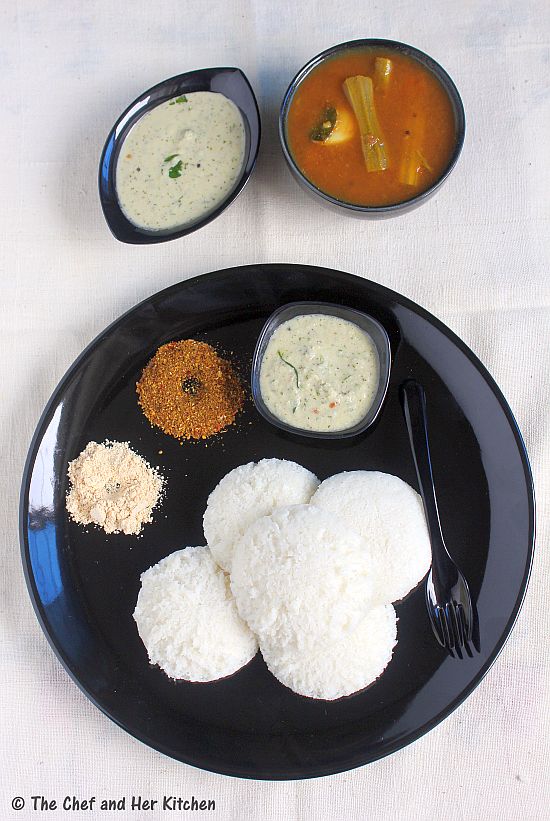
soft idli recipe
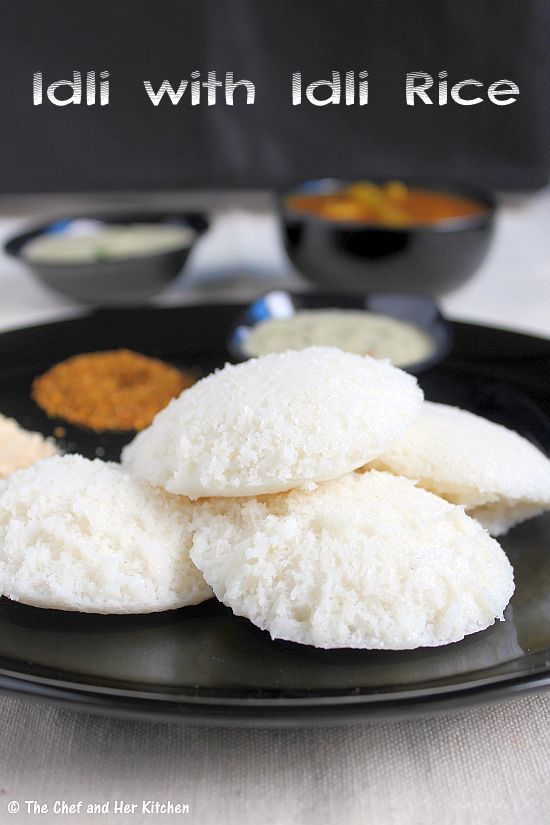
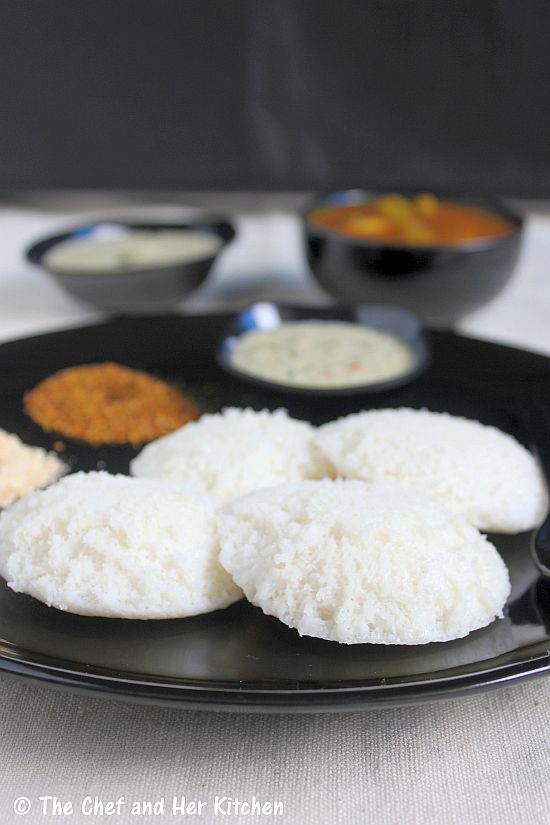
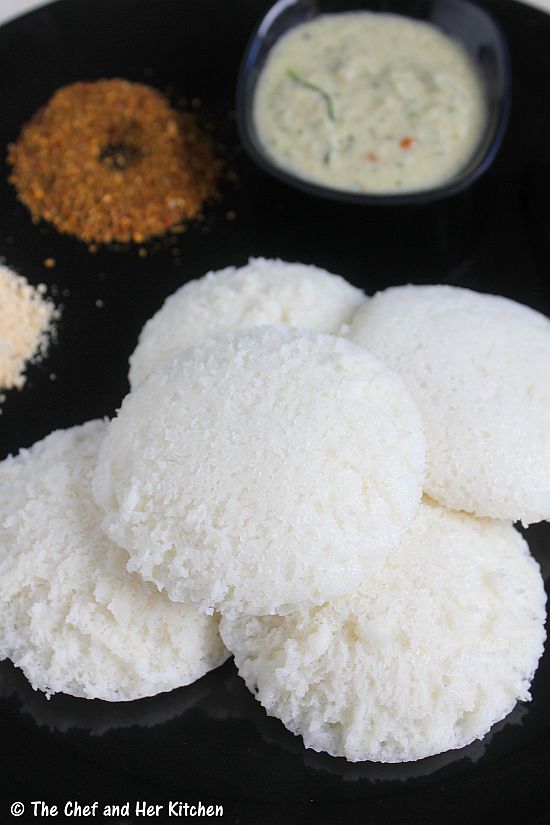
Idli is the most common breakfast in many south Indian homes,though I do not make it on a daily basis, I do prepare it at least once in two weeks.I have already posted a version of Idli recipe using Idli rawa which is the usual way in which it is prepared in Andhra.In Karnataka and Tamilnadu,Idlis are usually prepared by using boiled rice or Idli rice.I usually prefer using Idli rice for my Idlis as I like the taste and texture of Idlis better than the Idli rawa ones.Today I am posting the Idli recipe with idli rice and a complete guide to get soft and fluffy idlis
idli recipe using idli rice
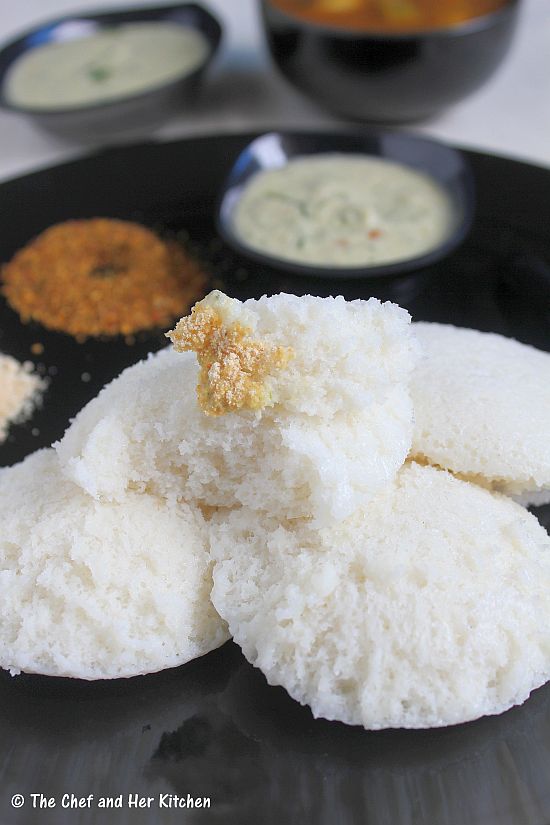
Idli might sound like a very simple dish to get soft, fluffy and airy idlis one needs to practice a lot.I don't think that even all South Indians manage to make good idlis.There are many factors which dictate the quality of idli, like the quality of urad dal or idli rice used, the climatic conditions and the procedure of grinding the batter, i.e using a grinder or a processor.I have shared a few tips based on my experience and advice from elders to help prepare soft idlis,I hope it would help you.This recipe is meant for beginners and hence I have tried giving more details.Please go through the notes thoroughly before you start preparing it.
idli recipe
Check out few Idli varieties and their variations using the basic Idli batter here..
idli recipe using idli rice
Idli Recipe using Idli Rice Recipe | Idli Batter :
makes 30-32 Idlis
Preparation time: 8 hrs | Cooking time: 15 mins | Total time: 8 hrs + 15 mins
Recipe Cuisine:South Indian | Recipe Category: Breakfast

Ingredients:
4 cups Idli rice(Salem rice)
1 cup whole white Urad dal
3/4 cup Poha(atukulu)
3/4 tsp Fenugreek seeds
Salt to taste

Method:
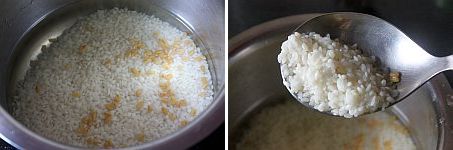
  • Soak idli rice and fenugreek seeds overnight or at least for 5-6 hrs.
idli batter
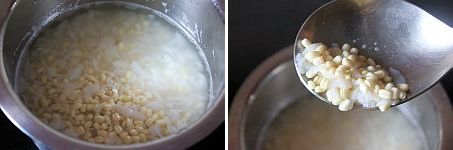
  • Soak urad dal and poha in a separate vessel next morning and let them soak for at least 2 hrs.
idli batter
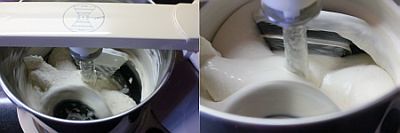
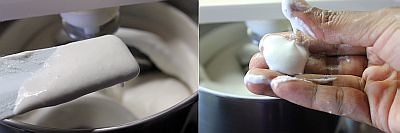
  • Grind urad dal in the wet grinder until it is smooth,soft and frothy.Add enough water(approx 1.5- 2 cups,it took 2 cups of water for me) at regular intervals while grinding the urad dal.It would take approximately 20-25 mins to grind urad batter.The batter should double in size.To test whether the batter is completely done or not,put a small dollop of batter in a vessel of water,if it floats then the batter is done.Remove it from the grinder and put it in a big vessel.
  • Grind idli rice with poha and fenugreek seeds in the wet grinder by adding enough water(approx 1.5 -2 cups,it took 1 3/4 cups of water for me) at regular intervals to a slight coarse paste.You should feel the slight grainy texture of rice when you touch the batter.
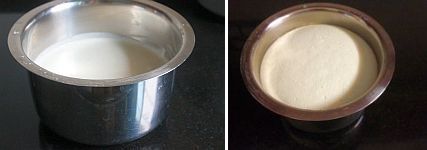
  • Remove the batter and mix the mixture with the ground urad dal and add enough salt to it and mix well with your hand.You can add some water to the wet grinder and add it to the batter to get the desired consistency,the batter should be thicker(not very thick as well) and not thin.Let it ferment for 8-9 hrs.Some times fermentation depends on the weather,so if the weather is cold it might need another an hour or two extra for fermentation.You will get to see the rise in the level of idli batter once it is fermented and it is the indication.
idli batter
  • Take out the required portion of batter(do not mix the whole batter while scooping out) and refrigerate the rest of batter.
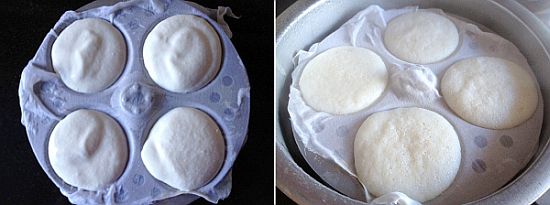
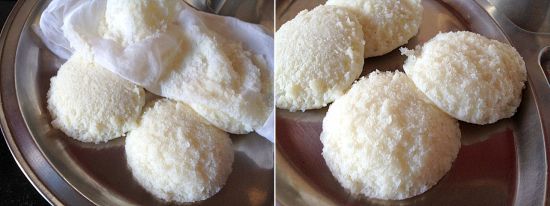
  • Grease the idli plates with oil and pour a ladle of idli batter until each impression is filled 3/4th.You can even line it with a wet muslin cloth and pour the batter on top of it.
  • Steam it in idli steamer or pressure cooker(with out whistle) for 10-12 mins.Let it rest for another 5 mins.
  • With a idli spoon cleanly remove the idlis.Dip the idli spoon in water in between which helps to remove the idlis easily from the plate.If you have used muslin cloth just invert them into the hot box.
  • Keep them in hot box or serve directly on to a plate.Always serve idlis hot.

idli recipe
Notes:
  1. Use an air-tight container for storing the batter.I usually remove the batter into my tupperware container and cover it with a normal loose steel plate while it is fermenting and once it is fermented I cover it with a lid and refrigerate the batter,this way the batter will be fresh and does not turn sour.
  2. Fermentation largely depends on the climatic conditions.In places like Mumbai it takes around 8-9 hours for the fermentation.If you are living in cold place you can even place the batter in a preheated oven and turn the oven light ON,this helps in quick fermentation.If you still have problem with it you can add a ladle of idli batter from the previous batch or ready made idli batter which helps the fermentation process to happen without fail.
  3. The idli batter turns sour quickly if you add salt while grinding the batter and that is the reason few add salt while making idlis.It is your wish to follow which way you want.
  4. I prefer to use whole urad dal,if you do not get it use regular ural dal(broken).But always use good quality fresh urad dal for preparing idlis.
  5. Addition of poha is optional but it gives you very soft and fluffy idlis.You can even use a handful of sago instead of poha for the same.You can even add a handful of cooked rice while grinding which ensures to get the softest Idlis.
  6. If you are using mixer you can use 3 cups of idli rice for 1 cup of urad dal for making idlis.Use cold water while grinding the batter in mixer as the batter tends to get heated while grinding in mixer.
  7. If you use muslin cloth for lining idlis,idlis remain soft for a long time and it does not form any layer on top as well.Though there is a drawback of washing that cloth,hence most of the time I just grease my idli plates and prepare idlis.
  8. Once the batter is fermented do no stir it much which makes the batter looses its air bubbles and in return the idlis will not be softer.
  9. After 2-3 days the idlis might not turn soft with the same batter,you can add a fat pinch of cooking soda mixed with 2 tbsp water into the batter and mix it well and make idlis.Your idlis would be definitely soft.
  10. If your idli batter turn soar,try this Masala Idli which is a perfect fix for the sour idli batter.
  11. You can use the same batter for making paper thin crisp dosas.Add enough water to make the batter little thin and then spread the dosa as thin as possible.
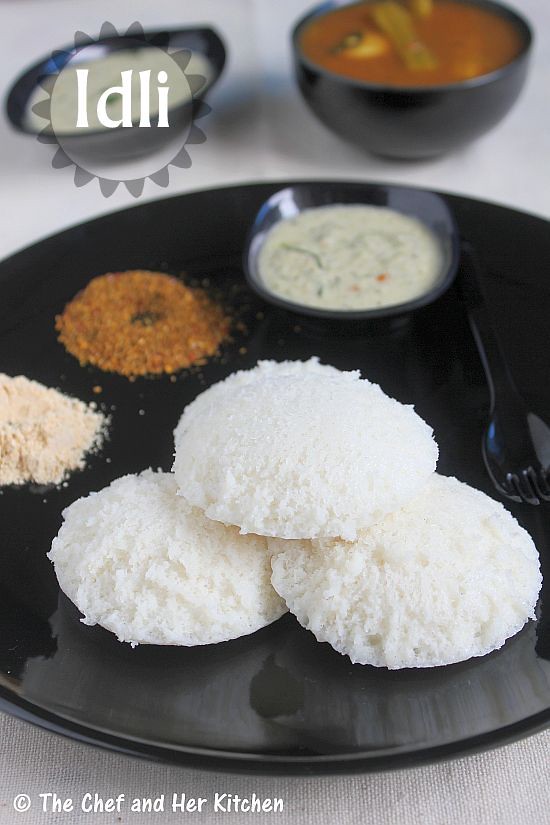
idli
Try these accompaniments for Idli:
    idli recipe
    You can use the same batter to prepare crisp dosas.You need to add enough water to make the batter bit thin and spread the dosa as thin as possible and roast it with either ghee/butter or oil to get crisp dosa.You can fold it in the shape of a cone like how I did,just have a look at it.
    cone dosa

    Tuesday, June 25, 2013

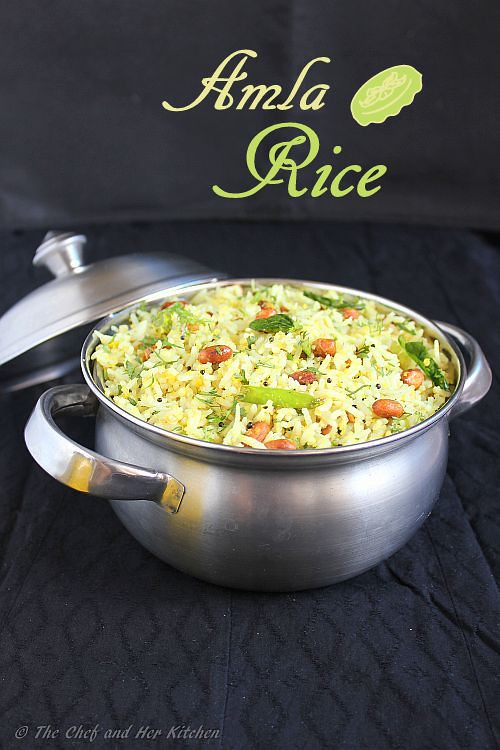
    Usirikaya Pulihora | Amla Rice Recipe

    usirikaya pulihora
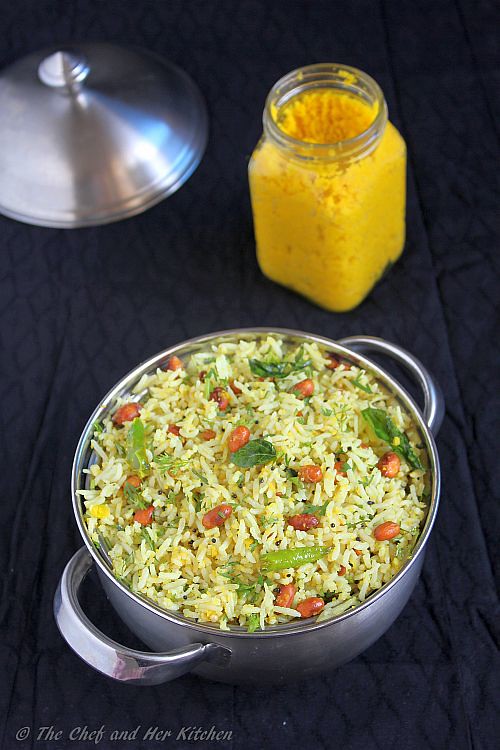
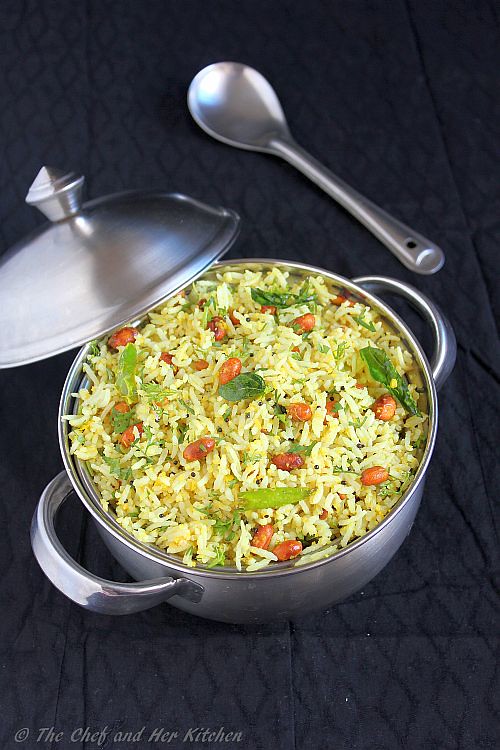
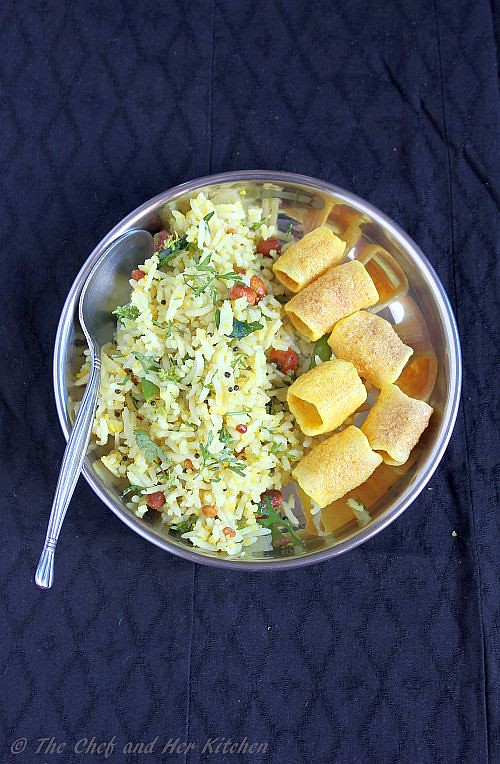
    Amla(known as 'usirikaya' in telugu and 'nellikai' in tamil and kannada) is rich in vitamin C and is very essential to include it in our diet frequently.During amla season I usually buy them in bulk and prepare Niluva Usirikaya Pacchadi and store it upto an year so that I can prepare Amla Pacchadi or Amla rice with it.Usirikaya Pulihora(Amla rice) is one of those easy rice varieties which can be made in jiffy and it tastes delicious too.It is a good lunch box option too.
    nellikai chitranna
    Check out other Pulihora variety recipes in my blog here.
    amla rice

    Amla(Gooseberry) Rice | Usirikaya Pulihora | Nellikai Chitranna:
    Serves 2
    Prep time:5 mins | Cooking time:30 mins | Total time:35 mins+cooling time
    Cuisine: South Indian | Category: Rice varieties - Main Course

    Ingredients:
    1 cup Rice (sona masoori or equivalent)
    15 Gooseberries or 3-4 tbsp Niluva Usirikaya pacchadi
    1/4 tsp Turmeric powder
    10-12 Green Chillies
    8-10 Cashew nuts,broken
    1 tbsp Chana dal
    1 tsp Urad dal
    1/2 tsp Mustard seeds
    10-12 Curry leaves
    2 tbsp Oil
    Salt to taste

    Method:
    • Wash and soak the rice for 10 to 15 minutes with 2 cups of water.Prepare the rice either in pressure cooker or rice cooker.Cool the rice completely.
    • Remove the seeds from amlas and cut them in to fine pieces.
    • Slit the green chillies into 2 pieces and keep them ready.
    • Heat oil in a big thick kadai and crackle mustard seeds.Add chana dal,urad dal and cashew nuts and fry until they turn light golden in color.
    • Add slit green chillies,curry leaves and fry well.
    • Add chopped amla pieces and fry for 2-3 mins.Add turmeric powder and mix.Cover it and cook for 6-8 minutes until it is cooked on low flame.Cool the mixture completely.Mash the cooked amla mixture gently with hands to form a pulpy mix.If you are using niluva usirikaya pacchadi,add it and sprinkle some water and let it cook in steam for a couple of minutes.
    • Add the cooked rice to the mashed amla mixture and add enough salt and mix nicely.Adjust the seasoning according to your taste buds.
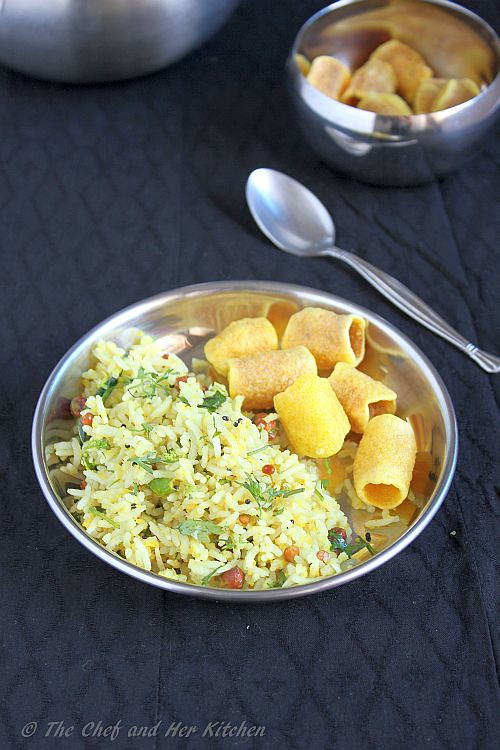
    Serve it with chips/fryums or sliced cucumber.

    amla rice
    Notes:
    1. I used niluva usirikaya pacchadi(stored ground amla mixture) which we use for making pacchadi instead of amlas in the recipe.You need to cook the amla for sometime otherwise it will taste slightly bitter.
    2. Adjust the number of green chillies in the recipe accordingly.I prefer to make this rice spicy and tangy.
       gooseberry rice

    Monday, January 21, 2013

    ADAI DOSA RECIPE | KARA ADAI | MIXED LENTIL DOSA

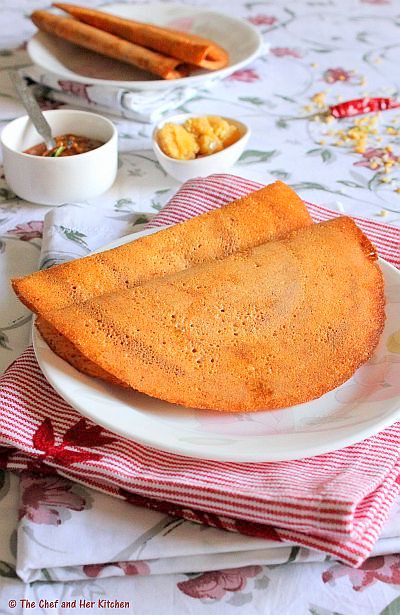
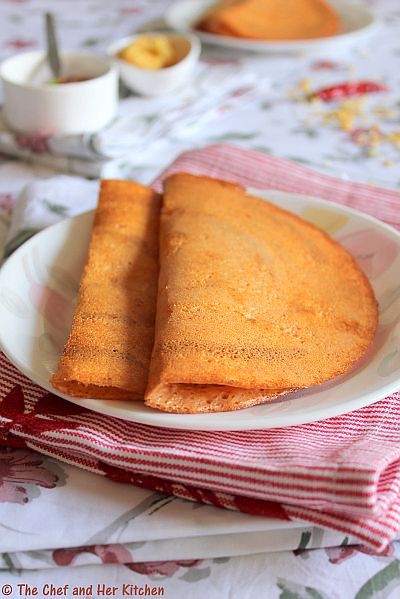
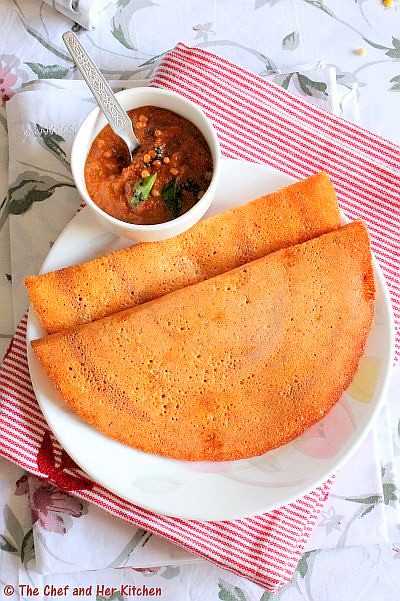
    Adai's origin is from Tamilnadu where it is usually paired with the vegetable, 'Avial'.The batter for Adai is ground thicker and coarser than the regular dosa batter and it does not require any fermentation.The Adais are prepared slightly thicker than the regular dosa and they consume lots of oil as the batter is ground coarse. This version that I have made is more of a dosa and is thin and crisp. Adai is usually spicy as the batter has it all - so no need for any accompaniment. I though prefer to have it with a bit of jaggery and ghee.
    Adai Dosa Recipe | Mixed Lentil Dosa Recipe :
    (yields 18-20 adai)

    Ingredients:
    1/2 cup Raw rice(regular rice variety like sona masuri,ponni etc)
    1/2 cup Idli rice
    1/3 cup Toor dal
    1/3 cup Chana dal
    1/4 cup Moong dal
    1/4 cup Urad dal
    1/3 cup grated fresh Coconut
    10-12 Curry leaves
    4-5 Red chillies
    3-4 Byadige Red chillies
    1 tsp Cumin seeds
    1/8 tsp Asafoetida
    Salt to taste

    to add to the batter:
    1/4 cup chopped Coriander
    2 tbsp chopped Curry leaves
    Oil to roast adais

    Method:
    • Soak rice for 4-5 hrs or over night.Soak chana dal,moong dal and toor dal in a separate container for 4-5 hrs or over night.Soak urad dal in another container for the same time (4-5 hrs).
    • Dry roast cumin seeds and red chillies(both the varieties regular and byadige) slightly until warm and let them cool.This process is just to make them crisp for better grinding.
    • Grind urad dal to a smooth and frothy paste by adding some water.Remove this mixture and keep aside.
    • Now grind soaked rice with the remaining dals,coconut,curry leaves,red chillies,cumin seeds and asafoetida to a smooth batter.I ground to a smooth batter as I wanted to prepare like dosa,you can even grind to a coarse batter.
    • Mix the urad dal batter with the ground batter and add enough salt to it and mix well.You can prepare adai dosa immediately with this batter if you want,I kept it aside for 3-4 hrs for little fermentation.
    • I am sure everyone knows how to make simple dosa,still I explain the process of making it for people who are not familiar with it.
    • Mix batter well and add chopped coriander and curry leaves to the batter and mix again.Pour a big ladle of batter onto a medium hot pan and spread it in the circular motion to form a uniform shaped dosa.You can spread the batter thick or thin according to your wish.
    • Pour 1-2 tsp oil approx over it and cover it with a lid.(No need to add more oil if using Non stick pan,you can completely replace oil with ghee for better taste if you are not calorie conscious).
    • Let it initially cook on low flame for 1-2 mins and remove the lid and increase the flame later and cook for a couple of mins until you see brown/red patches.You can turn it and roast the other side if you want.(Do not try to remove the dosa in between while it is roasting.We should remove it only when you are sure that the dosa is perfectly roasted.)
    • Serve it directly and do not drop them in hot boxes.It should be served on to the plate immediately to enjoy the flavor and crispiness of the dosa.
    • Reduce the flame for half a minute and then start preparing the next dosa.Do not pour the batter on high flame.
    Serve it with spicy chutney or Avial.I served it with spicy coconut chutney and jaggery.
    Notes:
    1. The addition of idly rice gives crispiness to adai,if you don't have it replace it with regular rice.
    2. Ideally the batter should be ground to a coarse mixture and is made thick which we are not really fond of,hence I made it into a very slight coarse dosa kind batter.It is left to your choice, either way it tastes good and left to you.
    3. You can start preparing them immediately but I prefer to leave it aside for few hours to let it ferment.Again it is my personal preference.
    4. You can add finely chopped onions/shallots to the adai batter just before making adai.If you add the onions you cannot spread like dosa,it will be slightly thicker and you need to roast on both sides.
    5. The addition of more oil to adai makes it crispier.
    Variations:
    • You can add tender drumstick leaves or grated carrots or chopped spring onion greens to the batter.Each gives a different flavor and taste to adai.
    • You can even add ginger while grinding which gives a nice flavor to adai.
     

    Friday, November 30, 2012

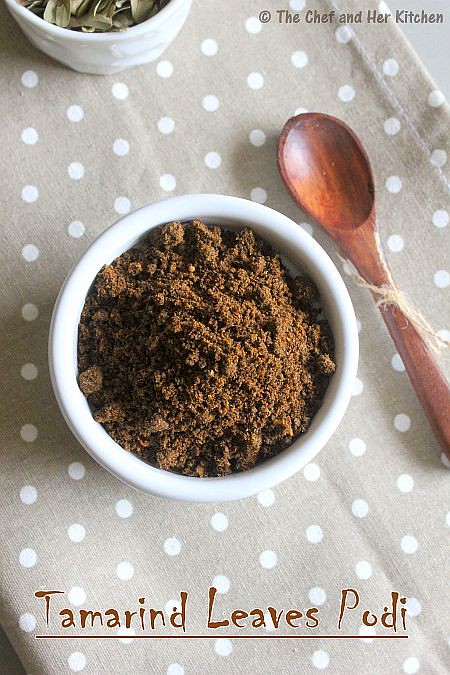
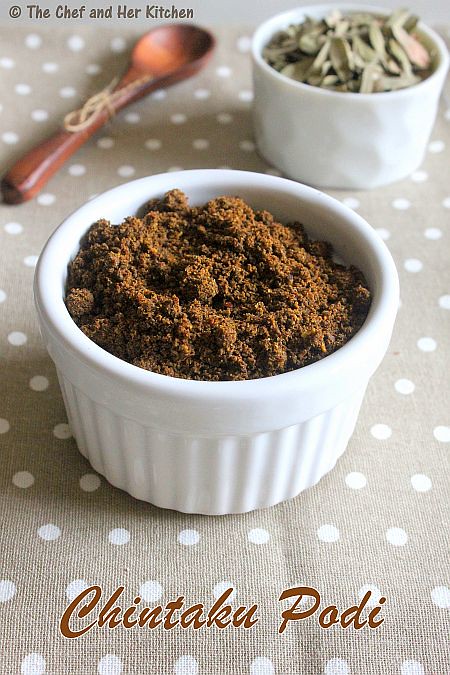
    Chinta Chiguru(Chintaku) Podi | Tamarind Leaves Powder

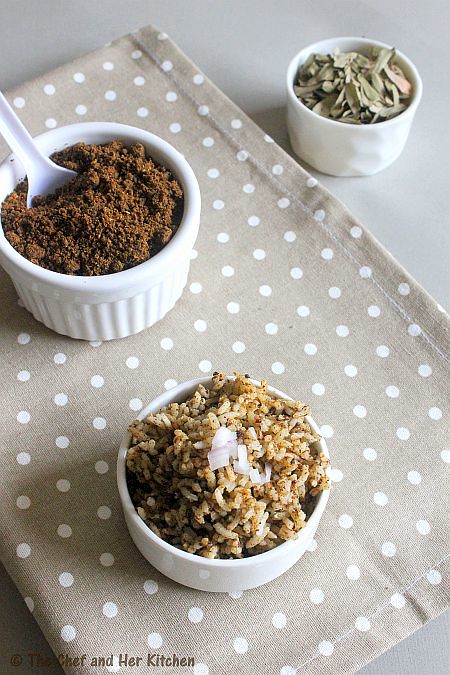
    My pantry is always loaded with various podi mixes and pickles which comes very handy on those days when I am very lazy to cook anything.All I need to do is to prepare some plain rice and can eat these powders and pickles mixed with hot rice and ghee which is actually a delicious meal which I crave at times.

    I get most of my podi(powders) supply from my mom and pickles from my MIL on my every visit.The varieties of podis(powders) which can be eaten with rice are really vast and my mom makes very nice podis.She makes lot of other varieties of podis like Kothimir Podi(coriander leaves podi), Pudina Podi, Curry leaves Podi, Bitter gourd podi, Garlic podi, Kandi podi, Munagaaku Podi(Drumstick leaves powder) to name a few.Her Bitter gourd podi is a big hit among all those who have tasted it and have made them to change their opinion about biter gourds after they tasted her's.
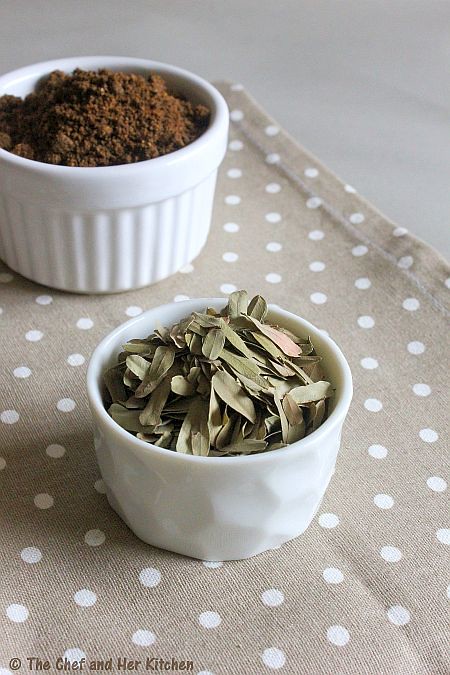
    Chintaku(Tamarind leaves) podi is really tasty with the natural hint of tangyness it gets from tamarind leaves.We usually store a pack of dried tamarind leaves all through the year and make this podi when ever we want.We even use dried tamarind leaves in this Onion-Chintaku palya which is a nice combo with Rice flour poori(Vadappa).
    Chintaku Podi | Tamarind Leaves Podi Recipe:
    shelf life: up to a month

    Ingredients:
    1 heaped cup dried tender Tamarind leaves
    6-8 Red chillies
    1/3 cup Groundnuts
    1 tbsp grated dry Coconut
    1 tbsp white Sesame seeds
    3-4 Garlic pods with skin(optional)
    1 tsp Oil
    Salt to taste
    Method:
    • Use the tender tamarind leaves which are dried in sun until completely dry,might be for 2-3 days consecutively.
    • Dry roast groundnuts until the skin turns brown and once they are cool,remove the skin and keep them aside.
    • Dry roast sesame seeds and keep them aside.
    • Keep the dry coconut in sun for some time or you can even dry roast the grated dry coconut for a minute.
    • Heat oil in a kadai/pan and add red chillies and remove them and keep aside.
    • In the same kadai add tamarind leaves and fry for 3-4 mins on low flame until they are slightly crisp and keep them aside.Let all these fried ingredients come to room temperature.
    • Grind groudnuts,sesame seeds,dry coconut,red chillies and salt to a fine powder.
    • Add fried tamarind leaves and grind again to a fine powder.Check the taste and add more salt if required.
    • Add garlic pods and run in whipper mode to crush the garlic pods little bit.
    • Cool the powder and store it in air tight clean container.
    Serve it with hot rice and ghee.
    Notes:
    1. Adjust red chillies according to your spice level.
    2. You can increase the quantity of ground nuts a bit more if you like the taste.
    3. It can be stored for up to a month under normal conditions and 2-3 months when refrigerated.
     
    back to top