Showing posts with label Diwali Snacks. Show all posts

Friday, October 13, 2017

Mathri Recipe | How to make Mathri | Diwali Snacks

mathri
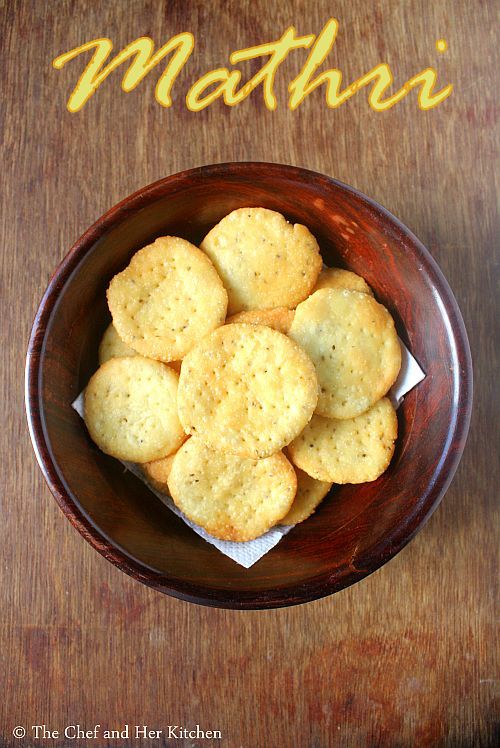
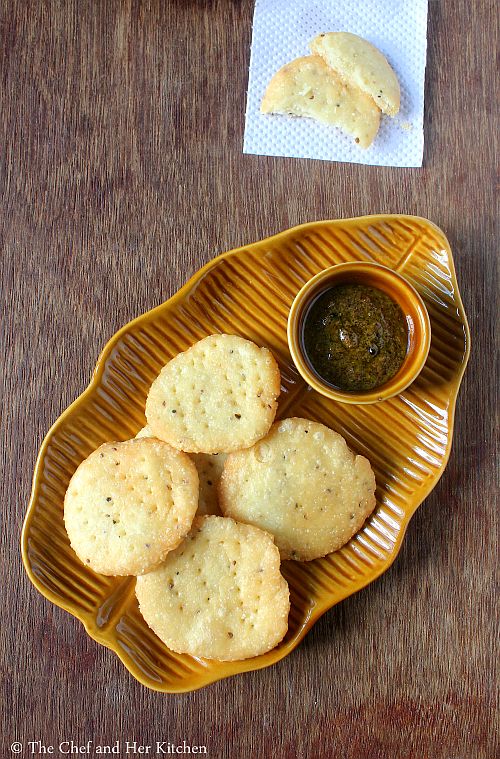
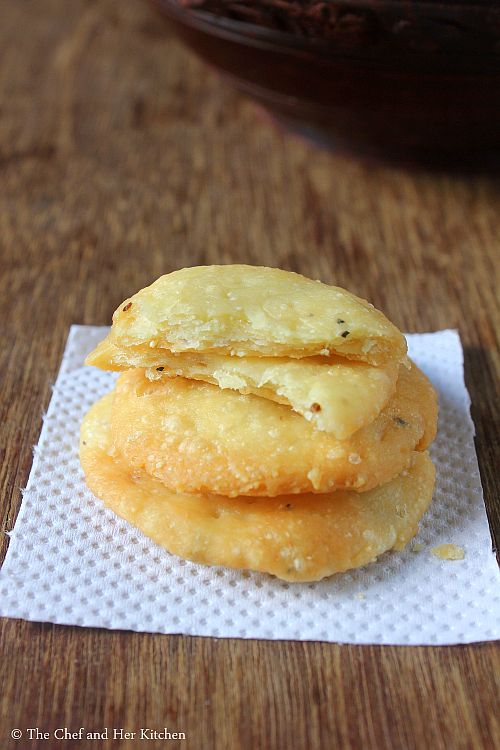
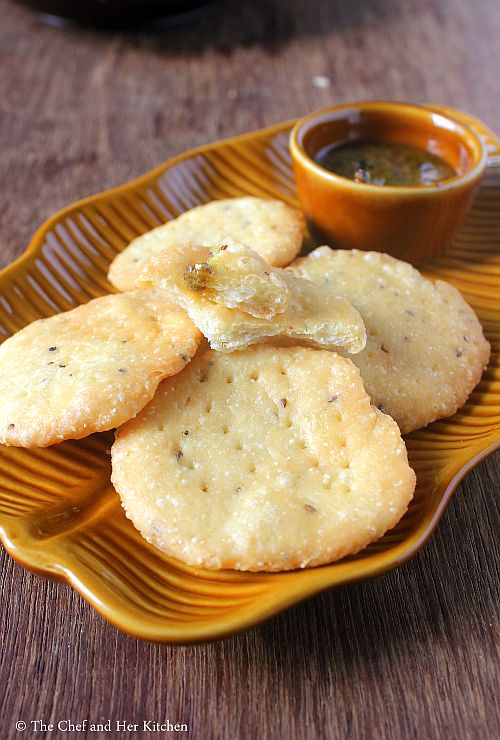
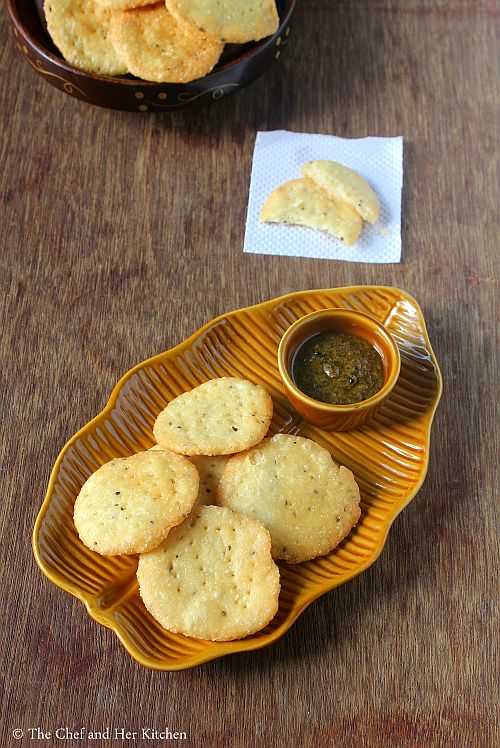
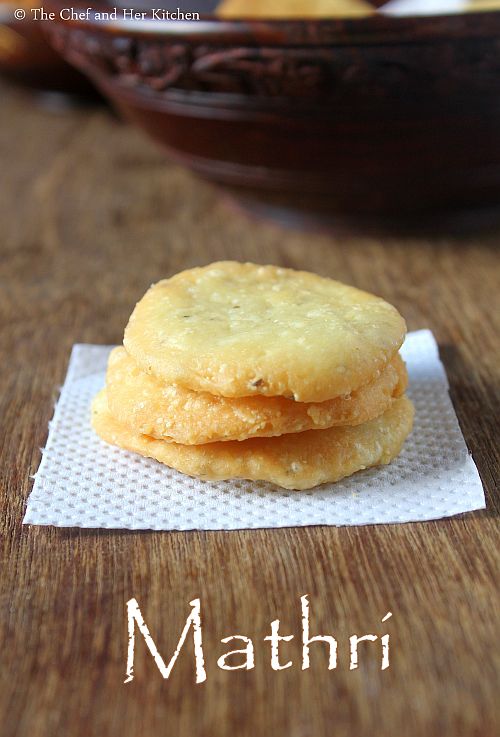
Mathri recipe with step by step photos.Mathri is a crispy cracker which is one of the most common snacks in North India.Mathris are thick,crisp,flaky and yet soft to bite kind of crackers which pairs perfectly with tea or coffee.It is usually served with spicy pickles/achar as the mathris are usually not spicy.
mathri
Mathris are simple to make but if you do not prepare it carefully you will end up with a soft mathri.The consistency of the dough and the frying process are the key things to follow while making mathri.I have highlighted few pointers in the recipe to get perfect mathri.Always fry the mathri on low-medium flame until they turn light golden brown, though it takes time you need to follow these steps else you will end up having soft mathri.
mathri
As Diwali is nearing by try out this simple mathri recipe for your friends and family members.If you are scared to prepare any murukku/sev recipe then this mathri recipe is perfect as it is very simple and similar to puri preparation process.
mathri
Check out other Diwali savouries in my blog here:
Mathri Recipe:
yields 15 crackers
Prep time: 20 mins | Cooking time: 20 mins | Total time: 40 mins
Cuisine: North Indian | Category: Snacks

Ingredients:
1 cup All purpose flour
2 tbsp Sooji
2 tbsp Oil
1/2 tsp Carom seeds(ajwain) or cumin seeds
1/2 tsp Black pepper,coarsely ground
Salt,to taste
1/3 cup warm Water,as needed
Oil,to deep fry

Method:

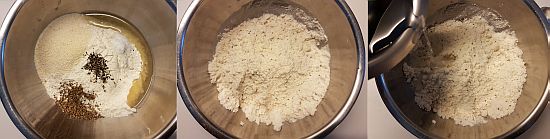
  • In a bowl mix flour,sooji,carom seeds,crushed black pepper,oil and salt and mix nicely.
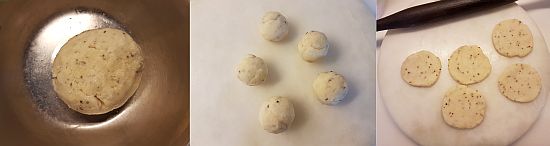
  • Add warm water to it and mix it to a tight dough and keep it aside covered for 15-20 mins.
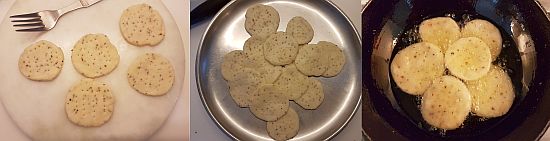
  • Pinch small gooseberry sized balls out of it and flatten them with a rolling pin to a 2 inch circular disc of 1/2 cm thickness.Prick them with a fork to avoid them puffing up in the oil.
  • Heat oil in a thick kadai for deep frying.
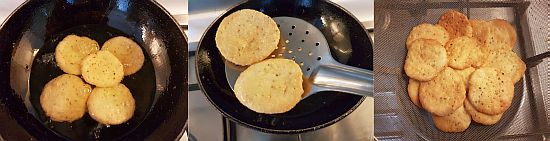
  • Once the oil is hot check the heat by adding a small ball in it,if it comes up immediately then the oil is hot enough.Add few 5-6 mathris and deep fry them on low-medium flame until they turn crisp and light golden brown on both the sides.Always make sure that the mathris are covered with enough oil.
  • Remove with a slotted spoon and drain in the colander or kitchen napkin.
  • Once it is cooled completely store them in an air tight container.
Serve them with a spicy pickle for a tea time snack.

Notes:
  1. You can add cumin seeds instead of carom seeds in the recipe,it gives a different flavor.
  2. Use warm water and knead it into a tight dough.
  3. Always fry them on low-medium flame until they turn light golden brown else if you fry them in hot oil they will be soft inside.
  4. They can be stored until 3-4 weeks if stored in an airtight container.
mathri

Monday, October 9, 2017

Cornflakes Mixture Recipe | Cornflakes Chivda | Easy Diwali Snacks

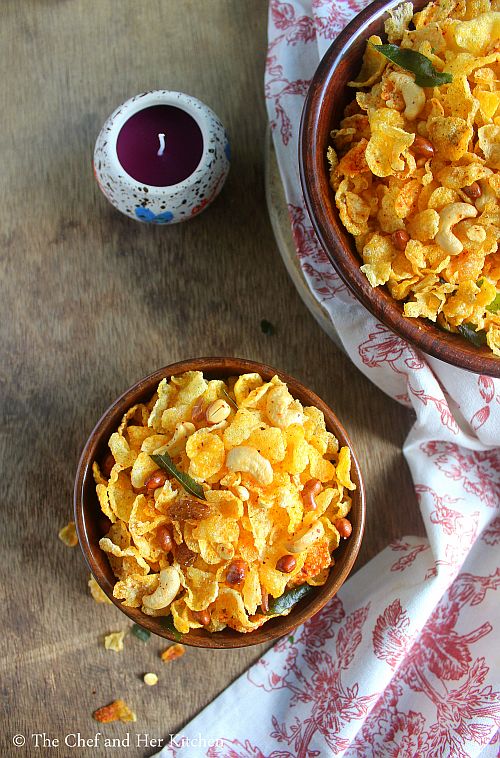
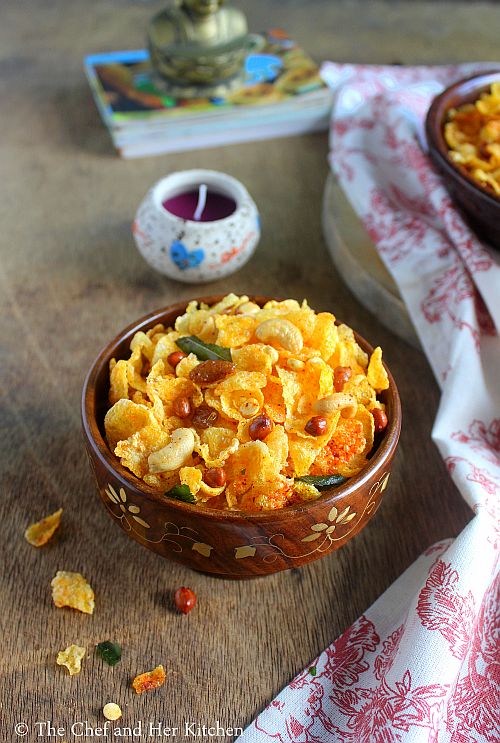
cornflakes mixture
Cornflakes mixture recipe with step by step photos.Diwali is just around the corner and many would have started the preparation process and cleaning the house for the festival.We have a tradition to give sweets or dry fruits along with diyas/gifts to friends and family.Every year I try to make few sweets and savories as I like to share the homemade sweets and snacks rather than the store bought and there are few exceptions at time when I am pressed for time I buy the ready stuff to share with friends.
cornflakes mixture
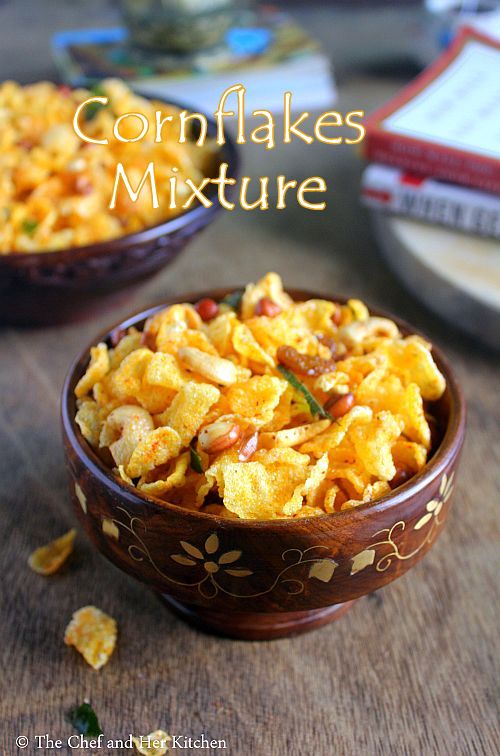
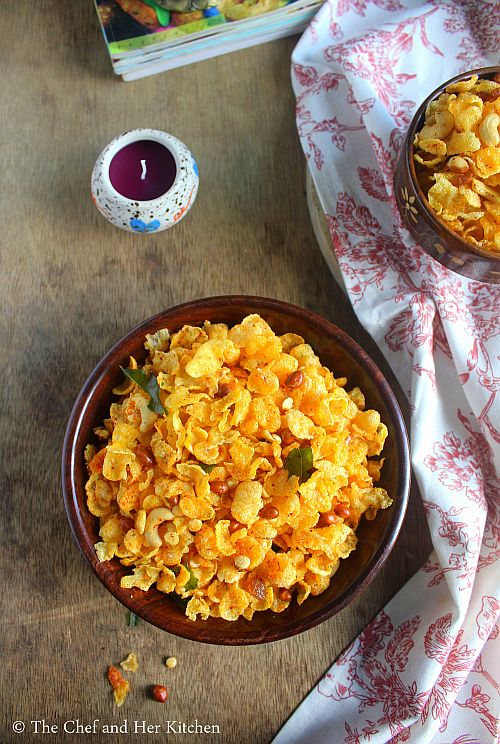
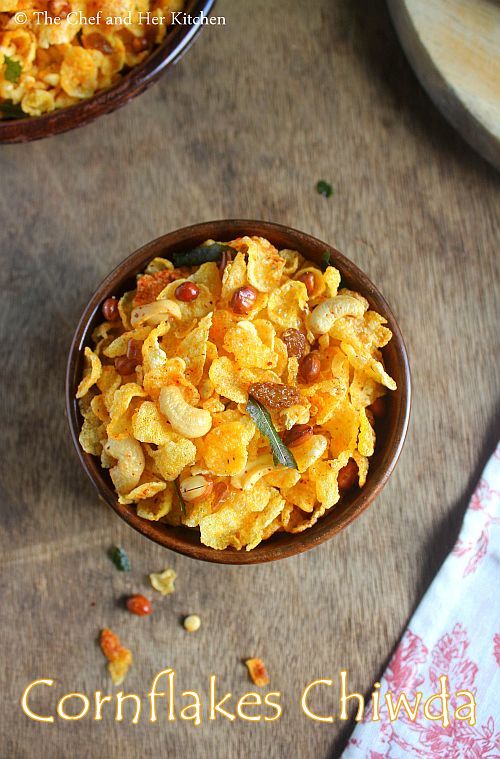
Cornflakes mixture is very light and crunchy snack to eat along with a cup of tea.It is a very simple mixture recipe which can be prepared with minimal ingredients available in the pantry.It is a very simple recipe compared to other mixtures or savories as we just need to deep fry all the ingredients separately and mix it with minimal spices at the end.I am posting a simple cornflakes chiwda recipe but one can add various ingredients like poha or sev to make it a bit heavy kind of mixture.Cornflakes consume less oil compared to other mixtures or sev varieties but make sure you use the fresh stock of raw cornflakes(not the cereal variety).
cornflakes mixture
Check out other Diwali savouries in my blog here:
cornflakes chiwda
Here is how to make cornflakes mixture recipe with step by step photos.
Cornflakes Mixture | Cornflakes Chiwda Recipe:

Yields 1 medium box
Prep time:5 mins | Cooking time: 20 mins | Total time: 30 mins
Cuisine: Indian | Category: Snacks

Ingredients:
2 cups raw Cornflakes
1/3 cup raw Peanuts
1/4 cup Cashew nuts,halved
1/4 cup Fried gram
1/4 cup Raisins
1/4 cup Curry leaves,washed and pat dried
1.5 tsp Red chili powder
3/4 tsp roasted Cumin powder
1/8 tsp Citric acid/Lemon salt
Salt,to taste or Kala namak(black salt)
Oil,to deep fry

Method:


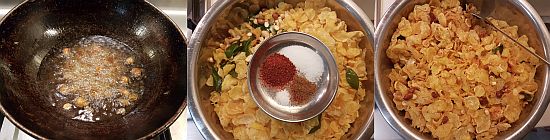
  • Keep all the ingredients ready and heat oil in a thick kadai.
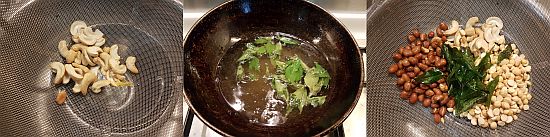
  • Once the oil is hot add peanuts and deep fry them until they turn slight red in color and remove them with a slotted spoon and put it in a steel bowl or steel strainer.
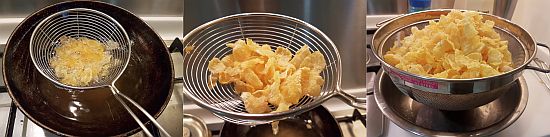
  • Repeat the process and fry all the ingredients like cashew nuts,fried gram,curry leaves and corn flakes separately.Every ingredient takes different time to get fried,so make sure you fry each ingredient separately and cornflakes need to be fried in several batches.
  • Finally add raisins and fry until they are plumped up and drain them immediately,do not fry them for long as they will harden or burn.
  • Once all the ingredients are fried put them in a large bowl and add salt,red chili powder, roasted cumin powder and citric acid and mix quickly while the fried ingredients are still hot/warm so that they get blended and coated well with the masalas.
Once it is cooled down store it in an air tight container.

Notes:
  1. This stays good for 2-3 weeks when stored properly in an air tight container.
  2. You can add the ingredients more or less according to your wish.
  3. You can even add sliced or whole fried almonds or fried poha or sev or bhujia or kara sev to the cornflakes mixture.
  4. You can even add little powdered sugar while mixing the mixture but I do not prefer to add it.
  5. The addition of citric acid is optional but one can even add kala namak(black salt) or chaat masala for different flavor.
  6. If you want to keep the spices simple avoid cumin powder too in the recipe.
  7. Make sure that you always deep fry the cornflakes on medium flame, if it is fried on low flame(or oil is not hot enough) it will consume lot of oil.
cornflakes chiwda

Friday, October 28, 2016

Perugu Jantikalu | Pulla Murukku | Sour Curd Murukku | Easy Diwali Snacks

Pulla Murukku
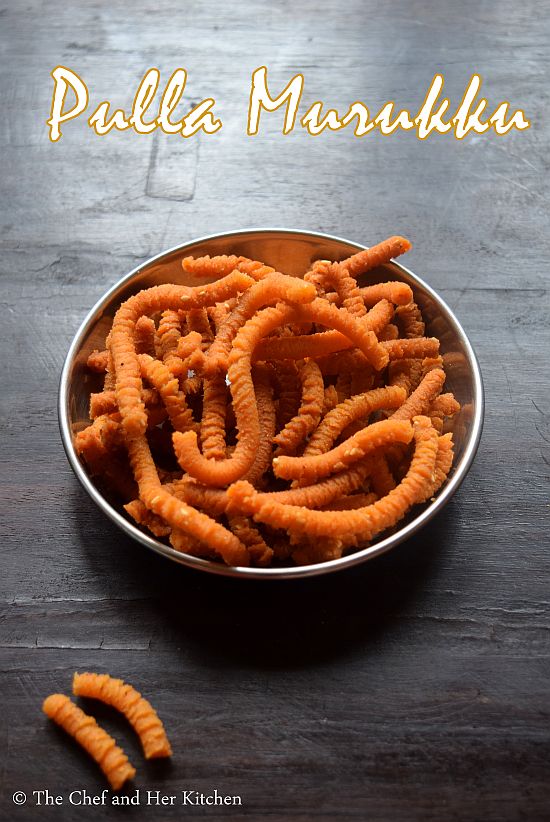
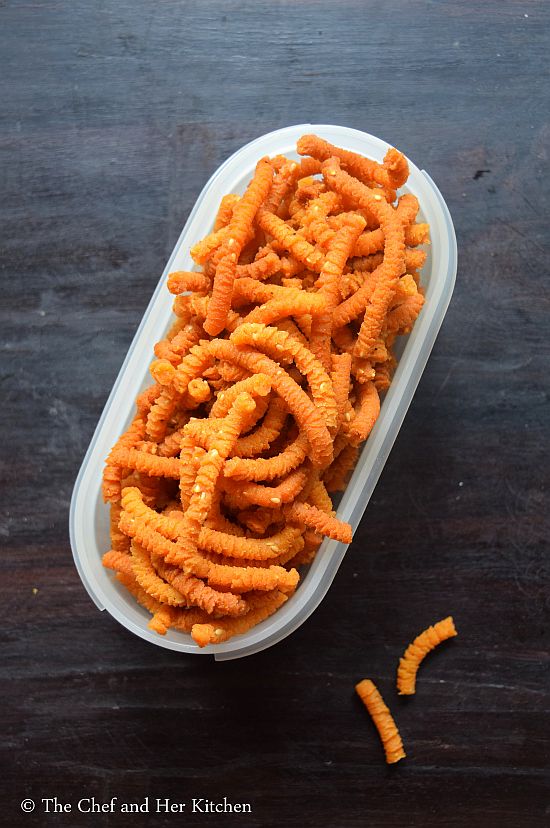
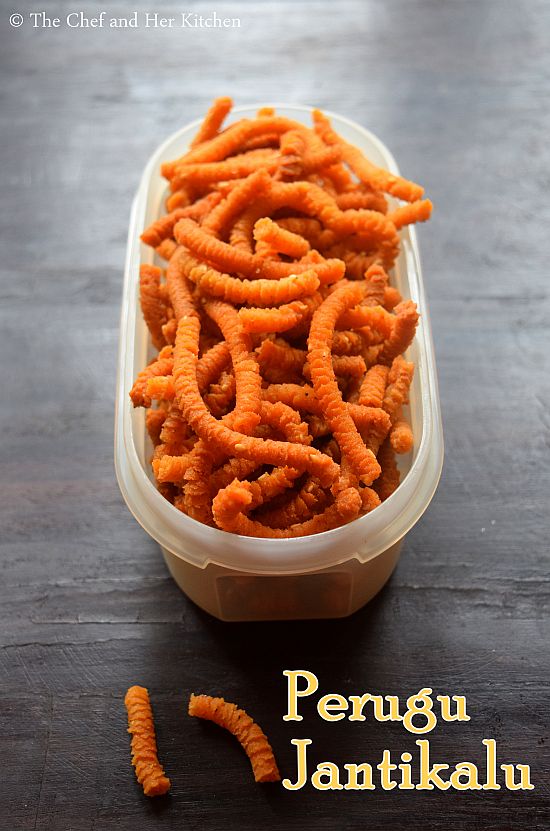
Pulla Murukku or Perugu Jantikalu is prepared similar to Sago murukku without the addition of sago in the recipe. We love this murukku as well as Sago murukku very much because of its sour taste from the sour buttermilk used in the recipe.One can make it plain or spicy by adding red chili powder but we love the spicy version only.
perugu jantikalu
This recipe is very simple to make and even a beginner can attempt it by keeping few pointers in mind to get good murukkus which are neither hard nor soggy. This recipe yields crisp yet soft to bite murukkus which are perfect to munch along with a cup of chai/coffee.
perugu jantikalu
Check out other Diwali savouries in my blog here:
perugu jantikalu
Perugu Jantikalu | Pulla Murukku Recipe:

Shelf life: 2-3 weeks | Author: Prathibha
Prep time: 10 mins | Cooking time: 40 mins | Total time: 50 mins
Cuisine: South Indian | Category: Snacks

Ingredients:
1/2 - 3/4 cup sour thick Curds
thick Sour butter milk,to mix the dough
1.5 tbsp white Sesame seeds
1.5 tsp Chili powder
Salt to taste( approx 1 heaped tsp)
2 tbsp hot Oil
Oil,to deep fry

Method:
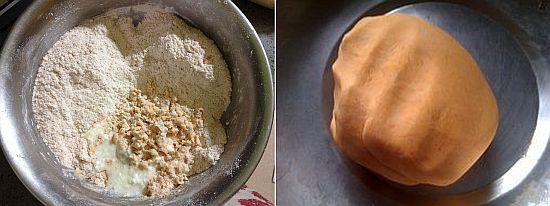
  • In a bowl add rice flour,salt,chili powder and sesame seeds to it and mix it nicely.
  • Pour hot oil on top of the flour and carefully mix with the ladle,do not use your hands to mix it immediately.Leave it aside for 2-3 mins.
  • Now add the sour thick curd and mix the flour well with hands until the oil and curd is incorporated in to the flour nicely.
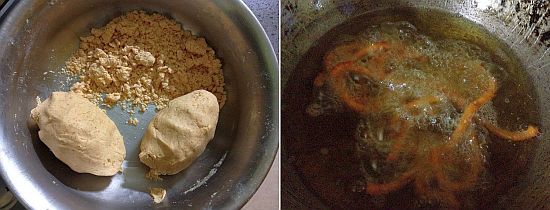
  • Divide the flour equally into 2-3 parts if you are making in large batch or else knead into one portion.
  • Sprinkle the buttermilk to one portion and prepare a thick dough.
  • Meanwhile heat oil in the kadai. 
                                              
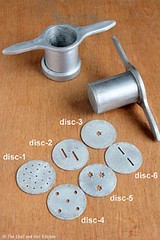
  • Use a 5 eyed disc-thick round sev (disc-4 in the above pic) in the murukku maker and fill the dough in it.
  • Carefully press the dough in to the hot oil directly in a circular motion.Do this process carefully otherwise the oil might spill.
  • If your murukku looks smooth and slight serrated edges then it is the correct consistency it will give nice hollow and crisp but soft to bite kind of murukku.If the surface is very hard and becomes very thin it will yield hard to munch kind of murukku.In that case slightly sprinkle some water to make the dough bit smooth and then proceed.
  • Deep fry over the medium-high flame until the murukku turn golden brown in color and the bubbles subsides in the oil.
  • Drain excess oil on to kitchen napkin.
  • While it is frying add buttermilk to the 2nd portion and repeat the same process of preparing dough and frying and repeat until all the flour is over.It is always better to make dough in small portions than preparing the dough at once.
Let all the murukkus come down to room temperature.Store it in air tight container.

Notes:
  1. You can add 1/2 cup soaked sago to make it into sago murukku.Choose small sized sago for it,if the sago is big it might break into pieces when it is pressed it into oil.
  2. Always mix the dough in small portions,this way it will not make the dough very soft and in turn reduces the oil consumption.
  3. If your murukku looks smooth then it is the correct consistency it will give nice hollow and crisp but soft to bite kind of murukku.If the surface is very hard it will yield hard to munch kind of murukku.In that case slightly sprinkle some water to make the dough bit smooth and then proceed. 
  4. If the murukku turns very hard to bite,it means the amount of hot oil you added to the dough is not enough.Add 1-2 tbsp more and make the next batch. 
perugu jantikalu

Monday, October 24, 2016

Kodubale Recipe | Karnataka Kodbale Recipe | Diwali Snacks Recipes

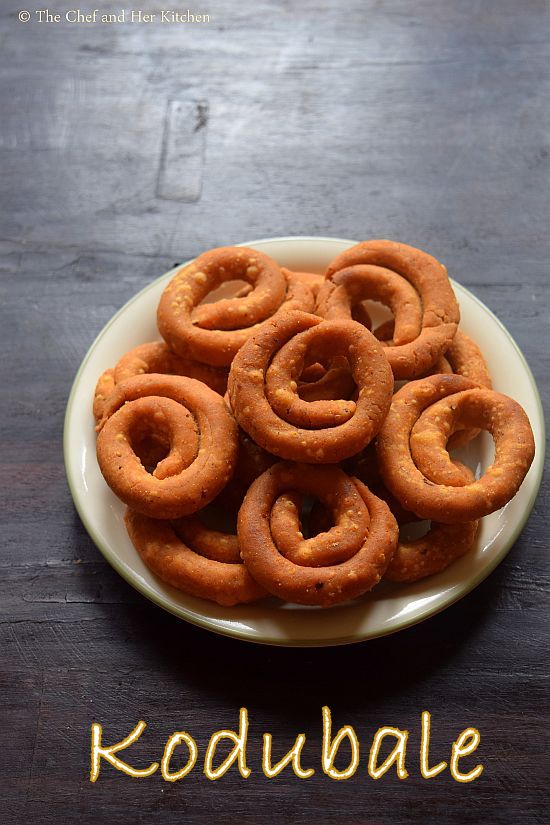
kodubale
Kodubale or Kodbale is another famous snack from the state of Karnataka.There is also a similar version in Andhra called Chegodilu and Ring Murukku in Tamilnadu.The shape is same for all the versions it is like a ring(bangle) but each version looks and tastes different.I am a big fan of Andhra style Chegodilu and Karnataka style Kodbale. But after my marriage I got introduced by my mil to another version of Chegodilu with moong dal which is also yummy,I will blog it sometime later.
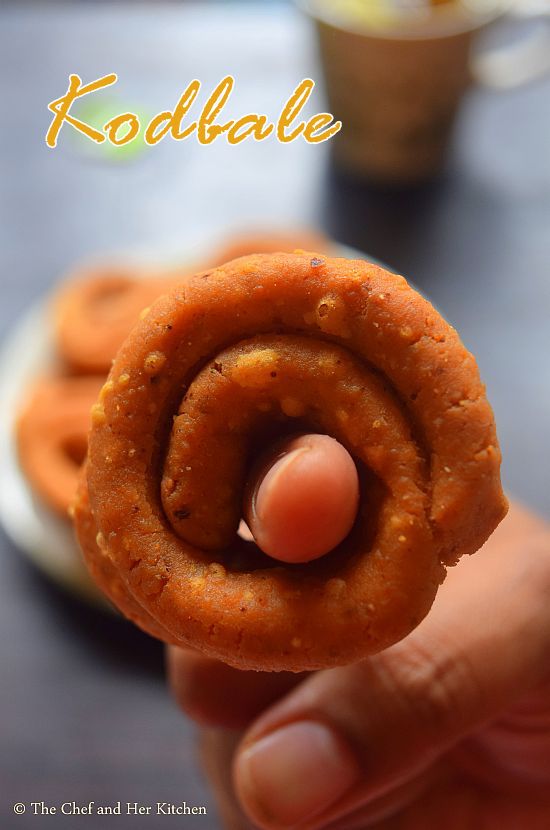
kodbale
Coming to today's post Kodubale - the addition of roasted gram powder gives a nice taste to kodubale. Every family has its own version of kodubale recipe while few add ground fresh coconut mixture to the dough and few add maida or chiroti rawa to the dough etc.Also you get various sizes of kodubales in the shops - mini, regular and big. I love the mini kodubales from a place called Chintamani in Karnataka, it tastes so nice - crunchy and soft to bite at the same time.Kodubale is even added to the famous Karnataka style bhel puri - Churmuri , the broken crispy and soft bites of kodubale makes the churmuri taste even more yummy.Now off to the Kodubale recipe.
Check out other Diwali savouries in my blog here:
kodubale
Kodubale | Kodbale Recipe:
Yields : 20-22 | Author: Prathibha
Prep time: 20 mins | Cooking time: 30 mins | Total time: 1 hr
Cuisine: Karnataka | Category: Snacks

Ingredients:
1/2 cup Roasted gram powder(putnala podi/hurigadale podi)
1/4 cup grated Dry/Fresh Coconut(optional,but recommended)
2 tsp Red chili powder
2 tsp White Sesame seeds
1/8 tsp Carom Seeds(Ajwain)
1/4 tsp Asafoetida
Salt to taste
4 tbsp hot Oil

Method:
  • If you are using fresh grated coconut grind it with red chili powder and salt with little water to a fine paste. If you are using grated dry coconut add directly to the rice flour.
  • In a big bowl take home made rice flour and add ground roasted gram powder,grated dry coconut,salt,red chili powder,carom seeds, white sesame seeds, salt, asafoetida and add hot oil and mix everything nicely.Leave the mixture for 5 mins.
  • Divide the mixture into 3 portions and sprinkle little water on one porion and prepare a soft dough.Roll the dough in a circular motion using your palm for 2-3 mins, be gentle while rolling this dough unlike the usual roti dough.
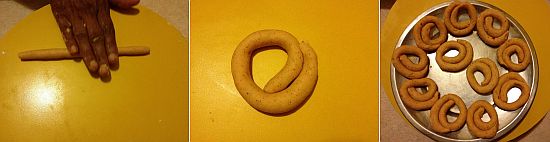
  • Prepare small lemon sized balls out of the dough and roll each ball into long thin pipe as shown in picture and join the ends to form a ring.
  • Meanwhile heat oil and keep the flame on low to medium.If you put a small ball of dough it rises to the dough immediately creating bubbles which indicates that the oil is ready for frying.
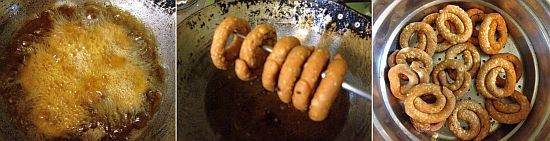
  • Gently slide few kodubales one by one into the hot oil and let them fry on low to medium flame until they turn golden brown.Only after that you can flip them to the other side and fry them again.
  • Remove them using kodubale steel rod or slotted spoon and drain them on paper towels.
  • Repeat the process with the remaining portions of the dough by mixing with water, shaping them into kodubales and deep fry them.
Let them cool completely and store them in air tight container.Serve them with a cup of chai/coffee.They can be stored for 2-3 weeks.

Notes:
  1. I have not added the coconut in kodubale that day but I highly recommend you to add it.
  2. You can even add finely chopped curry leaves while making the dough.
  3. Always knead the dough in small batches when you are making in large quantity otherwise kodubales will become soggy.
  4. Also always fry them on low-medium flame otherwise they cook faster outside and stay doughy inside when fried on high flame.
  5. Knead the dough gently as mentioned otherwise they end up breaking while rolling or deep frying.
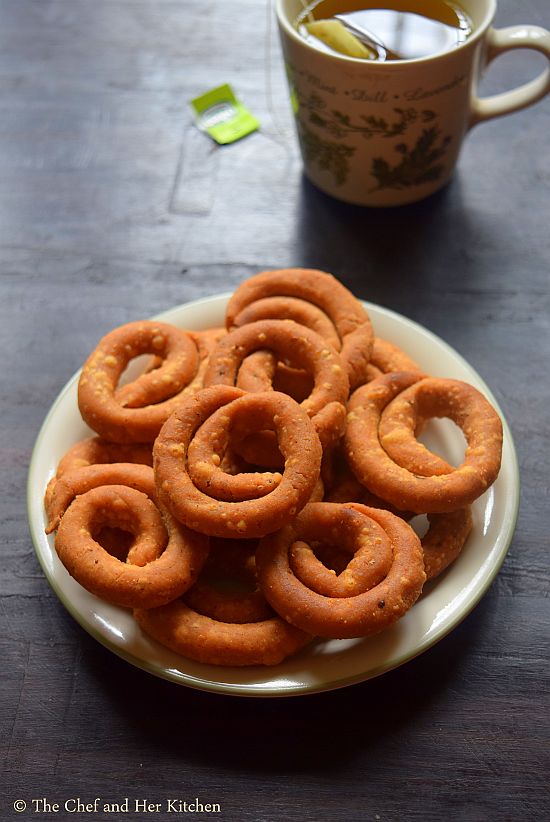
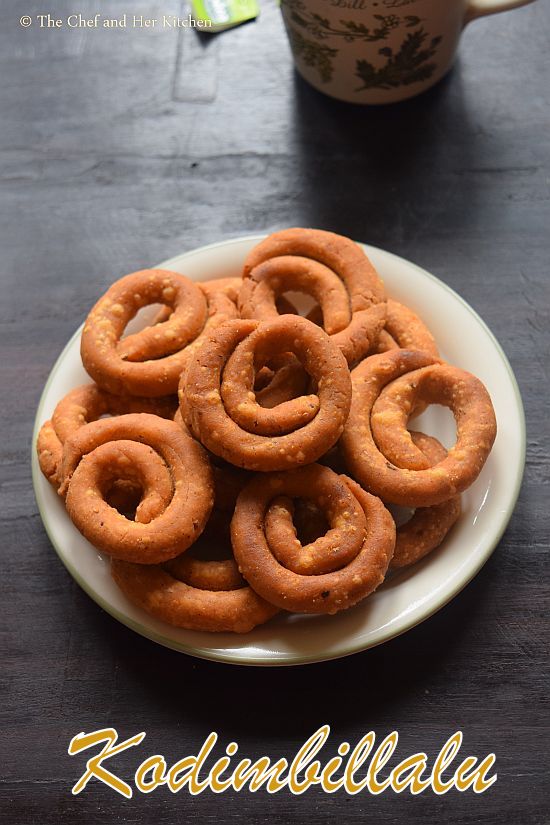
kodimbillalu

Wednesday, October 19, 2016

Nippattu Recipe | Karnataka style Nippat Recipe | Diwali Snacks Recipes

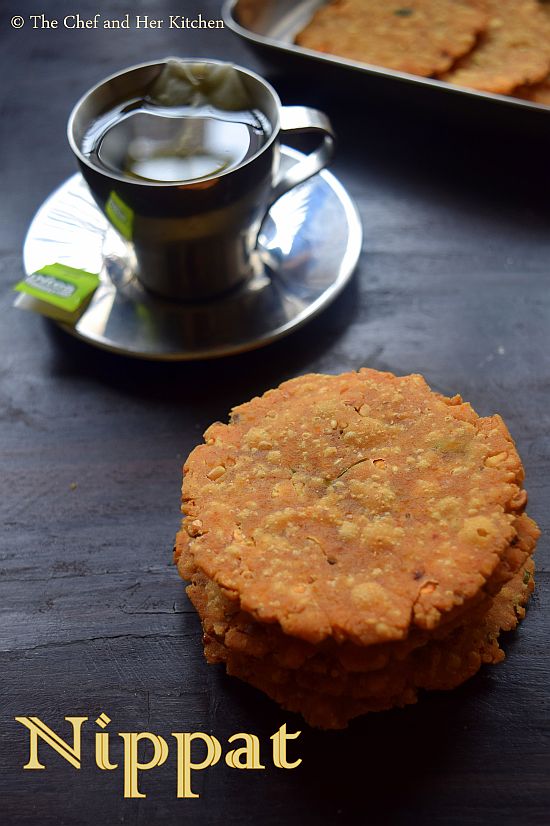
nippat
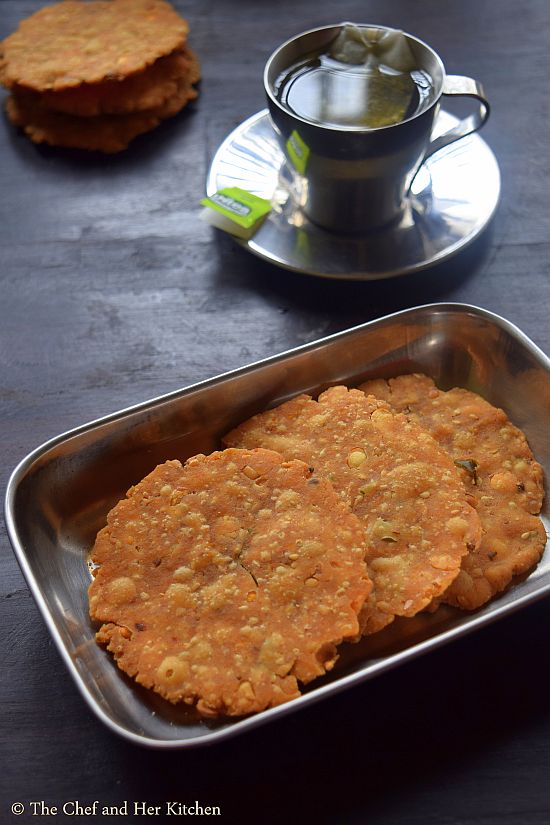
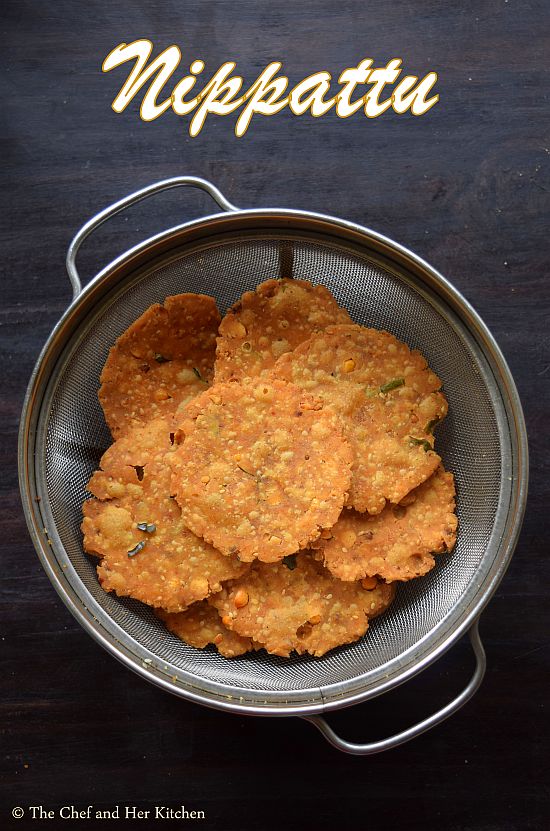
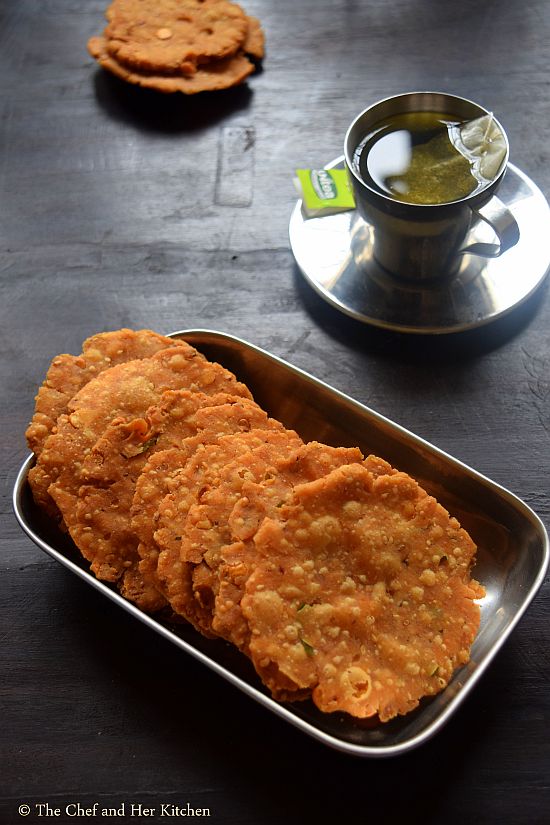
Nippattu is a popular Snack recipe from Karnataka and there are other versions of it known as Chekkalu in Andhra and Thattai in Tamilnadu.Nippattu is nothing but deep fried rice flour discs.Today I am posting a typical Bangalore style Nippattu recipe .Typically Nippat is made thicker than Chekkalu/Thattai and also the addition of peanut and roasted gram powder makes its taste quite distinct from chekkalu/thattai.Thattai/Chekkai are crunchy where as Nippattu is soft to bite and crunchy at the same time, I hope you got what I mean. Both taste good in its own way and I love both the versions absolutely.But if you ask me to pick one I would definitely go for Nippattu because of their unique taste.I must warn you that these are quite addictive.
nippattu recipe
In Bangalore and in our community weddings it is a ritual to distribute a packet of these traditional snacks while inviting the guests for wedding or any big function or even distributed at the venue to all the guests along with the return gift.Typically  a packet consists of a combination of Chakli, Nippattu or Kodubale, Thengolu or Manugupoolu snacks along with Pakam pappu/ Chikki and they are enclosed in a cover and neatly pinned with haldi kumkum packet. If it is a wedding of a close family member then the number of snacks would be in large quantity,it can be easily filled in a medium sized carton. I still remember how we used to gorge on these yummy snacks after we go back home for several weeks,simple pleasures of life!!
nippattu
Nippattu is very versatile ,it can be eaten as a snack with a cup of chai or turn it into few chaat varieties- Nippat masala and Bun nippat .We get a very popular chaat item in Bangalore called Nippat masala which is made using these nippats or tiny nippats and I love it to the core. Now off to the recipe.
nippattu
Nippattu Recipe | Karnataka style Nippat Recipe :
Yields:15-20 | Author: Prathibha
Prep time: 30 mins | Cooking time : 30 mins | Total time: 1 hr
Cuisine: South Indian | Category: Snacks

Ingredients:
3/4 cup roasted Peanuts
1 tbsp Sesame seeds
1/2 cup Roasted Gram(Putnala pappu/Hurigadale)
1 tbsp finely chopped Curry leaves
1/4 cup grated Dry coconut,optional
1.5 tsp Red chili powder
1/4 tsp Asafoetida
Salt to taste
2.5 tbsp hot Oil
Oil, to deep fry

Method:
  • Grind roasted and skinned groundnuts to a COARSE powder or crush it using a rolling pin. Keep aside 2 tbsp of roasted gram and grind the remaining roasted gram to a COARSE powder.
  • In a  large bowl add homemade rice flour, coarsely ground peanuts, coarsely ground roasted gram,sesame seeds, roasted gram, grated dry coconut, finely chopped curry leaves, salt, red chili powder and asafoetida and mix it nicely.Add HOT oil to it and mix again nicely and press the mixture tightly and cover it with a plate.
  • Leave the mixture aside for an hour.If you are in a hurry you can proceed further but it is ideal to leave the mixture aside for sometime.
  • Divide the mixture into 2-3 portions and sprinkle water to one portion and knead into a dough. Do not add more water,use little amount amount of water just to combine to a dough.Knead well.If you take a small ball and try to flatten on your palm it should crack at the ends which indicates right consistency.
  • Take a plastic sheet and smear oil over it.You can even use milk covers.
  • Mean while heat oil in a kadai over medium heat to its smoking point.
  • Take a small lemon sized ball and flatten it using your palms to a thick disc of 3" in diameter on the greased sheet.This nippattu should be slightly thicker than the regular thattai/chekkalu. Repeat the process and make 6-7 for a batch.
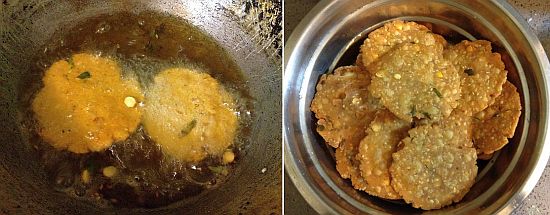
  • Drop them carefully one by one from sides of the kadai taking care that they don't get fold while dropping into oil and fry them and turn them to the other side and fry until golden brown in color.Always fry in medium hot oil otherwise low heat will result in very hard nippattu and high heat will result in soft nippattu.It is always better to taste in between to check whether you are getting the right crispiness or not.
  • Drain them on kitchen napkins to remove excess oil.When you fry them they would have light golden color which turns out deep dark brown in color after they become cool and they also become more crunchy afterwards.
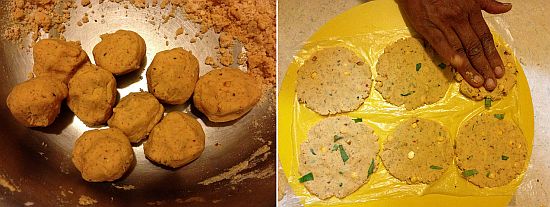
  • Cool them and store them in air tight container.
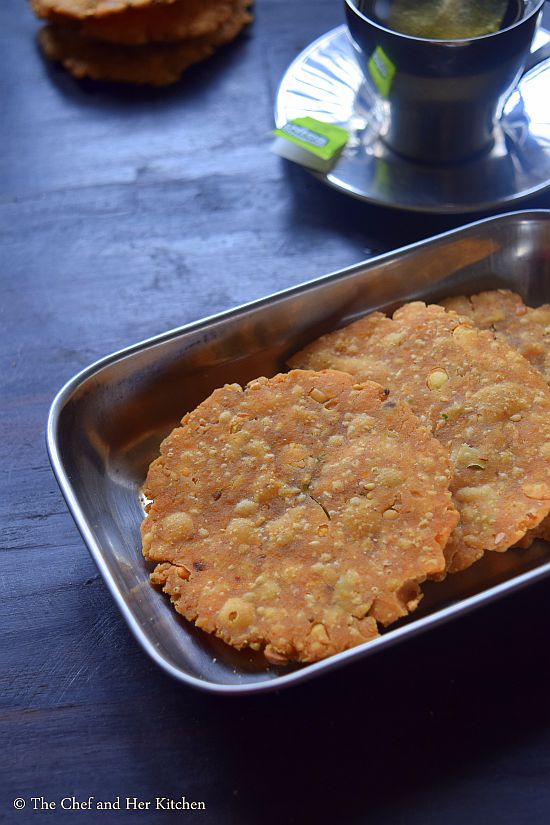
Serve as a evening snack with a cup of tea.

Notes:
  1. Always use freshly ground rice flour(washed,dried and milled) instead of the one available in grocery stores for good and crispy Nippattu.Rice flour quality is the key factor for the taste and texture.If the rice flour is very finely ground(like what we get in grocery stores) it will result in hard chekkalu,if it is mill ground with a slight coarse texture they yield good crackers.
  2. You can double the recipe and adjust the other seasonings as required.The spice level is according to your wish and also add the roasted gram proportionately.
  3. If you are making in a larger portion,once all the ingredients are mixed well add water to only some portion and make the batch and then add water to the remaining batch.It is very important to do it in small batches else the dough becomes soggy and not gives crispy nippattu.
  4. For a different flavor, you can add finely chopped coriander leaves to the dough.
nippattu recipe
Technorati Tags:

Thursday, October 13, 2016

Benne Murukku | Butter Murukku Recipe | Easy Diwali Snacks

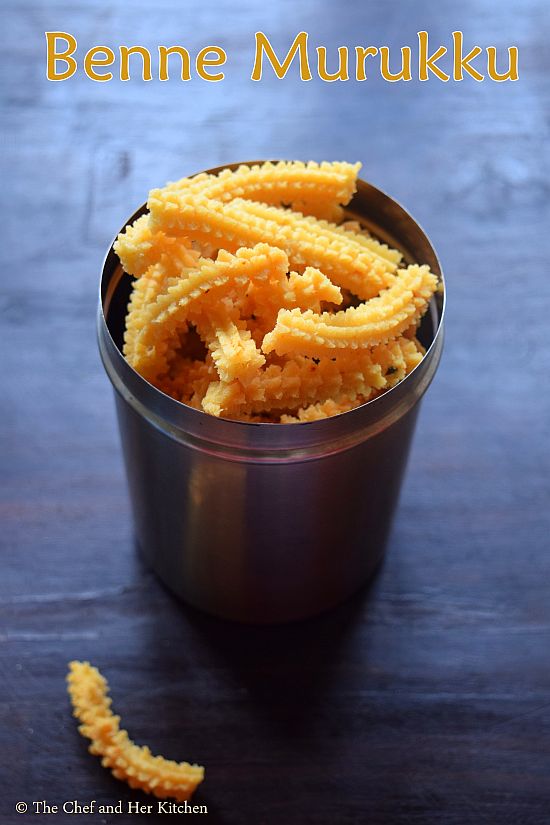
benne murukku
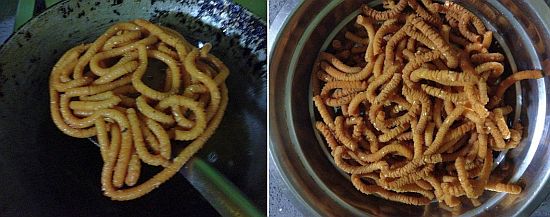
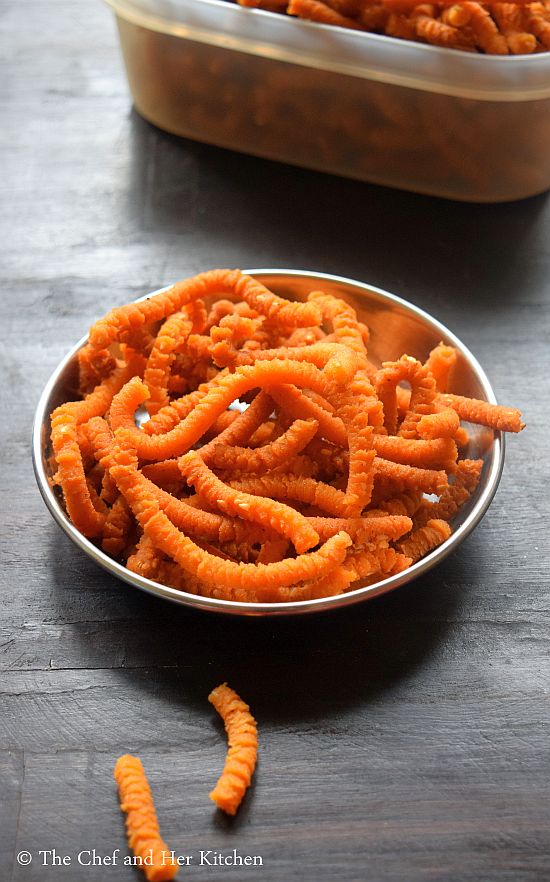
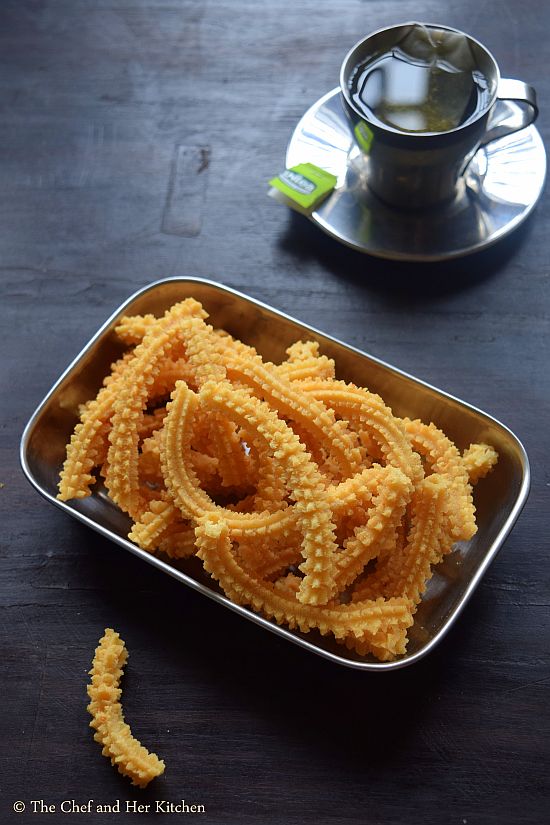
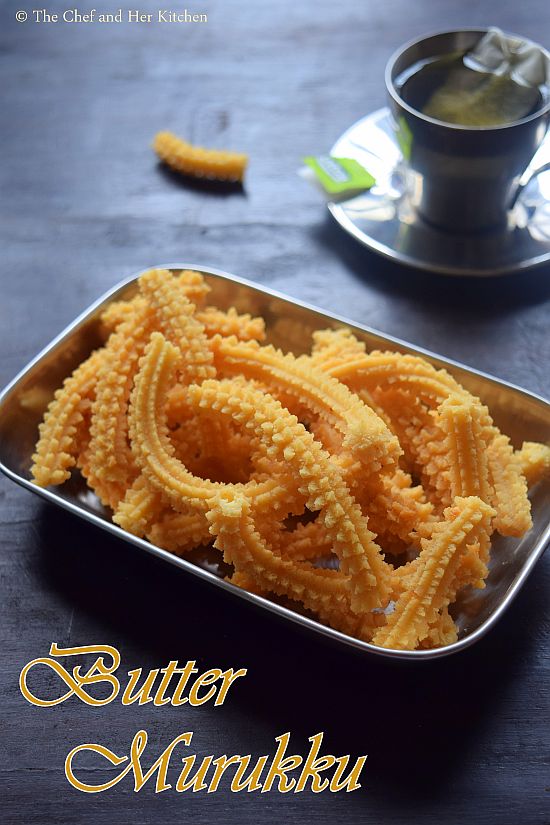
Benne Murukku, Butter Murukku, Vennai Murukku or Venna Murukulu is a famous South Indian Murukku recipe which is prepared in most of the South Indian States. Benne Murukku is a very famous snack in Karnataka and is available in most of the shops.When ever I go to Bengaluru it is a must for me to carry back this Murukku along with various other goodies like Sago Murukku, Chakli,Nippattu,Kodubale and various sweets.This Murukku has a nice buttery taste, they are crispy but soft to bite. Butter Murukku looks slightly big compared to the other murukkus as we use a single star disc which is big.This murukku is quite addictive and I bet that you will not stop with a small plate of Murukkus.
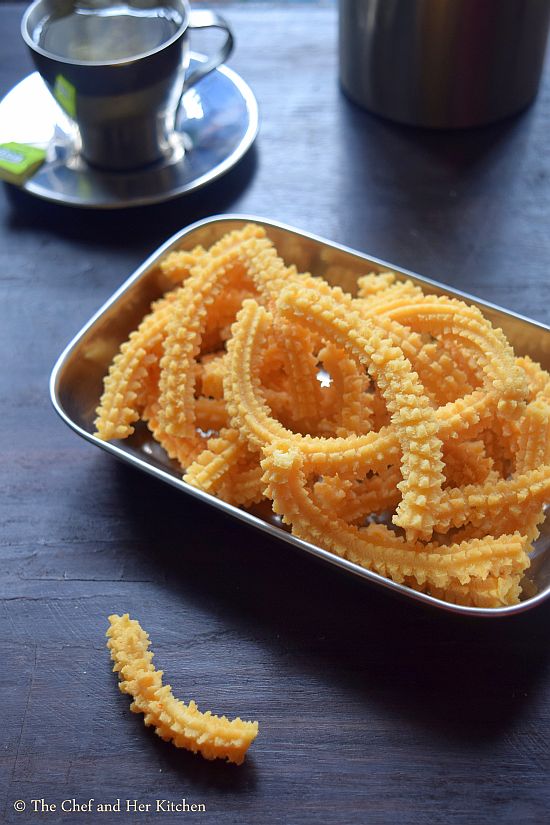
butter murukku
It is ideal to prepare for your Diwali or Holi or Janmasthami celebrations or simply for your evening snack . It is a perfect snack with a cup of hot chai or coffee.I have tried my level best to include various tips in my notes section which help you in making perfect butter murukkus.If you are interested you can check out other Murukku recipes here.
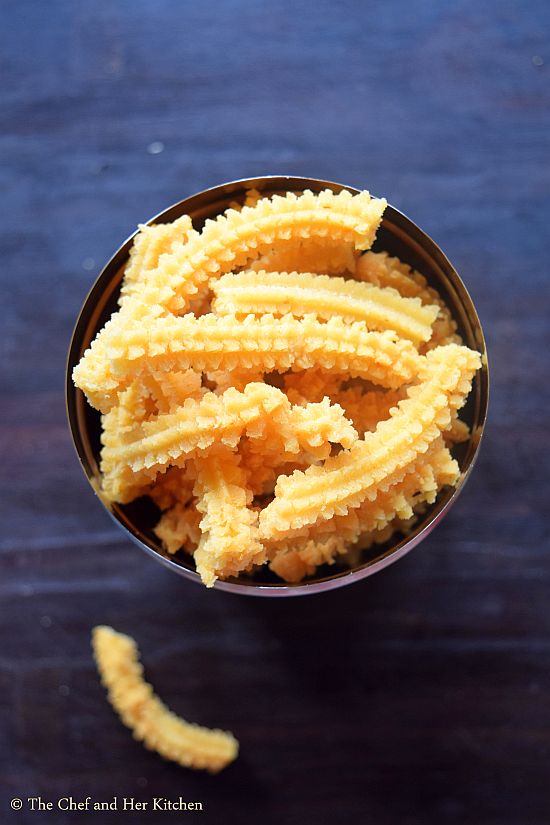
butter murukku
Benne Murukku | Butter Murukku Recipe:
Shelf life: 2 weeks | Author: Prathibha
Prep time: 10 mins | Cooking time: 30 mins | Total time: 40 mins
Cuisine: South Indian | Category: Snacks 

Ingredients:
3-4 tbsp Roasted Gram flour(Putnala pappu)
3 tbsp Besan(Bengal gram flour)
1 1/2 tbsp Butter(white/salted)
2 tsp Sesame seeds(or Cumin seeds)
a fat pinch of Aafoetida
Salt to taste,1 heaped tsp roughly
Oil,for deep frying

Method:
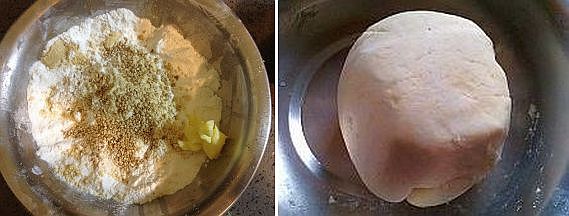
  • Sieve Rice flour,besan and roasted gram powder together and put the mixture in a large bowl.
  • Add salt, asafoetida,sesame seeds(or jeera),butter to the flour and mix well until the butter is mixed nicely.
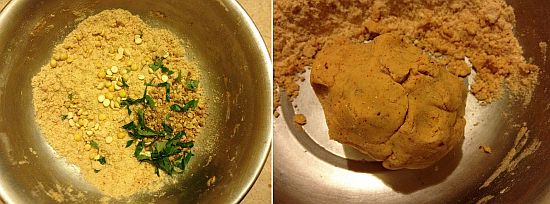
  • Divide the mixture into 2 or 3 parts.Add water little by little to one portion and prepare a thick dough, the dough should be soft to press but little tight to touch.You can mix  the whole dough and keep it covered always with a damp muslin cloth otherwise and take required portion each time.
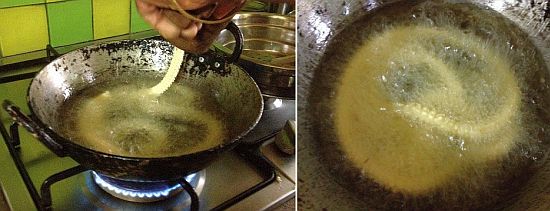
  • Meanwhile heat oil in a kadai.Check if the oil is hot enough by putting a small ball of dough and if the dough raises to the top it means that the oil is ready for frying, keep it on medium flame.
  • Use a big single star disc in a greased murukku maker and fill the murukku maker with a portion of dough and squeeze murukkus directly in the hot oil.Do not overcrowd the pan.
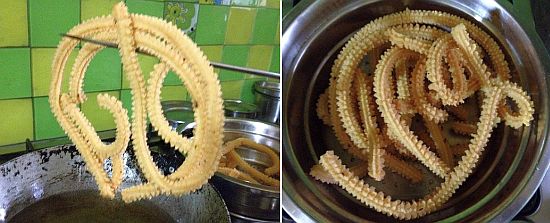
  • Fry them over medium flame till they turn light golden in color and crisp.Turn them in between and once the bubbles subside in the oil it indicates that the murukkus are cooked, you can remove them using a slotted spoon or a steel stick and drain them to remove excess oil.
  • Once it is cooled you can break them slightly to long pieces and store them in air tight container.
Serve it with a cup of chai or coffee.

Notes:
  1. If you are making in large batches always divide the dough before adding water and do it in batches which helps in getting perfect murukku or else you can make the whole dough and keep it covered to avoid drying of the dough.
  2. You can skip besan and add replace it with more roasted gram powder in the recipe.
  3. Do not clutter the kadai with murukku, press in small batches else it will consume lot of oil.
  4. The murukkus will be slightly darker after they are fried and turns bit on the whiter side the next day.
  5. Do not add more butter than mentioned, else the murukkus become brittle and consume more oil too.
  6. You can even use 3 star disc but single star is ideal for making butter murukku.
butter murukku

 
back to top