Vegetables


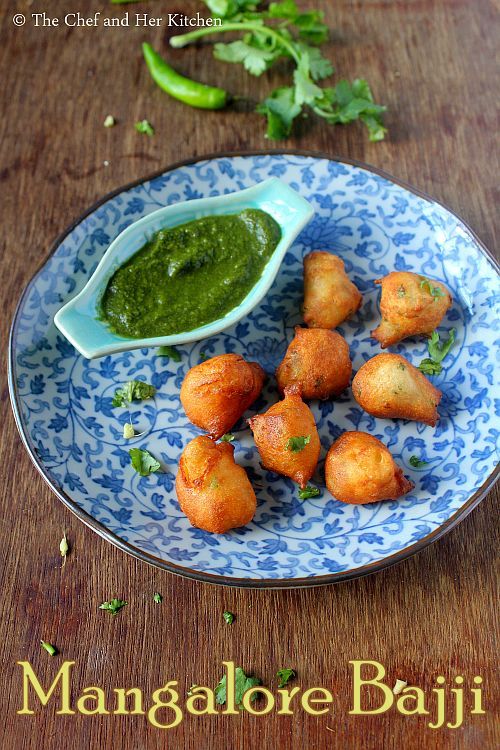
When we had gone for a family trip to a few places in Karnataka, I finally got a chance to taste authentic Mangalorean dishes for the first time. I have posted few recipes - Mangalore Buns and Bonda Juice recipes which I posted long back, even those recipes were inspired from my Mangalore trip.Though Mangalore cuisine is predominantly non-vegetarian, it has various breakfast and snack options which tastes really good and I am kind of addicted to them. Few of my personal favorites from Mangalore are Goli Baje, Mangalore Buns, Neer Dosa, Churmuri, Kadubu, Bonda Juice to name a few.
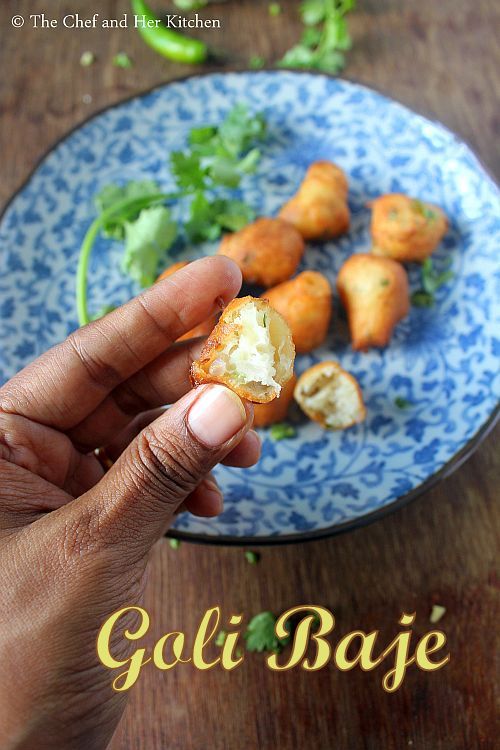
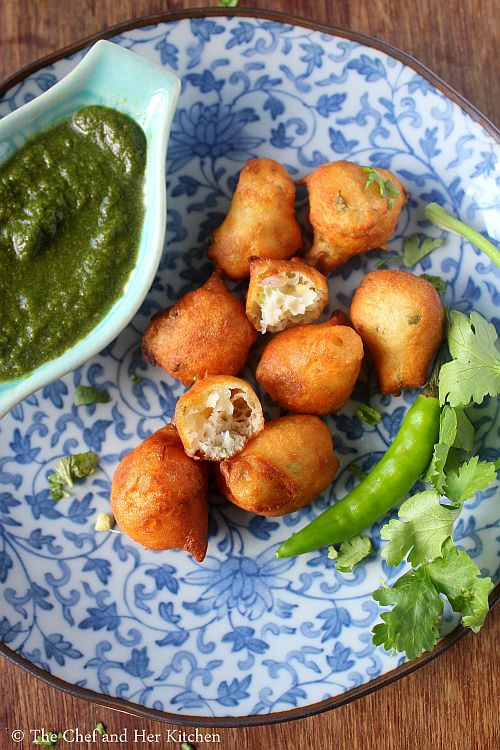 Mangalore Bonda is a very simple Bonda recipe with no grinding required and is made out of maida and sour curd as main ingredients unlike the regular bondas made out of rice batter or besan.The preparation process is very simple and quick to make just that you need to rest the batter for enough time,it gives a nice distinct taste and also helps in puffing up in the oil nicely. They can be served in Breakfast or as a snack. In hotels for breakfast it is usually served in the size of small oranges and at home it is usually prepared like small fritters in the size of amlas.You do not need to do any shaping, you can drop a spoonful of batter in the hot oil.If the batter has a right consistency, the moment you put the batter in the hot oil it puffs up nicely and forms like a ball.
Check out other bonda and bajji snacks recipes in my blog:
- Oats Pakora
- Babycorn Pakora
- Cabbage Pakora
- Aratikaya(Raw Banana) Bajji
- Onion Pakoda/Crispy Onion Fritters
- Pesara Punukulu | Green Moong Fritters
- Punugulu/Dosa Batter Fritters
- Saggubiyyam Bonda/Sago Bonda
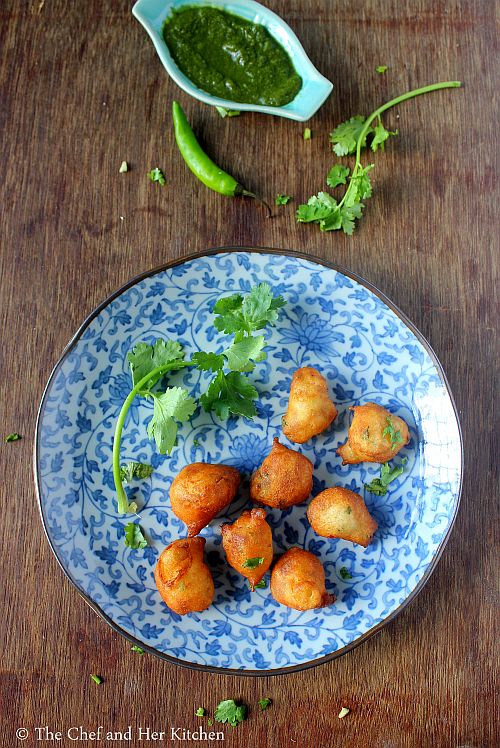
Here is how to make Goli baje with step by step photos:
Goli Baje | Mangalore Bonda Recipe:
Serves 2-3 | Author: Prathibha
Prep time: 5 mins | Cooking time: 15 mins | Total time: 20 mins + fermentation time
Cuisine: Mangalorean | Category: Snacks
Ingredients:
1 cup All purpose flour/Maida
1 tbsp Rice flour
1 tbsp Rice flour
1/2 - 2/3 cup Sour curd,more if needed
2-3 Green chilies, finely chopped
2 tbsp finely chopped Coriander leaves
1 tbsp finely chopped Curry leaves
1.5 tsp finely chopped Ginger
2-3 tbsp finely chopped Onions,optional
1 tbsp finely chopped Coconut pieces,optional
1/4 tsp Cooking soda
Salt to taste
Oil,to deep fry
Method:
- Mix the flour and rice flour with sour curd and salt and mix it nicely to a smooth thick batter of dropping consistency, it should not be either very loose or very hard and should be slightly thicker than the idli batter consistency but not hard like chapathi dough,add sour curd if required.

- Cover it and let it ferment for 3-4 hours.
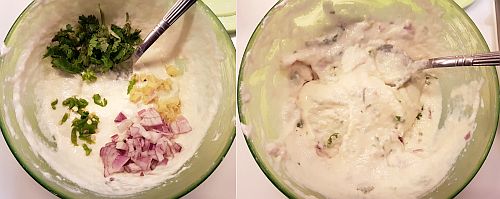
- Add chopped green chilies,coriander leaves, curry leaves,ginger,coconut pieces and onions and mix it nicely.
- Heat oil in a thick kadai .
- Now mix in the cooking soda to the batter and mix it nicely.
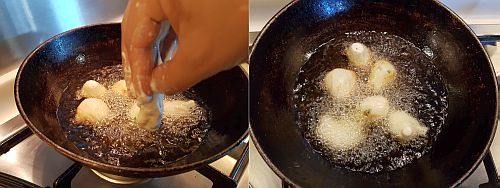
- Wet your fingers and drop in small amla sized portions of the batter in the oil , add 6-7 per batch at a time and do not over crowd the pan.Wet your hands every time you drop in the batter for uniformly looking round fritters.You can even make big lemon sized balls if you are preparing for breakfast and in that case do not add more than 2-3 at a time.
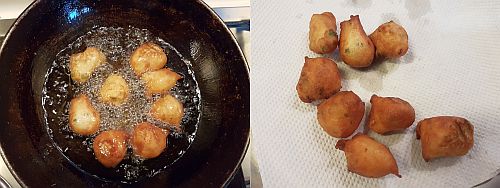
- Fry them until they turn golden brown in color on medium flame.
Serve them hot with Coconut chutney.It is better to eat them hot else they will turn chewy.
Notes:
- Use only sour curd for the recipe as it gives unique taste to the bajjis.
- Fermentation process is also very important for soft,fluffy bajji else they would come hard.
- I did not have coconut pieces at that time, but they add nice bites to the bajjis. I like to add onions for my fritters,but you can avoid it completely.
- Add soda to the batter just before making them.
- The addition of rice flour adds a nice crispyness to the fritters, you can avoid it if you do not have it.