Monday, November 12, 2012

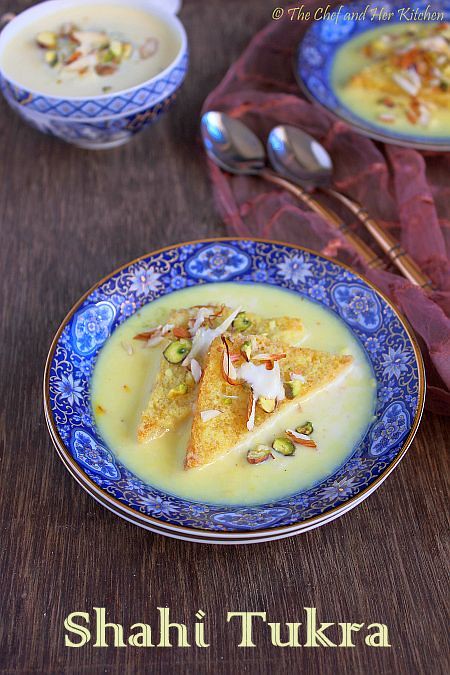
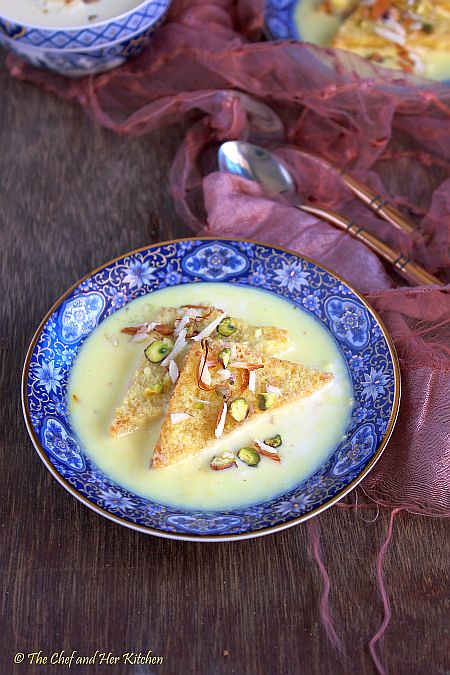
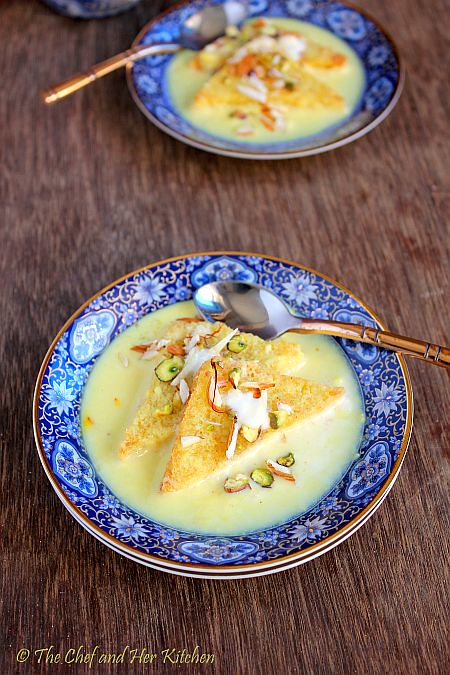
Shahi Tukra | Shahi Tukda | Easy Indian Desserts

I wish a very HAPPY & COLORFUL DIWALI to all my readers,friends and family!!

I hope everyone is busy with the Diwali Celebrations and so am I.I hope you all liked my Diwali sweets and snacks posts which I did for the last couple of weeks and to end the Diwali celebrations in my blog I have chosen a finale dessert 'Shahi Tukda' and I hope you like it.This dessert is even apt for your Diwali Dinner party,so make this dessert for your Diwali party and be ready to receive various complements from your guests.
Few recipes fit for the Kings and this recipe is one among them which belongs to Nawabi Cooking Category. Shahi Tukda is one of the rich desserts which is famous in North India and is a closer cousin to the famous 'Double ka Meetha' of Hyderabad.Many get confused that 'Shahi Tukda' and 'Double ka Meetha' are same,I would say that they are similar as the ingredients that go in both the recipes are almost same but the way they are prepared and served is bit different.I will post my recipe for Double ka Meetha sometime later.
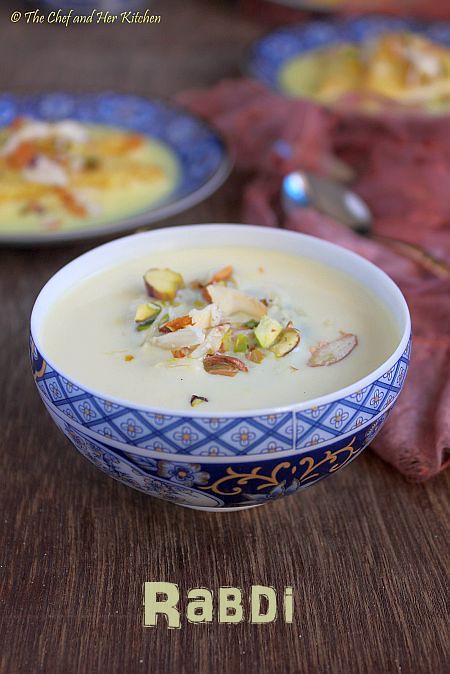
Here are the few differences between both the desserts.The deep fried bread slices are served with rabdi in Shahi Tukra where as in Double ka Meetha the deep fried bread sliced are cooked in the sugar syrup and mawa(or thickened milk) and is turned to a slightly chunky halwa consistency.Hence the texture and taste of both the sweets definitely vary.How ever this is my perception and understanding of these desserts,if you know more about them I am all ears to hear your thoughts about this.
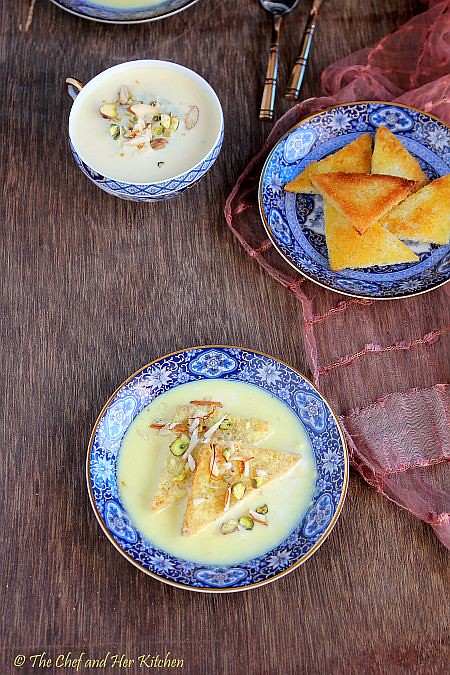
I usually do not opt for rich desserts as we both do not prefer much of fatty foods on regular basis.These kind of desserts are usually prepared on some special occasions or for parties.It is not only a calorie loaded dessert,it is bit time consuming with the preparation of rabdi.However I have given few easy options and also low fat alternatives in my notes.It is left to your choice,you can opt the low fat version or the traditional rich and sinful version.
Shahi Tukra | Shahi Tukda Recipe:
(Serves 4-5)

Ingredients:
5-6 white Bread slices(a day old)
1 litre full fat Milk
1/3 cup Sugar
5-6 Saffron strands
1/4 tsp Cardamom powder
Ghee,to fry

for sugar syrup:
1/2 cup Sugar
2-3 tbsp water

to garnish:
8-10 Pistachios ,sliced
6-8 Almonds,sliced
3-4 tbsp fresh Malai/Cream(optional)
few Saffron strands
Method:
to make rabdi:
  • Boil full fat milk over low flame stirring occasionally to remove the cream layer formed on top and sides and mix in the milk and boil until it reaches 1/3rd of the consistency.This would become thick like rabdi.You can use non-stick or regular kadai for this process.
  • Meanwhile soak few saffron strands in a tbsp of hot milk.Rub the saffron strand in between your fingers before adding to the milk.
  • Add sugar,saffron infused milk and boil until the sugar melts.Check the sweetness and if you feel it is less you can add a couple of tea spoons of sugar at this stage.
  • Add cardamom powder and switch off the flame.
to make sugar syrup:
  • Heat sugar and water together in a vessel and heat until it comes to syrupy consistency.Keep it ready.While few recipes call for the sugar syrup to dip the bread slices,I will say it is optional.You can dip the fried bread slices in sugar syrup or/and you can serve them with rabdi.
to make the bread slices:
  • Cut the edges of bread and cut each bread into four triangles.Keep all the bread slices ready.
  • option-1 : Heat ghee in a kadai and once it is hot deep fry the bread slices until they turn light golden in color.Add bread only when the melted ghee is hot,otherwise it will soak up lots of ghee.
  • option-2 : Heat a wide pan add 1-2 tbsp of ghee and place the cut bread slices and roast until brown on one side and add few more tbsp of ghee and roast on the other side until golden in color.
  • Remove the roasted bread slices and drop them in sugar syrup for few seconds and let the syrup coats on both sides of the bread slices and keep them aside.Do not dip for long time.
to serve shahi tukra:
  • Pour some rabdi in the bottom of the serving plate.
  • Dip the sugar syrup dunked bread slices in the rabdi and place them in a serving plate.
  • Pour some rabdi on top of the slices.
  • Dot it with some malai on top.
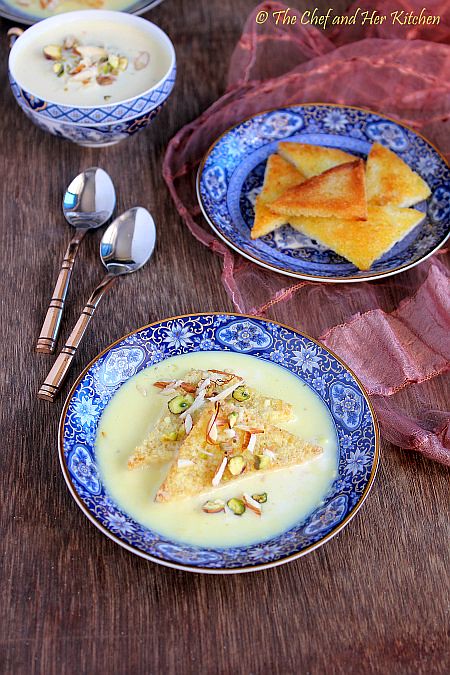
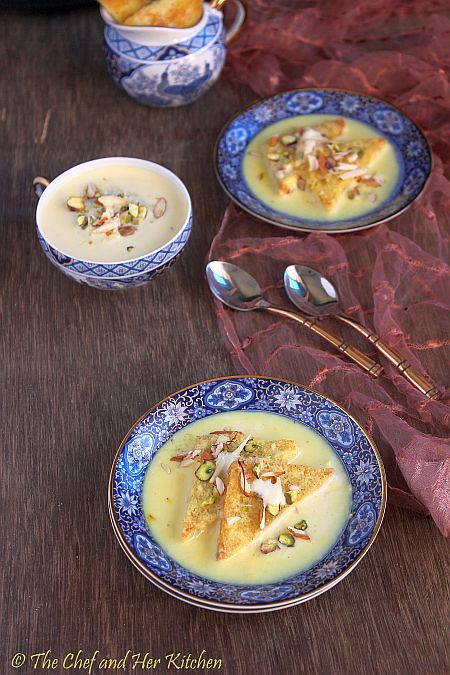
  • Garnish with sliced pistachios,almonds and saffron strands.
Serve it warm or at room temperature.You can even serve warm bread slices with cold rabdi.It is according to your wish.
 Notes:
  1. You can add 2-3 tbsp of mawa/khoya or condensed milk to the boiling rabdi to make it rich.It is optional though and also adjust the sugar quantity accordingly if you are adding condensed milk.
  2. While few recipes call for the sugar syrup to dip the bread slices,I will say it is optional.You can dip the fried bread slices in sugar syrup or/and you can serve them with rabdi.
  3. I always prefer ghee to fry the bread slices-you can either deep fry or shallow fry according to your wish.I do not suggest to fry bread slices in oil as it spoils the taste of the dessert.If you are calorie conscious you can roast the bread slices on tawa using ghee to roast them until golden brown.
  4. Always use a day old bread for the recipe,if we use fresh bread it soaks up lot of fat.
  5. You can use white bread or brown bread in the recipe.
  6. Always cut the edges and you can use any fancy shaped cookie cutter and can cut the bread into various shapes according to your choice.
  7. You can keep the deep fried bread slices in a dry storage container for up to half a day.They stay crisp.
  8. Rabdi can be prepared a day ahead and can be refrigerated for 2 days.
  9. You can even garnish with silver leaf(edible silver foil) on top before serving.
For low fat and quick version:
  1. Use low fat milk instead of full cream milk in the recipe.
  2. I usually thicken the milk by stirring it continuously and is the most traditional method.If you are pressed for time you can add 1/4 cup of fresh bread crumbs to the milk to make quick rabdi following the same process.Adjust sugar accordingly.
  3. You can roast the bread slices on tawa using ghee to roast them until golden brown instead of deep frying them.
If you have not decided what to make for Diwali,check out my list of  DIWALI SWEETS RECIPES and DIWALI SNACKS RECIPES for some easy and quick options.
Have a Happy and Safe Diwali.Would catch you all soon with yummy recipes.

Friday, November 9, 2012

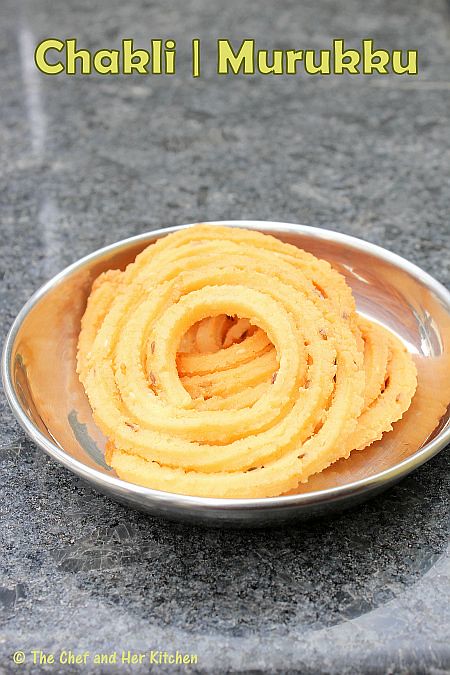
Easy Chakli Recipe | Mullu Murukku | Diwali Recipes

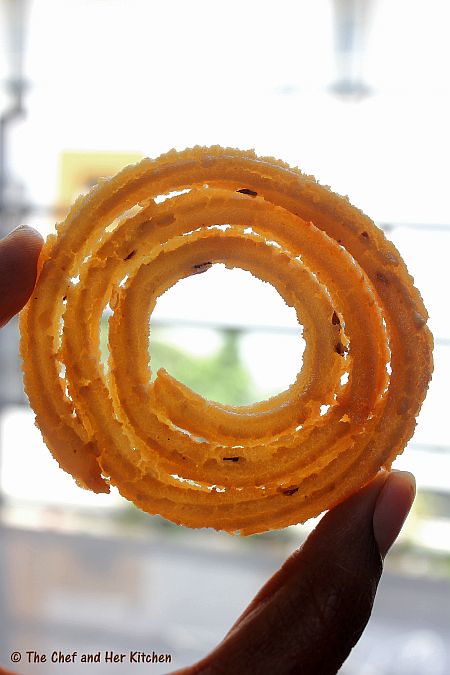
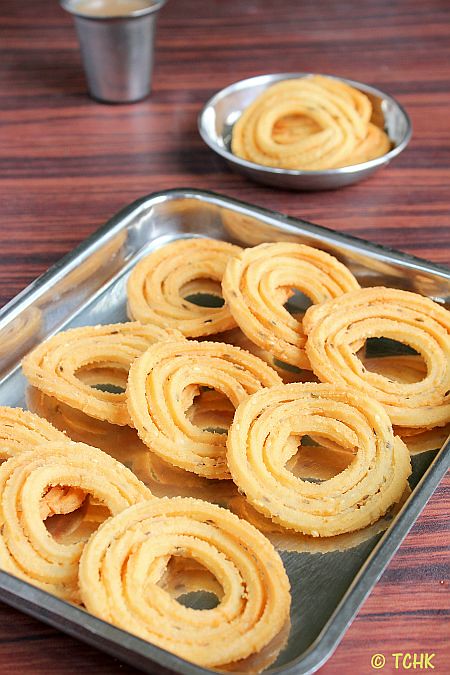
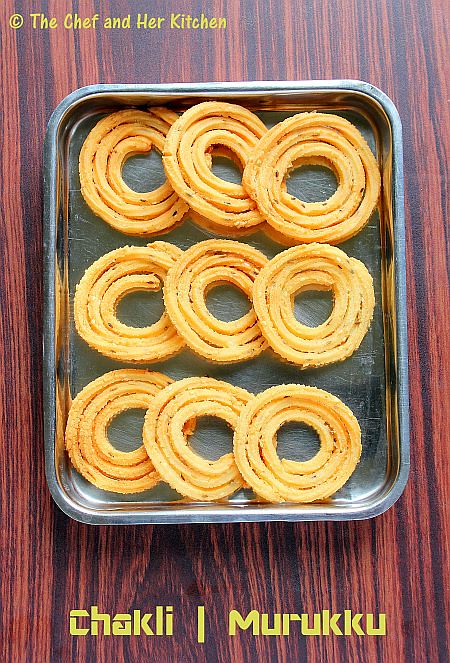
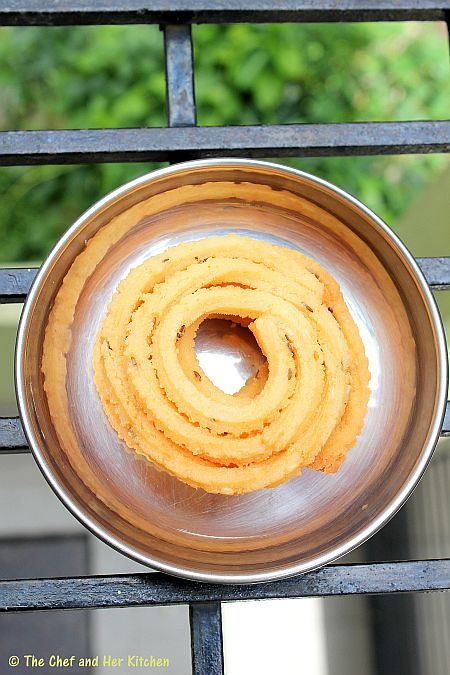
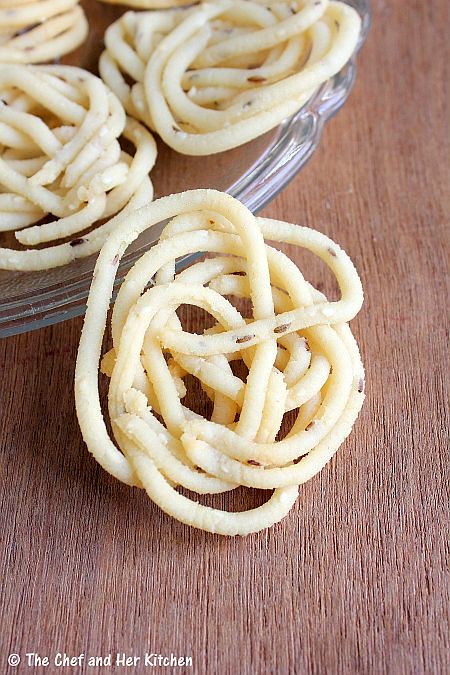
I have already posted two kinds of murukkus- Manugupoolu and Thenkuzhal Murukku recipes for this year Diwali.Today I am posting an easy version of Chakli(Murukku) which we(me and my mom) prepared along with the other goodies which I mentioned in this post.However all the murukku recipe ingredients look similar but a small variation in the method makes them completely different,so always better to check the recipe in detail before proceeding to make it.
Usually Chaklis are made with urad dal flour while few recipes call for urad dal flour and few use cooked urad dal paste.I would post the traditional Kai murukku(Chakli) recipe some time later.The chaklis that I am posting today would not be in white color like the ones which are made with urad dal,they turn slightly brown because of the addition of chickpea flour and roasted gram powder.this recipe works well with either roasted gram powder or chickpea flour.
 
I hope you all enjoyed my Diwali recipes like I did.I must mention a special thanks to my mom for making this happen,otherwise I don't think I could have ever imagined to post all these traditional recipes in my blog that soon.I bow to all my fellow bloggers who are able to manage to prepare and post all the festival goodies all alone.Let us get into this simple chakli recipe.

Easy Chakli | Mullu Murukku  Recipe:
Shelf life:up to 2 weeks

Ingredients:
1/2 cup Bengal gram flour(Besan) or 1/2 cup Roasted gram powder*
1 tbsp Roasted gram powder*
2 tbsp white butter(I used Amul)
1 tsp Cumin seeds(or 1 tbsp Sesame seeds)
1 1/2 tsp Salt
Oil,for deep frying
Method:
  • Mix rice flour,bengal gram flour and roasted gram flour together and sieve.
  • Mix salt,cumin seeds,melted butter to the flour and mix well.
  • Divide the flour into 2-3 parts equally.
  • Mean while heat oil in the kadai for deep frying. 
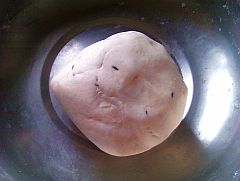
  • Sprinkle water to one part and prepare a thick dough.
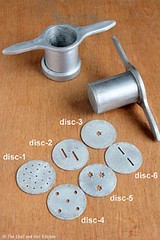
  • Use a single star disc(disc no-3 in the above pic) in a greased murukku maker and press the murukku slowly in circular motion to form a nice spiral like a chakli on a greased plastic sheet or on back of ladles.
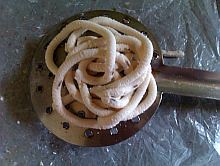
  • Slide them gently into hot oil and fry them over Medium-High flame until the bubbles vanish in the oil.
  • Drain on to a colander to remove excess oil.
  • Repeat the same process with all the dough.
  • Let the murukkus come to room temperature and store them in air tight container.
You can serve them along with tea or munch when ever you want..I love to eat this with mango thokku which is a sweet and spicy pickle.
* Roasted gram powder: Grind Chutney dal(fried gram/roasted chana dal) in a mixie to a fine powder and use it in the recipe.

Notes:
  1. Always use the processed rice flour for the murukku,ready rice flour is not suggested to make these kind of  murukkus.
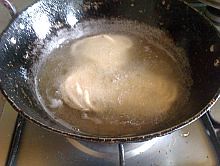
  2. If the murukku turns very hard to bite,it means the amount of hot oil you added to the dough is not enough.Add 1-2 tbsp more and make the next batch.
  3. I used Roasted gram powder in the recipe,you can use either besan or roasted gram powder.Both works for this recipe.
  4. If your murukku is hard it means the amount of fat(oil) is not enough in the dough.
  5. If the murukku turns very oily it indicates that the amount of fat(oil) you added in the recipe is more.These are the indicative points which you should remember.as we do it in batched you can always rectify these mistakes in the next batch.
  6. You can avoid cumin seeds in the recipe and make plain murukku as well.
  7. These murukkus will be slightly in reddish color.
  8. You can add 2 tsp Red chili powder while mixing the dough to make spicy chakli/murukku.
 

Also check out the wide collection of Diwali Sweets Recipes and Payasam/Kheer Varieties.

Thursday, November 8, 2012

Kobbari Boorelu | Kobbari Vadalu | Deepavali Recipes

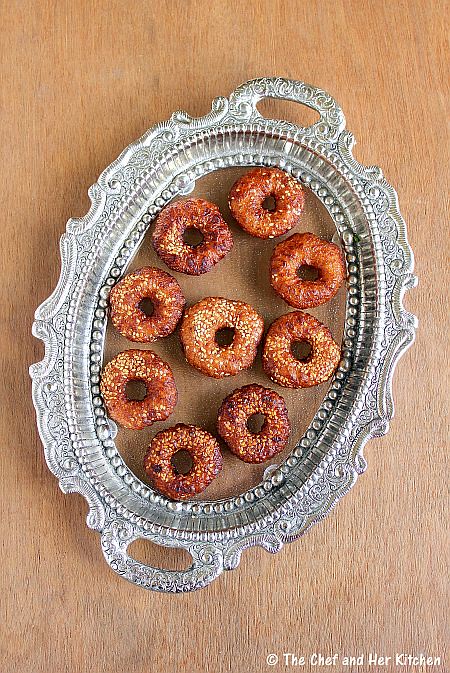
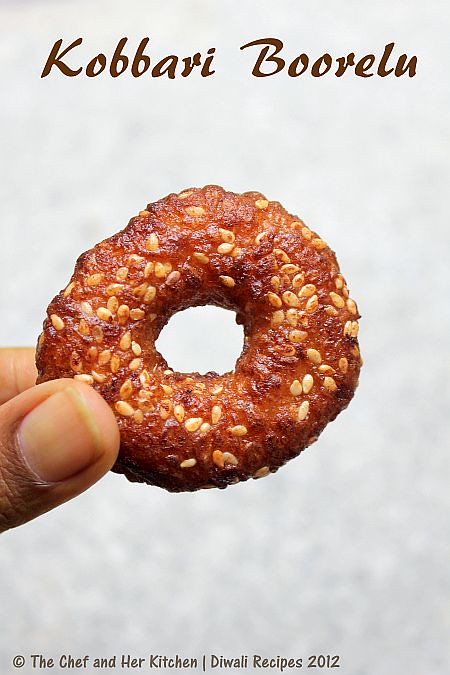
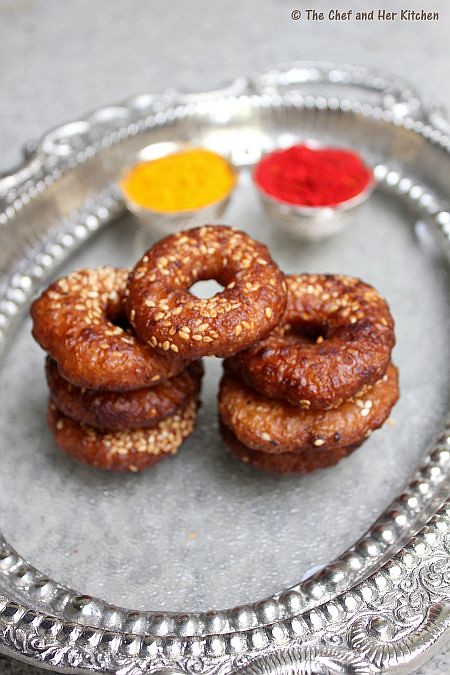
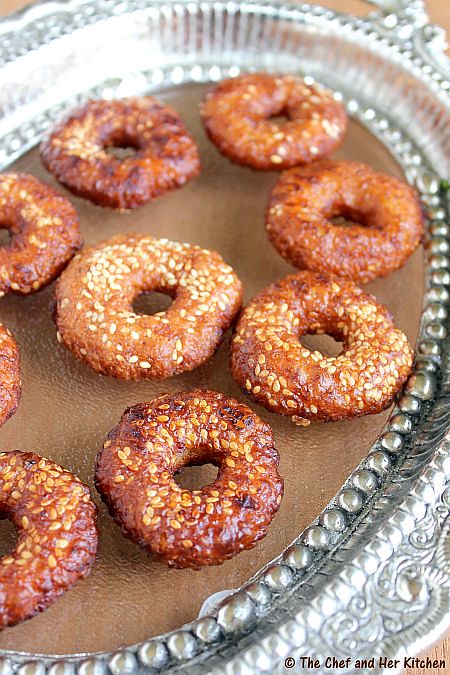
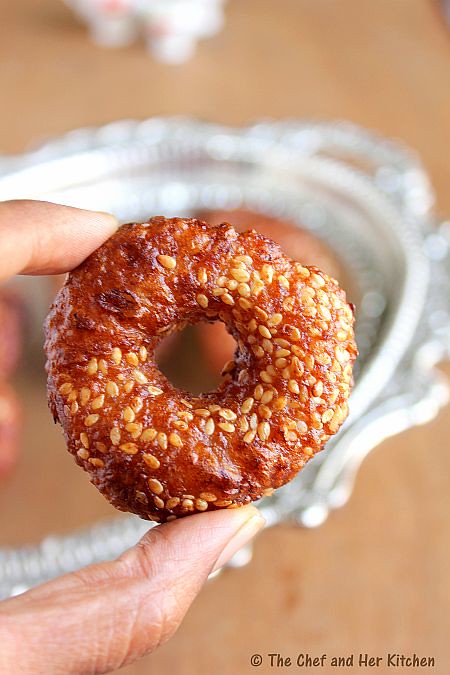
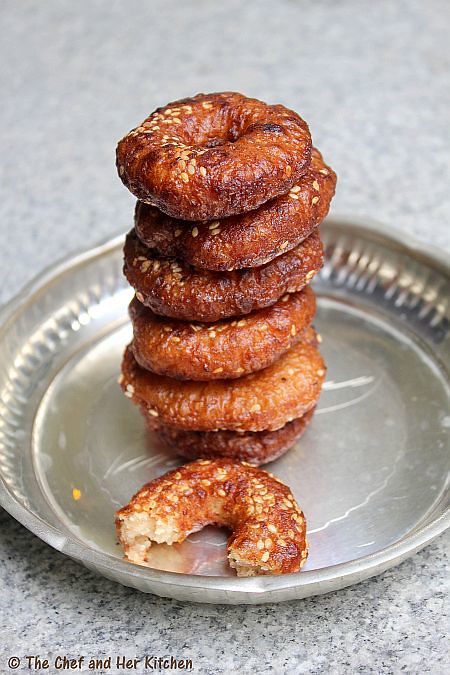
I am sure many of you might not be familiar with this sweet called 'Kobbari boorelu'  or 'Kobbari Vadalu' which are prepared only in Andhra and few places of Karnataka.Also do not get confused with the name boorelu and do not assume the dal based boorelu,these are different.When ever my mom prepares Ariselu(or Adhirasam) she also prepares Kobbari boorelu along with them.As she does not eat jaggery(yes you read it correct,she does not eat jaggery at all and that's my mom..;) ) she always makes one variety among those to make with sugar and as she loves Kobbari boorelu she always ends up making kobbari boorelu with sugar and Ariselu with jaggery.However we get to eat both the varieties. When you see them looks wise they are very much similar to ariselu(or adhirasam) and in fact even the preparation process is similar but the difference comes in the addition of fresh coconut in this recipe.Coconut not only makes the boorelu soft it also gives a nice bite when you eat them and I must say they are very very tasty.
 
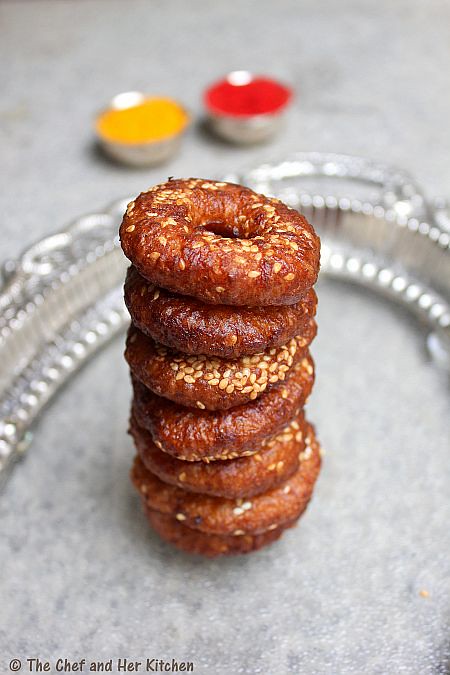
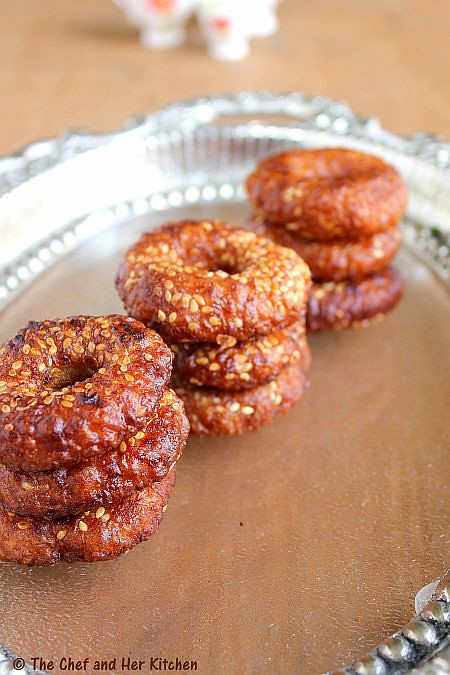
Let me point out all the differences between those two varieties to avoid the confusion.The main difference between the both ariselu(Adhirasam) and boorelu is the addition of coconut which definitely changes the taste and texture of them.The dough consistency for both of them is different which gives a drastic change in texture.Kobbari boorelu are very soft when compared to ariselu.Also the shape of boorelu would be like medu wada and the ariselu would be flat discs.Boorelu are not pressed like ariselu after they are fried and hence boorelu are soft,slighly spongy.Some prepare boorelu like flat discs like ariselu but we always prepare in the shape of vada and hence we usually call it kobbari vadalu but in Andhra it is called Boorelu.I have included few more differences in their preparation methods so please have a look at my notes.
When I posted Ariselu last week many mentioned that the addition of sesame seeds over the top is new to them.Yes it is true and the reason why we add them over the top is it not gives a nice look to ariselu but also adds to the taste with the extra bite of sesame seeds and so is the case with kobbari boorelu too.
Kobbari Burelu(Boorelu) | Kobbari Vadalu Recipe:
Shelf life:up to 2 weeks

Ingredients:
2 1/2 cups(1/2 kg) Rice
1 3/4 cups grated fresh Coconut
2 cups(approx 400 gms) grated Jaggery
1/2 tsp Cardamom powder
1/3 cup white Sesame seeds
2 tbsp Ghee
Oil,for deep frying


Method:

to make rice flour: 

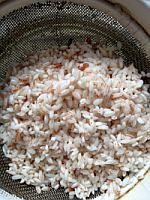
  • Soak rice in water overnight.My mom uses a slight red colored variety of rice for this,she says it tastes the best but you can use regular white rice variety too. 
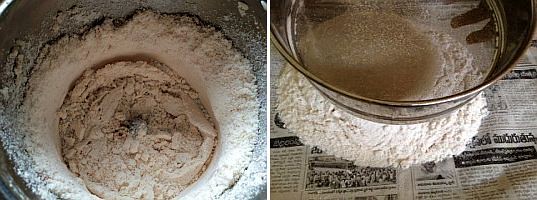
  • option-1:Drain the water through a colander.Dry under the shade by spreading on a clean dry cloth.Once it is three-fourth dried(it should not dry completely),you need to send it to mill to get it powdered.Sieve it well
  • option-2:Drain the water through a colander and leave it for 10-15 minutes.Grind half the portion to a powder in the mixie and do the same with the remaining half.Sieve it well.
  • option-3:Drain the water through a colander.Immediately pound it using the typical stone grinder using the pestle,this is the most traditional method.Sieve it well.
  • I followed the option-2  as it is very convenient to make the quantity for a small family.
to make Boorelu:
  • Grate jaggery and keep it aside.
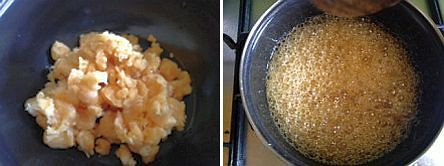
  • Take a heavy bottomed thick kadai and add grated jaggery and 1/4 cup of water and let it melt completely.Strain through a fine strainer to remove the mud and dirt from it.
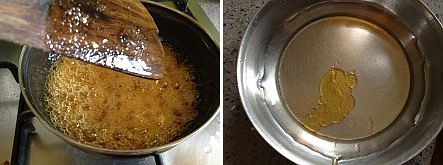
  • Now pour it back to the cleaned kadai and boil the jaggery syrup until it reaches the SOFT BALL consistency.In order to test the consistency of soft ball - put little syrup in cold water,when you roll it with fingers you should be able to make a ball out of the syrup.This means a correct soft ball consistency which is very important to get in this recipe.
  • Once you get the soft ball consistency add grated coconut,cardamom powder to it and mix well.Remove it from flame and keep it in a sturdy surface.
  • Sprinkle rice flour(prepared above) quickly little by little and keep stirring so that it does not form lumps. Keep adding the flour until the syrup holds.You need to stop adding the flour once all the syrup is absorbed and the dough should be very soft and slightly loose.Because of the addition of coconut this will be a soft dough not like the dough we get for ariselu.So keep it in mind and do not add more rice flour which will make the boorelu hard.
  • Pour the ghee on top of it and keep it covered and keep aside.
  • Let the mixture sit for a while for an hour or you can even make them immediately.
  • When you are about to prepare the boorelu,check the consitency(if you keep the dough aside for long) if you think it has become slightly hard,add a couple of tbsps of milk to the mixture and can be mixed to get a soft dough.
  • Meanwhile heat oil in a kadai to deep fry them.
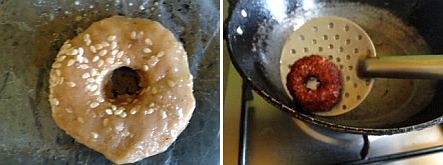
  • Take a small gooseberry sized ball and pat it on a greased plastic sheet or banana leaf to a 1.5 inch diameter round discs and then make a hole in between like how we do for medu wada.
  • Sprinkle some sesame seeds in top of them and gently press them.
  • Deep fry them over MEDIUM-HIGH flame until they turn brown in color.They turn to dark color very quickly and hence do not need to be fried for long,so you should remove them when they start turning color.Few sesame seeds float up in the oil but it is fine,you can remove them with the slotted spoon later.
  • Remove it with a slotted spoon and drain them in a colander,this will remove the extra oil from them.
  • Repeat the same process with all the dough and drain them.
  • Let them come to room temperature.
Store them in a dry container.They can be stored up to 2 weeks.


Notes:
  1. You can even make the same with sugar by replacing the jaggery with equal quantities of sugar in the recipe.Follow the same recipe.
  2. These would be softer than ariselu because of the addition of coconut.
  3. Do not fry them for long,these are supposed to be soft.Also fry them over Medium-High flame.
  4. Few shape the boorelu like ariselu,like 3 inch discs.You can even do that way and please remember we do not need to press them after they are deep fried like how we do it for ariselu.
  5. The consistency of jaggery syrup to reach the soft ball is very important in this recipe.If you mess up with it- you will even mess up your end product.
  6. Sesame seeds can be added into the dough but we always add over them.
  7. My mom uses a slight red colored variety of rice for this,she says it tastes the best but you can use regular white rice variety too.
 

Wednesday, November 7, 2012

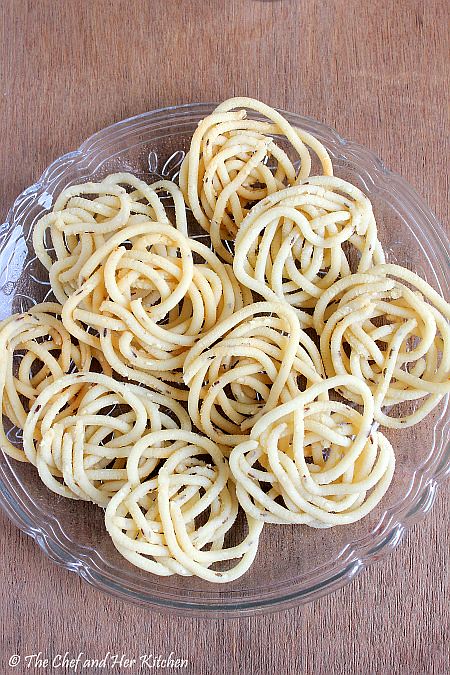
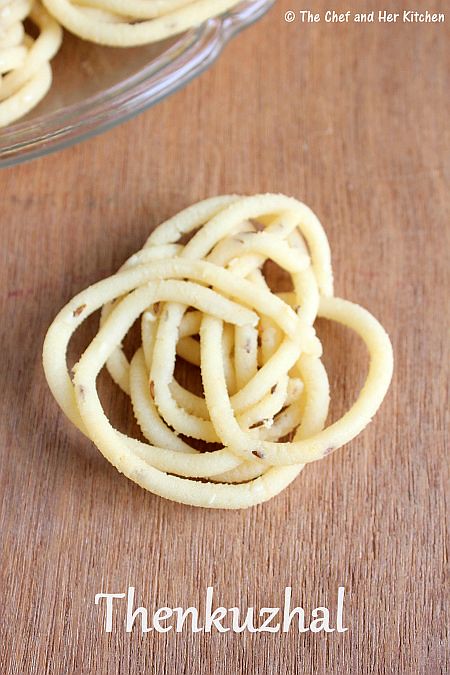
Thenkuzhal Murukku | Thengolu | Thenkolalu | Diwali Savory Recipes


I hope you remember my earlier Manugupoolu post where I have talked about various kind of south Indian murukkus and their importance and my ramblings regarding them.Hence I do not want to repeat the same stories here again with this recipe.I can see quite a bit of relief on many of your faces hahh...!!
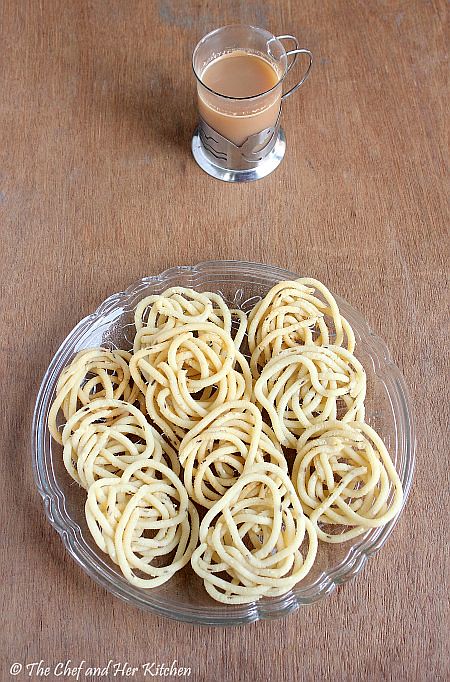
I love these kind of white murukkus like kai murukku,chakli,manugupoolu and thengolu.But among all thengolu are my favorite,I like the taste and texture of these thenkuzhal more than the other varieties.We call it as 'Thengolu' or 'Thenkolalu' or 'Thentodalu'.I love to eat all these white murukkus with a mango thokku or a mixture spice powder mixed in dahi.Now off to the recipe.
Thenkuzhal Murukku | Thengolu | Thenkolalu Recipe:
Shelf life:upto 2 weeks

Ingredients:
4 cups processed Rice flour
1/2 cup roasted Urad flour*
1 tsp Cumin seeds (optional)
2 ladles(80 ml approx) hot Oil
Salt(2 tbsp approx) to taste
Method:
  • In a bowl take rice flour and roasted urad dal flour and add salt and cumin seeds to it and mix well.
  • Mean while heat oil in a kadai for deep frying.
  • Add 2 ladles of hot oil in to the rice flour mixture and leave it for 3-4 mins until you can handle the mix with hands.
  • Mix it nicely and divide the portion into 3-4 equal parts.
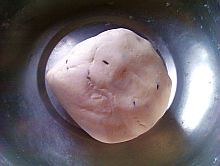
  • Sprinkle water to each portion separately and prepare dough just before frying.
  • Using a 5 eyed round holes plain disc(disc no -4 in the above figure) in murukku maker and fill the dough in it.
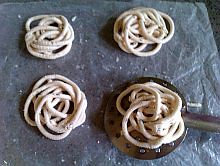
  • Prepare murukkus in a circular motion on top of a wet cloth or on the back side of slightly greased ladles.
  • Gently drop the murukkus carefully with hand and slip it into hot oil.
  • Deep fry over medium-high flame till crisp and slightly golden in color.
  • Drain them into a colander.
  • Once they come to room temperature store them in a clean dry container.
Serve it as a tea time snack.You can even eat with sweet,spicy and sour mango pickle.

*To make roasted urad flour: dry roast urad dal in a deep curved pan and stir it constantly till it turns into light golden color.Cool it and grind to a fine powder and sieve it.
Notes:
  1. You can add around 2 tsp red chili powder to the same recipe and make spicy thenkuzhal murukku.
  2. We usually add sesame seeds in thenkuzhal,this time I asked my mom to add cumin seeds for a variation.You can avoid cumin and add sesame seeds instead.
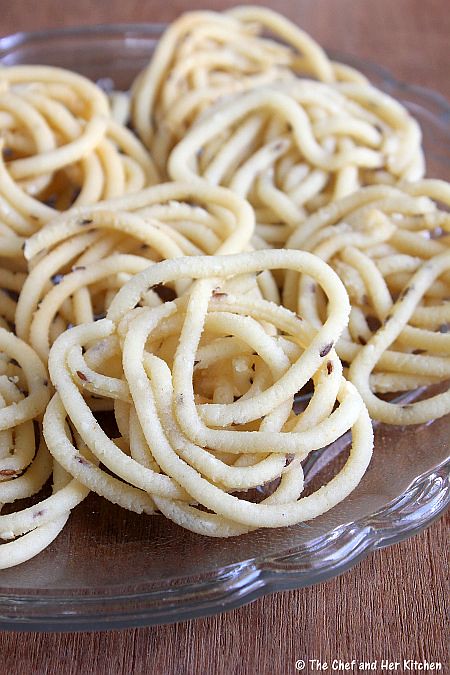
  3. The thenkuzhal murukku should be hollow in between like a pipe which indicates that it has come out nice.
  4. If your murukku is hard it means the amount of fat(oil) is not enough in the dough.
  5. If the murukku turns very oily it indicates that the amount of fat(oil) you added in the recipe is more.These are the indicative points which you should remember.as we do it in batched you can always rectify these mistakes in the next batch.
 
 
back to top