Showing posts with label How to's. Show all posts

Sunday, August 25, 2013

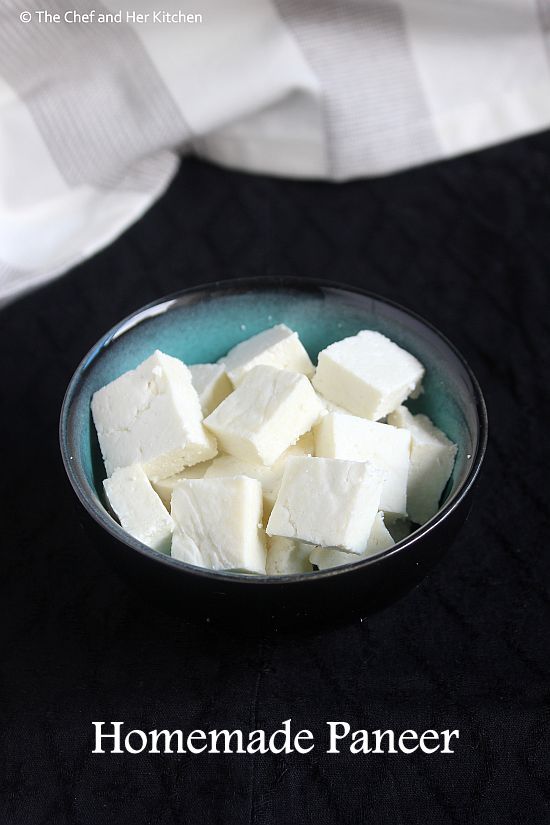
How to make Paneer | Home made Paneer (Cottage Cheese)

homemade paneer
How many of you make Paneer at home regularly?
Well,I know many of you would be doing it regularly but I should admit that I do not prepare it regularly but I do it when needed. It is not that we do not eat paneer dishes often, I prepare paneer based dishes at least once a week - such is our love for paneer. The reason why I do not make at home regularly is that we get very good quality of Malai Paneer in Mumbai and apart from that, we do get flavoured Paneer like Jeera Paneer, Chili Paneer, Masala Paneer to name a few. So every time I do my grocery shopping I usually pick up a block and just prepare delicious paneer based recipes. Sometimes it happens that I would not have planned ahead and the situation arises to make fresh paneer at home and then I usually prepare at home.
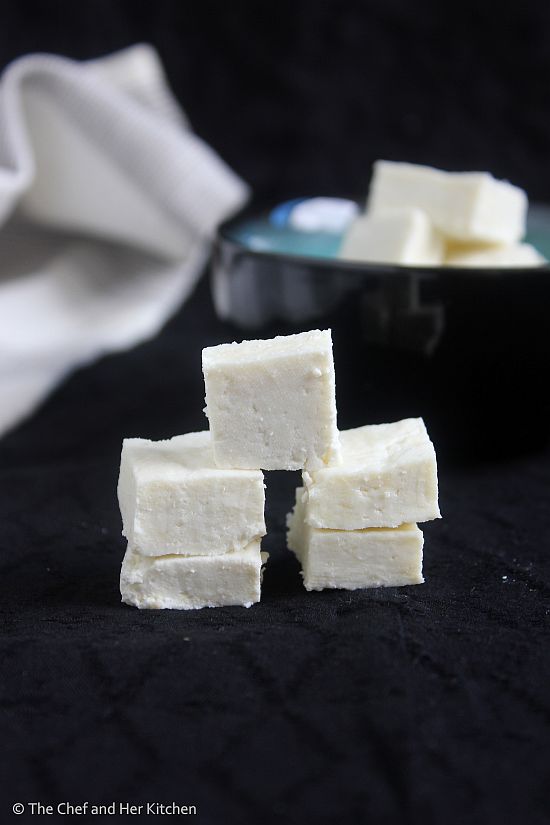
'Paneer' is also known as 'Cottage Cheese' and is used in various curries, gravies, starters, sweets, snacks, pulaos etc.One should break the myth that preparing paneer is difficult or we cannot make soft paneer at home. It  is very easy to prepare paneer at home with very few steps, just follow the instructions carefully and I am sure that you would love the freshness of home made Paneer. After all anything home made is always better.This is a very basic process I am mentioning here with more details keeping in mind the beginners in cooking. Also do not forget to check the notes for the tips and variations in making paneer.
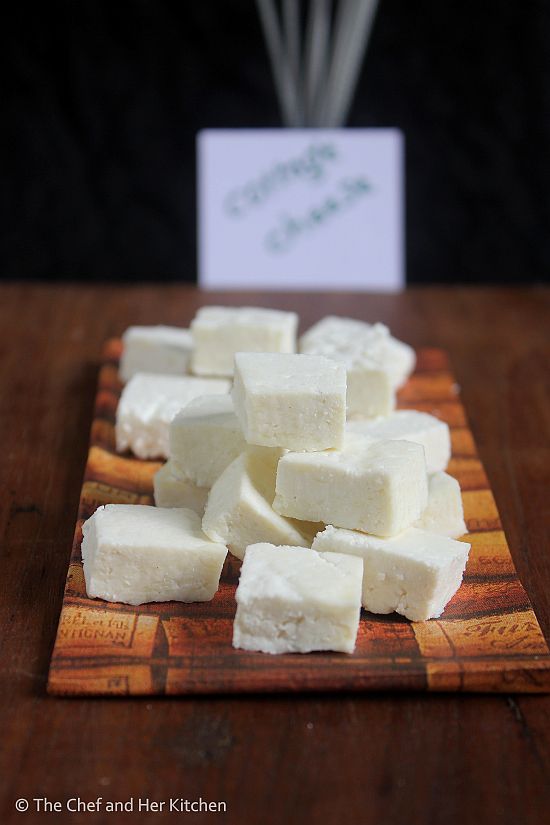
how to make paneer

If you are looking for some basics in cooking, even these posts might interest you:
Home made Paneer (Cottage Cheese) Recipe:
Yields 200-250 gms Paneer approx.
Cooking time:10 mins | Standing time: 40-45 mins | Total time: 1 hr
Cuisine: Indian | Category: Kitchen Basics
Materials needed: sieve, cheese/muslin cloth, vessel, heavy weight

Ingredients:
1 litre Whole Milk
1/4 cup Curd(Yogurt) or 1-2 tbsp. Vinegar or juice of 1 Lemon

Method:
  • Bring milk to a boil in a deep vessel. Mean while whisk the curd and keep it ready. If you are adding lemon juice extract the juice and keep it ready.
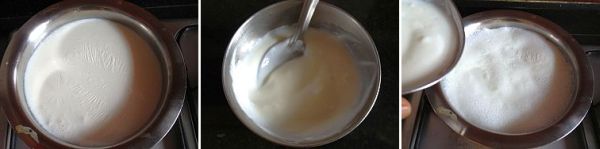
  • Once the milk rises to the top lower the flame and add curd or lemon juice or vinegar and mix it immediately with a spoon. The milk would start curdling, if it does not curdle enough add some more curd or lemon juice to it and keep stirring so that the curdled milk would not coat the pan. Once the milk curdles completely, you would see a lump of crumbled paneer separating from the slightly yellowish- light greenish liquid. At this stage switch off the stove.
  • Line a sieve with a muslin or cheese cloth and place a vessel underneath to collect the whey.
  • Pour the curdled paneer on top of the cloth and let all the whey strain through.
  • Bring the edges of the cloth together. At this stage you can hang it up to half an hour, I usually do not hang and I usually let it sit on the strainer for 10 mins roughly. Do not throw the whey, you can use it to knead the dough for rotis or use it to thinner your dals etc.
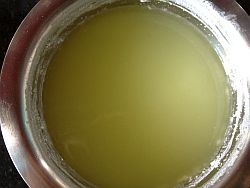
    whey,separated from milk
  • Place the cloth with paneer upside down on  plate (the extra cloth folded would be towards the plate so that you would get even surface on one side). See the pictures for better idea.Place a heavy weight on top of it. I used my marble roti maker and placed a steel vessel filled with water on top of it.
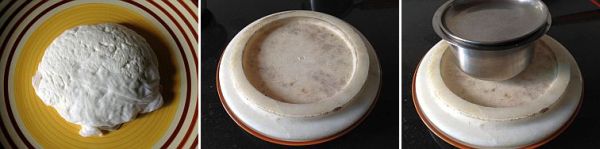
  • Let it rest for 30-45 mins based on the time limit you have. I usually do not suggest you to keep more than this as it will make paneer bit hard. This much time is more than enough for paneer to hold in the shape of a block.
  • Remove the paneer from the cloth and cut off the edges so that you would be remained with a square block. Cut them into shapes as required.
Use Paneer as required in curries, gravies, pulaos, snacks etc.

Notes:
  1. It is best to use the paneer fresh.If you want to store the paneer for 2-3 days, immerse the block in water and store it in refrigerator in an air tight container and change the water daily.
  2. Do not boil once you see the light greenish colored whey separated from paneer as it will make the paneer hard later once it is set.
  3. Do not throw the whey, as I mentioned you can use it to make atta or to thinner your dals or gravies. You can even use to curdle the milk, this is supposed to be a better way to curdle milk.
  4. The usage of whole milk makes the paneer soft, how ever you can use regular milk and still get decent paneer.
  5. Just in case if you find that your paneer is not very soft and it is bit hard , immerse it in warm water for half an hour. Paneer would definitely soften and is ready to use.
  6. You can pep up the paneer to spicy paneer or flavoured paneer by adding 2 tsp of cumin seeds while curdling the milk to make Jeera Paneer or you can add a mix of 2 tbsp. chopped coriander leaves along with 1 tsp of cumin seeds and 1/2 tsp of finely chopped green chillies to make Masala Paneer. You can even add 1/2 tsp of red chili flakes while curdling to make spicy chili paneer.
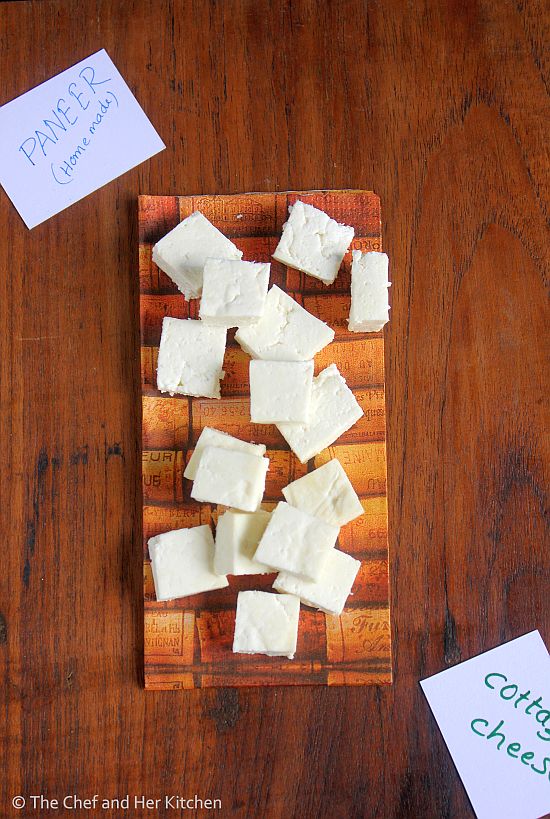
    home made paneer

Thursday, August 15, 2013

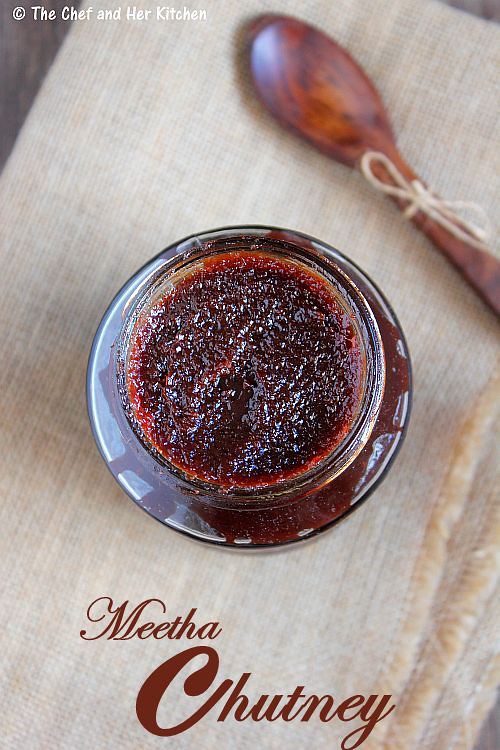
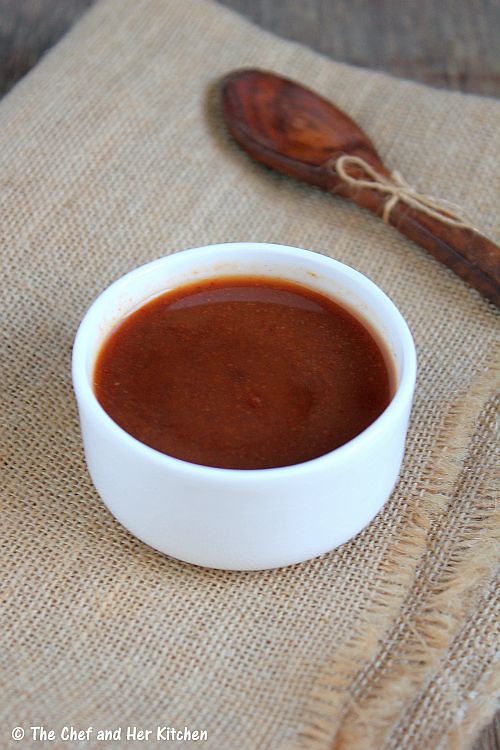
Meetha Chutney | Sweet Chutney for Chaats | Khajur-Imli Chutney

sweet chutney
Chaat is incomplete without Meetha Chutney and Green chutney which play a key role in elevating the taste of the chat. Meetha Chutney is also known as 'Meethi Saunth' and is mainly prepared with dates and tamarind, hence it is called as 'Khajur-Imli Chutney' or 'Date Tamarind chutney'. Most of my weekends, we indulge in at least one chat variety as we both are very fond of them. Golgappe appears quite frequently as a meal rather than as a chat at our place. Many of my friends like the Golgappe I prepare and I always get complements for it and few in fact even carry the Meetha chutney back home. When ever my MIL visits us, she asks me to prepare Golgappe at least once. Of course even if she does not ask, I know her preferences now and I would make it anyways.
imli chutney
The taste of any good chaat completely depends on the two chutneys we use in it - Meeti Saunth and Green Chutney, if these chutneys taste perfect it would make any Chat taste delicious. As I prepare chats quite often I usually make the chutneys in bulk. The process of preparing the Green chutney is simple and I prepare it at least once or twice in a month based on my consumption. Check out my recipe for Green Chutney which is a freezer friendly recipe and maintains its luscious green colour. The process of preparation of Meetha Chutney is a bit laborious so I usually prepare it in large quantities that last for at least a couple of months.
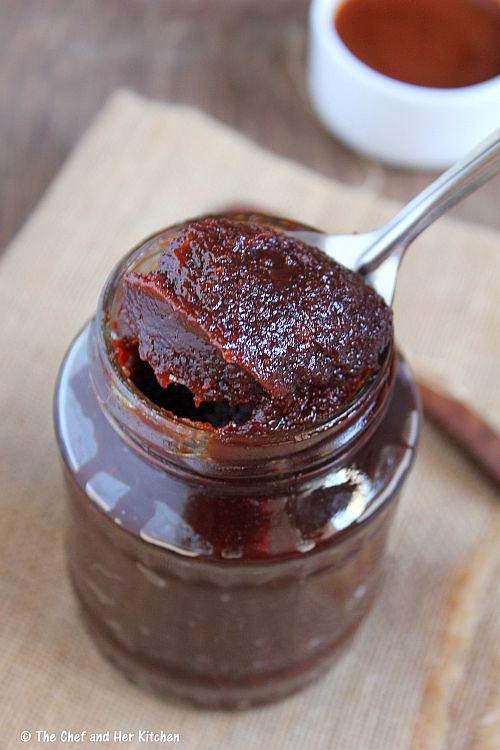
kharjur imli chutney

Meetha Chutney | Meethi Saunth | Date-Tamarind Chutney for Chaats:
Shelf life: 6-8 months when refrigerated
Prep time:15  mins | Cooking time:1.5 hrs | Total time:1hr 45mins
Cuisine: Indian | Category: Condiments - Accompaniments

Ingredients:
250 gms Tamarind
250 gms dry Dates(40-45 Kharjur)
500 gms Jaggery or Sugar
2 tsp Red chili powder
1 tbsp roasted Cumin powder 
2 tsp Kala Namak/Black Salt
1 tsp Dry Ginger powder
1 tsp Fennel seeds(Saunf) powder

Method:
  • Clean and remove the extra fibres from tamarind and add 1 - 1.5 cups of water to it and pressure cook it for 2 whistles. Once the mixture becomes cool extract the tamarind pulp by discarding any extra fibres and skin. Alternatively you can soak it in warm water for 1/2 hr and extract the pulp. You can follow either ways which ever is comfortable for you.
  • Pressure cook dry dates in 1 cup of water for 3-4 whistles.Cool them and remove the seeds from them.
  • Grind the dates with the water which is used for pressure cooking them to a very smooth paste.
  • In a heavy bottom pan add small pieces of jaagery(or sugar), ground dates paste and let it come to a boil. Add extracted tamarind pulp and keep it on medium flame and cook for 10-12 mins until the jaggery is completely melted.
  • Add red chili powder, garam masala, roasted cumin powder, black salt, dry ginger powder and fennel seeds powder and mix well.
  • Reduce the flame and cover it with a clean lid (just cover it 3/4th) as the mixture splutters and makes the kitchen counter messy.
  • Let it cook for another 25-30 mins until the mixture becomes very thick. Keep stirring it in between once in a while, take care when you open the lid the mixture might splutter on your hands. I personally prefer to taste the mixture in between and if I need to season it a bit I would add according to my preferences.
  • If the mixture is not thickened enough, let it cook for some more time until you get the desired consistency. I personally prefer to make the mixture this chutney very thick almost to the consistency of Jam as this way you can store this chutney for long. As I prepare this in big batch, it would easily last for couple of months for me.You can easily store it for more than six months.
  • Cool the mixture completely for 3-4 hours. Store it in sterilized Glass bottles or air tight bottles in refrigerator.
  • When required, scoop out required portion using a clean spoon and dilute it with water to get the required consistency.
Serve the chutney with any snack/cutlets/pakoras or use it in any Chaats as required.

Notes:
  1. Do the process bit careful as we are going to store it for long. Make sure that no water droplets would fall in the chutney.
  2. Always cover the kadai just 3/4th as the mixture will keep bubbling after certain stage and makes teh kitchen counter messy and also be careful while stirring it. It might cause blisters if it falls on the skin.
  3. This chutney should be prepared bit on a more sweeter side,hence when you taste it would be very sweet but is apt to use it for chaats and snacks.
  4. You can use either Jaggery or sugar in the recipe, though personally I prefer to use jaggery.
  5. If it is prepared carefully and maintain the consistency of Jam you can easily store it for over an year which makes it quite comfortable to use in chaats when required.
meetha chutney

Technorati Tags: , , , , , , , , , , ,
 

Saturday, March 16, 2013

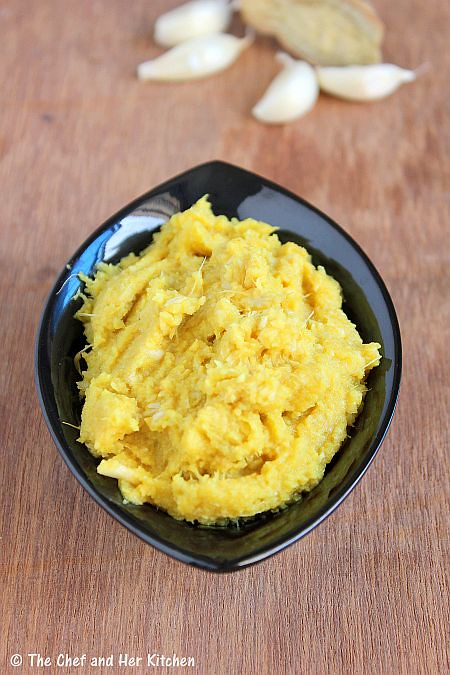
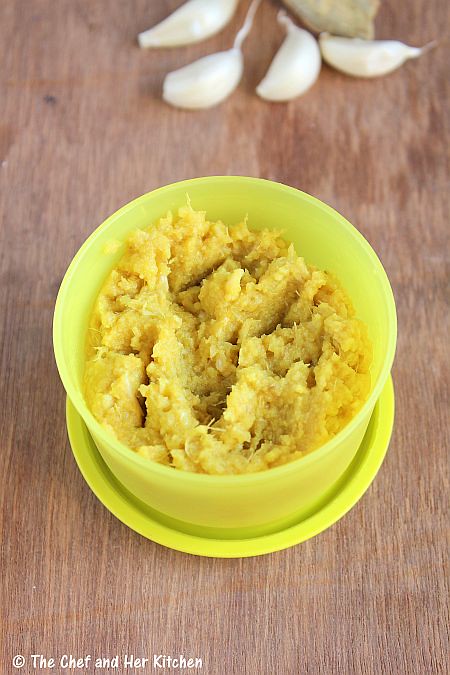
Homemade Ginger Garlic Paste | How to make Ginger-Garlic Paste

Today I am back again to highlighting the must have basic items in Kitchen. This post is about the preparation of - 'Ginger-Garlic Paste,' an essential item to have handy while cooking. As I use ginger-garlic paste in most of my curries, pulaos etc, I always store a jar of  it, in my refrigerator.Though we get readily available Ginger garlic paste in the market, I never buy it, as the smell of preservatives used in it puts me off and in any case, nothing beats home made freshly prepared Ginger Garlic paste.I usually make small quantities, which lasts for 2 weeks.
Ginger Garlic paste:
shelf life:3-4 weeks when refrigerated

Ingredients:
200 gms Ginger
200 gms Garlic
2 tsp Salt approx
1/4 tsp Turmeric Powder
1 tsp Oil

Method:
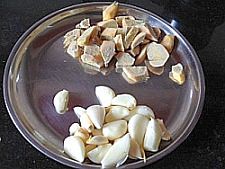
  • Wash and peel the skin of ginger and wipe it with a clean cloth and cut it into small pieces and spread them on a kitchen towel for half an hour.
  • Peel the skins off the garlic pods and keep them ready.
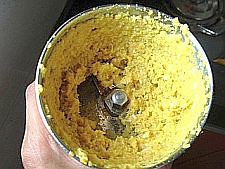
  • In a mixer grind ginger and garlic with salt,oil and turmeric powder to a coarse paste in a whipper mode.
  • Grind it in intervals rather than grinding them in a single pulse.Do not add water while grinding which will reduce the shelf life of the paste.If you want smooth paste you can grind it for long.
Store the mixture in a clean jar in refrigerator.It can be stored for 3-4 weeks and use it when required.

Notes:
  1. Always use a clean spoon to scoop out the required amount of ginger-garlic paste.
  2. You can skip turmeric powder but it preserves the color of ginger garlic paste for long.
  3. In order to peel the garlic pods I always cut the tip of garlic pod or smash it on a hard surface and peel it off,it peels off easily.

Thursday, March 14, 2013

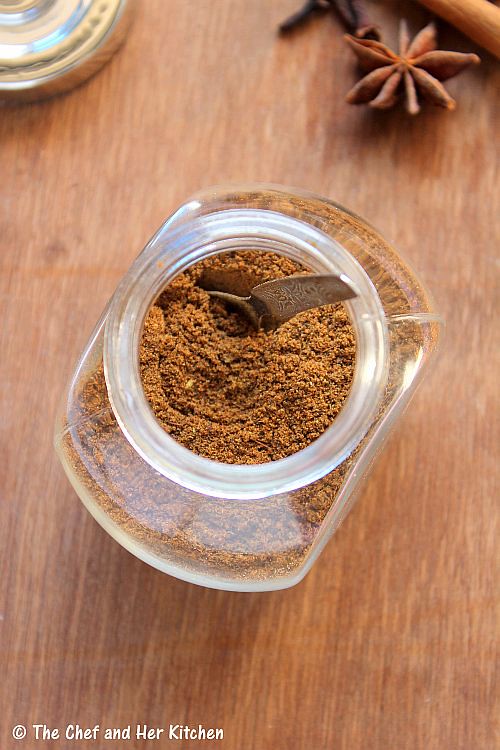
Garam Masala Powder | Punjabi Garam Masala Recipe

I like to try out new varieties of masalas ranging from regional kind of masalas to the regular standard masalas.Though I do  buy some kind of readymade masalas , I never think of buying some kinds such as Sambar Powder, Rasam Powder, Garam masala, Coriander powder, Cumin powder as I like to make them fresh at home.
Every house hold has their own recipe for Garam masala,though most of the ingredients are the same there might be a change in the mix of each ingredient used or maybe some variation in the kind of ingredients. After marriage, I have been following my MIL's recipe for Garam masala which I love because of its flavor. As I prefer to add coriander powder and cumin powder separately to any dish I usually do not add them to my Garam masala powder.This home made Garam masala is quite strong and hence I add just a pinch or 1/4 tsp of masala to the dishes I prepare. This recipe yields masala that lasts for over two months for me.
You can check out other masala powders in my blog.

Punjabi Garam Masala Powder Recipe:
shelf life: 1-2 months

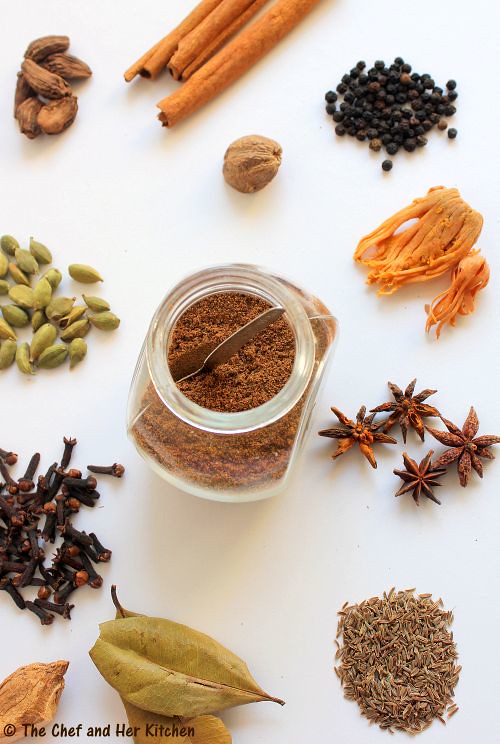
Ingredients:
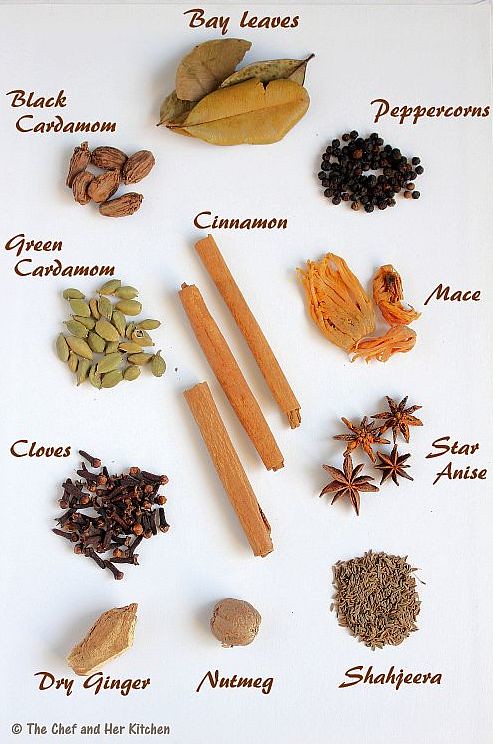
5-6 3" long Cinnamon pieces
2 tbsp Cloves
6-8 Black Cardamom(Mota Elaichi)
20-25 Green Cardamom(Chota Elaichi)
2 tbsp Black Pepper Corns
3-4 Star Anise,optional
3-4 Mace(Javithri )
10-12 Bay leaves
2 tbsp Caraway seeds(Shahjeera)
1/2 Nutmeg(Jaiphal)
1/2" Dry Ginger(Sonth)

Method:
  • Clean and dry all the spices in the sun for 2-3 hrs.Alternatively you can dry roast them for few minutes,but take care that you would not dry roast them for long.I usually prefer to keep them in sun instead of dry roasting the spices.
  • You can either grate nutmeg and dry ginger or break them into tiny pieces using a pestle.
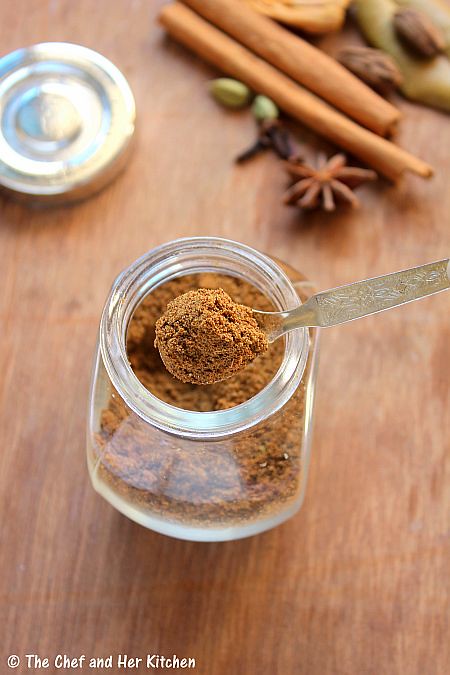
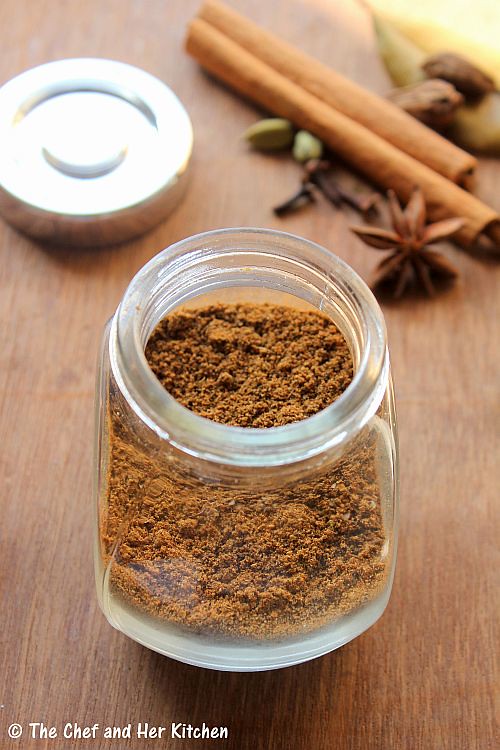
  • Grind all the ingredients to a powder.You do not need to grind it to a very fine powder,you can keep it slightly coarse.
Store it in air tight container.Use it any North Indian style gravy, Dals, Curries, Stir fries, Snacks, Pulaos, Biriyanis etc.
 Notes:
  1. I usually do not add coriander seeds and cumin seeds to my garam masala as I add the powders separately to any dish.In case you want to add them, you can add around 1/2 cup Coriander seeds and 1/4 cup Cumin Seeds and grind with the rest of the ingredients to a powder.
  2. As the home made Garam masala is quite pure and strong I usually add a pinch(or 1/4 tsp) to any dish which itself is enough for the flavor.You can add the masala quantity according to your personal taste,but do remember that this masala is quite strong.

Sunday, February 10, 2013

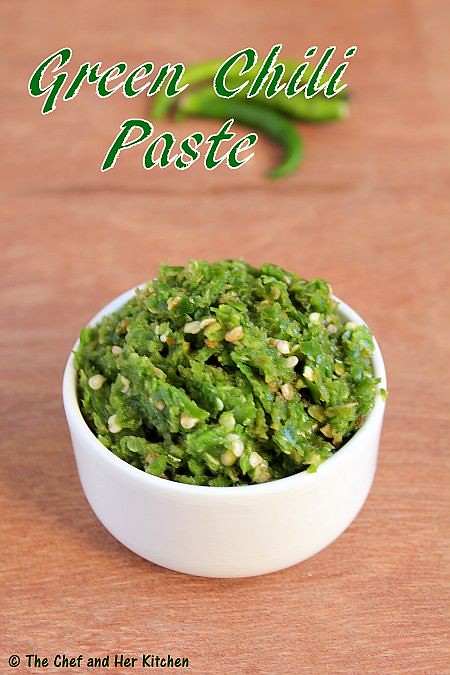
How to make Green Chilli Paste | Kitchen Basics

There are few items like Ginger-Garlic paste,Green chili paste,Green Chutney,Meetha Chutney which are home made and I always keep in my refrigerator as they are very handy while cooking.These are all the basic recipes and I am sure most of us would be preparing on regular basis.However I am posting these basic recipes which might help those who are new to cooking.We use this green chili paste in many of the breakfast and snack varieties like Gunta Ponganalu, Mosaru Kodubale, Kharada Onion Dosa, Onion Masala Idli, Rava Dosa, Akki rotti, Ragi Rotti, Punugulu, Sago bonda etc,it is very handy to use them instead of chopped green chillies in these recipes.

Green Chilli Paste:
Shelf life: upto a month when refrigerated

Ingredients:
100 gms Green chillies
Salt to taste( 3/4 to 1 tsp approx)

Method:

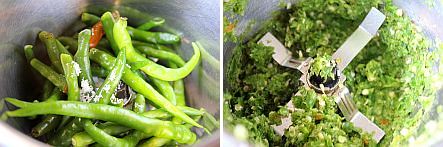
  • Wash and dry the green chillies on the kitchen napkin for 2-3 hrs until they are completely dry with out any water droplets.
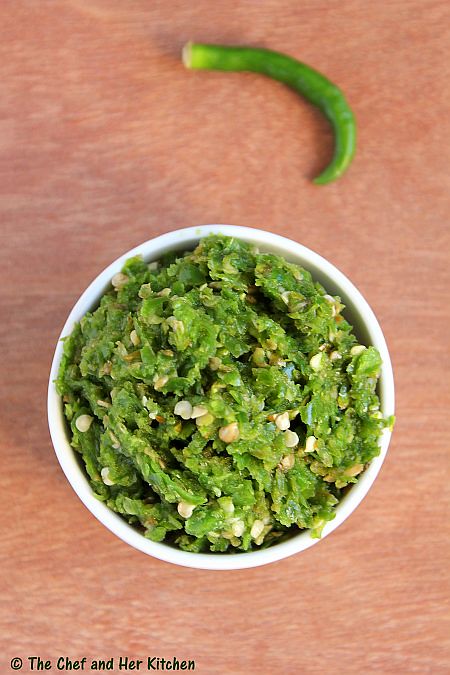
  • Grind the green chillies with salt to a coarse paste.Do not grind it to fine paste,the paste should should be very coarse which will increase the shelf life of the paste.
  • Remove the paste and store it in an air tight container or glass bottle and keep it refrigerated.You can use this paste up to a month or more.
Notes:
  1. The green chillies should be completely dry with out any water droplets.
  2. Adding salt will increase the shelf life,so do not add less in it.
  3. Always use a clean spoon while taking out the paste from the container.
  4. You can use it for a month or more when refrigerated.
  5. You can use this in various recipes like Gunta Ponganalu, Mosaru Kodubale, Kharada Onion Dosa, Onion Masala Idli, Rava Dosa, Akki rotti, Ragi Rotti, Punugulu, Sago bonda etc where we add green chili paste instead of green chillies.It eases the work.

Saturday, October 27, 2012

How to make Rice Flour at Home | Home made Rice flour

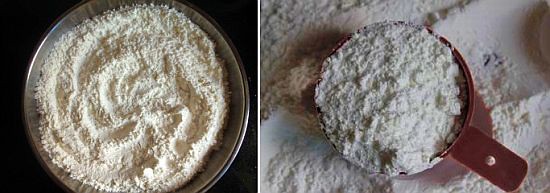
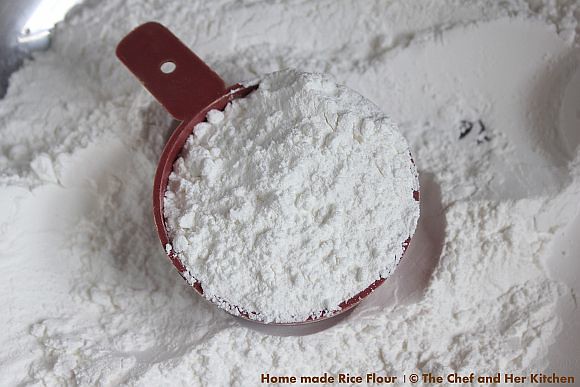
Diwali is just two weeks away and everyone would start the festival preparations soon.The first and foremost thing which is done in any south Indian house hold is to prepare rice flour in order to make various South Indian snacks and sweets varieties during Diwali.In general, we make large quantity of the flour and hence prefer to get it done in a flour mill rather than grinding it at home.But for those who do not have that option of grinding it outside, I am sharing here the procedure for making it. While its not a complicated procedure but still if any one is not sure how to make it , I thought it would be of help for them.So try to make rice flour at home and keep it ready for using it for preparing various sweets and snacks in the coming weeks. I intend to show the easy way of making those difficult snacks.So get ready with the rice flour preparation and join me in making those yummy snacks and sweets and make this Diwali a special one.

Home made Rice flour Preparation:
Shelf life: 2-3 months

Ingredients:
1/2 kg Rice - Sona masuri rice  or any other equivalent quality(increase the quantity according to your requirement)

Method:
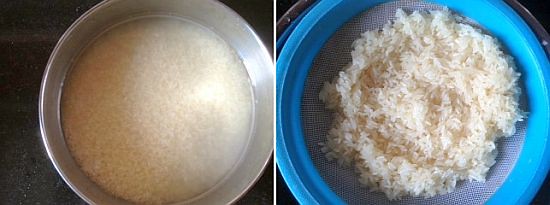
  • Wash the rice nicely for 2-3 times and soak it in water for some time,say half an hour.Soaking is entirely optional if you are running out of time.

  • Drain the rice on to a colander and remove excess water from it.

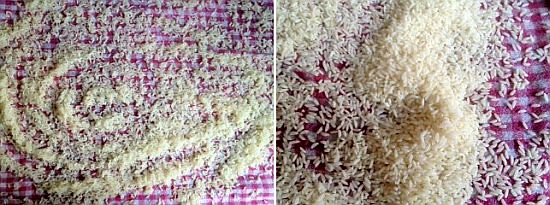
  • Spread on a kitchen towel in a thin layer and let it dry in shade for 1/2 day until the rice is completely dry.It actually depends on the quantity you want to make.More the quantity,the more time it takes.

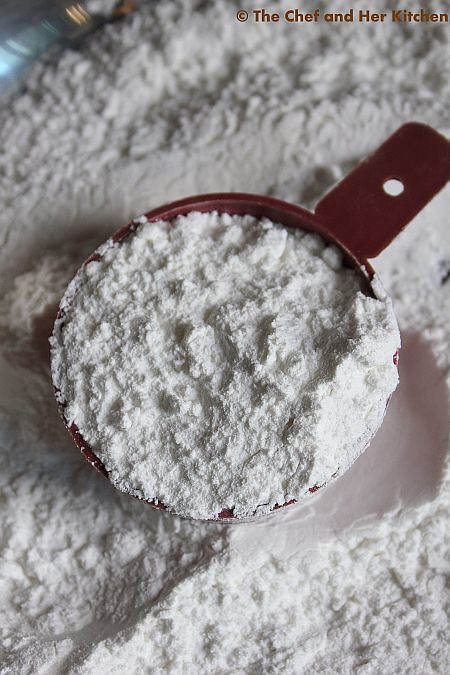
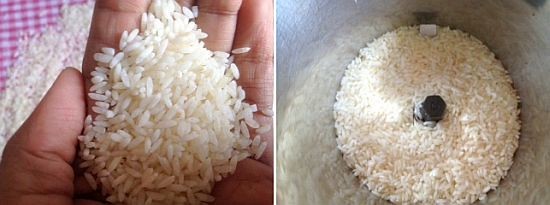
  • Grind it in the mixer to a fine powder.

  • Sieve the powder and remove the slight rawa particles in it.If you are making it in a big batch reserve them and try to powder them again and sieve.I usually get the rice flour done in the mill if it is of large quantity.
  • Once all the flour is sieved spread the flour over a clean dry cloth (or wide plates) and dry the rice flour for a day or two in shade(inside the house).This makes sure that the rice flour is completely dry.

  • Store them in air tight containers.This stay fresh for 2-3 months.
Use them in the recipes as required.It is ideal to use for murukkus and also for various kind of sweets.

The rice flour prepared in this way can be used in making various murukkus and also the recipes like

 
back to top